By Katy Ingram
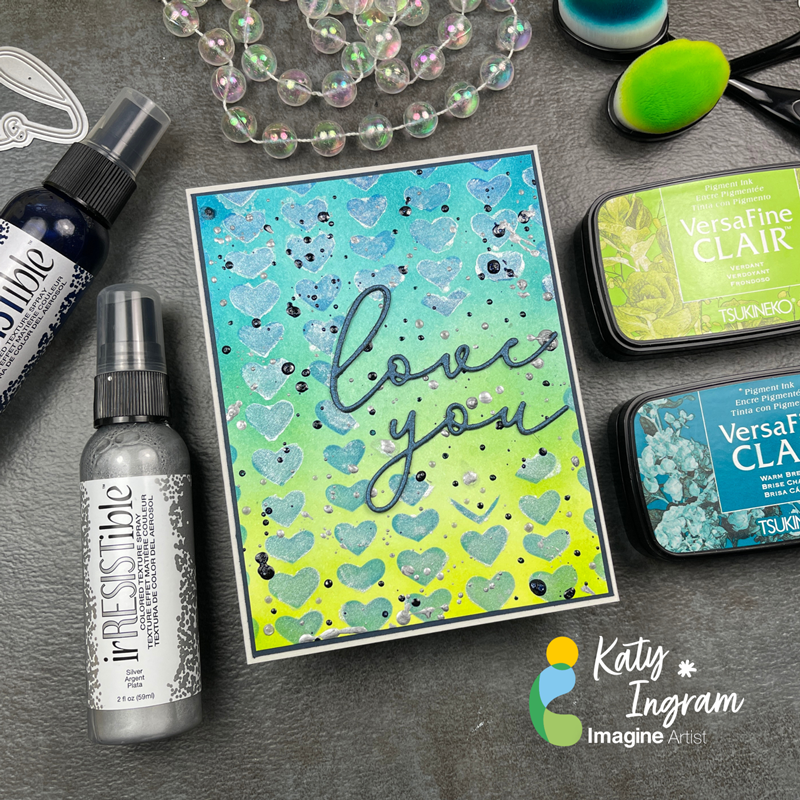
Hello Friends! Katy here and today I am using a variety of products to create this Love You card.
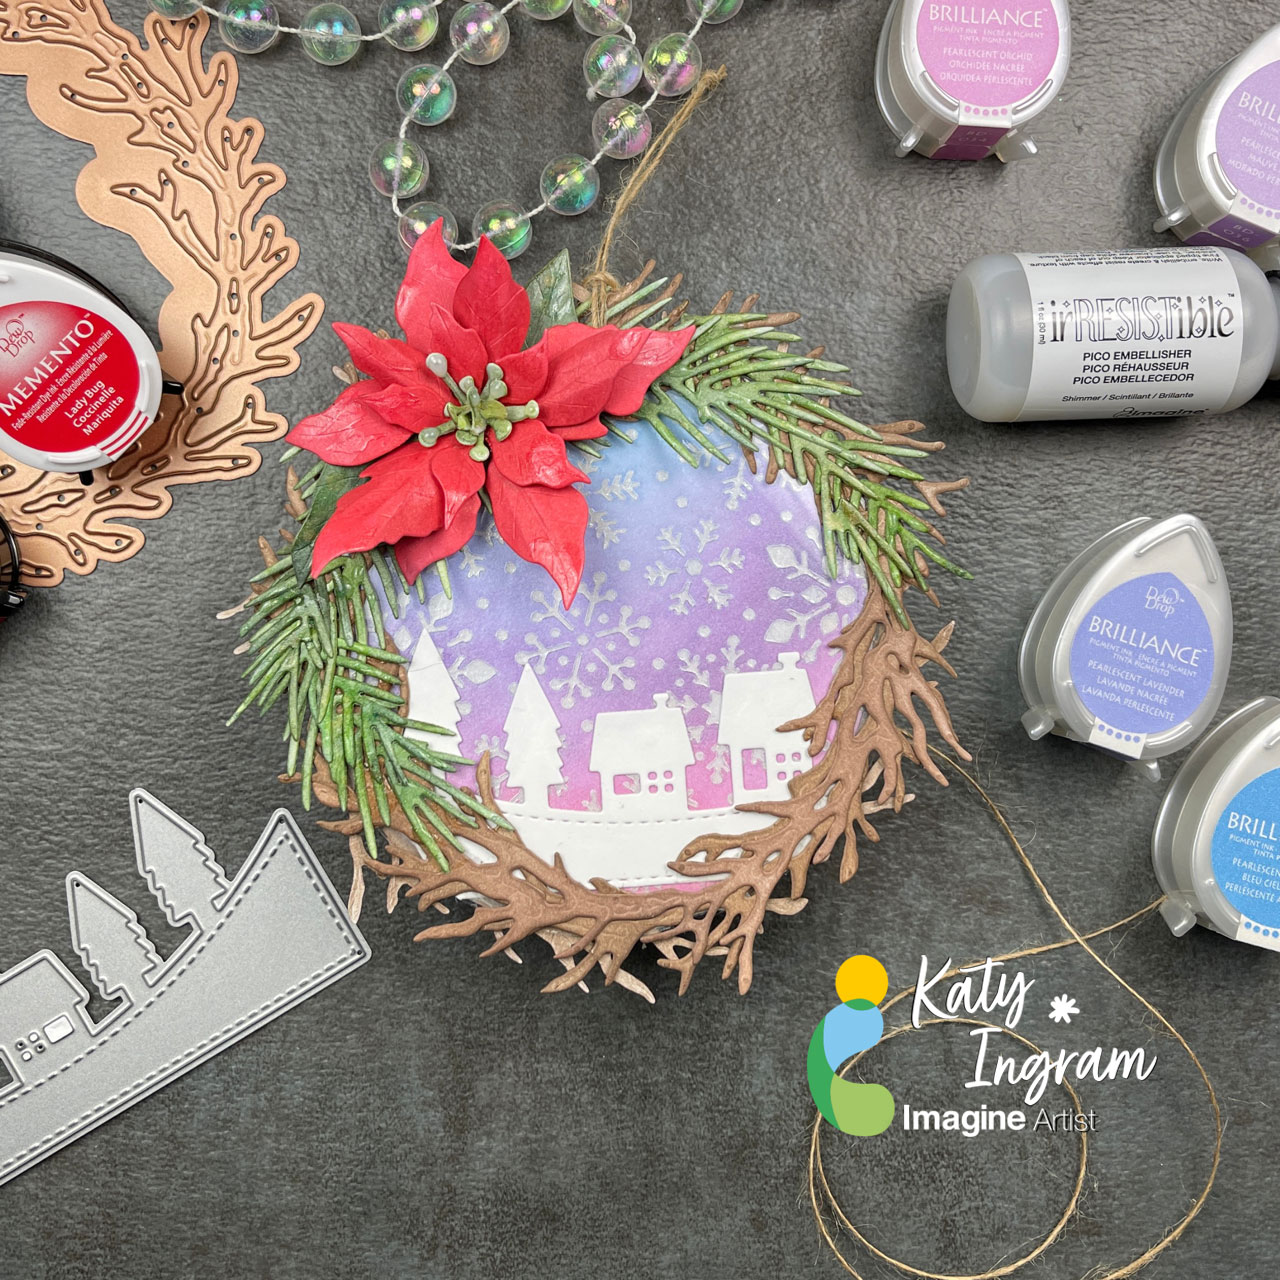
In today’s video tutorial I do some ink blending with VersaFine Clair Verdant and Warm Breeze. I haven’t used these two colors for ink blending before and they blended really well and the colors coordinate perfectly together. I used a heart stencil with VersaFine Clair Paradise to blend over the ink blended panel and then added some Sheer Shimmer Stix in Frost for a bit of shimmer. I also pulled out some irRESISTible Spray in Paris Dusk and Silver to create some splatter. I finished the panel off by die cutting the words love and you with some metallic blue cardstock. Check out the video to see the process in action. I hope you enjoy and thanks for stopping by.
Katy
Skill: Beginner, Intermediate, Advanced
Time: 30 minutes
Directions:
Art Supplies
Imagine Products
• irRESISTible Spray Paris Dusk
• irRESISTible Pico Embellisher Teal Zeal
• irRESISTible Pico Embellisher Silver
Other Products Used
• Miss Ink Stamps Hand Drawn Hearts Stencil
• Layering Hearts Dies
• scrapbook.com/Pinkfresh Love and You Dies
• Blending Brushes