by Lori Warren

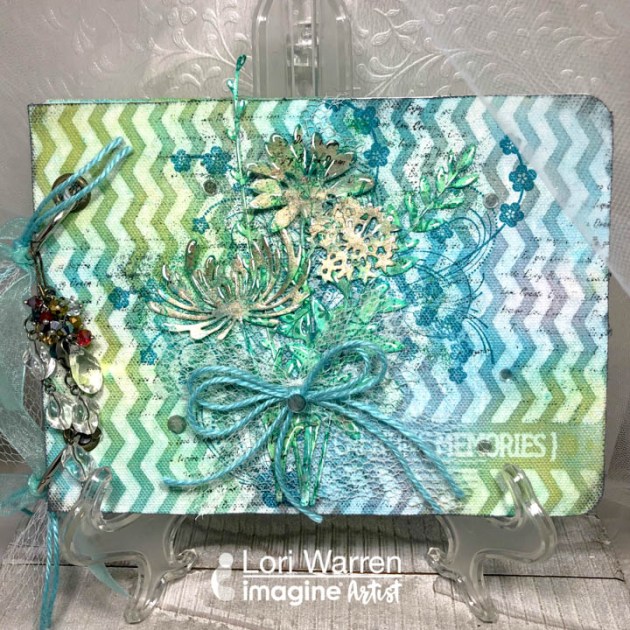
Create a wonderful mixed media “Best Wishes” card that is full of texture, layers, and dimension. Start with a stenciled layer using Creative Medium, add a lace focal point and finish it up with a saying strip mounted with dimensional tape.
Skill: Advanced
Time: 1 hour
Directions

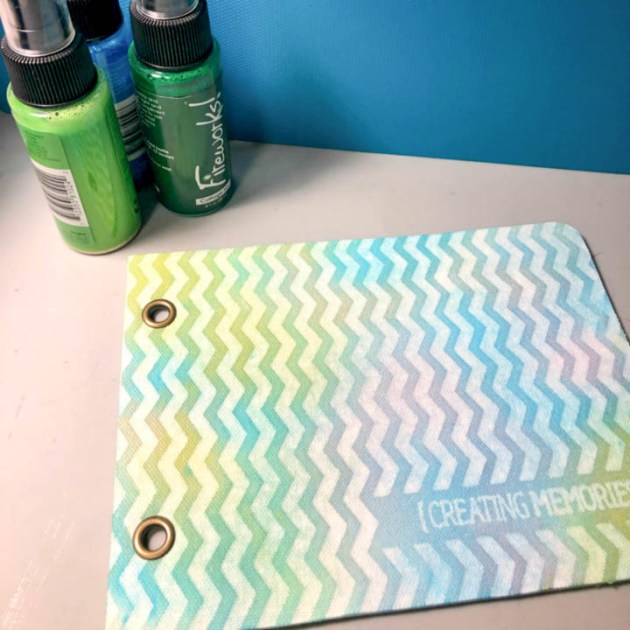
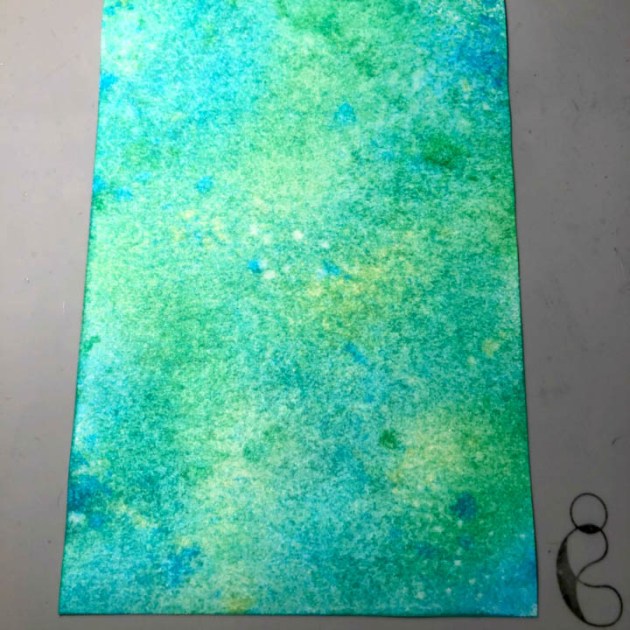
Step 1
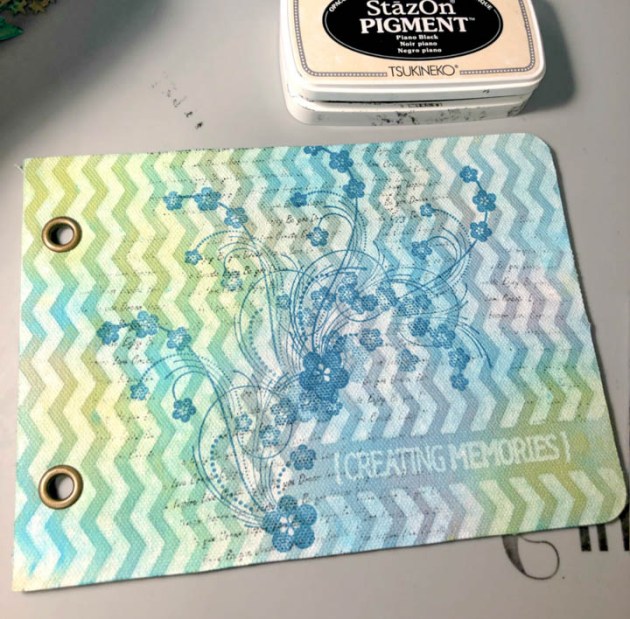
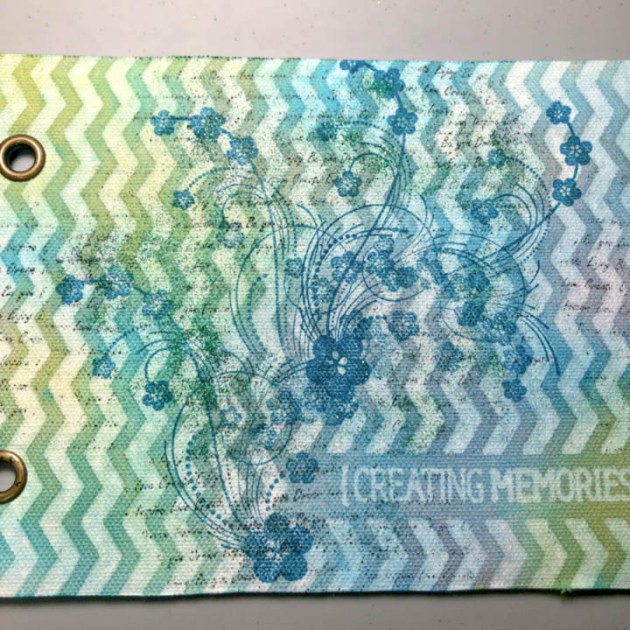
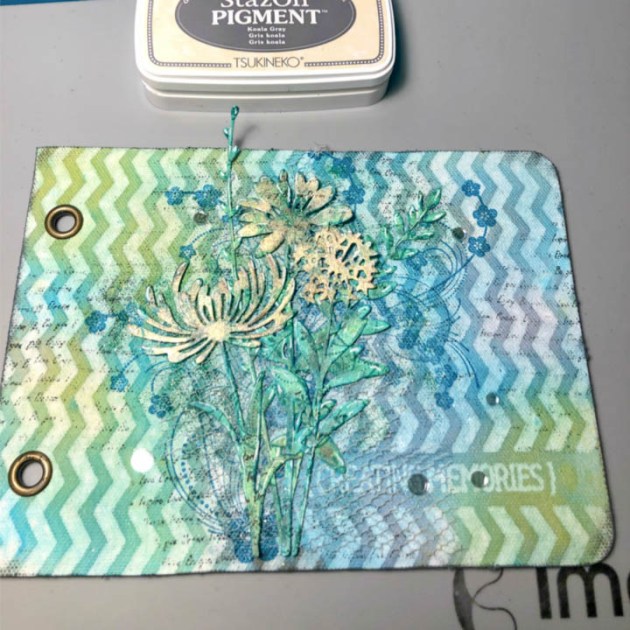
Apply VersaMagic inks to the Craft Mat, spray with water, and lay cardstock into the wet ink. Trim to size.

Step 2
Mix White Neon Amplify with Iridescent Creative Medium and apply over the stencil using a palette knife. Allow to fully dry.

Step 3
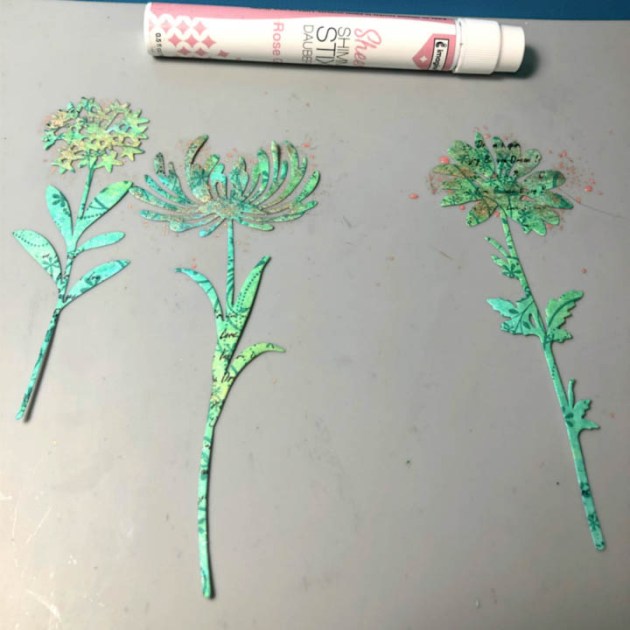
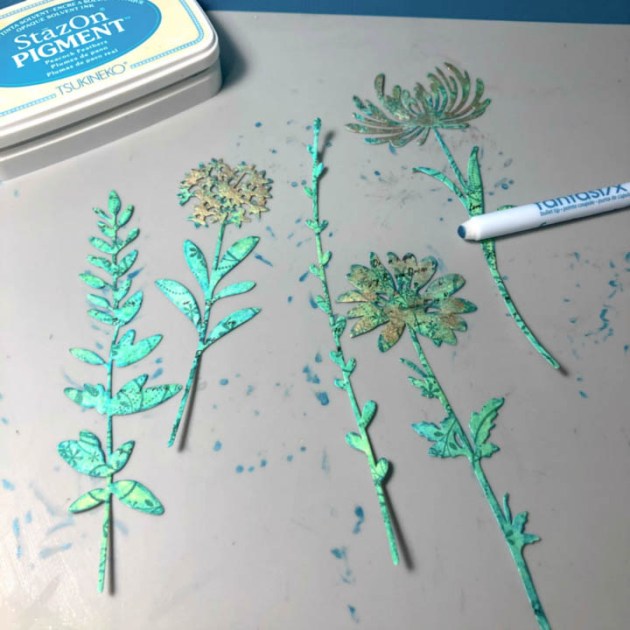
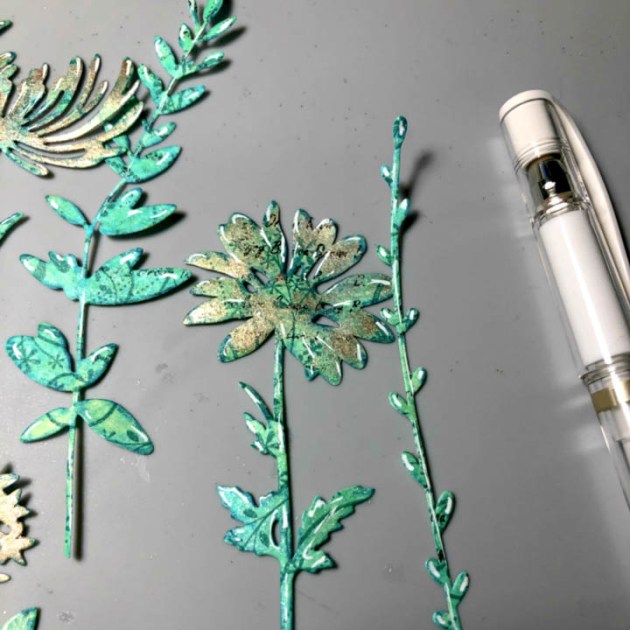
Cut out a rose from a panel of lace and then apply various VersaMagic ink colors to the rose with a Brushstix.

Step 4
Spray lace rose with Shimmer Sheer Craft Spray and allow to dry.

Step 5
Once dry, apply VersaMagic ink in Cloud White to lace rose with Brushstix if you want to soften any of the tones.

Step 6
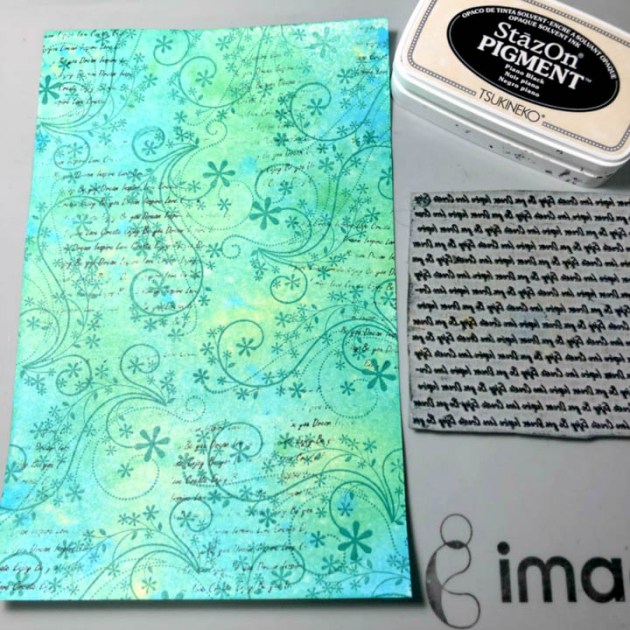
On a scrap strip of paper trimmed from panel in Step 1, stamp with a script stamp.

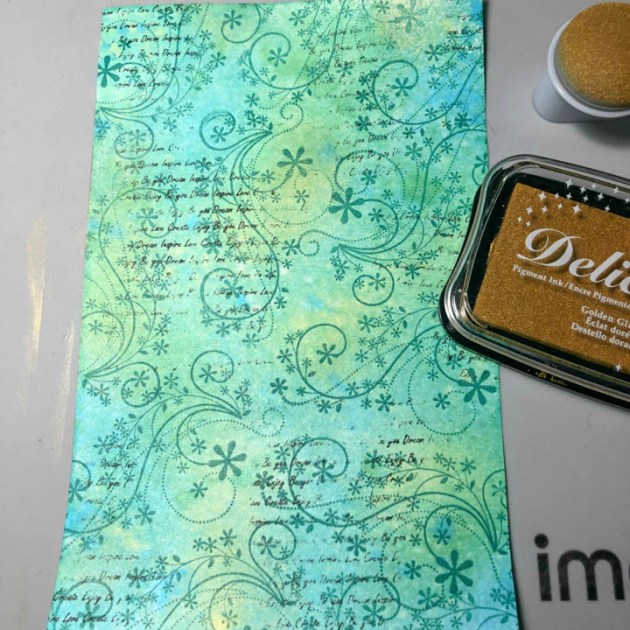
Step 7
On the same strip of paper, stamp flower image. Here I used VersaMagic in Mango Madness.

Step 8
Add ink splatters from VersaMagic Ink in Pink Grapefruit by rubbing ink directly to the craft mat and spraying with water. Pick up with a brush and flick onto the card.

Step 9
Edge all elements with VersaMagic in Pink Grapefruit.

Step 10
Stamp script pattern randomly onto the panel.

Step 11
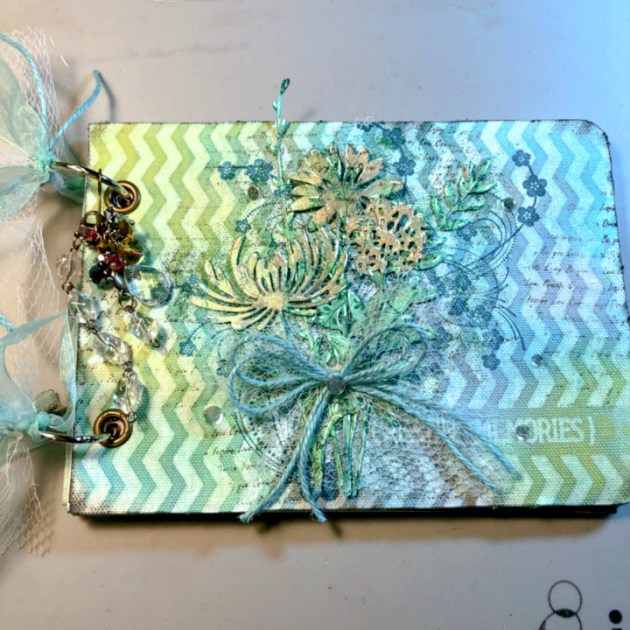
Adhere lace rose to stenciled panel with On Point Glue.

Step 12
Adhere paper strip saying onto the card panel and then highlight rose with irRESISTible Pico Embellisher.
Supplies
Imagine
- irRESISTible Pico Embellisher – Wedding Dress
- VersaMagic DewDrop Inkpad – Pink Grapefruit, Mango, Pumpkin Spice, Cloud White
- Sheer Shimmer Spray – Gold
- Neon Amplify – White
- Creative Medium – Iridescent Turquoise
- Brushstix
- On Point Glue
Other
- White Cardstock
- Mixed Media Paper
- Lace
- TCW Stencil – Damask
- Hot off the Press Stamps