By Ceal Pritchett
Hello crafty friends!
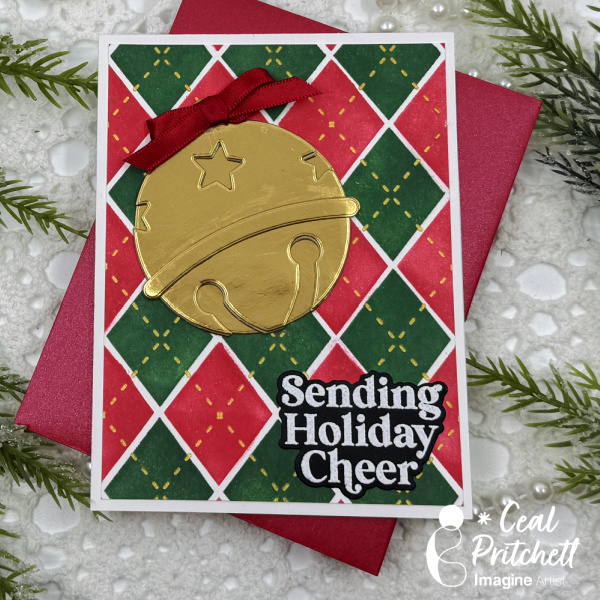
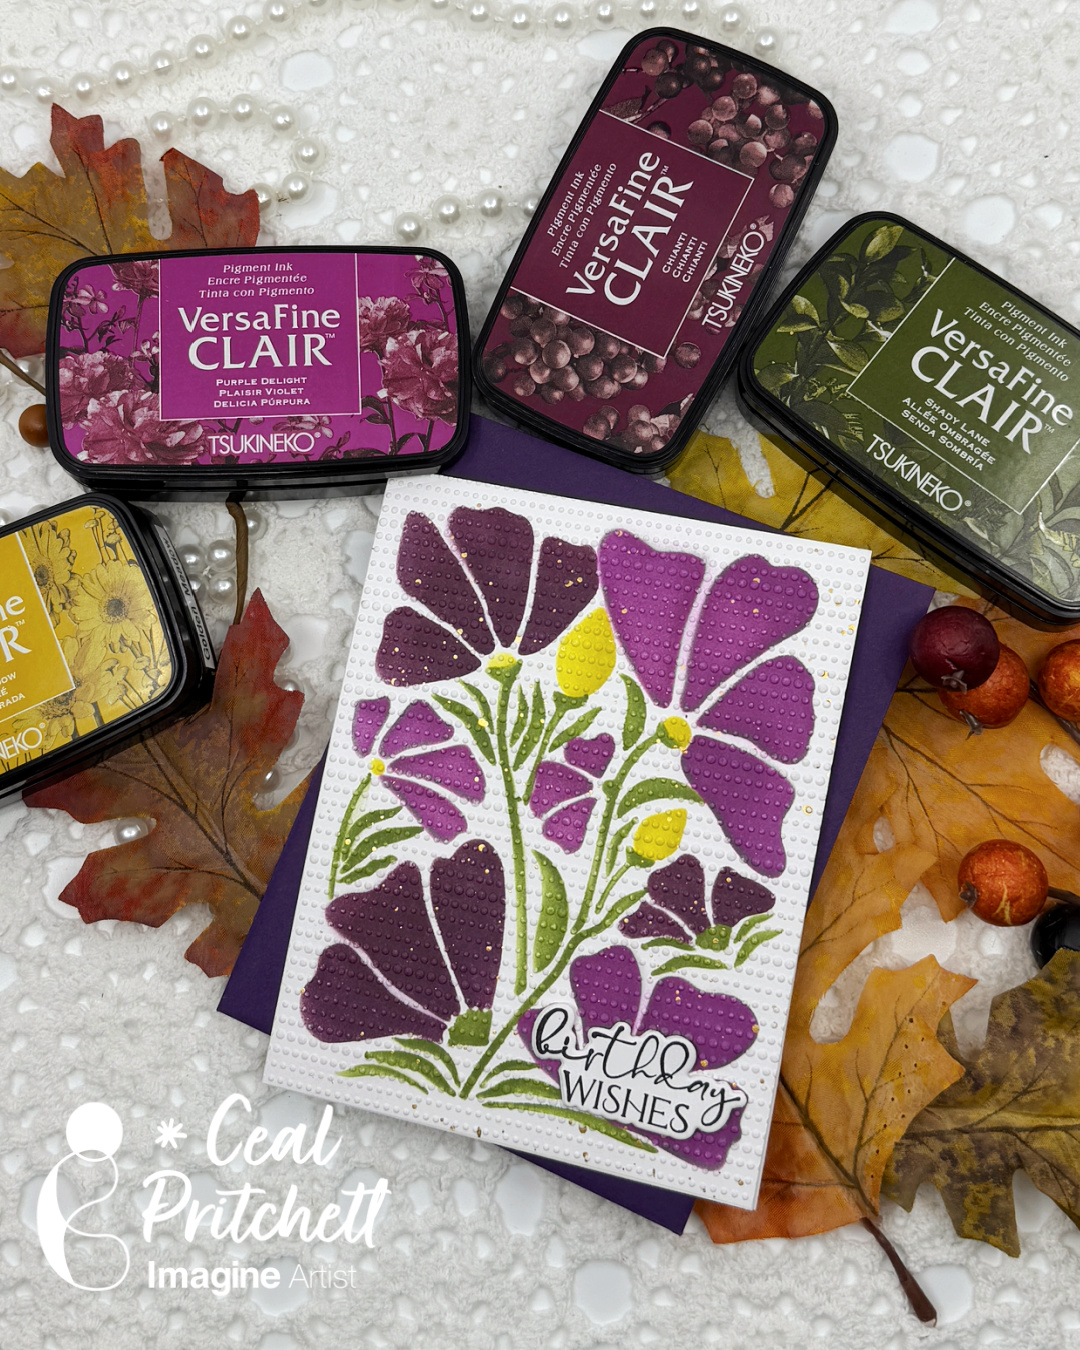
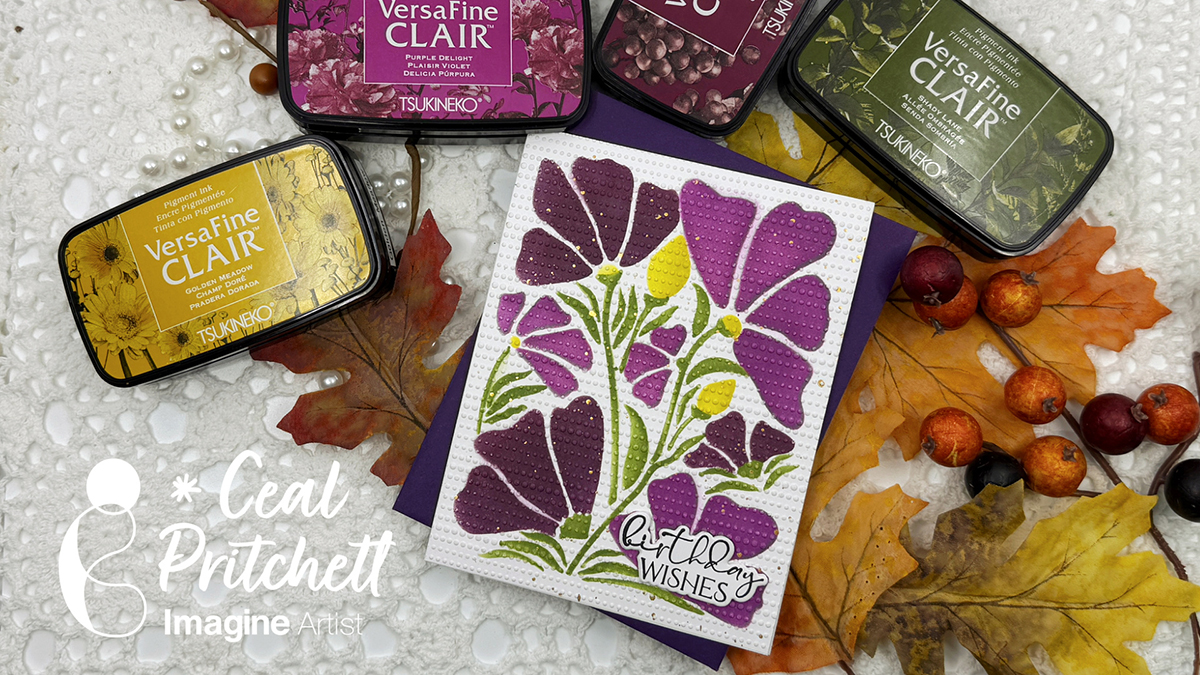
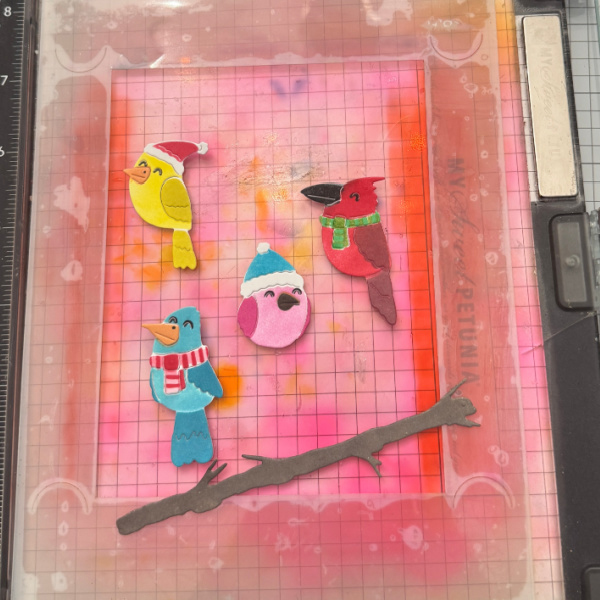
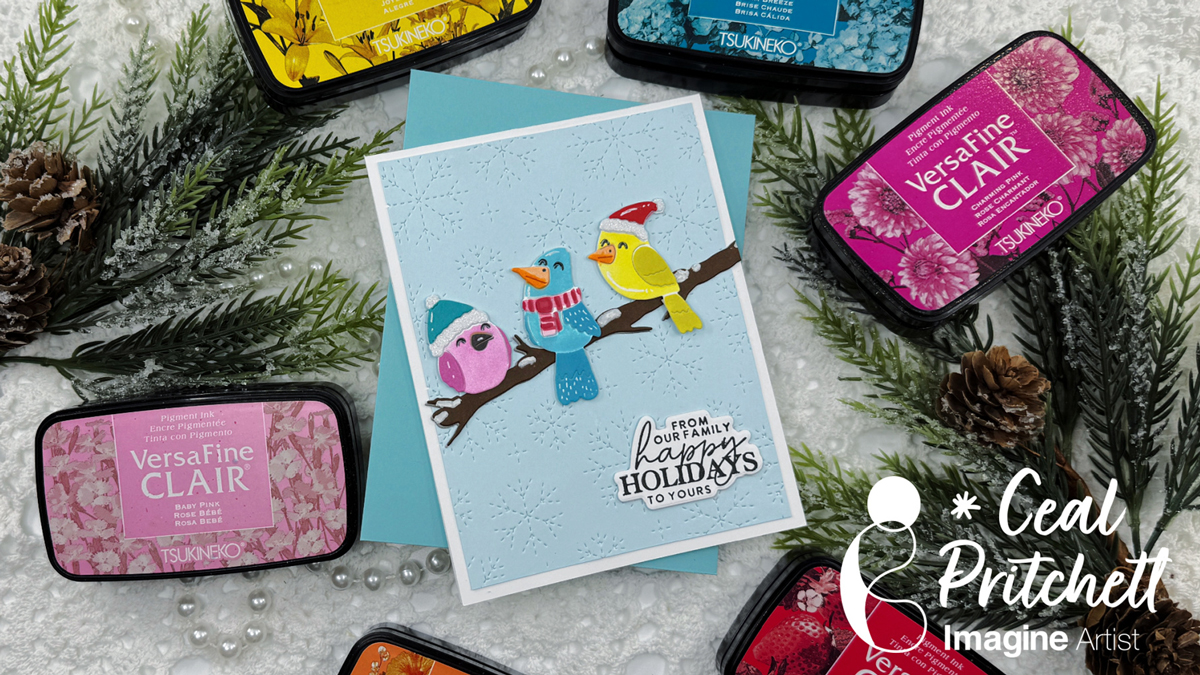
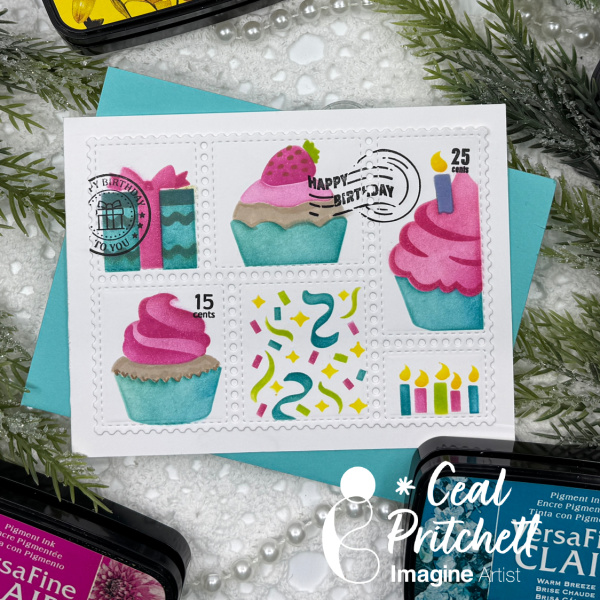
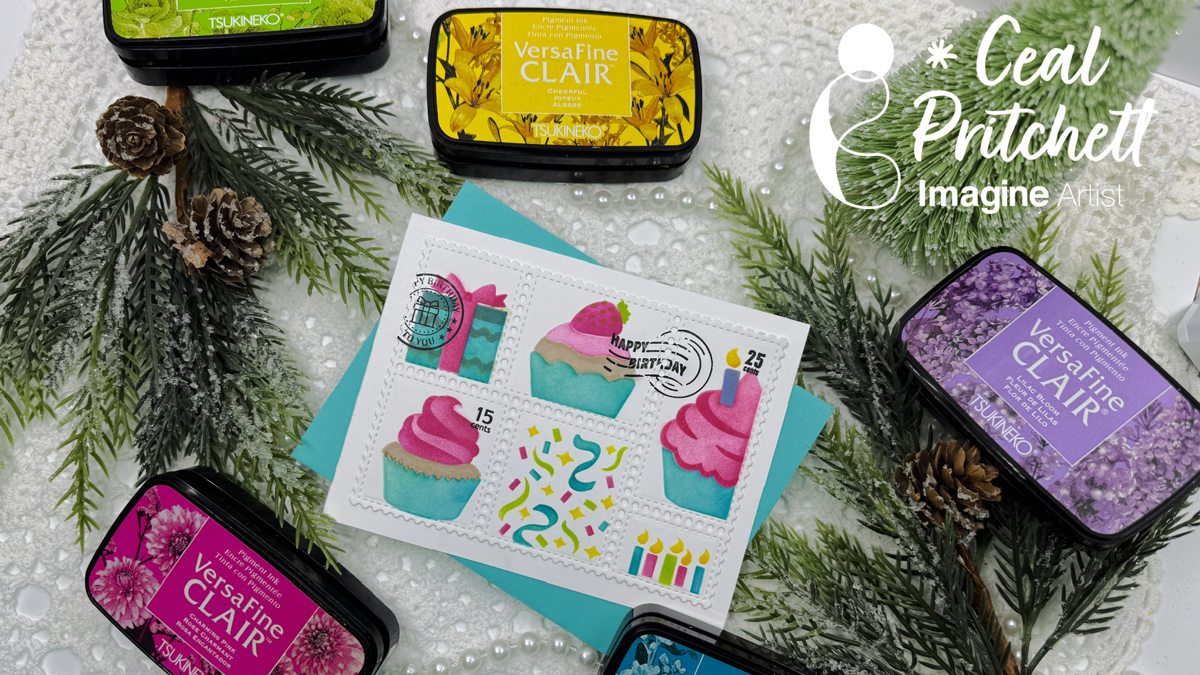
It’s Ceal, back to share with you. Today I am sharing a birthday card using some postage stencils which are all the rage lately.
Skill: Beginner
Time: 30 minutes
Directions:

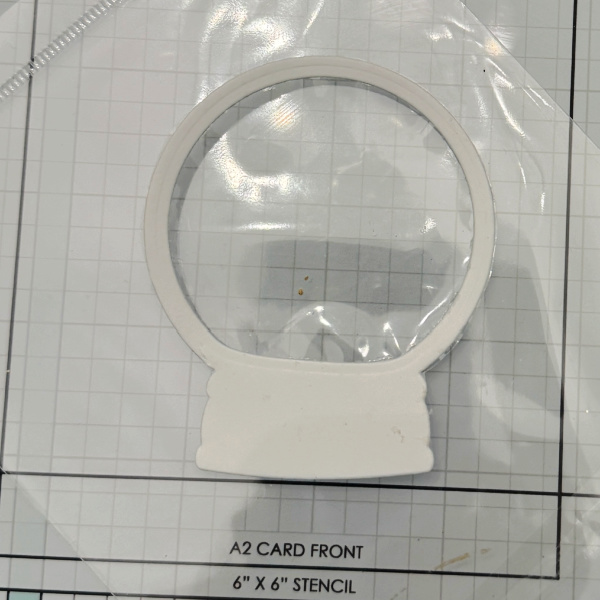
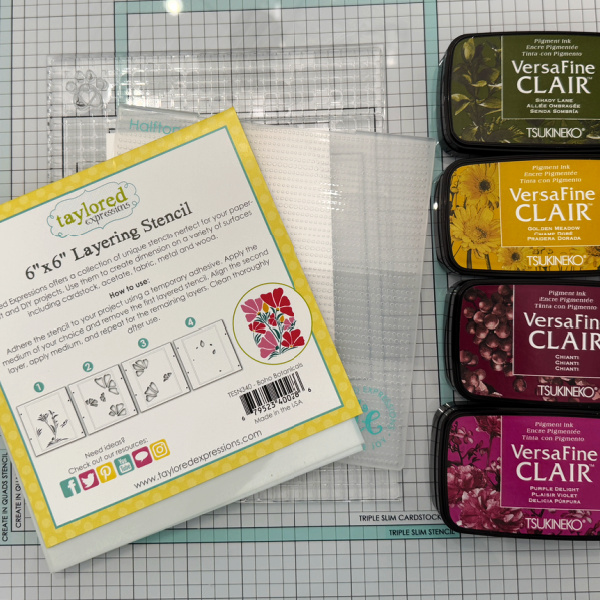
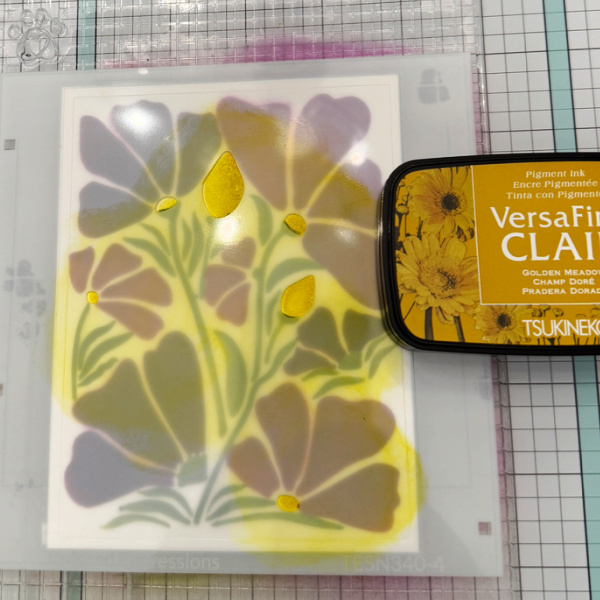
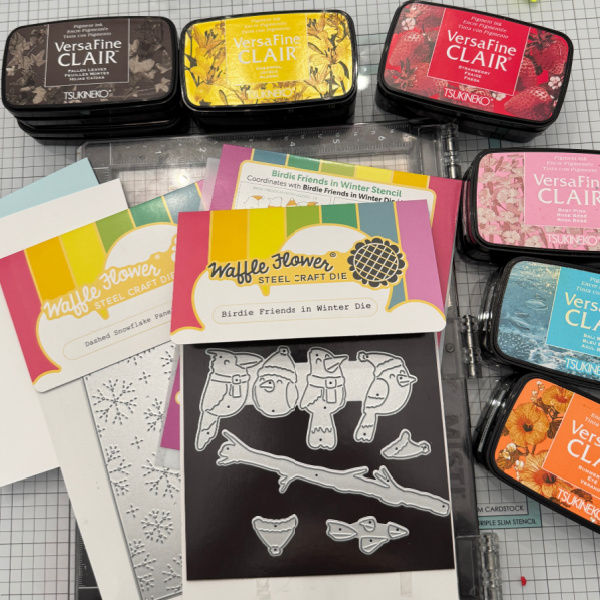
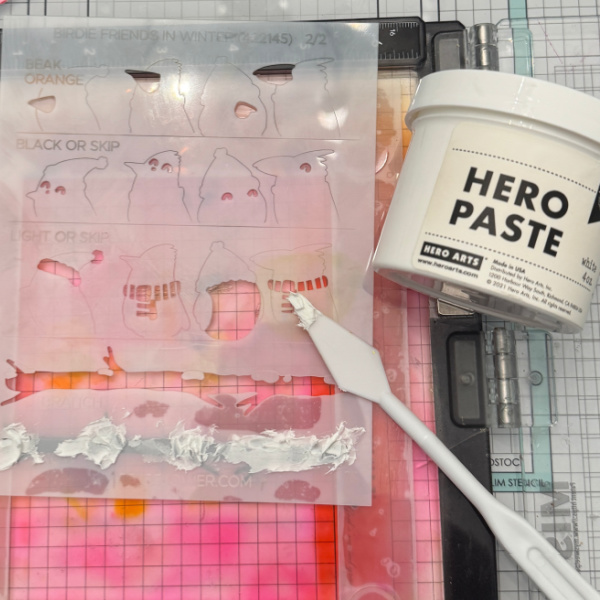
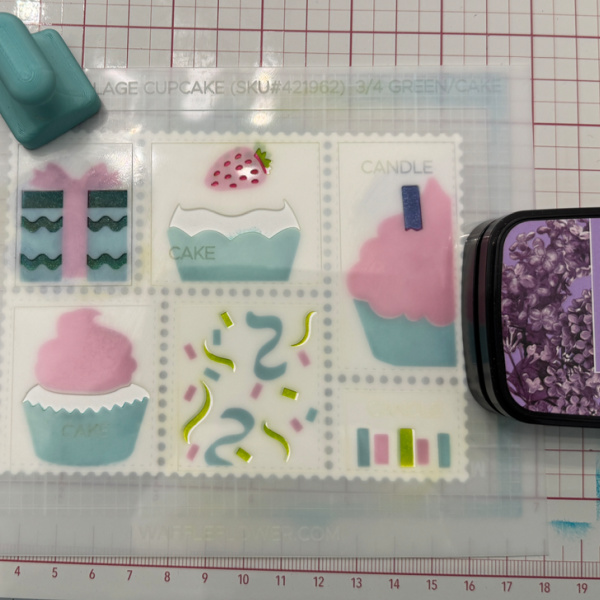
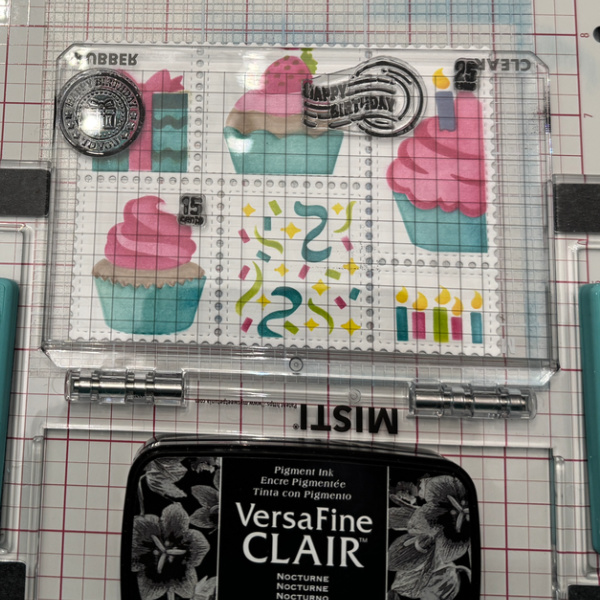
Gather your supplies. For this project you will need several colors of inks, postage stencils and a postage die.
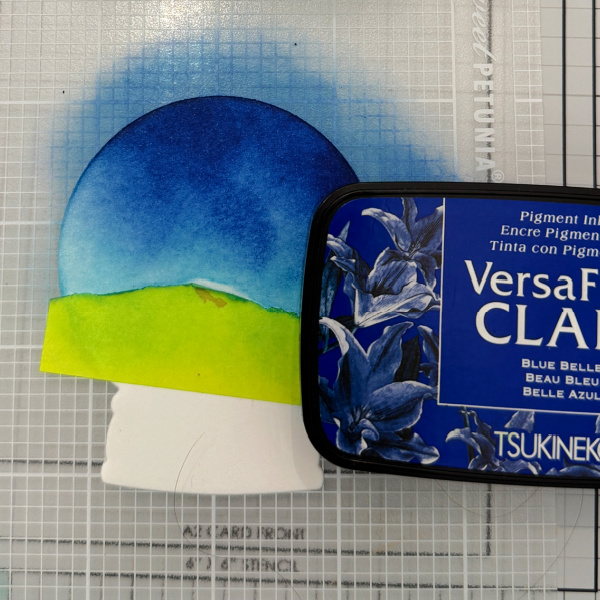
Step 1:
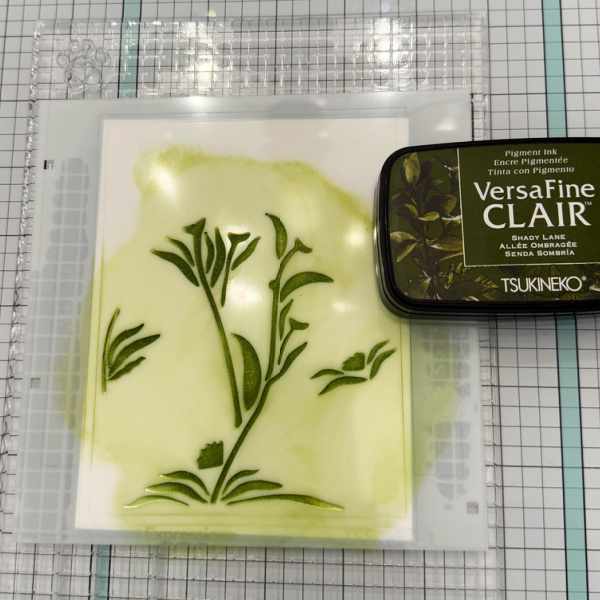
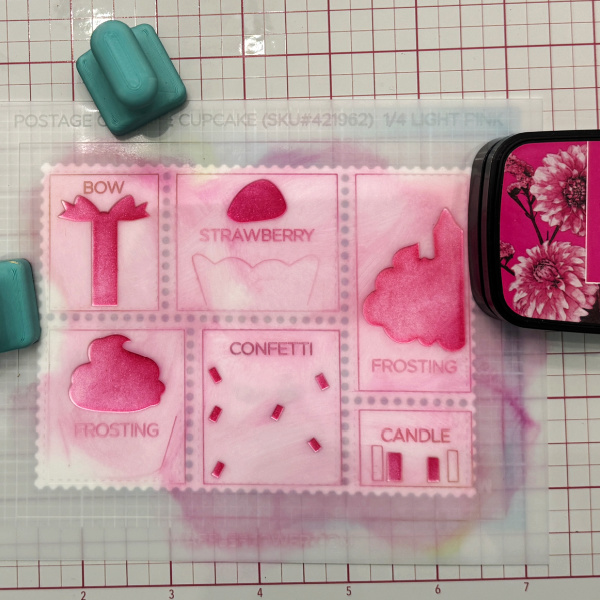
Using VersaFine Clair Charming Pink, ink the first layering stencil.
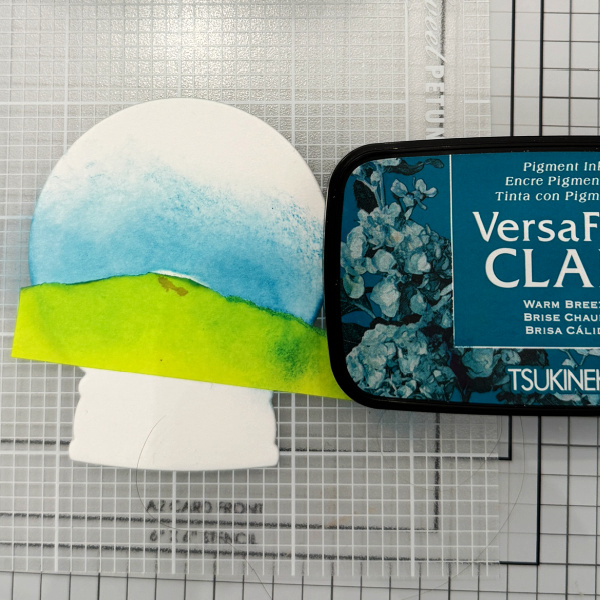
Step 2:
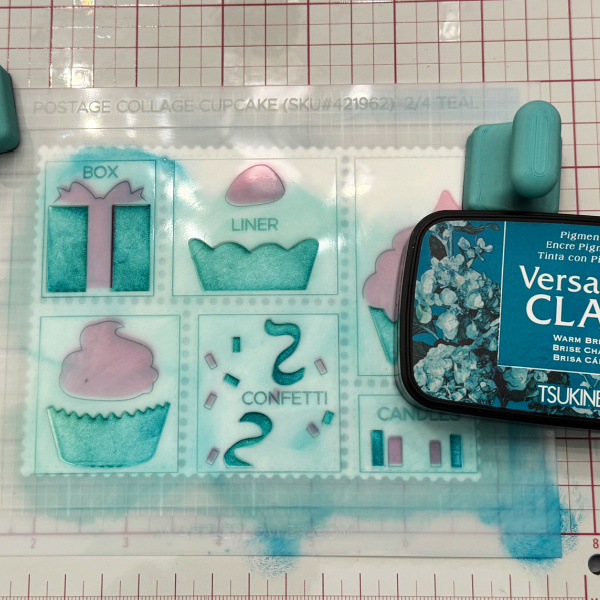
Using VersaFine Clair Warm Breeze, ink up the second layering stencil.
Step 3:
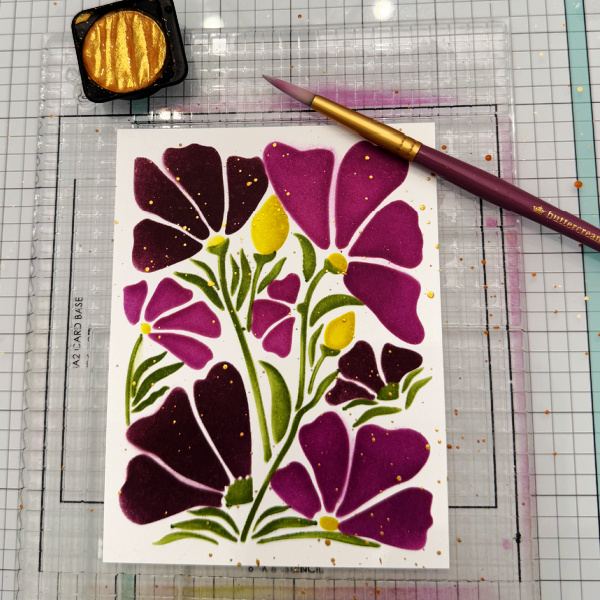
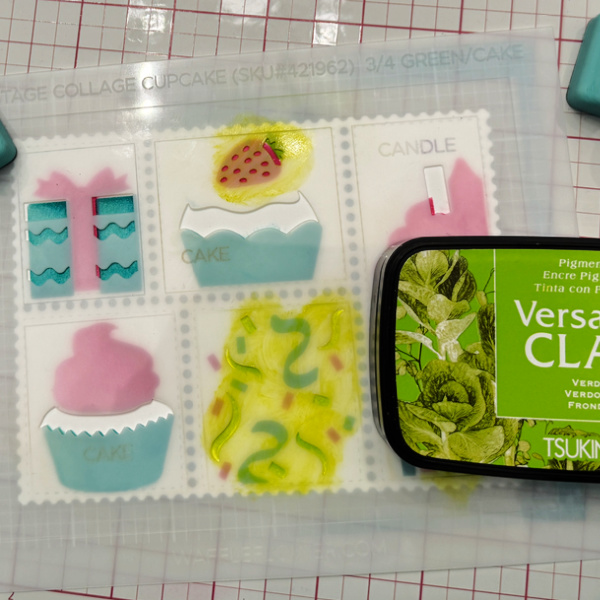
Using VersaFine Clair Verdant, ink the strawberry, the candles and the streamers.
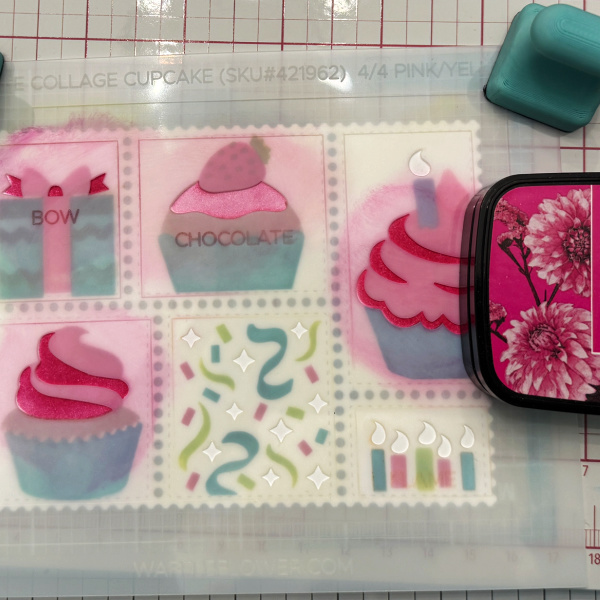
Step 4:
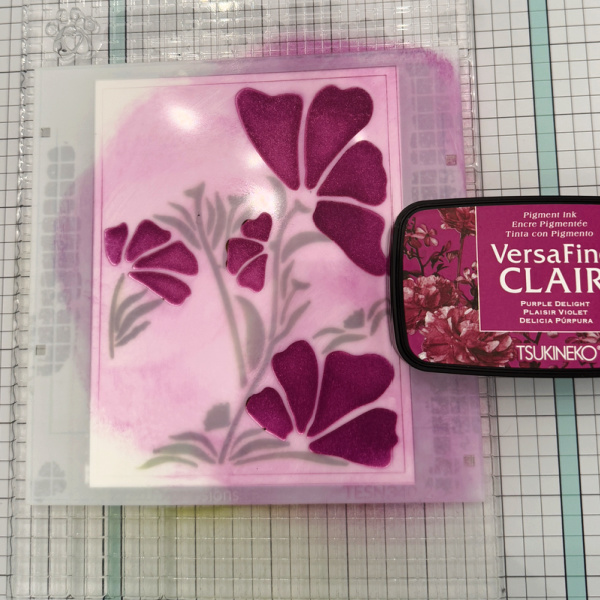
Using VersaFine Clair Lilac, ink the candle and over the present.
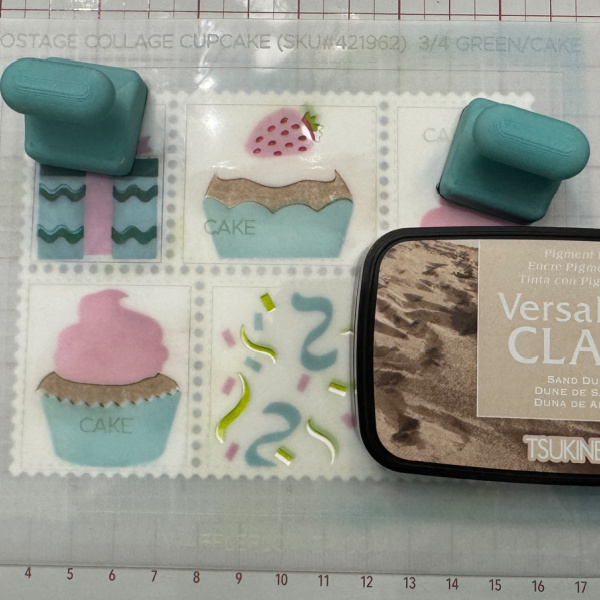
Step 5:
Using VersaFine Clair Sand Dune, ink the cake portion.
Step 6:
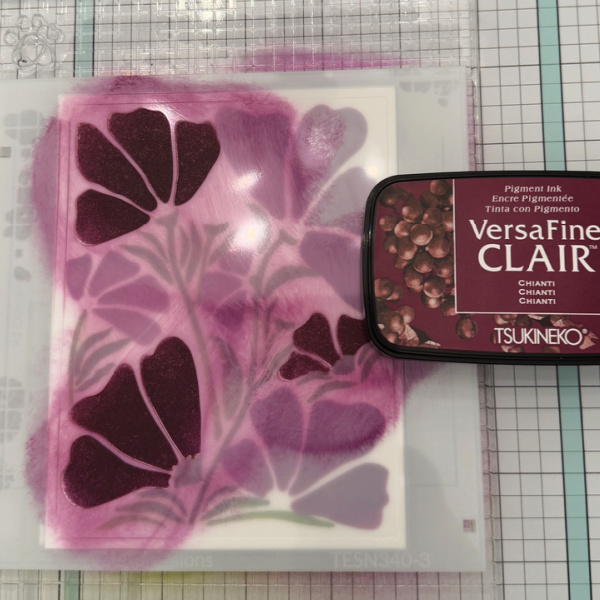
Using VersaFine Clair Charming Pink, ink over the cake frosting again with a heavy hand, the cupcake up top I inked with what ink was left on the brush.
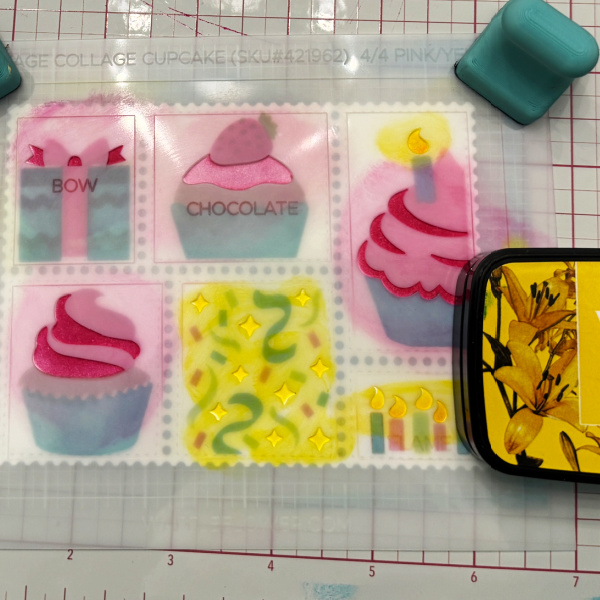
Step 7:
Using VersaFine Clair Cheerful, ink over the candle flames and streamers.
Step 8:
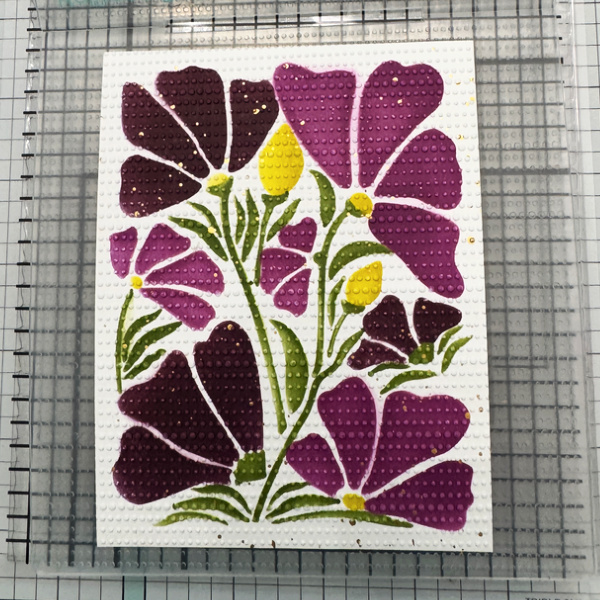
Stamp sentiment and postage with VersaFine Clair Nocturne.
Supplies:
Imagine Products
• VersaFine Clair
– Nocturne, Charming Pink, Cheerful, Verdant, Warm Breeze, Lilac and Sand Dune
Other Products
• Postage Die – Waffle Flower
• Birthday Postage Stencil- Waffle Flower
• Birthday Postage Stamp Set – Waffle Flower