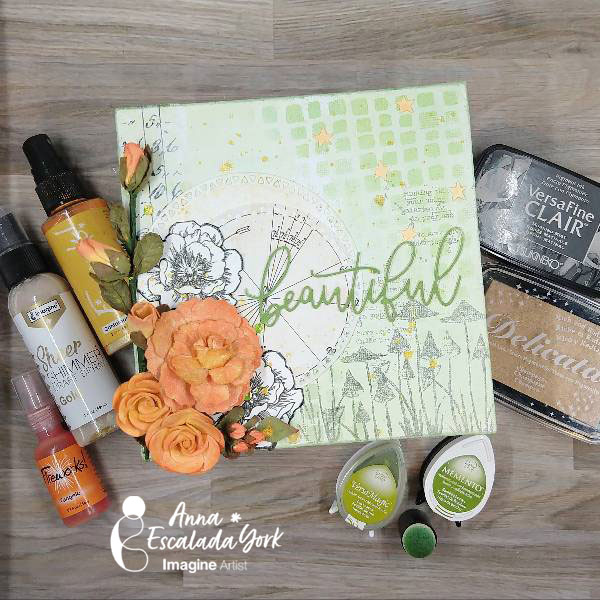
By Anna Escalada York
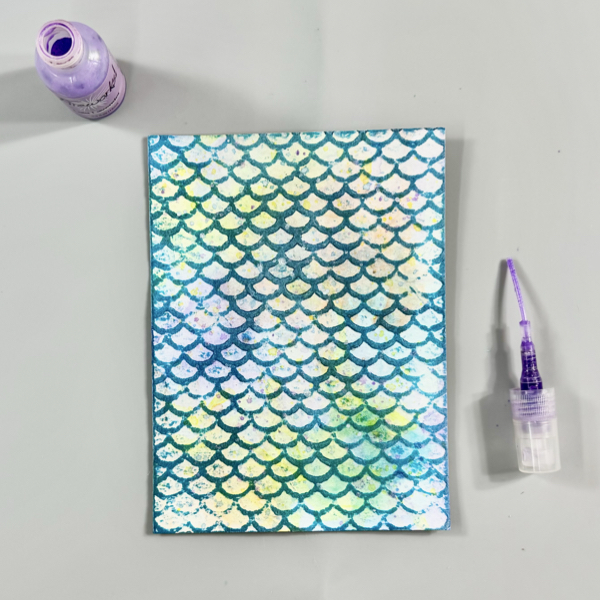
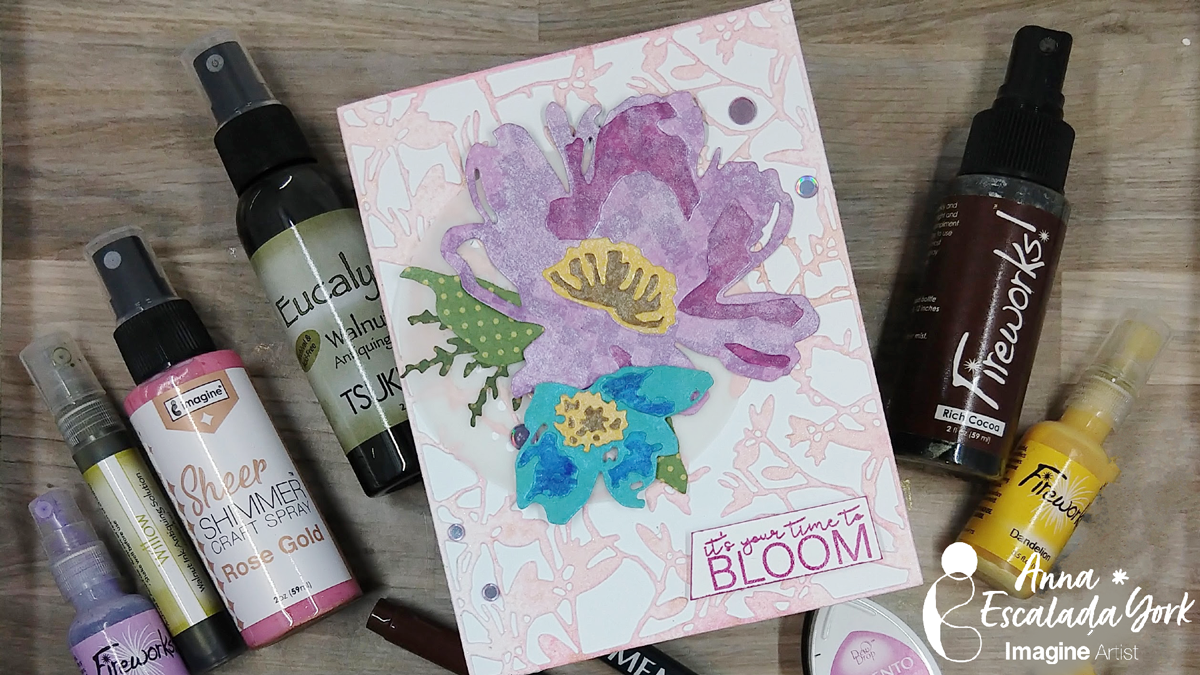
I don’t know about you, but I have so much patterned paper that I will probably never use it all. In an attempt to use at least some of it on a card, I turned to my Fireworks! Craft Sprays to enhance the paper to make a card celebrating the colors of spring.
Skill: Intermediate
Time: 1 hour (plus drying time)
Directions:
Step 1:
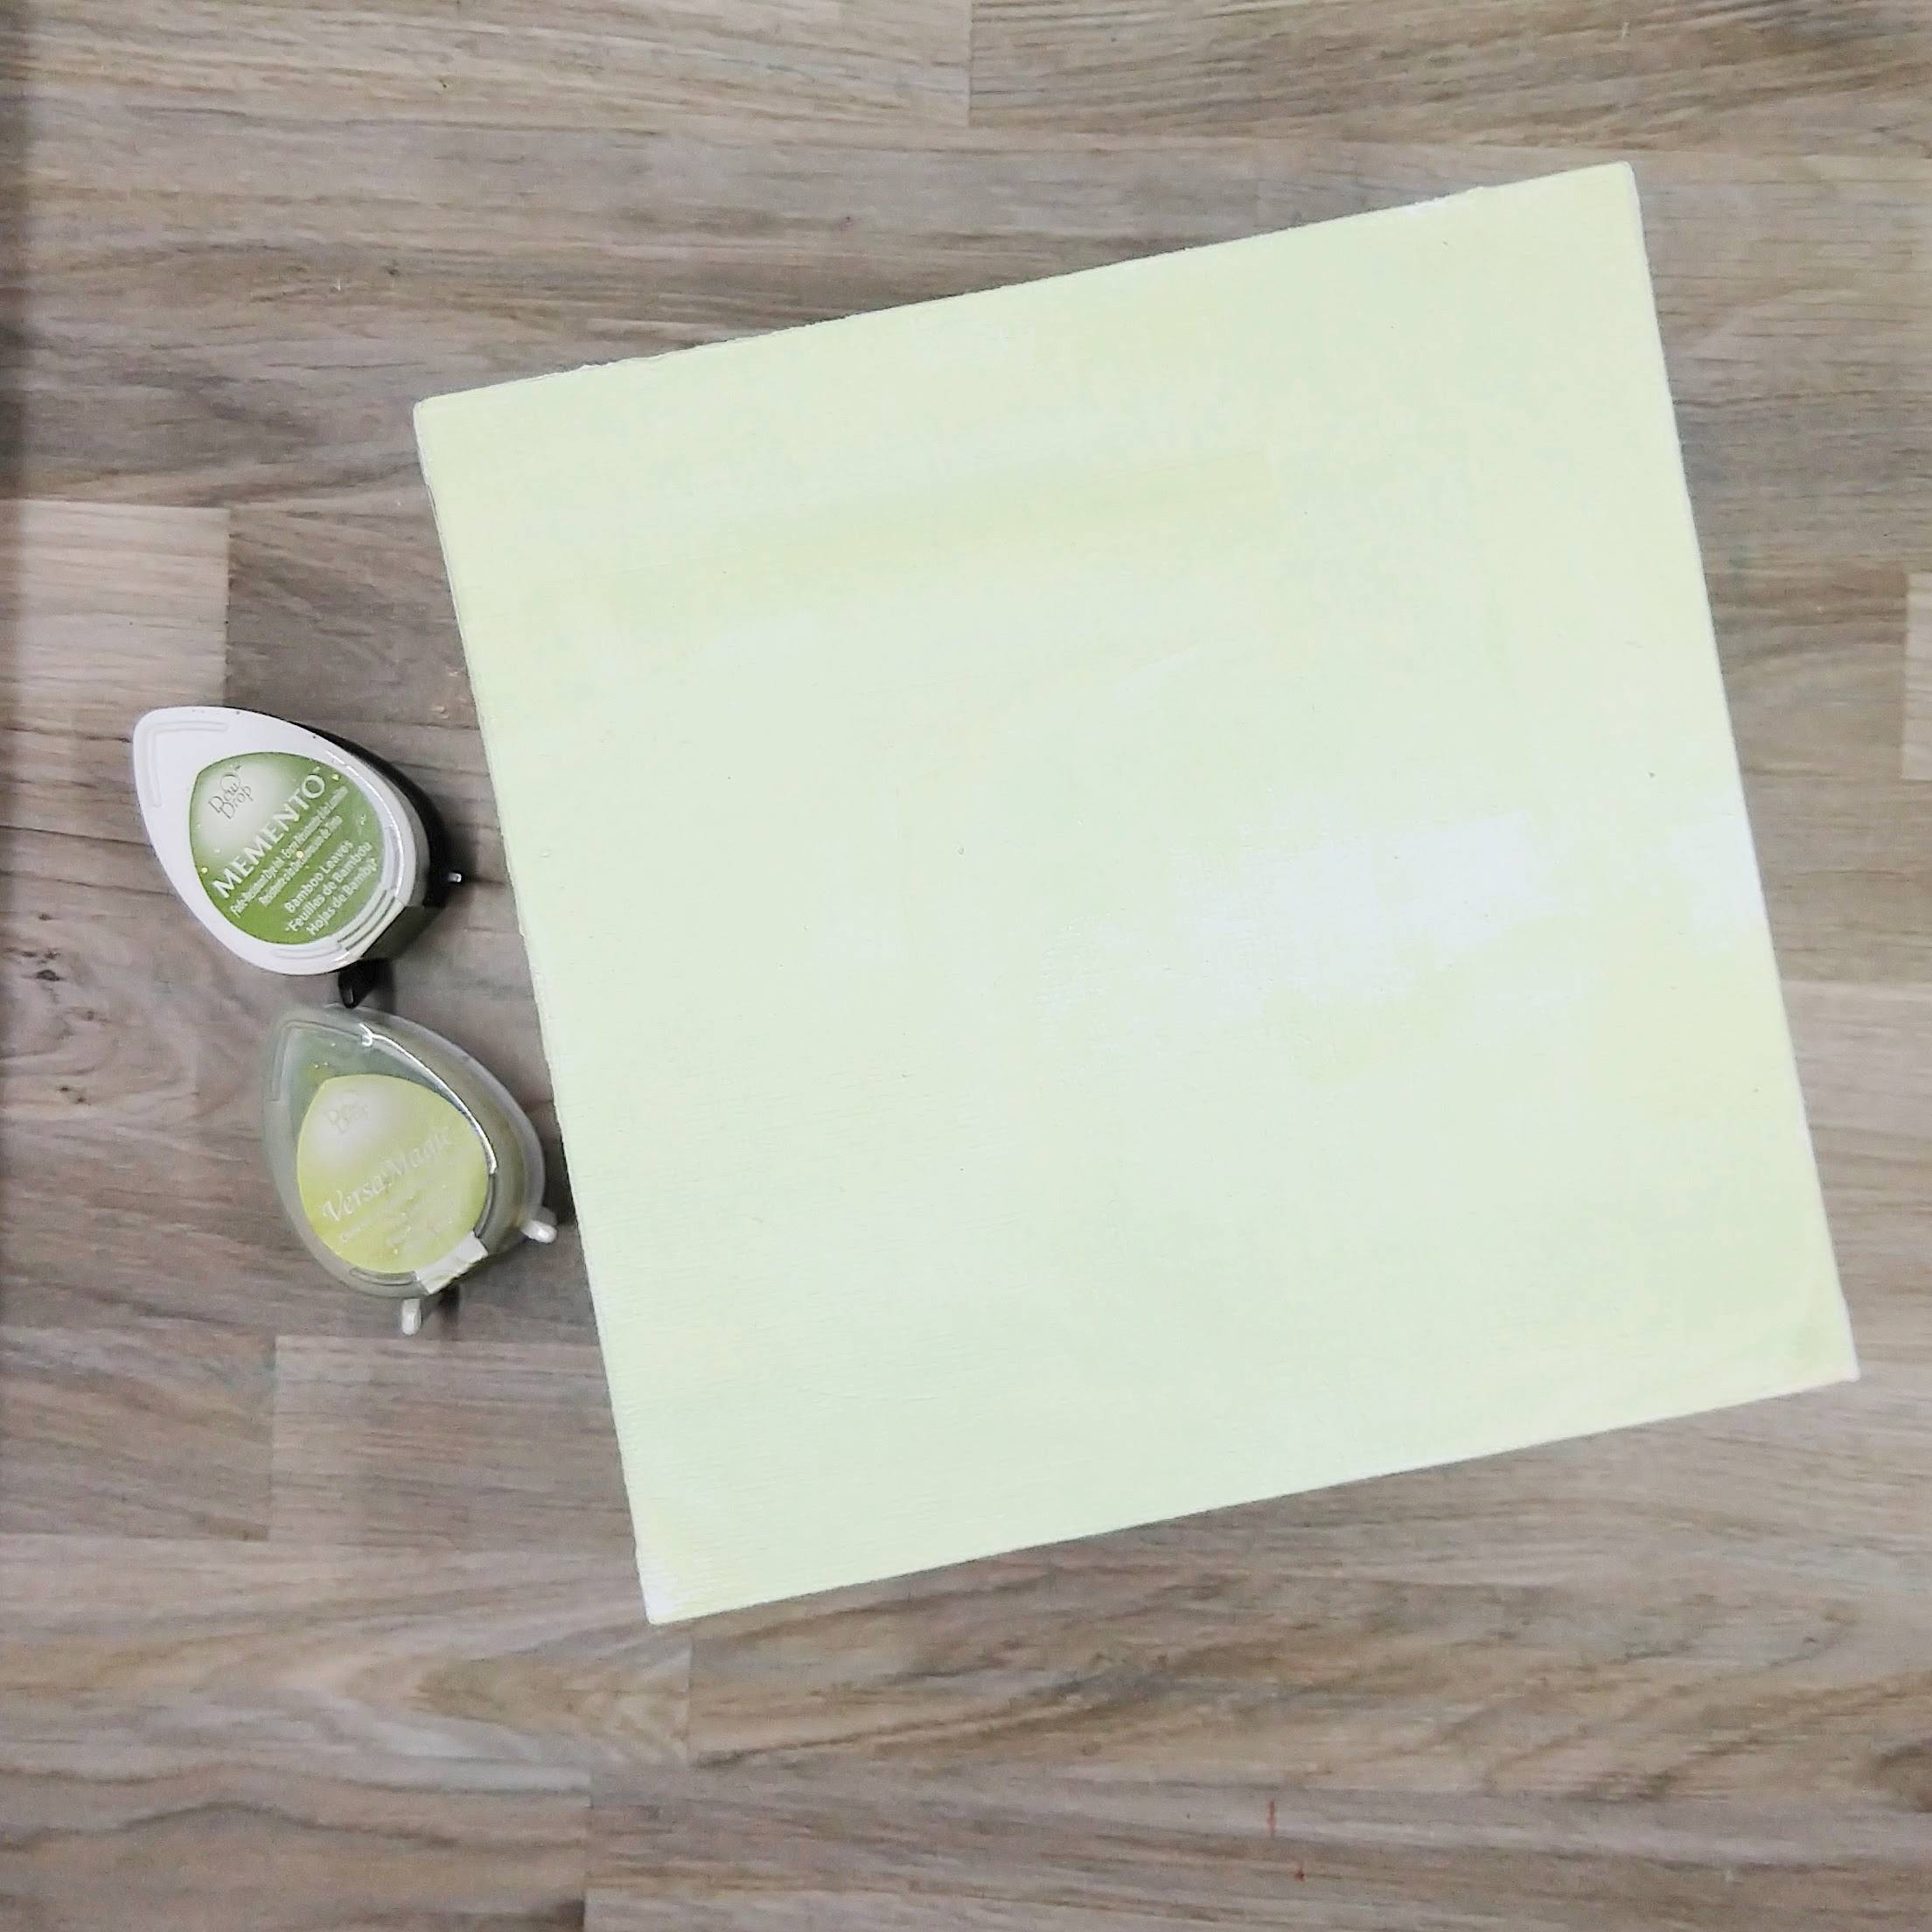
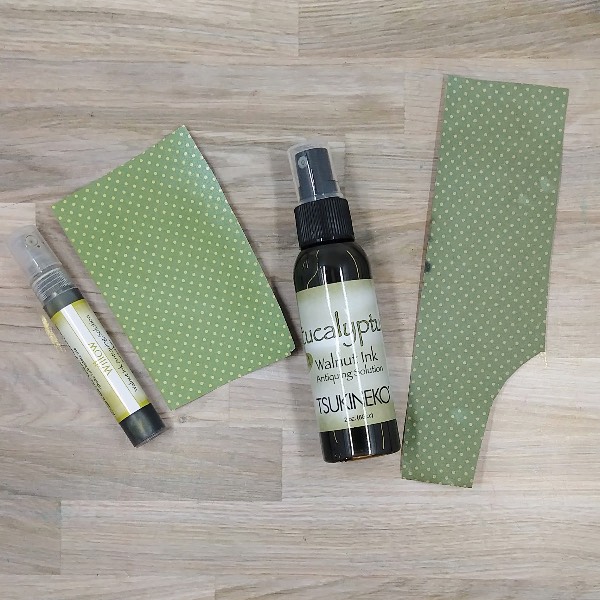
Cut a piece of aqua patterned paper into two parts. Spray Spray one piece Eucalyptus Walnut Ink Antiquing Solution and the other with Willow Walnut Ink Antiquing Solution. After the spray dries, die cut the Willow-sprayed paper with leaf dies and the Eucalyptus-sprayed paper with the branch die and set aside.

Step 2:
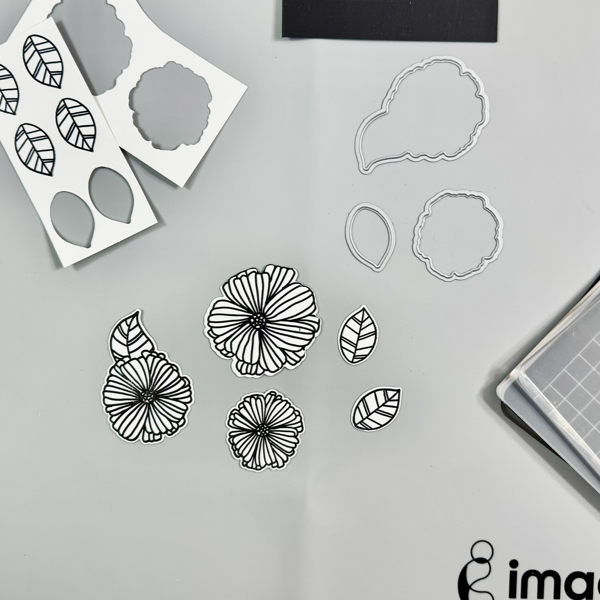
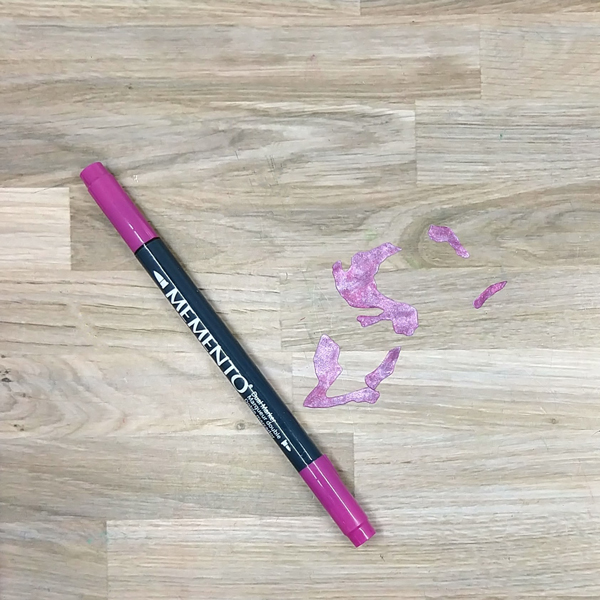
Spray a piece of purple patterned paper with Lulu Lavender Fireworks! Craft Spray. After the spray dries, die cut the paper with the larger flower in the die set.
Step 3:
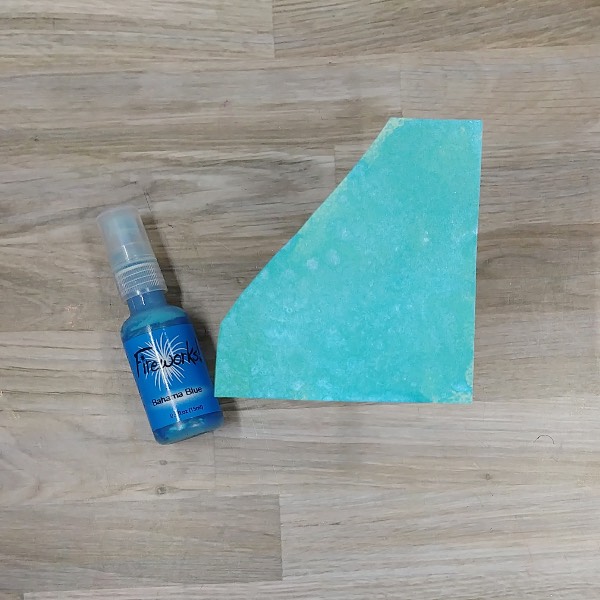
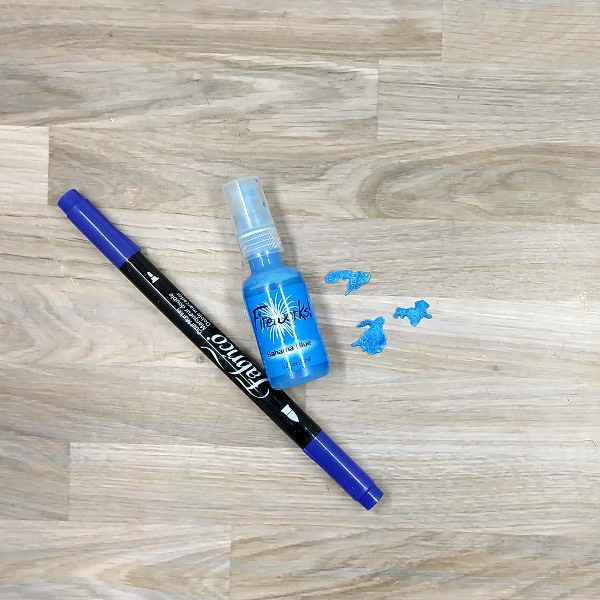
Spray a piece of blue patterned paper with Bahama Blue Fireworks! Craft Spray. After the spray dries, die cut the paper with the smaller flower die cut.
Step 4:
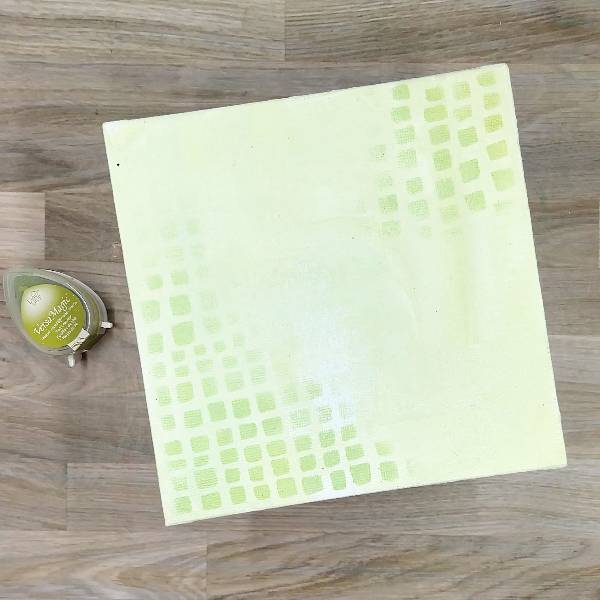
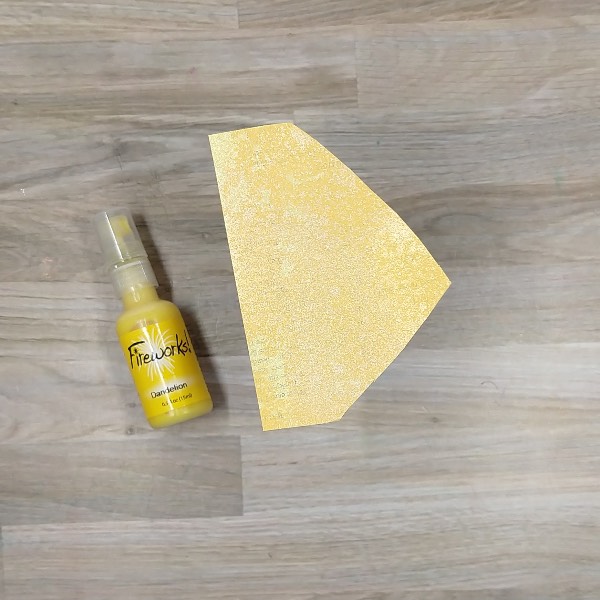
Spray a yellow piece of patterned paper with Dandelion Fireworks! Craft Spray. After the spray dries, die cut the paper with both of the flowers’ central areas.
Step 5:
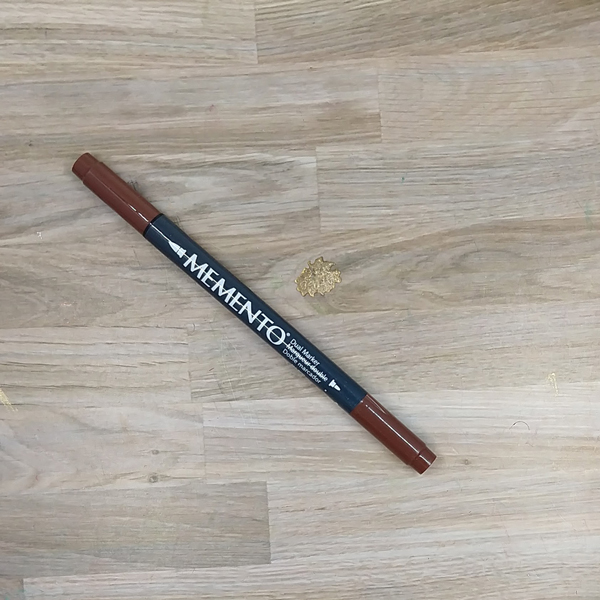
Color the base layer of the smaller (blue) flower’s center with a Rich Cocoa Memento Dual Marker. Then repeat the process for the larger flower’s center (not pictured). Once the marker dried, glue each of these central parts of the flowers to the rest of flowers’ centers. Then glue both of the centers onto their respective flower’s centers.
Step 6:
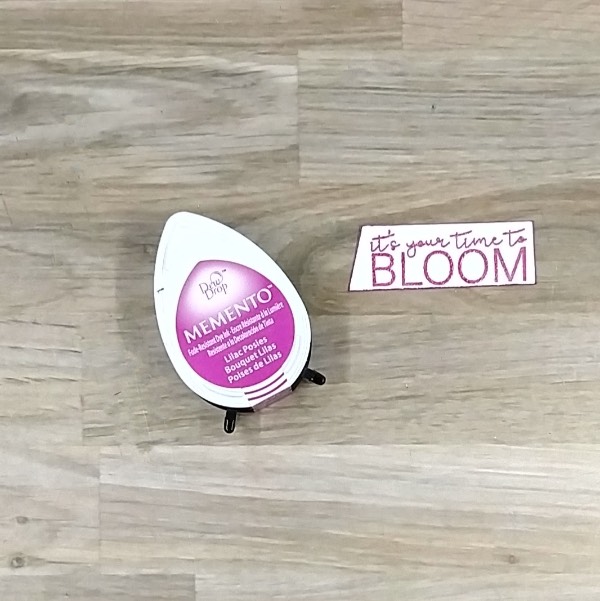
Color the upper layers of the purple flower with Lilac Posies Memento Dual Marker to make them darker and stand out from the rest of the flower. After the marker dried, glue the small paper layers onto the rest of the flower.
Step 7:
Color the small blue upper layers of the blue flower with Ultramarine Fabrico Dual Marker. Then spray them with more Bahama Blue Fireworks! Craft Spray. After the spray dries, glue these small blue die cut layers onto the rest of the blue flower.
Step 8:
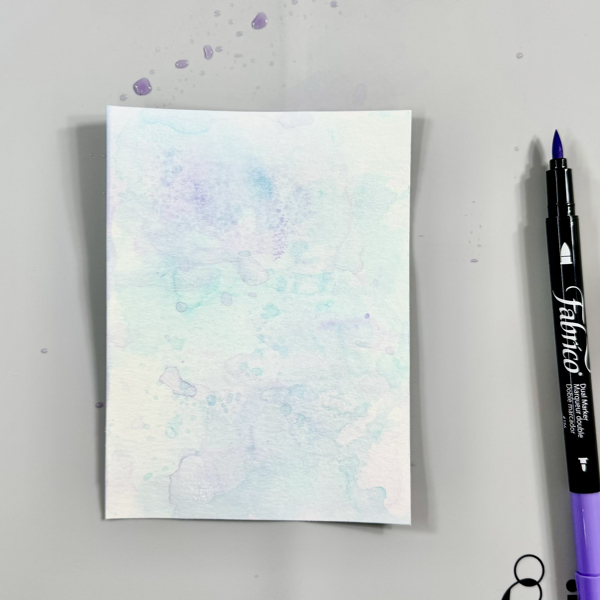
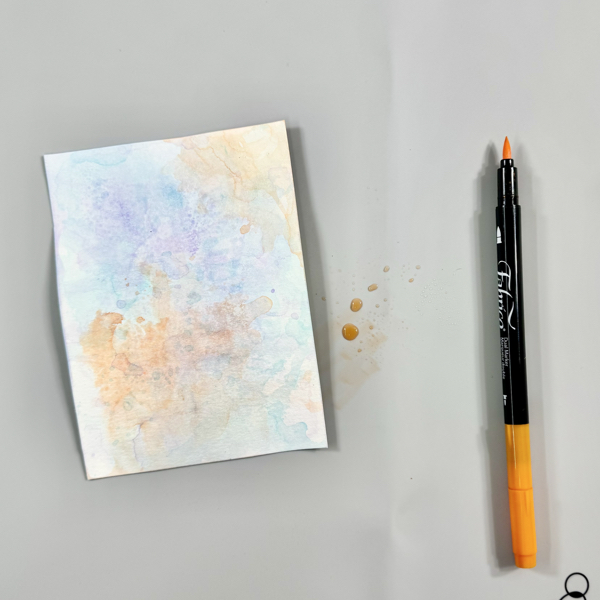
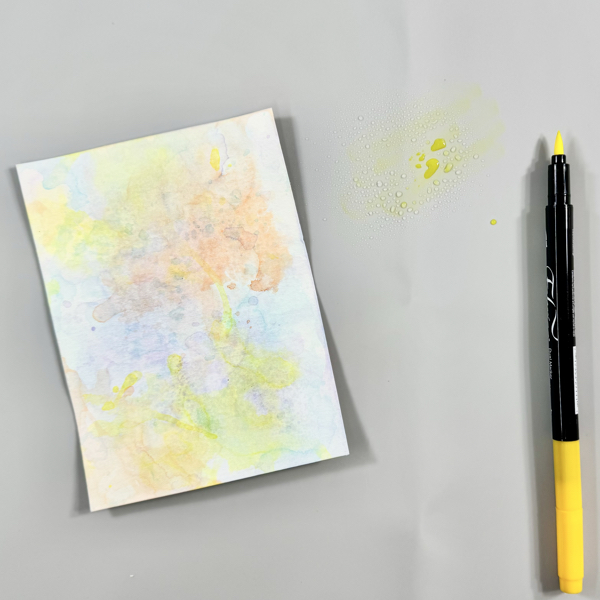
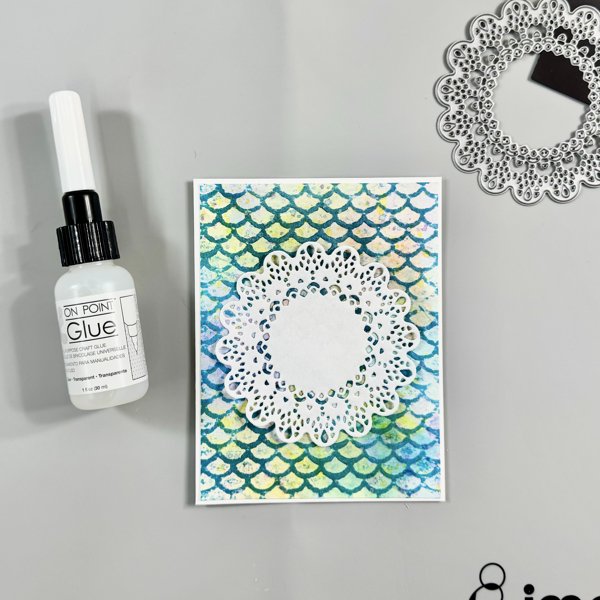
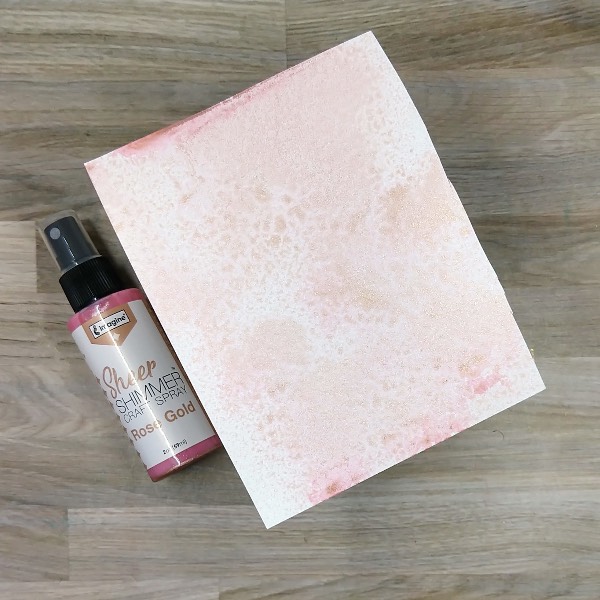
Spray a piece of watercolor paper with Rose Gold Sheer Shimmer Craft Spray and allow to dry. Then die cut the watercolor paper with an A2-sized panel die to create a background for the card.
Not pictured: Die cut a piece of vellum with a mid-sized circular die.
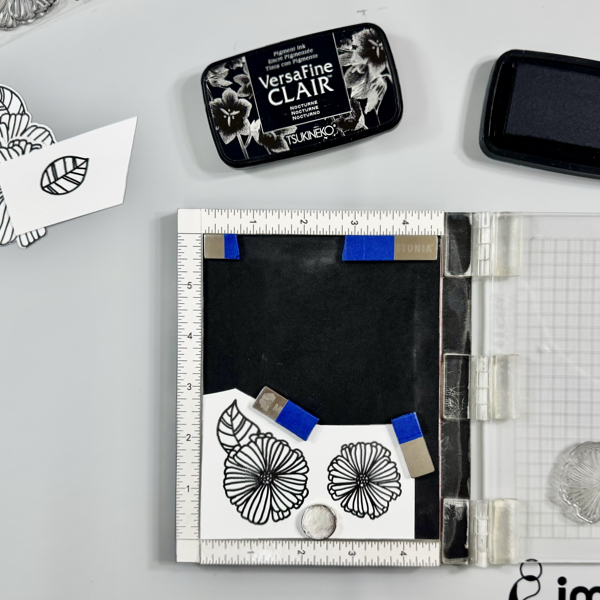
Step 9:
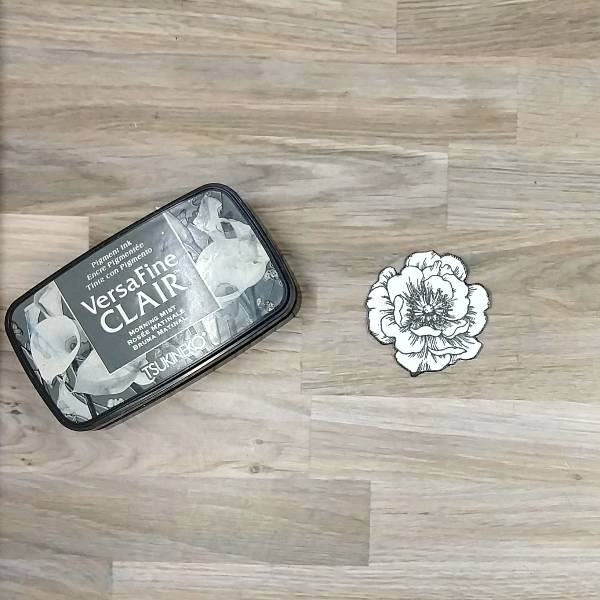
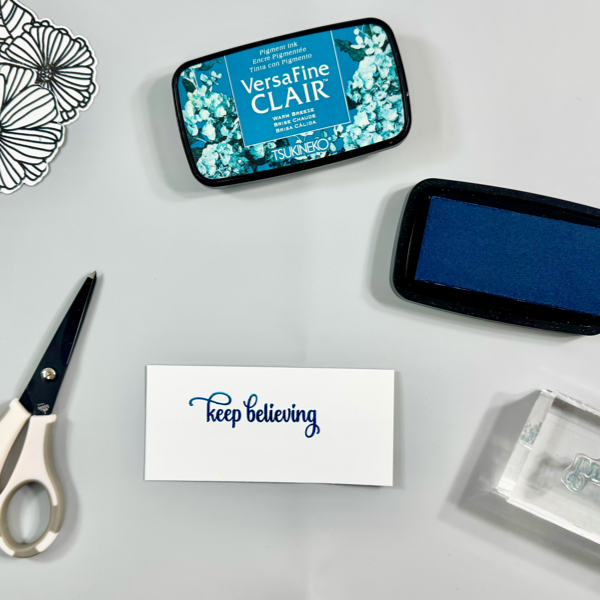
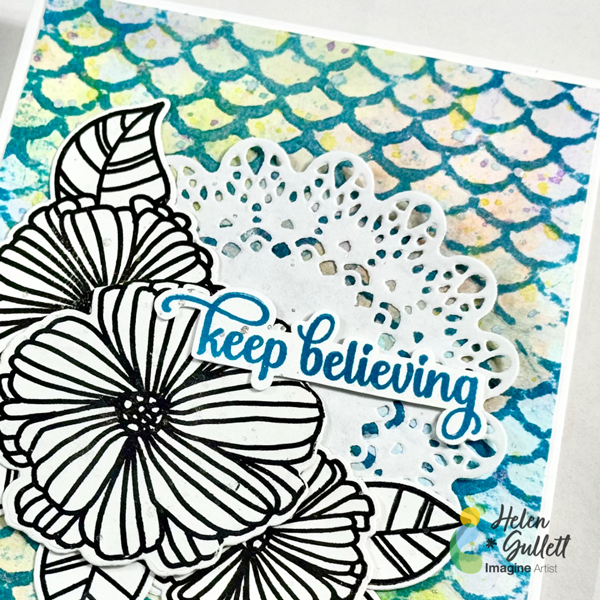
Stamp the sentiment onto a scrap of watercolor paper with Lilac Posies Memento ink and heat emboss with clear embossing powder. Trim the sentiment into a thin strip and press the edges into the ink pad to color the edges. Set aside.
Step 10:
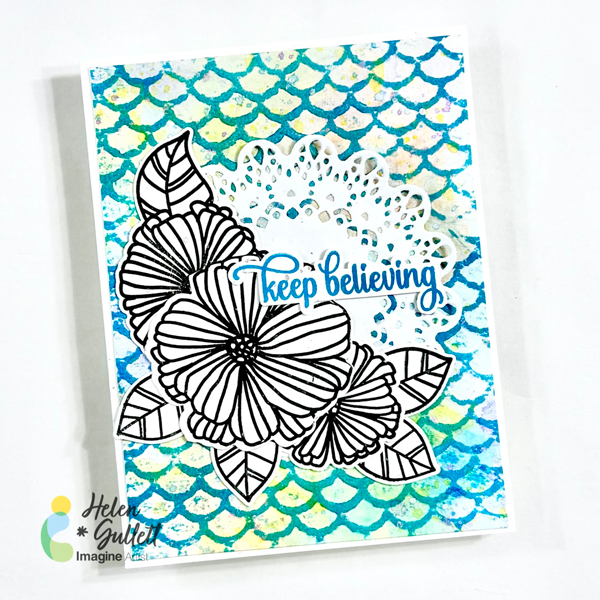
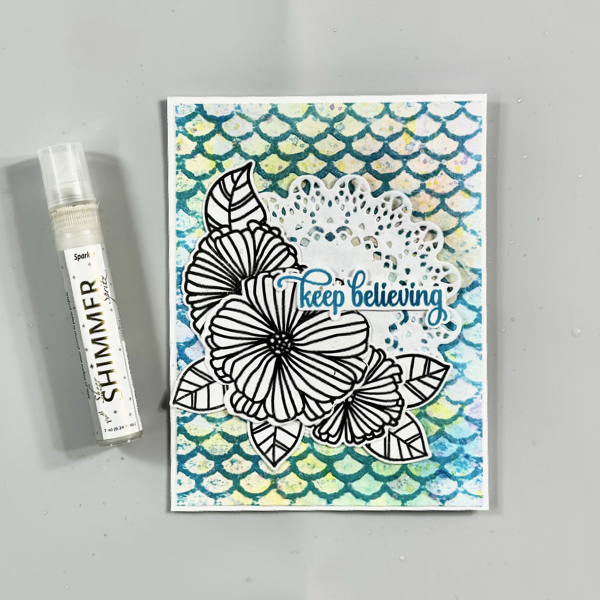
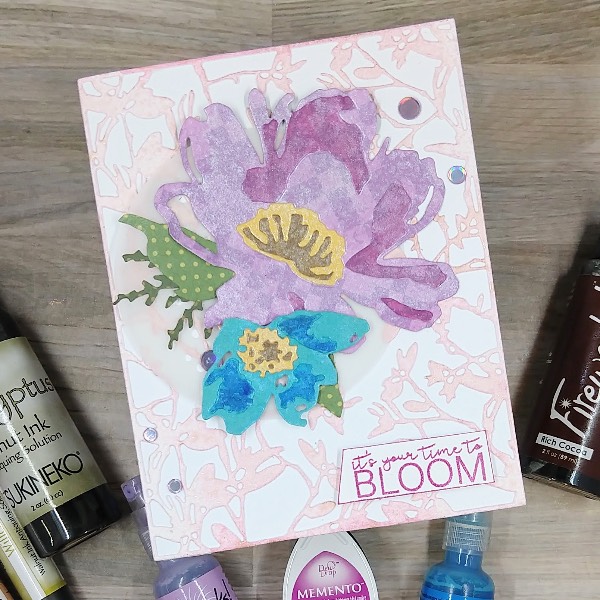
Assemble the card. Glue the Rose Gold floral background onto an A2-sized white card base. Then glue down the circular die cut piece of vellum followed by the leaves and branch die cuts. Add foam tape behind the large upper central petal and the lower left petal on the purple flower as well as the whole blue flower. Then add glue behind the rest of the purple flower to attach it to the card base. Then attach the blue flower on top of the purple flower. Glue purple sequins around the card base. Finally, attach the sentiment with more foam tape to finish the card.
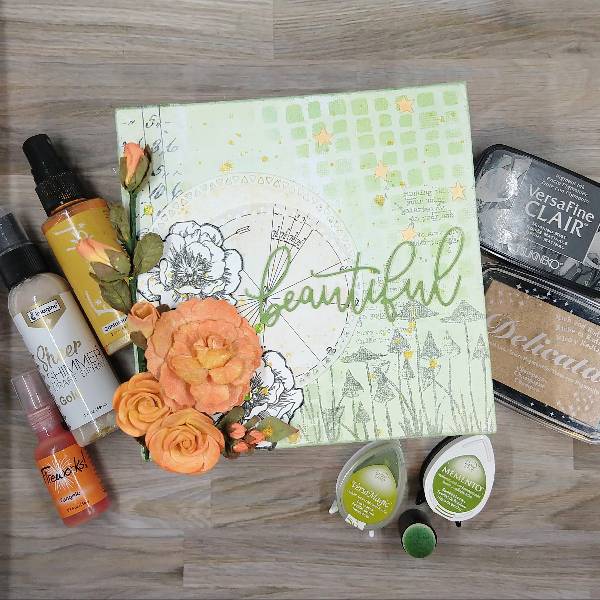
Art Supplies
Imagine
• Fabrico Dual Marker – Ultramarine
• Fireworks! Craft Spray: Bahama Blue, Dandelion and Lulu Lavender
• Memento Dual Marker – Lilac Posies and Rich Cocoa
• Memento Ink – Lilac Posies
• Sheer Shimmer Craft Spray – Rose Gold
• Walnut Ink Antiquing Solution – Eucalyptus and Willow
Other
• Altenew – foam tape -Instant Dimension Foam Tape
• Hero Arts – die set – Circle Infinity Dies
• Pink and Main – stamp set – Spring Sayings
• Simon Says Stamp – sequins – Lilac Embellishments
• Sizzix and Tim Holtz – die set- Brushstroke Flowers
• Sizzix and Tim Holtz – panel die – Leafy Twigs
• Clear Embossing Powder
• Heat tool
• Scissors Glue
• Watercolor paper
• Vellum