Hello crafty friends! It’s Ceal, here. Today I am sharing a fun technique using stencils. It’s called Double Stenciling or Double Trouble fitting for Halloween, right?
Skill Level: Beginner Time: 30 Minutes
Directions:
Gather your supplies. You will need two stencils, a Halloween stamp set and a word die cut. You will also need two or three inks. I used one of the newest VersaFine Clair colors along with two of the original ones. A sticky mat, tape or something to hold your stencil in place would be useful as well.
Step 1: Lay your panel on a sicky mat of tape it down to hold it in place. Lay your first stencil on top and ink it up with VersaFine Clair Monarch. (As you can see, I don’t usually clean my stencils)
Step 2: Remove the first stencil and replace it with the second stencil. Ink it up with VersaFine Clair Verdant.
Step 3: Remove the second stencil and go over the entire panel with VersaFine Clair Lilac Bloom one of our gorgeous new colors.
Afterwards cut the panel down to 5 x 3 3/4
This background reminds me of that old wallpaper you would see in a haunted house.
Step 4: Stamp, color and fussy cut out the image and word die.
Finish the card by adding the panel to an A2 sized card base and adding the elements placed where you would like them.
Other Supplies: Neenah Classic Crest Solar White 120lb CS – CutCardStock Neenah Classic Crest Solar White 80lb – CutCardStock Jack of All Faces Stamp Set – The Rabbit Hole Designs Boo Word Die – Lil Inker Stencils – A Colorful Life Designs Misti 2.0 – My Sweet Petunia Grip Mat – Waffle Flower
Greetings! Let’s get a little messy and make a spooktacular Halloween card with Fireworks! Sprays. I’ll be using them in 3 different ways on this card. Which way is your favorite?
Skill Level: Beginner-Intermediate Time to Complete: 20-30 Minutes
*Some affiliate links are used in this post. That means that if you shop through these links, I may receive a small compensation, at no cost to you.
The video is below. If it doesn’t play properly, please click HERE.
Making backgrounds like these can be so satisfying. Watching the colors swirl together, then seeing the shimmer after they’re dried….it’s a great way to spend some time, especially if you’re not feeling super crafty. What are some of the ways you would use Fireworks! Spray? Be sure to visit Imagine to see all the beautiful colors they come in. Thanks so much for stopping by. Have an inspiring day!
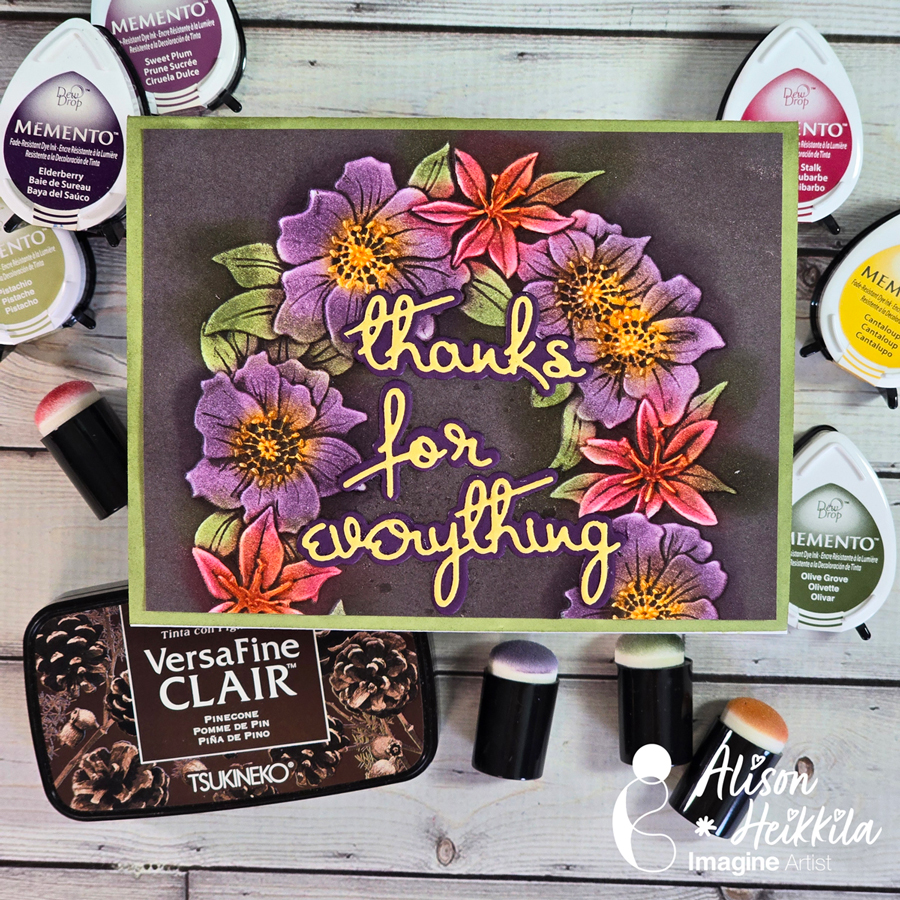
Hello! I’m Alison Heikkila. Embossing folders are so popular right now, not just because of the dimension they create so easily, but because of all the techniques you ca do with them. Today, we’ll be doing a Blackout technique with Memento and VersaFine Clair Inks for Imagine, which is so much fun to do.
*Some affiliate links are used in this post. That means that if you shop through these links, I may receive a small compensation, at no cost to you. For more information, please see my Affiliates page, where I also have some coupon codes.
Skill Level: Intermediate Time to Complete: 20-30 minutes
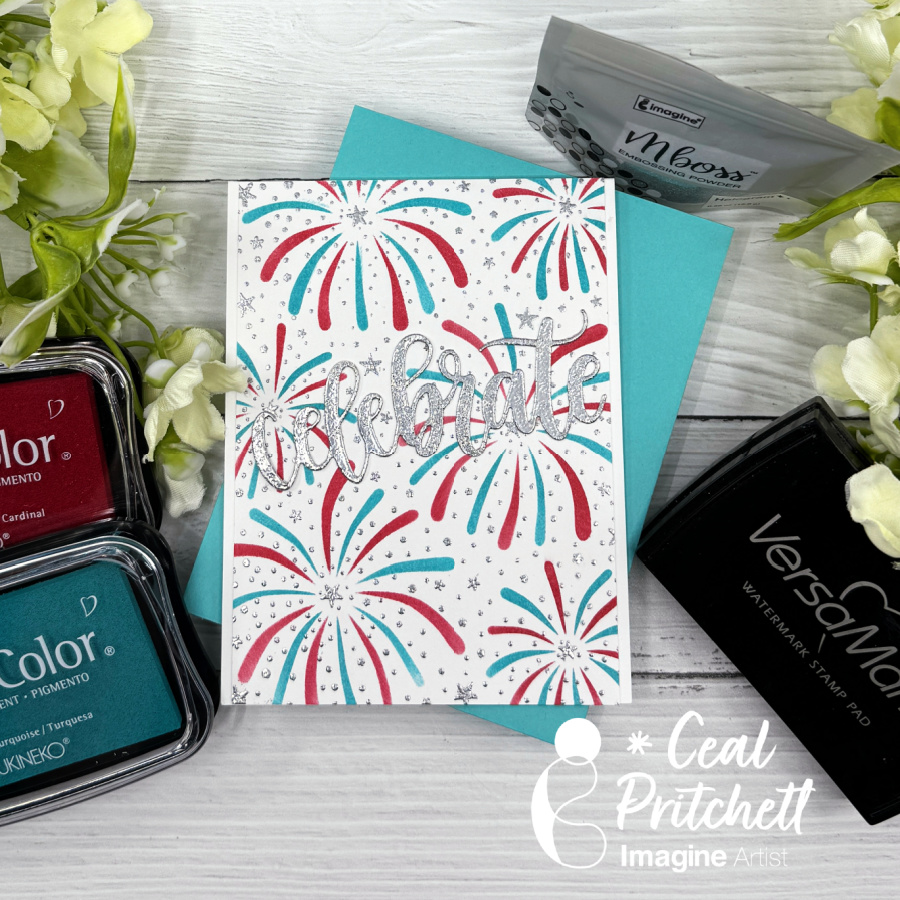
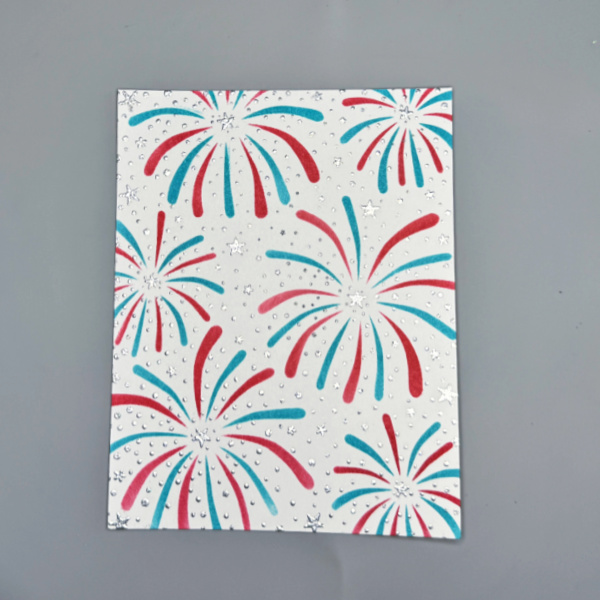
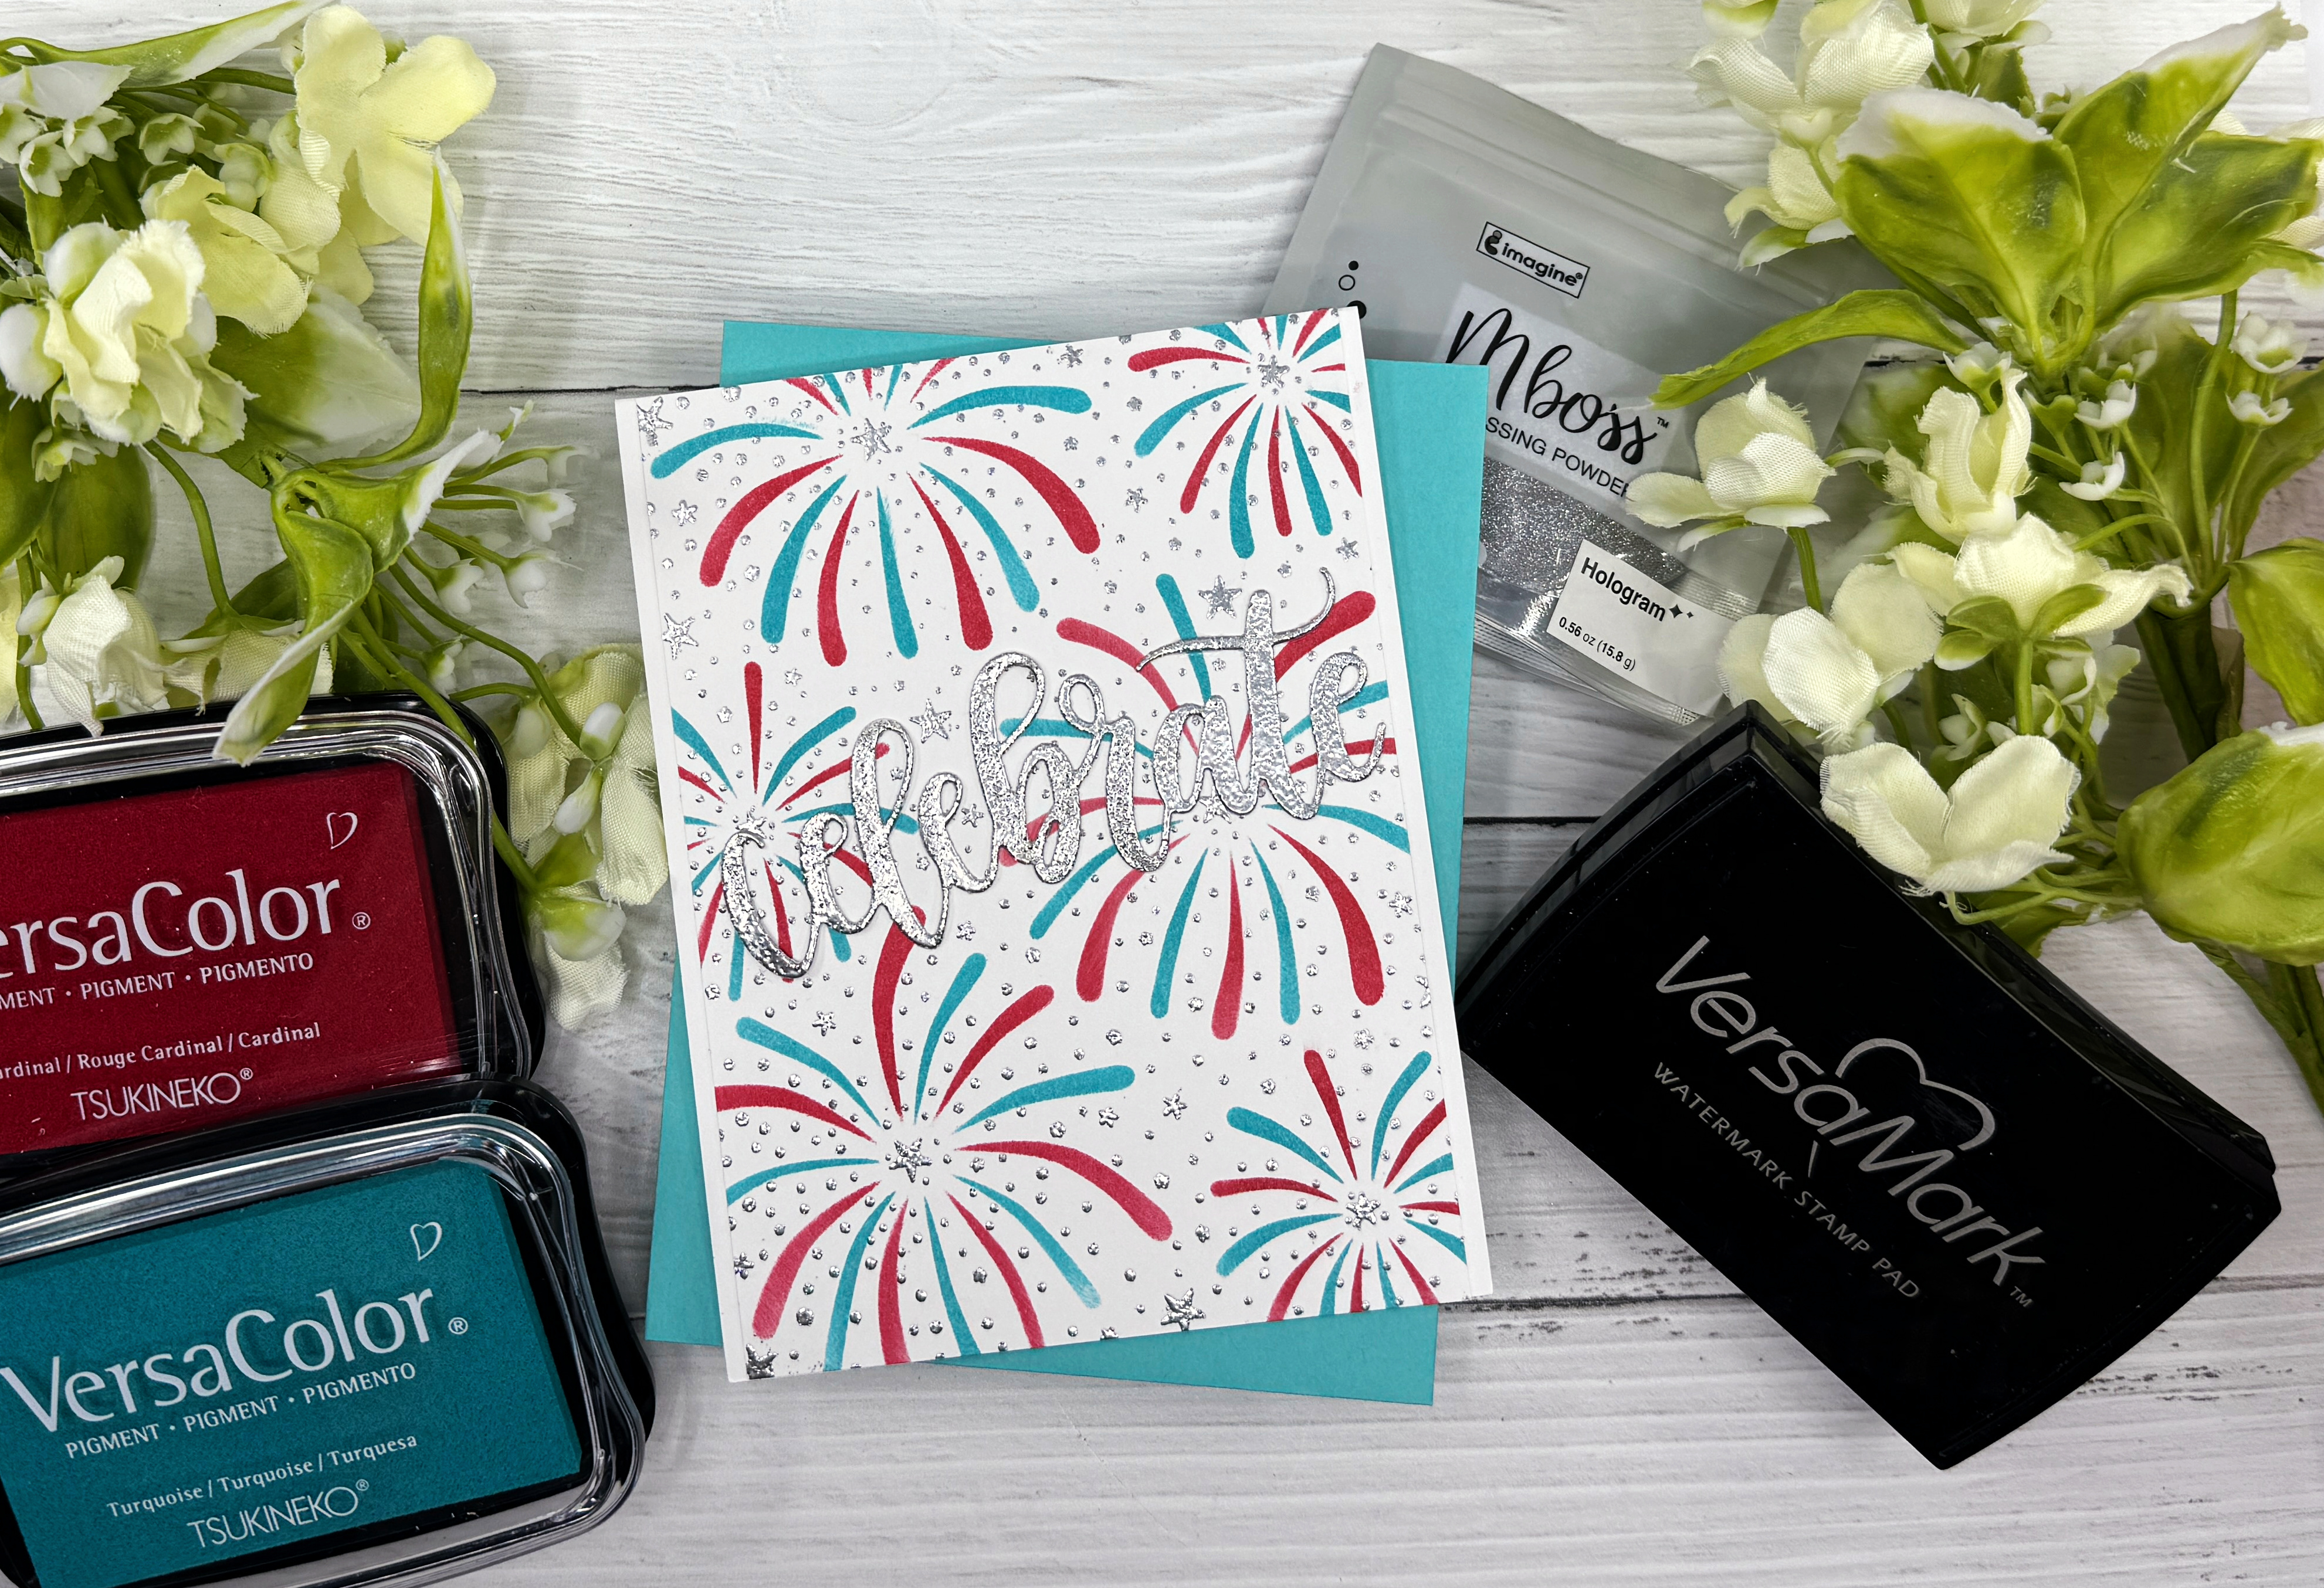
Hello crafty friends! It’s Ceal here. Each year I have my family over to celebrate July 4th and I send out invitations, this is the invitation for this year, and I am sharing how I made it.
Skill: Intermediate Time: 30 to 45 minutes
Directions:
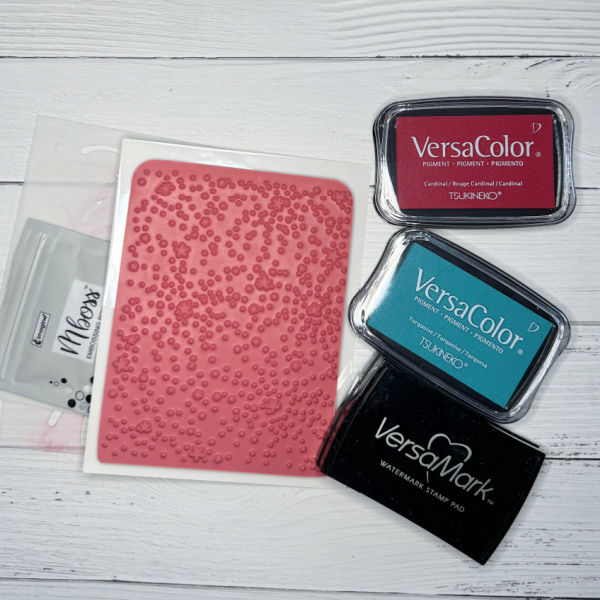
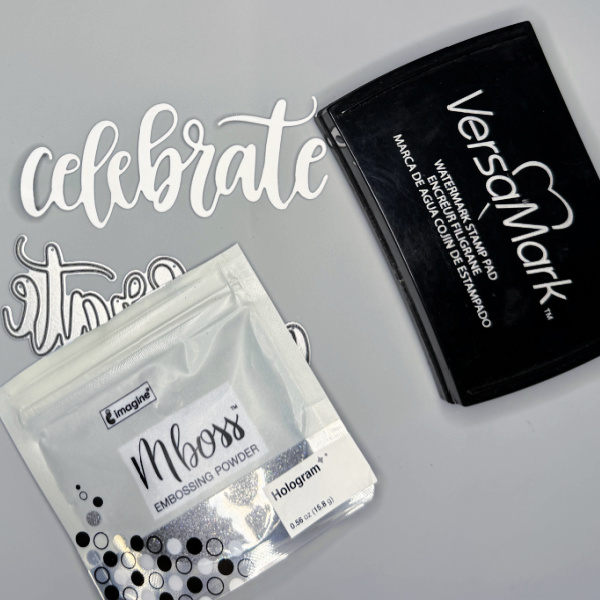
You will need to gather the following supplies. Red and blue ink, stamp/stencil set, celebrate word die cut, VersaMark ink Hologram MBoss embossing powder.
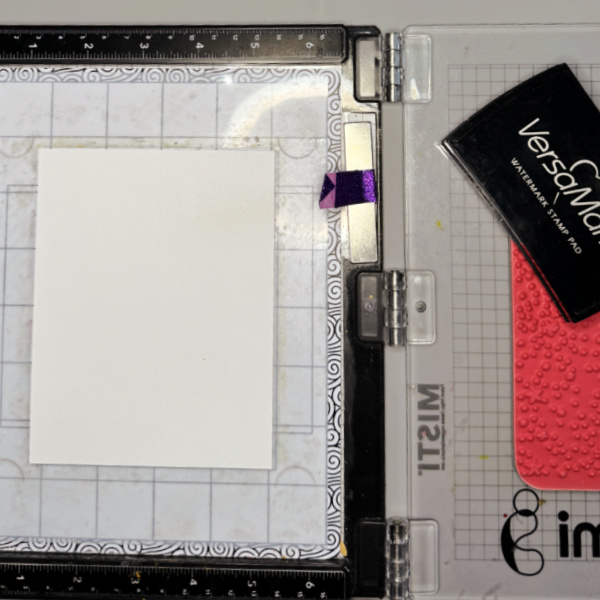
Step 1: Prepare the paper by using a anti-static tool, then ink up the background stamp (fireworks background used here)with VersaMark ink and stamp on panel.
Step 2: Cover the panel with Hologram Mboss embossing powder and melt with heat tool.
Step 3: Using a large dauber along with the stencil color the layers in red and blue, I used red for layer 1 and blue for layer 2.
Step 4: Cut out the word celebrate, cover with VersaMark ink using the pad directly to the word, or a sponge dauber.
Step 5: Cover the celebrate die with Mboss Hologram embossing powder and melt with heat gun.
Other supplies: Neenah Solar White 80lb and 120lb Fireworks background Stamp/Stencil Combo – Taylored Expressions Celebrate Word Die –My Favorite Things
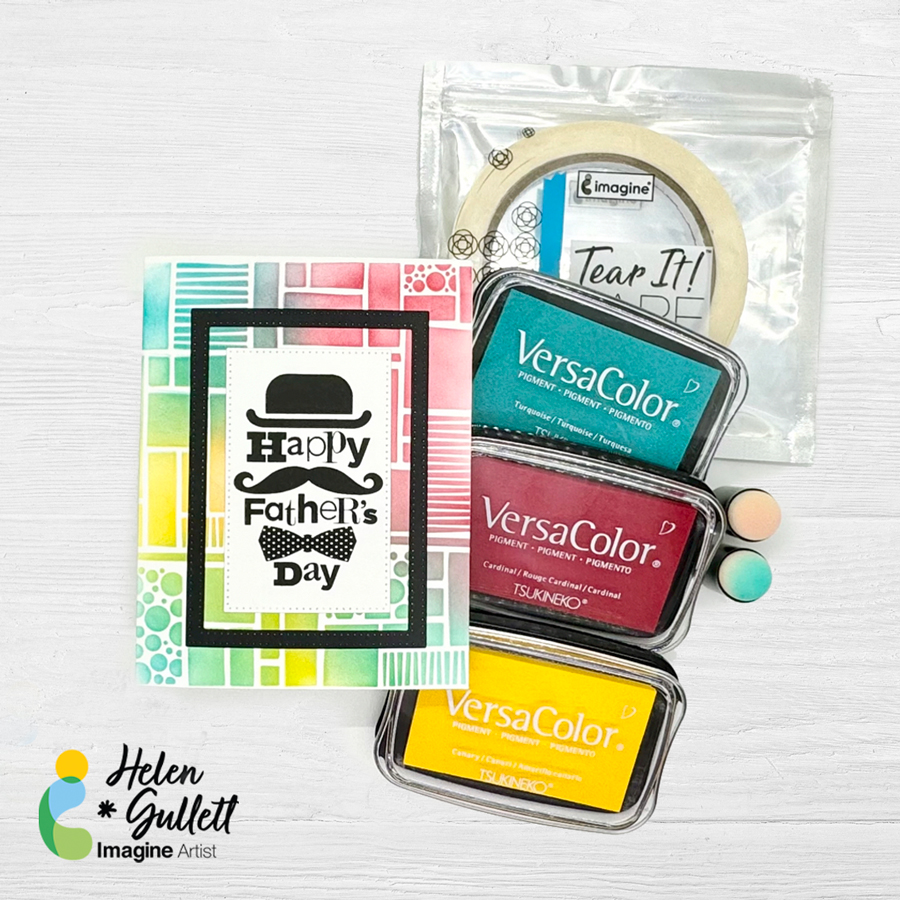
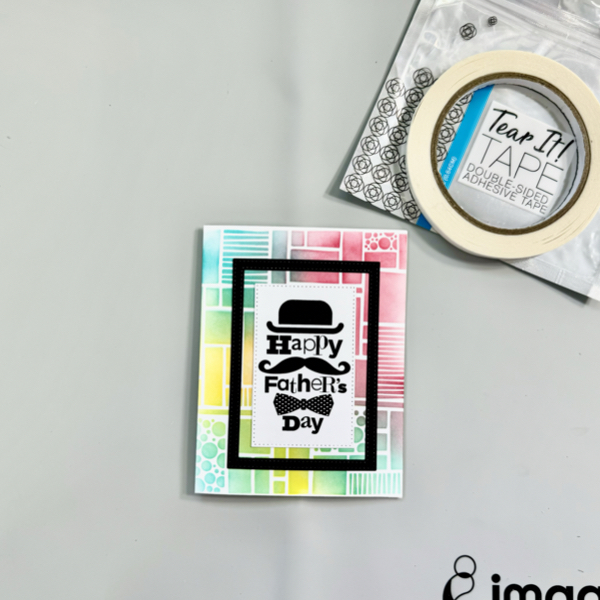
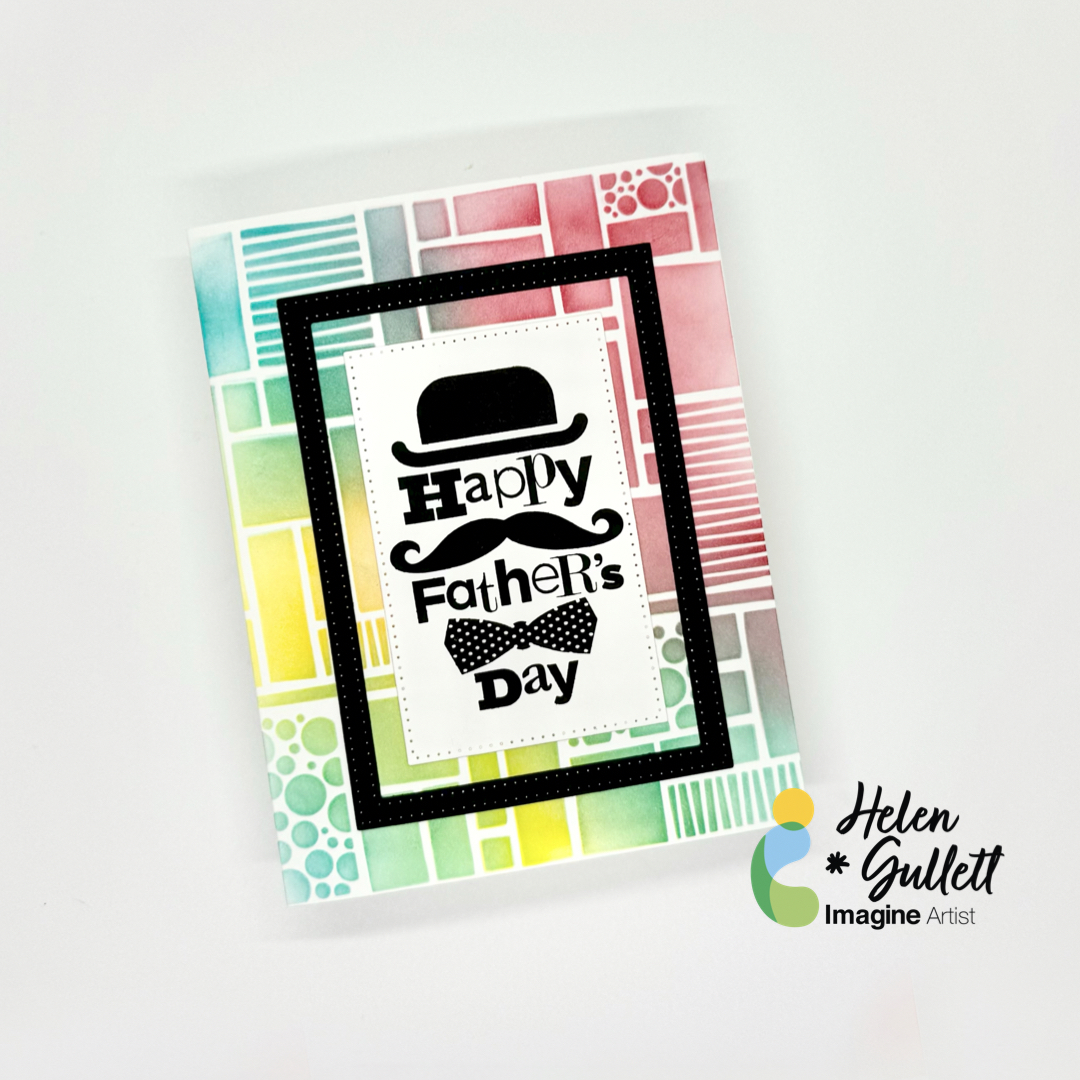
Hello crafty friends! This time, I want to share an idea with you for Father’s Day. This card has a fun colorful stenciled background. It is also not too hard to make.
Skill: Intermediate Time: 30 minutes
Directions:
Step 1
Make an A2 size card out of heavy-weight white cardstock. One piece of 11 inch x 8.5 inch cardstock can make 2 cards.
On the front card, tape the stencil with washi tapes to secure it in place while you add colors with some sponge daubers.
Add the VersaColor ink one by one using a different sponge dauber for each color you use. Make sure the colors you pick can blend well.
When you are done adding colors, remove the stencil, set aside the stenciled card to dry.
Step 2
On a piece of white cardstock, stamp the image with VersaFine Clair Nocturne ink pad using a stamping tool.
Use a craft heat gun to dry the ink quickly.
Step 3
Next step, cut the sentiment with a rectangle die.
I also cut out a piece of black cardstock using 2 different rectangle dies to create a frame. This step is an option, if you want to add more layers to the card.
Step 4
Add the sentiment panel at the center of the stenciled card with Tear It! Tape, and add the black frame to the card with the same adhesive.
Step 5
On the inside card, stamp the sentiment with the VersaFine Clair Nocturne ink pad.
Use a craft heat gun to dry the ink after stamping.
This card looks like it has a couple layers of die cuts but still flat enough to send it out on regular mail without extra cost.
I hope you will give it a try to make this fun colorful card for Father’s Day! Thanks so much for stopping by our blog today. Have a wonderful day!
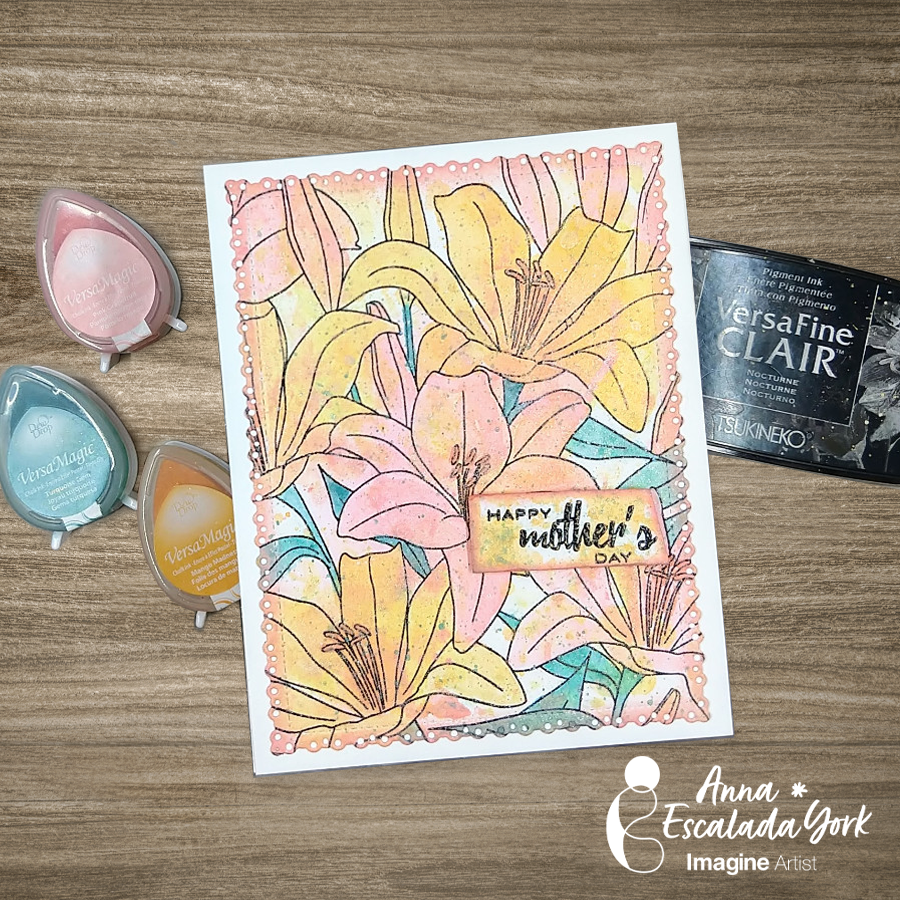
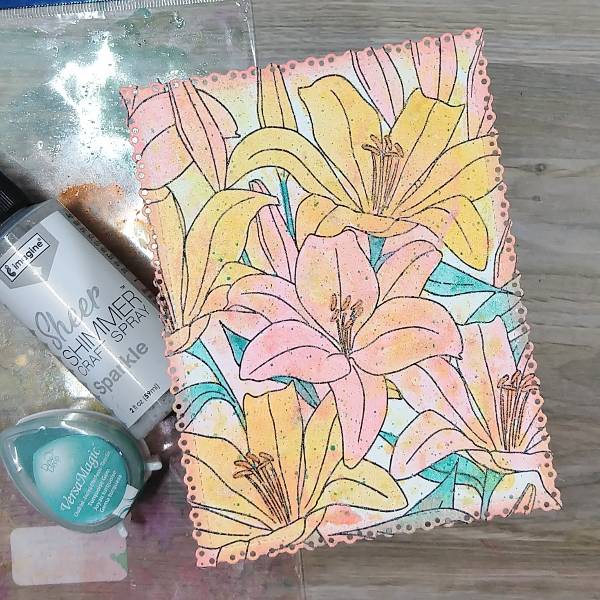
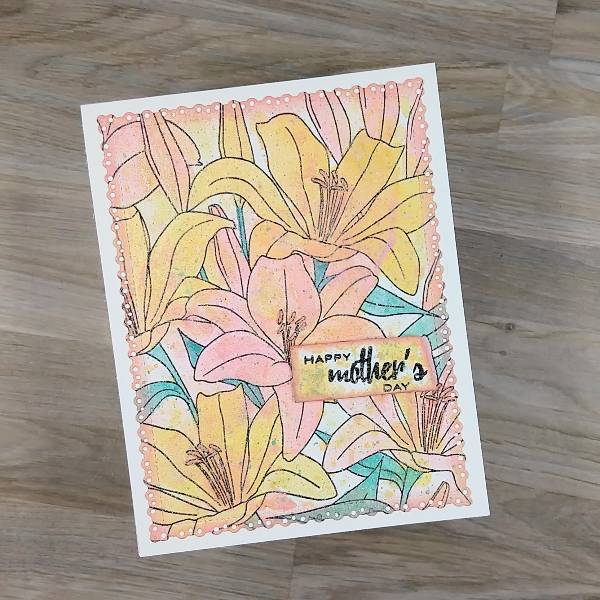
In today’s tutorial, I am sharing the card I made for my mom for Mother’s Day, using sprays and ink mixed with Sheer Shimmer spray to watercolor the images.
Skill: Intermediate Time: 1.5 hours
Directions:
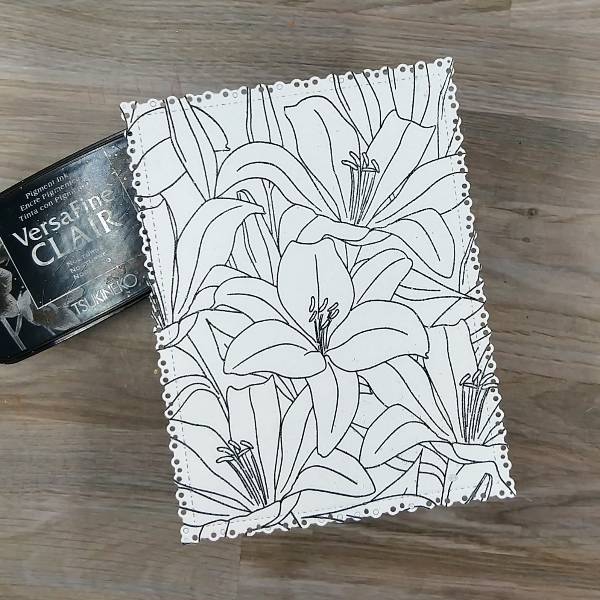
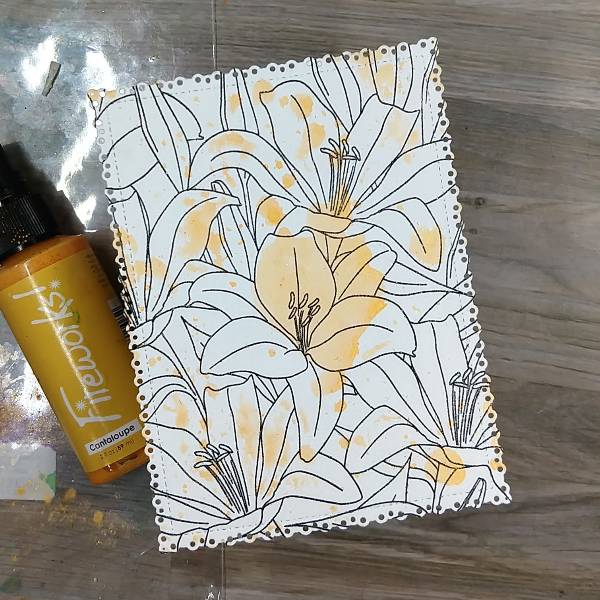
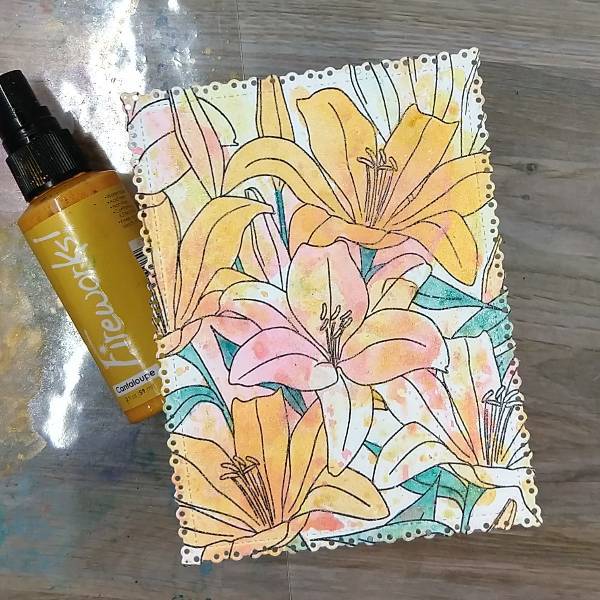
Step 1: Use a die cut to create a watercolor paper panel and then stamp a large flower stamp with Nocturne VersaFine Clair Ink. Heat emboss with clear embossing powder
Step 2: Spray Cantaloupe Fireworks! Spray onto a piece of scrap acetate packaging, and press the sprayed acetate onto the stamped panel, making sure to get spray on multiple parts of the stamped panel. Let dry.
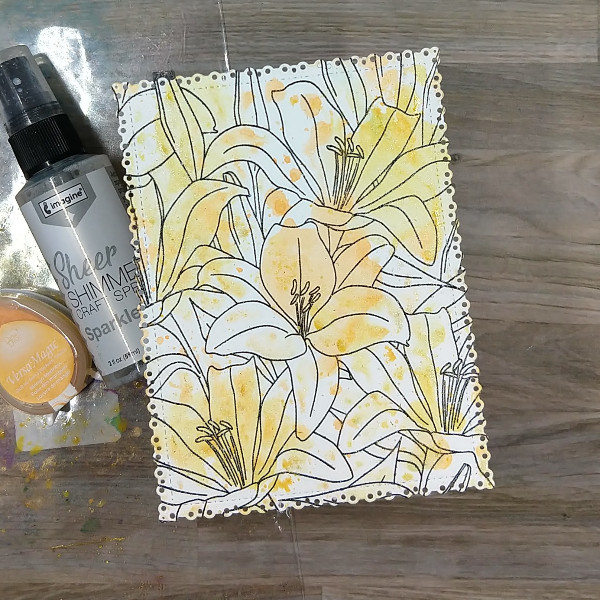
Step 3: Press the Mango Madness VersaMagic Chalk Ink pad onto the acetate packaging. Then spray Sparkle Sheer Shimmer Craft spray onto the ink to give it a watery consistency. Then press this color of yellow ink onto the stamped panel to add interest and a variety of colors. Let dry.
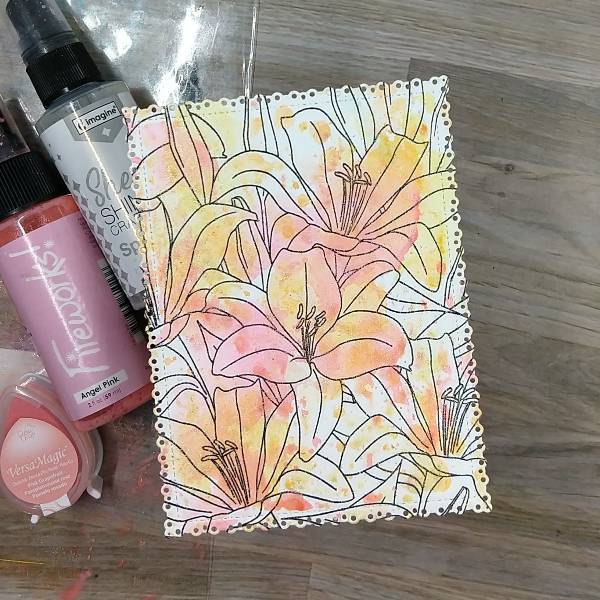
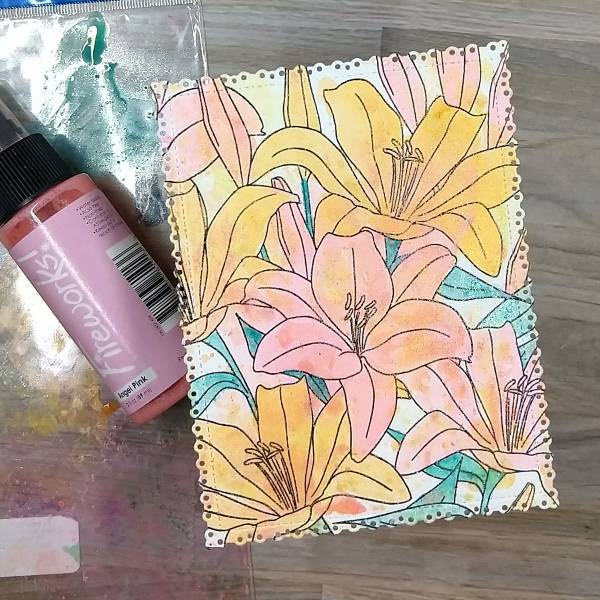
Step 4: Repeat the process with pink inks. Spray Angel Pink Fireworks! Spray onto the acetate packaging and press the packaging onto the stamped panel. After the spray dried, press Pink Grapefruit VersaMagic Chalk Ink onto the acetate and spray it with more of the Sparkle Sheer Shimmer Craft spray and press that onto the stamped panel as well. Again, let dry.
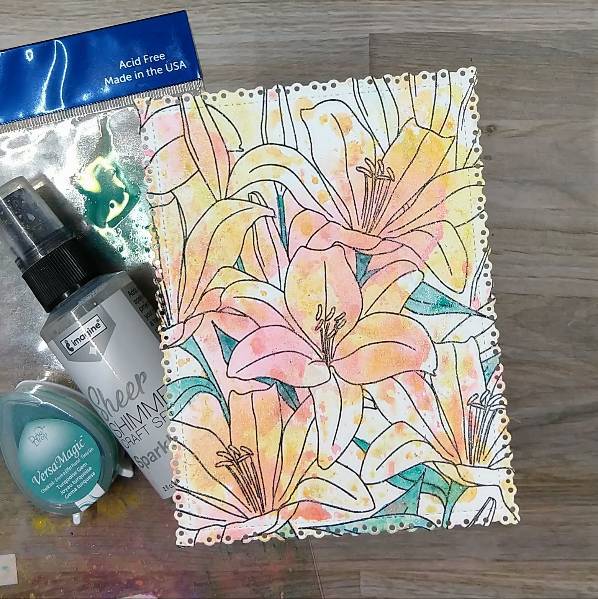
Step 5: Press the Turquoise Gem VersaMagic Chalk Ink pad onto the acetate packaging and spray the ink with more of the Sparkle Sheer Shimmer Craft Spray to create a watercolor consistency. Then use a thin paintbrush to paint the leaves and stems of the flowers turquoise. Let dry.
Step 6: Spray more of the Cantaloupe Fireworks! Spray onto the acetate packaging and use the spray to watercolor about half of the flowers yellow. Let dry.
Step 7: Spray more of the Angel Pink Fireworks! Spray onto the acetate packaging and then paint the rest of the flowers pink. Again let the spray dry.
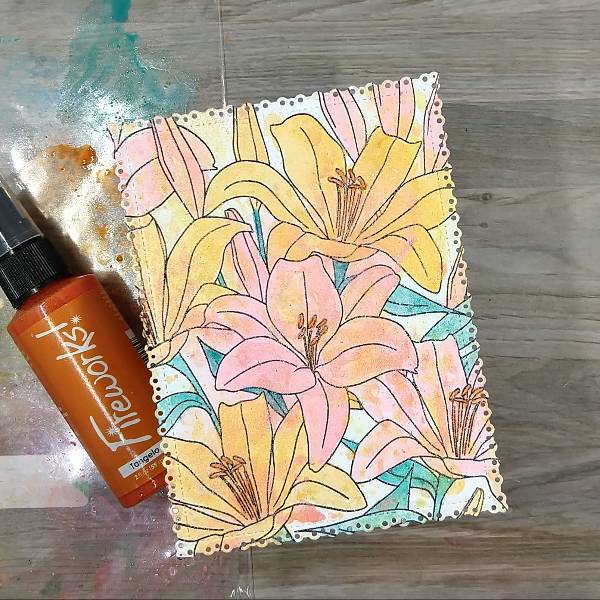
Step 8: Spray Tangelo Fireworks! Spray onto the acetate packaging, and use it to paint the anthers and filaments (center parts) of the flowers. Let dry.
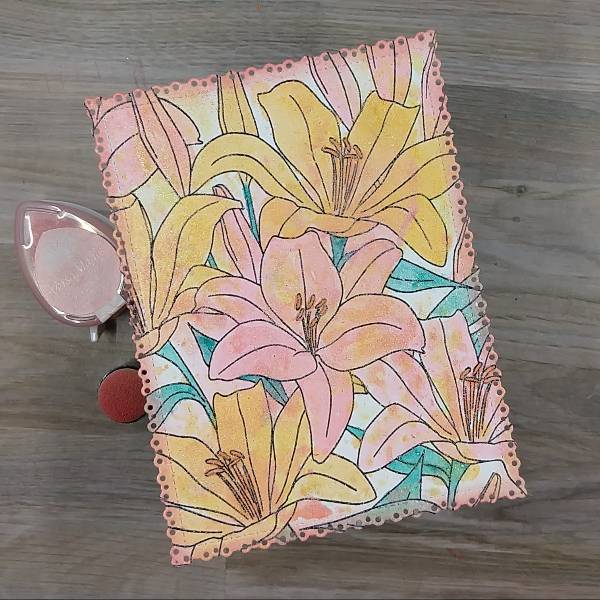
Step 9: Use an ink dauber to ink blend the edges of the panel with Pink Grapefruit VersaMagic Chalk Ink. (I ended up touching up the leaf on the bottom edge by painting a second layer of the Turquoise Gem VersaMagic Chalk Ink mixed with water to make sure the turquoise color wasn’t lost.)
Step 10: Press the Turquoise Gem VersaMagic Chalk Ink pad onto the acetate packaging and spray the ink with more of the Sparkle Sheer Shimmer Craft Spray to create a watercolor consistency a second time. (In my case, I had leftover from step 5, so I used that.)
Hold a paintbrush saturated with the turquoise watercolor parallel to the panel and tap it against your finger. Repeat if needed and let dry.
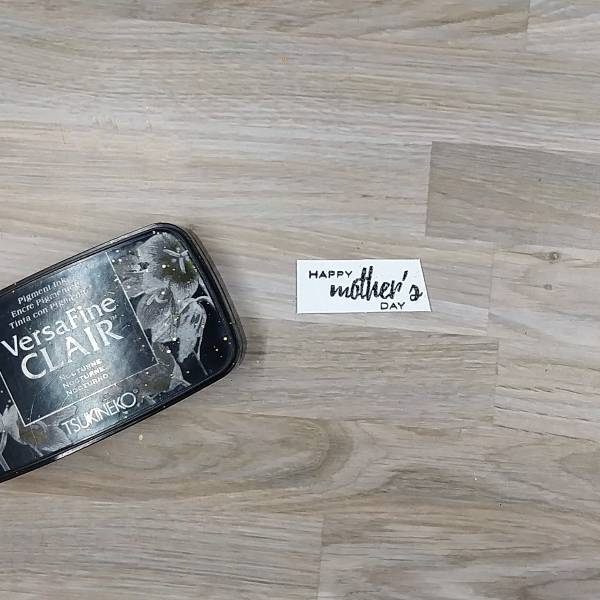
Step 11: Stamp a sentiment onto a piece of watercolor paper with Nocturne VersaFine Clair ink. Heat emboss with clear embossing powder and trim with scissors or a paper trimmer.
Ink blend around the edges of the stamped layer with more of the Canary VersaColor ink with an ink dauber.
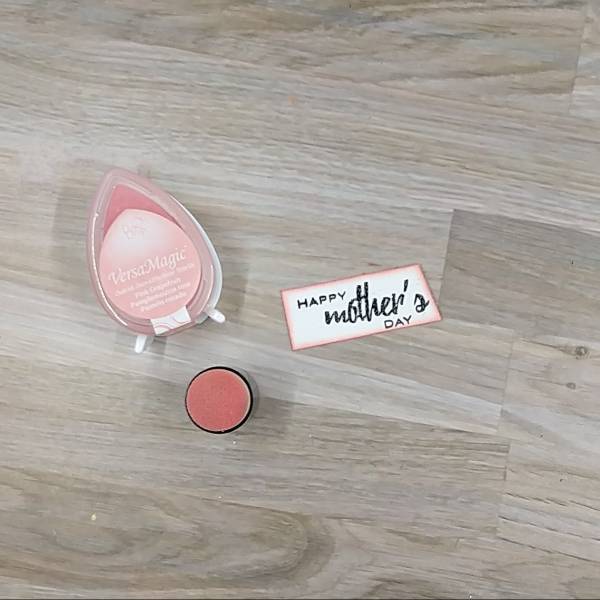
Step 12: Use an ink dauber to ink blend the edges of the sentiment strip with Pink Grapefruit VersaMagic Chalk ink.
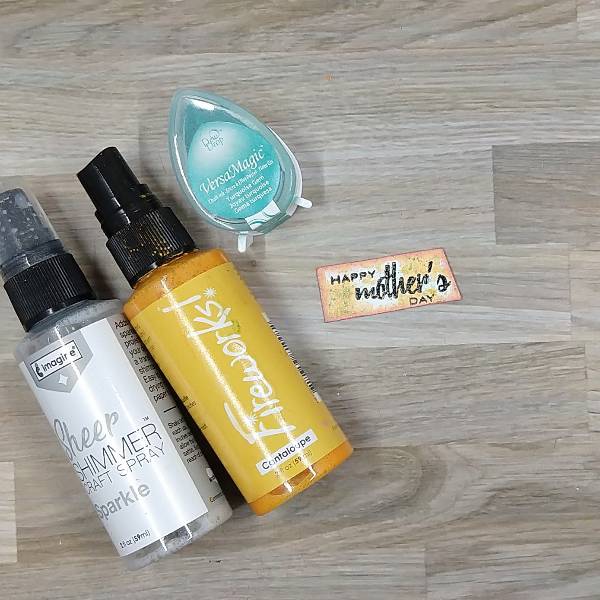
Step 13: Spray one part of the acetate packaging with Cantaloupe Fireworks! Spray and press Turquoise Gem VersaMagic onto another part of the acetate before spraying it with more Sparkle Sheer Shimmer Craft spray. Alternate pressing the sentiment strip into both colors of spray before splattering the strip with more of the turquoise ink. Let dry.
Step 14: Glue the panel onto an A2-sized white card base and attach the sentiment onto the card with some foam tape for dimension to finish the card.
Other • Altenew – Stamp – Extra Special stamp set • Altenew – Tape – Instant Dimension Foam Tape • Gina Marie Designs – Die – Pleated Lace Rectangles die set • The Ton Stamps – Stamp – Lily Fields • Clear embossing powder Scissors • Glue