By Kathi Rerek
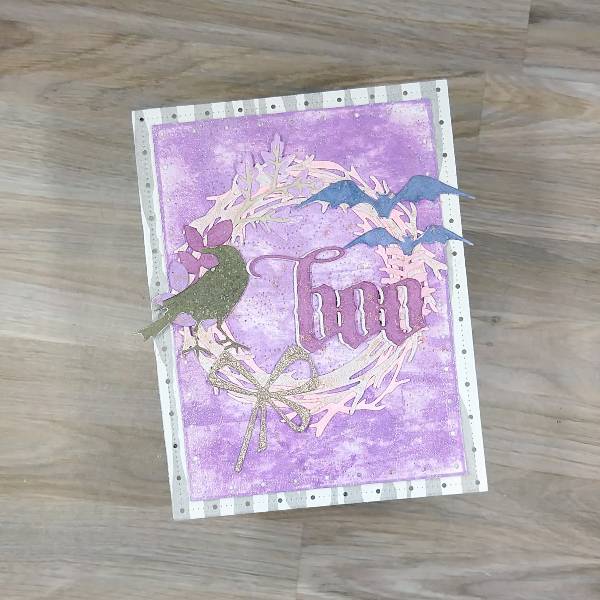
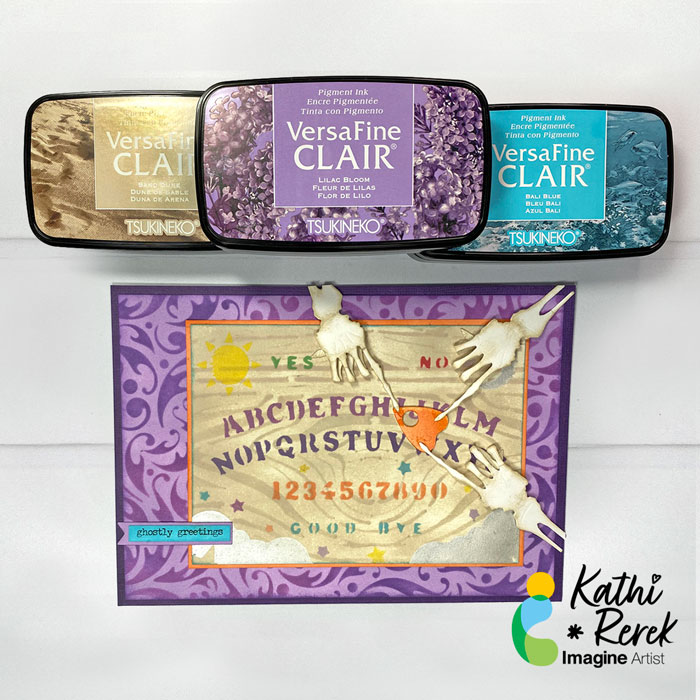
Halloween is the time of the year when the veil is the thinnest and people seek out spooky experiences. Here’s a card with NO stamping that uses both the old and new VersaFine Clair Inks with stencils and die-cuts!
Skill Level: Intermediate
Time: 1.5 hours
Instructions:
Step 1:
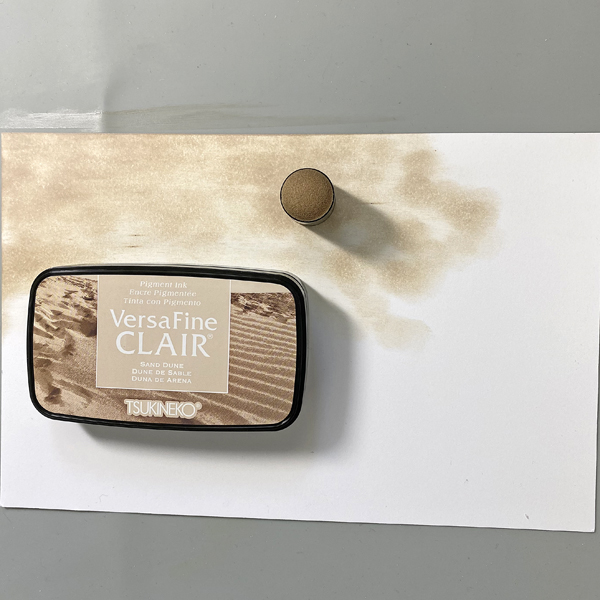
Use a Sponge Dauber to apply Sand Dune VersaFine Clair ink to a piece of white cardstock.
Step 2:
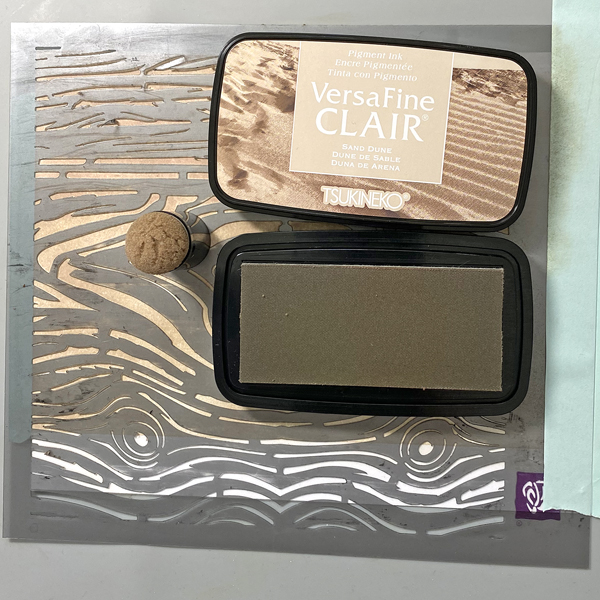
Use low-tack tape to secure the inked cardstock to the back of a wood-grain stencil. Use a sponge dauber to apply Sand Dune VersaFine Clair over the stencil onto the cardstock to create a subtle wood grained look. Remove the stencil and heat set the cardstock.
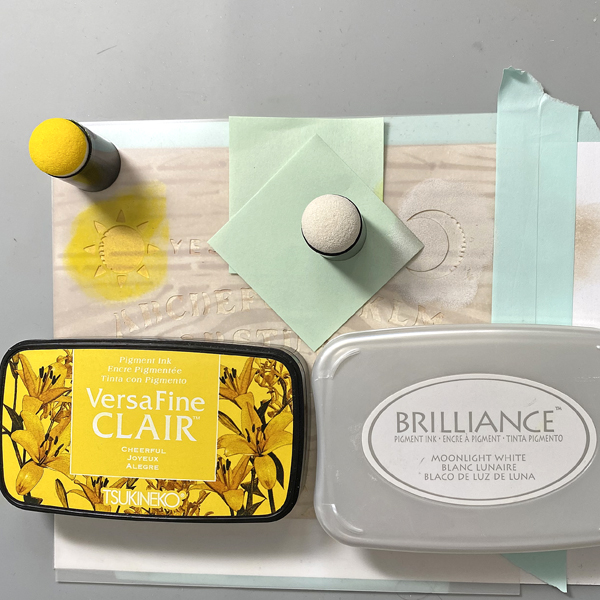
Steps 3A through 3E:
Use low-tack tape to secure the image panel to the back of the Ouija Board Stencil. Different colors of VersaFine Clair Inks and Moonlight White Brilliance ink will be applied to various areas of the stencil. I ended up adding Starlite Silver over the Moonlight White to add more contrast. Sorry there’s no photo.
Place Post-It Notes to protect areas of the stencil and keep a paper towel at hand to wipe excess ink off of the stencil to avoid unwanted ink transfer.
Use a Sponge Dauber to apply Cheerful VersaFine Clair to the sun area of the stencil. Use a Sponge Dauber to apply Moonlight White Brilliance Ink to the moon and the clouds area of the stencil (3A).
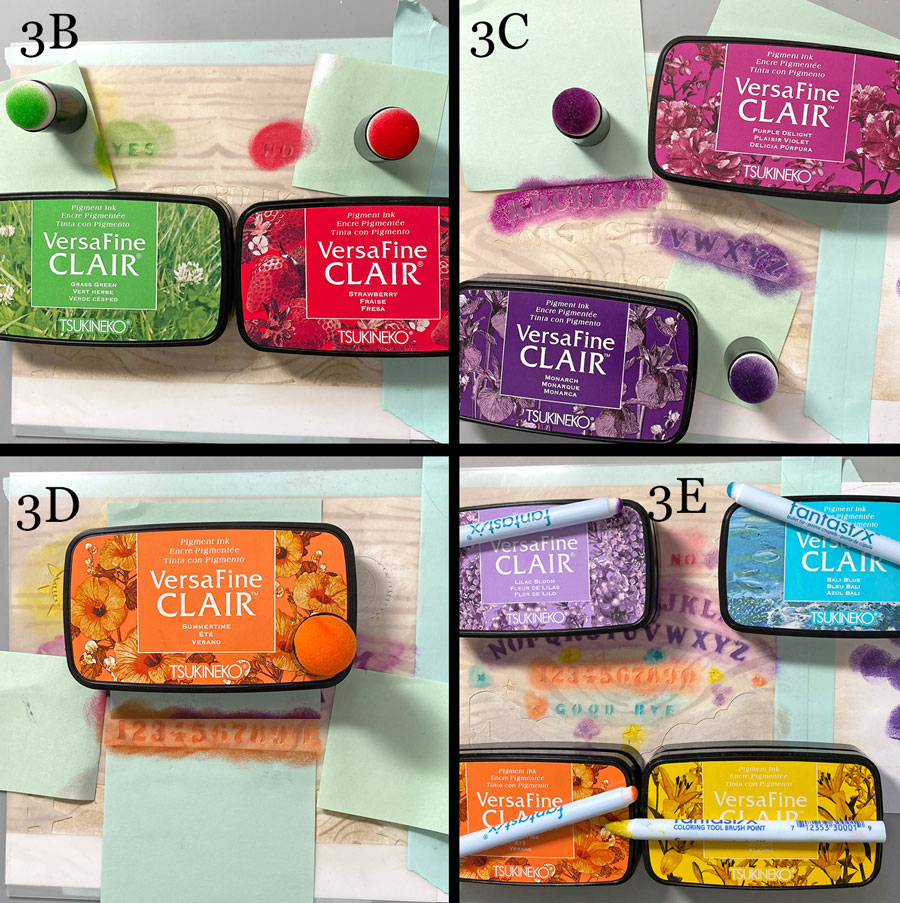
Use Sponge Daubers to apply Grass Green and Strawberry VersaFine Clair Inks to the “Yes” and “No” words on the stencil (3B)
Use Sponge Daubers to apply Purple Delight and Monarch VersaFine Clair Inks to the the alphabet on the stencil (3C). Remember to use a paper towel to wipe away excess ink.
Use a Sponge Dauber to apply Summertime VersaFine Clair Ink to the numbers on the stencil (3D).
Use Fantastix to apply Lilac Bloom, Bali Blue, Summertime, and Cheerful VersaFine Inks to the stars on the stencil (3E)
Remove the stencil and thoroughly heat set the image panel.
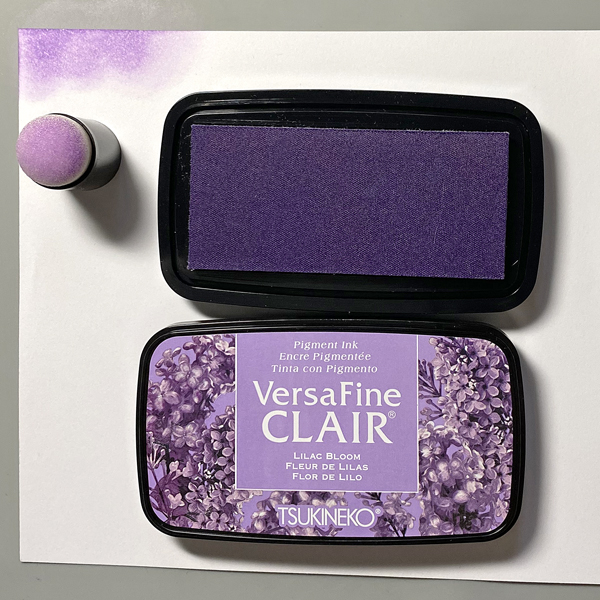
Step 4:
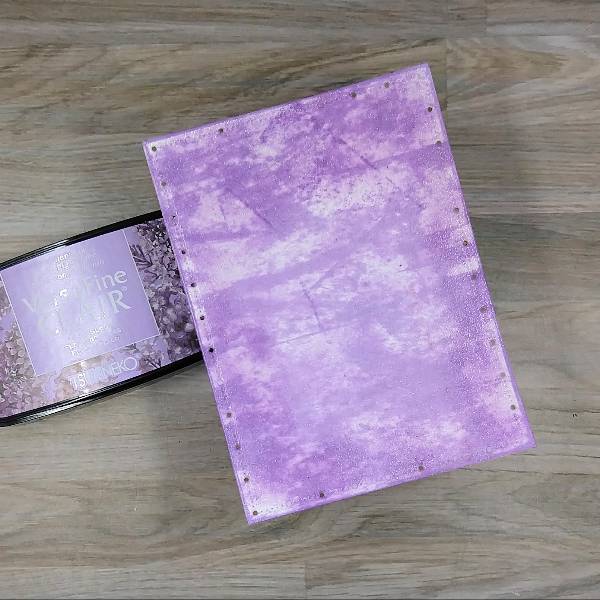
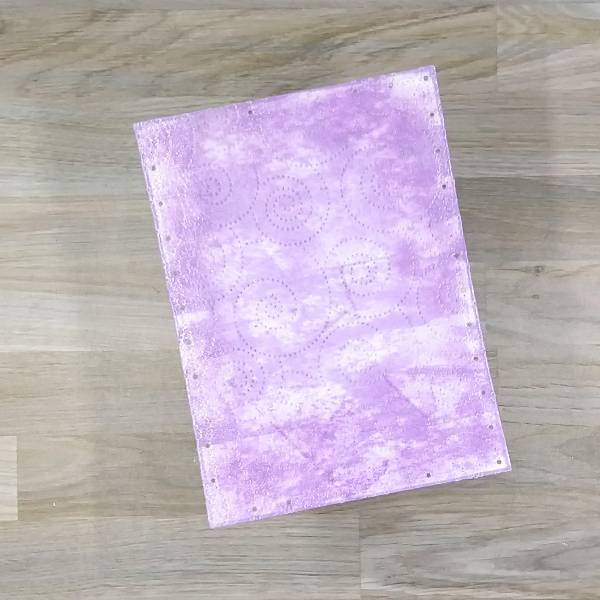
Use a Sponge Dauber to apply Lilac Bloom VersaFine Clair Ink to a piece of Mixed Media paper to create the background panel. Heat set.
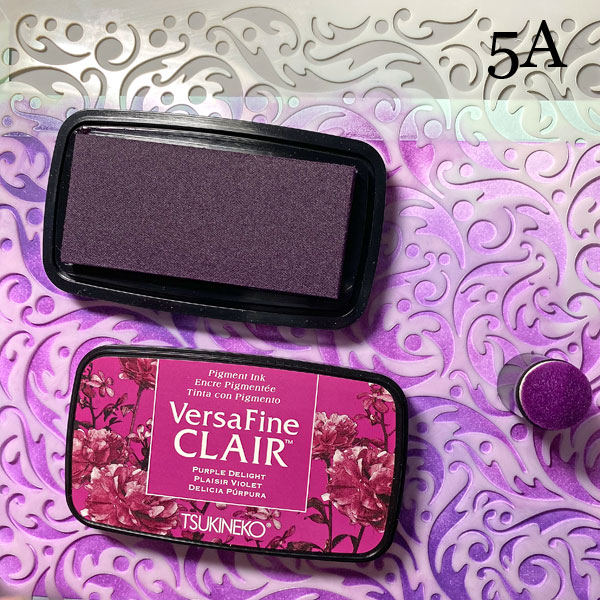
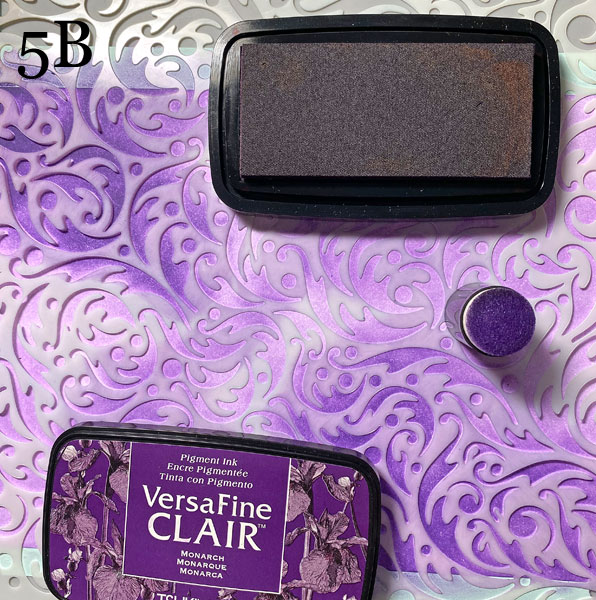
Steps 5A and 5B:
Use low-tack tape to secure the Lilac Bloom inked paper to the back of the Dynamic Stencil.
Use a Sponge Dauber to apply Purple Delight VersaFine Clair Ink randomly over the stencil (5A) onto the background panel. Use a separate Sponge Dauber to apply Monarch VersaFine Clair Ink over the the rest of the stencil (5B) onto the background panel. Remove the stencil and heat set the panel.
Step 6:
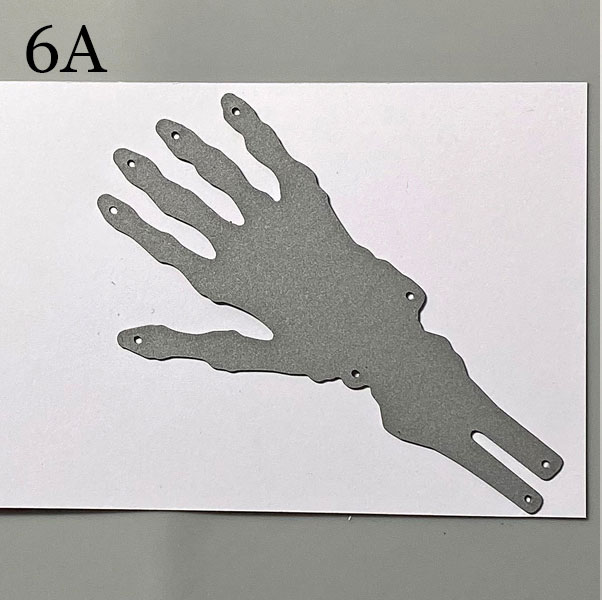
Use the skeletal hand cutting die to cut three hands from white cardstock.
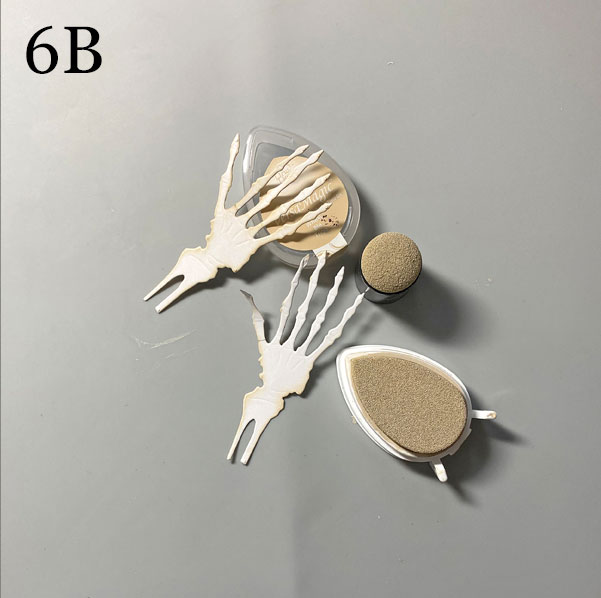
Use a Sponge Dauber to apply Wheat VersaMagic Ink to the edges of the hands, fingers, and wrist bones. You can use the pointed edge of the DewDrop Inkpad to reach between the fingers! When the bones are aged to your liking, heat set all three hands then set them aside.
Step 7:
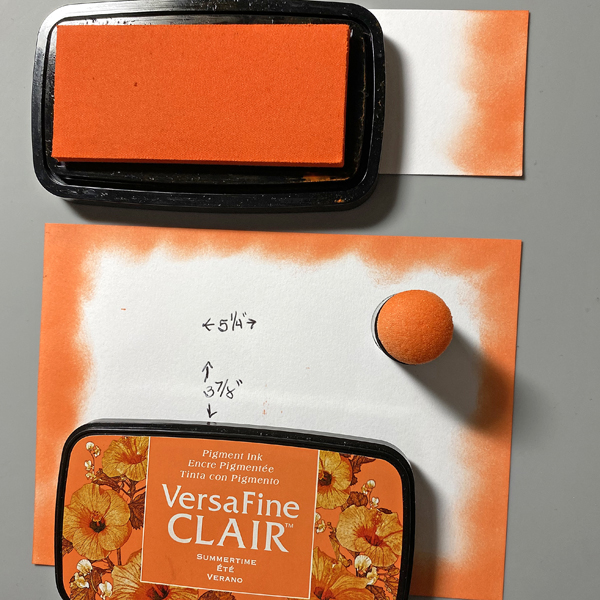
Cut a piece of white cardstock to 5.25” x 3.875”. Use a Sponge Dauber to apply Summertime VersaFine Clair Ink to the outer .5” of the panel. Heat set. Use this panel to mat the Ouija Board Panel, then adhere the matted Ouija Board panel to the stenciled background panel. Sorry that there’s no photo.
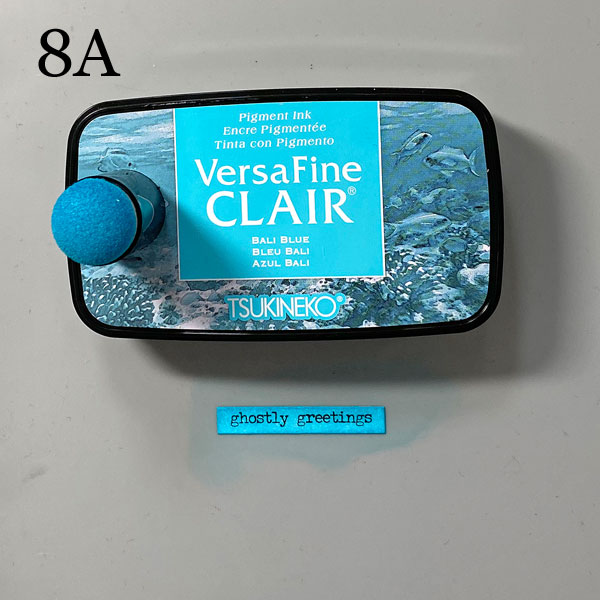
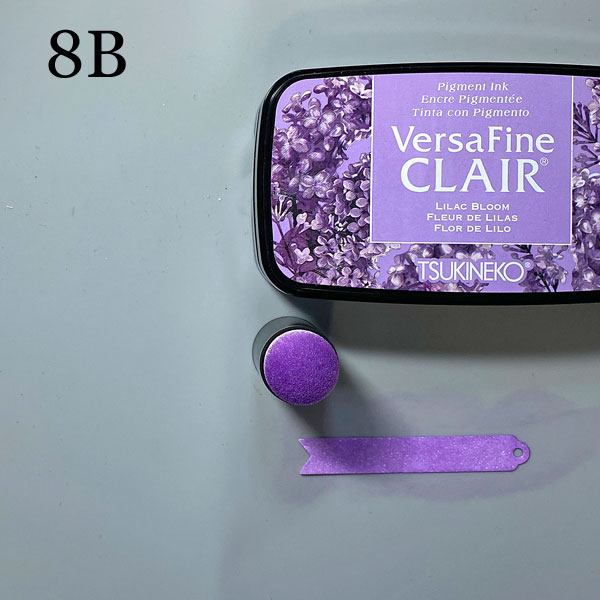
Steps 8A and B:
Use a Sponge Dauber to apply Bali Blue VersaFine Clair Ink to a sentiment sticker (8A). Heat set.
Use a Flag Die to cut white cardstock. Use a Sponge Dauber to apply Lilac Bloom VersaFine Clair Ink to the die-cut. Heat set.
Adhere the sticker onto the die-cut flag. Set aside.
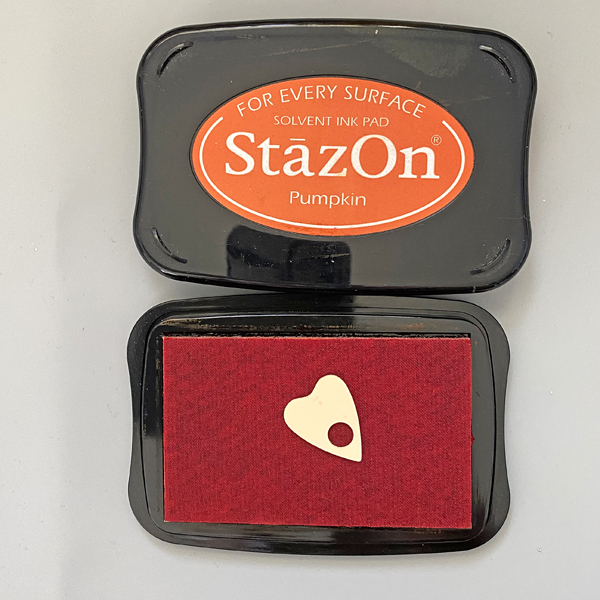
Step 9:
Press the plastic planchette facedown onto the Pumpkin StazOn Inkpad. Smoosh it around.Carefully remove and allow to dry.
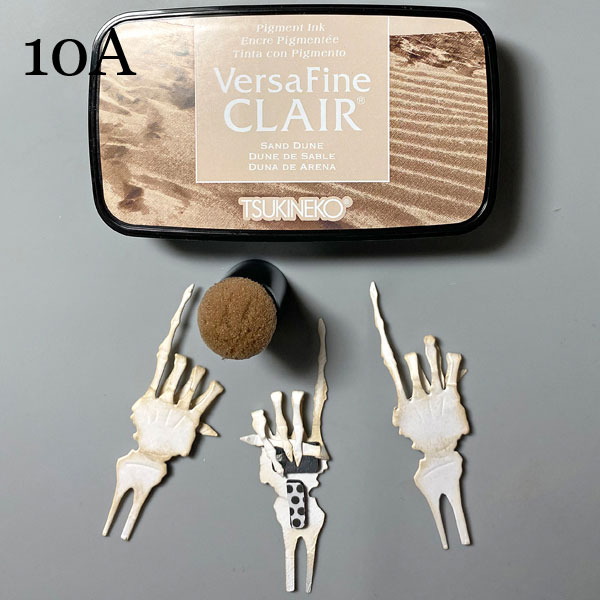
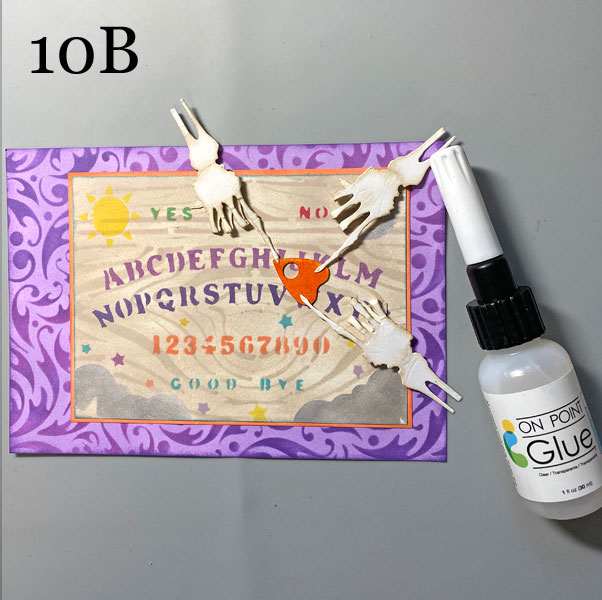
Steps 10A and 10B:
Place dimensional foam adhesive to the back of all three skeletal hands. Fold all the fingers, except the index fingers, backwards at the second joint, and press them onto the adhesive foam. You can add a piece of Tear It! Tape over them to keep them in place. Use a Sponge Dauber to apply Sand Dune VersaFine Clair Ink to the backs of the fingers and the joints to further “age” them (10A).
Use On Point Glue to attach the Planchette so that it’s pointing at the “H” for Halloween. Apply On Point Glue to the back of index fingertips, remove the tape backing, and adhere the skeletal hands as shown (10B).
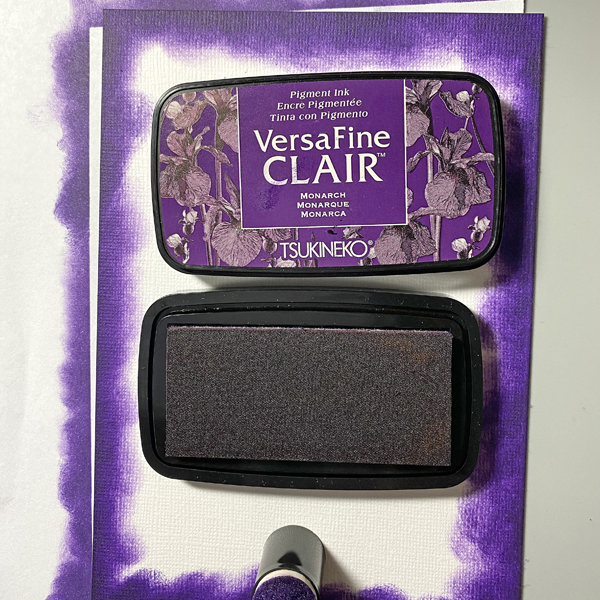
Step 11:
Create a 5” x 7” card from white textured cardstock. Use a Sponge Dauber to apply Monarch VersaFine Clair Ink to the outer .5” of the card. Heat set.
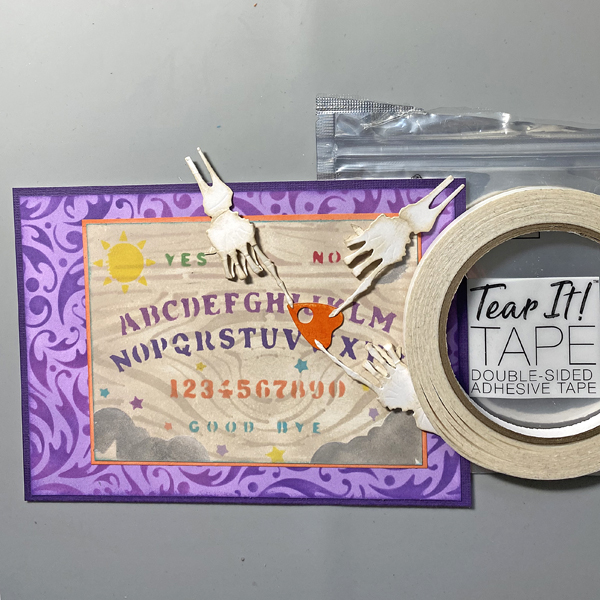
Step 12:
Use Tear It! Tape to adhere the layers of the card.
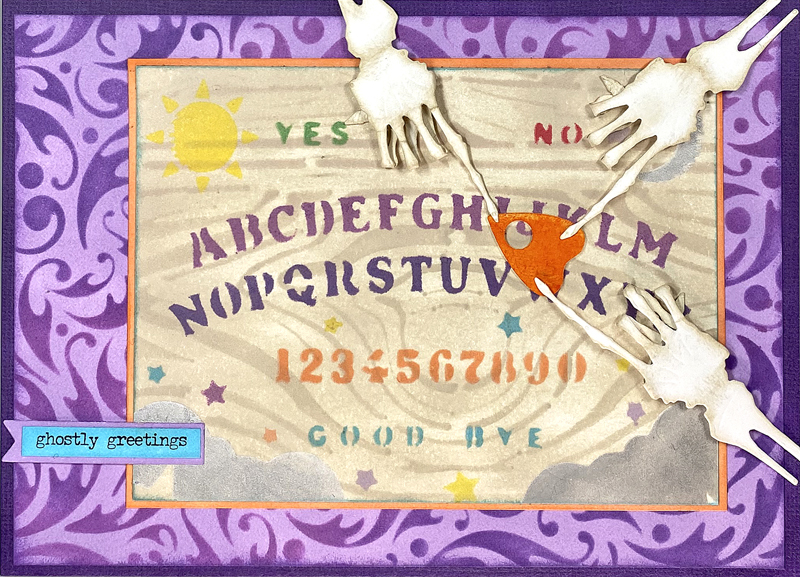
Finished Card
Imagine Crafts Supplies:
- VersaFine Clair Ink – Sand Dune, Cheerful, Grass Green, Strawberry, Summertime, Purple Delight, Monarch, Bali Blue and Lilac Bloom
- VersaMagic Dew Drop Ink – Wheat
- Brilliance Ink – Moonlight White and Starlight Silver
- StazOn Ink – Pumpkin
- Sponge Daubers
- Fantastix
- Tear It! Tape
- On Point Glue
- Craft Mat
Other Supplies:
- Bristol Paper by Strathmore
- Avalanche Textured Cardstock by Bazzill Basics
- Ouija Board 6×6 Stencil by Strumpet Stencils
- Woodgrain Stencil by Prima Marketing
- Dynamic Stencil by Lavinia Stamps
- Skeletal Hand Cutting Die Source Unknown
- Large Ouija Board Planchette by Retro Cafe Art
- Low-Tack Tape
- Post-It Notes by 3M