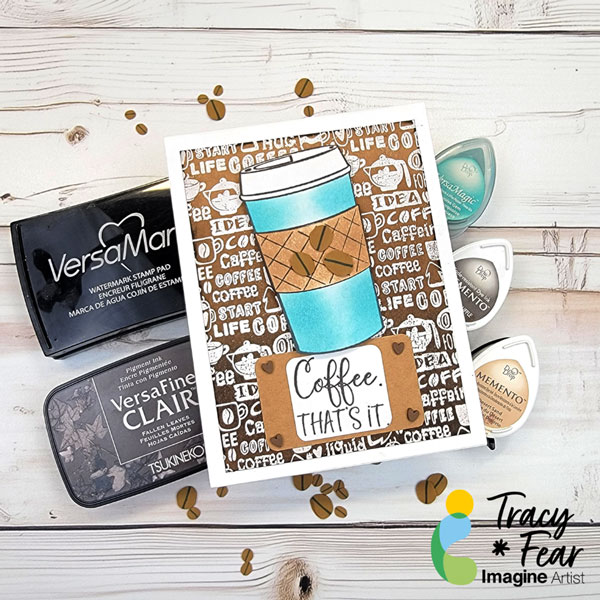
Other Products Used • Coffee Background Stamp and Coffee Cup stamp from Technique Junkies • 120lb paper in white and Kraft • Foam Tape • Misti tool • PVA Adhesive • White Super Fine Embossing Powder
ALTERNATIVE PRODUCTS THAT CAN BE USED TO RECREATE SOMETHING SIMILAR Any Inks any combination of background stamps and feature stamps To learn how to create your own dressed up box click here!
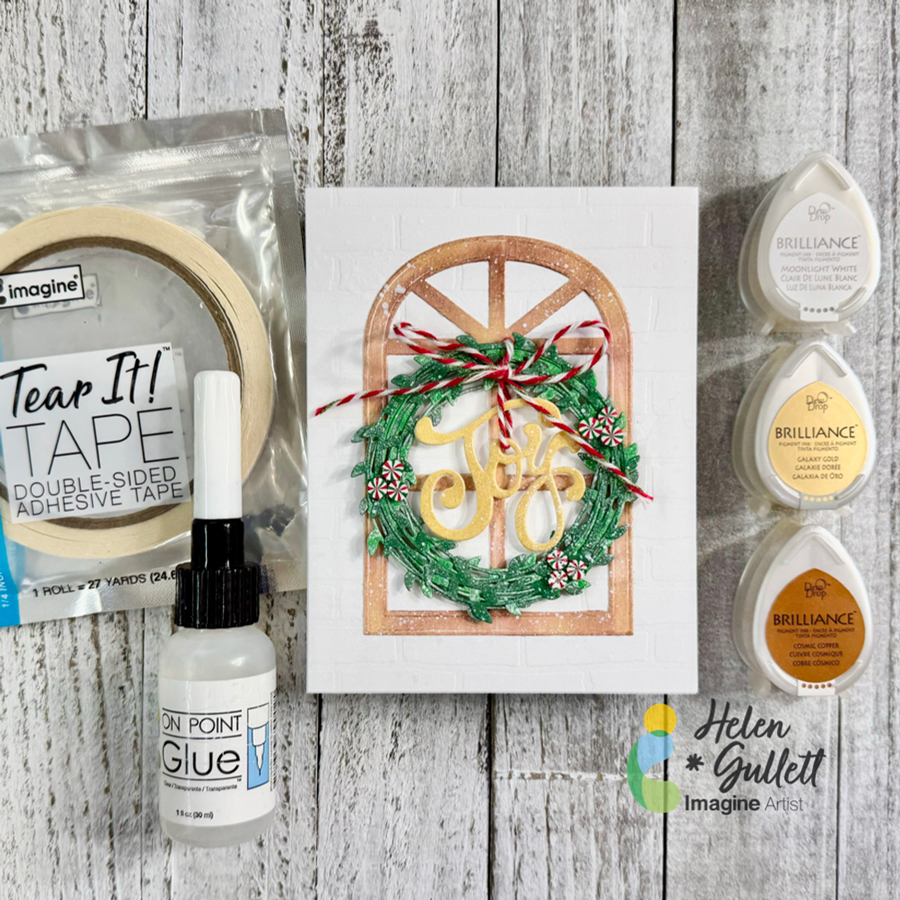
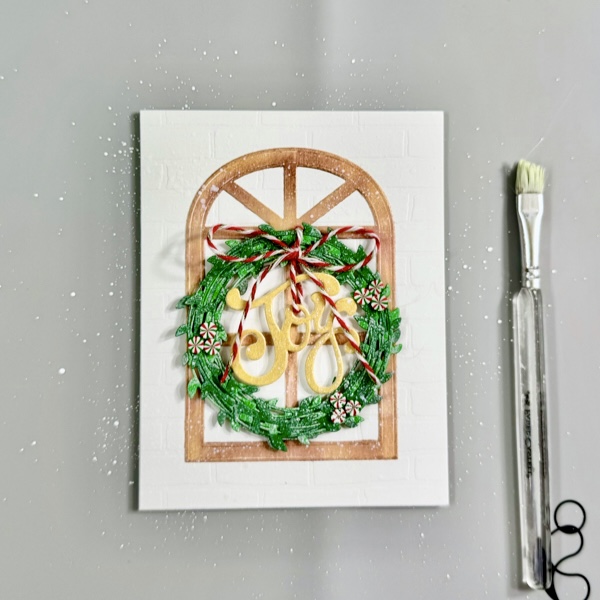
Hello crafty friends! If you ask me if we could start making Christmas projects in July, I would say the sooner the better. One of the ways to share the joy of the Holiday is by sending handmade Christmas cards. Today, I have this no-stamping Christmas card idea to share with you all. Yes… it is a no-stamping card, all die cuts. To add extra shimmer to the die cuts, I use Brilliance Dew Drop inks today. So, let’s turn on the Christmas music and get crafting!
Skill: Intermediate Time: 20-30 minutes
Direction:
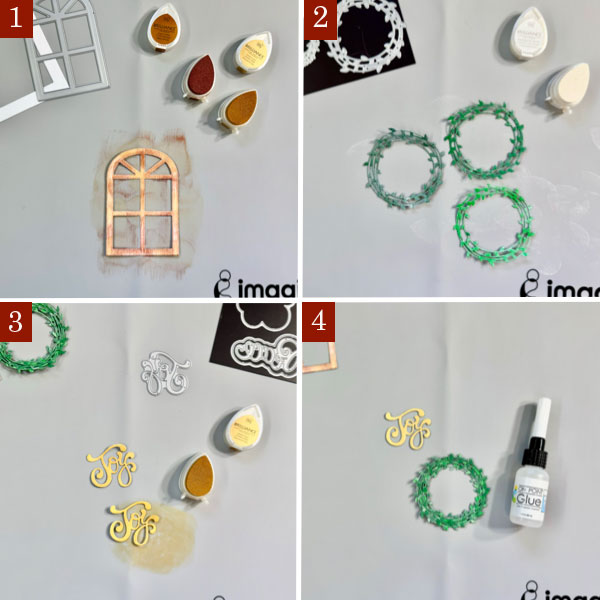
Step 1 Cut a heavyweight white cardstock (110 lb) to make the A2 card base in 4.25 inch x 5.5 inch dimension. Set a side.
Cut out a piece of white cardstock with the Arched Window die with the die cutting machine.
Randomly dab some of the Cosmic Cooper Brilliance ink and Galaxy Gold ink on the window to cover it. Then set it aside to dry or you can use a craft heat gun to speed up the drying time.
Step 2 Cut out 2 or 3 shades of green cardstocks with the wreath die with the die cutting machine.
Randomly dab some of the Moonlight White Brilliance ink on each of the wreaths to give them a snowy effect. Then set them aside to dry or you can use a craft heat gun to speed up the drying time.
Step 3 Cut out another white cardstock with the Joy word die using the die cutting machine twice. You can cut out 3-4 times to create a thicker word chipboard.
Cover the word diecuts with some of the Galaxy Gold ink to give them gold color. Then set them aside to dry or you can use a craft heat gun to speed up the drying time.
Step 4 Put together the wreath diecuts with some of the On Point Glue to become a one thicker wreath. Put a heavy object (I used a large acrylic stamping block) on them until the glue dries permanently in a couple minutes.
Do the same way with the Joy word diecuts to create the word chipboard.
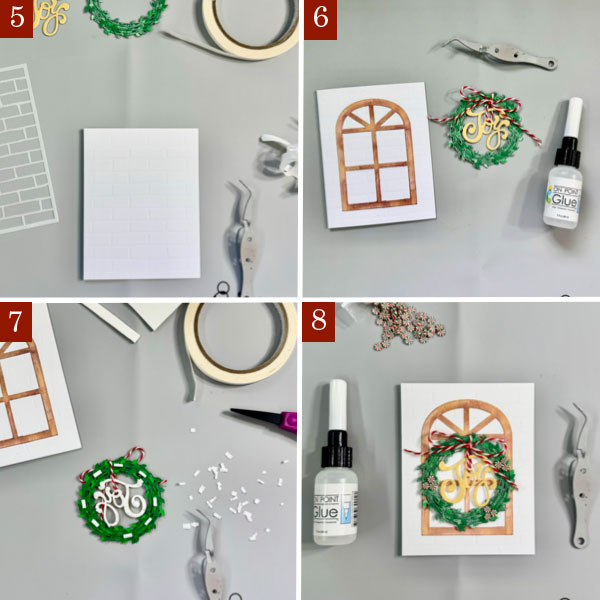
Step 5 I embossed a piece of 4.25 inch x 5.5 inch white cardstock using the Brick Wall stencil. If you have a similar background embossing folder, you can use it, too.
Add the embossed background panel to the card base with some of the Tear It! Tape.
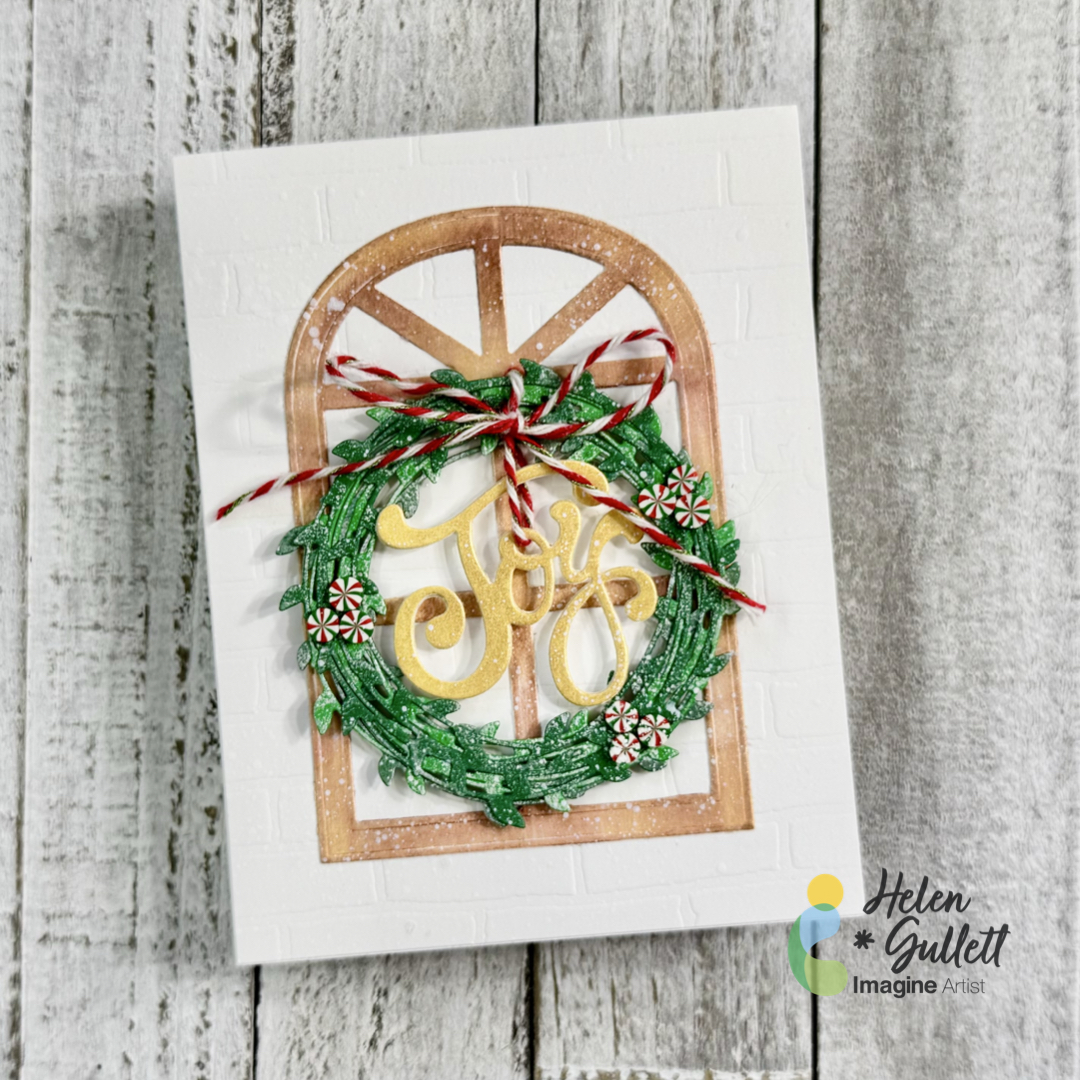
Step 6 Add the arched window to the card with On Point Glue, add a heavy object on it (or a large acrylic stamping block) until the glue dries permanently.
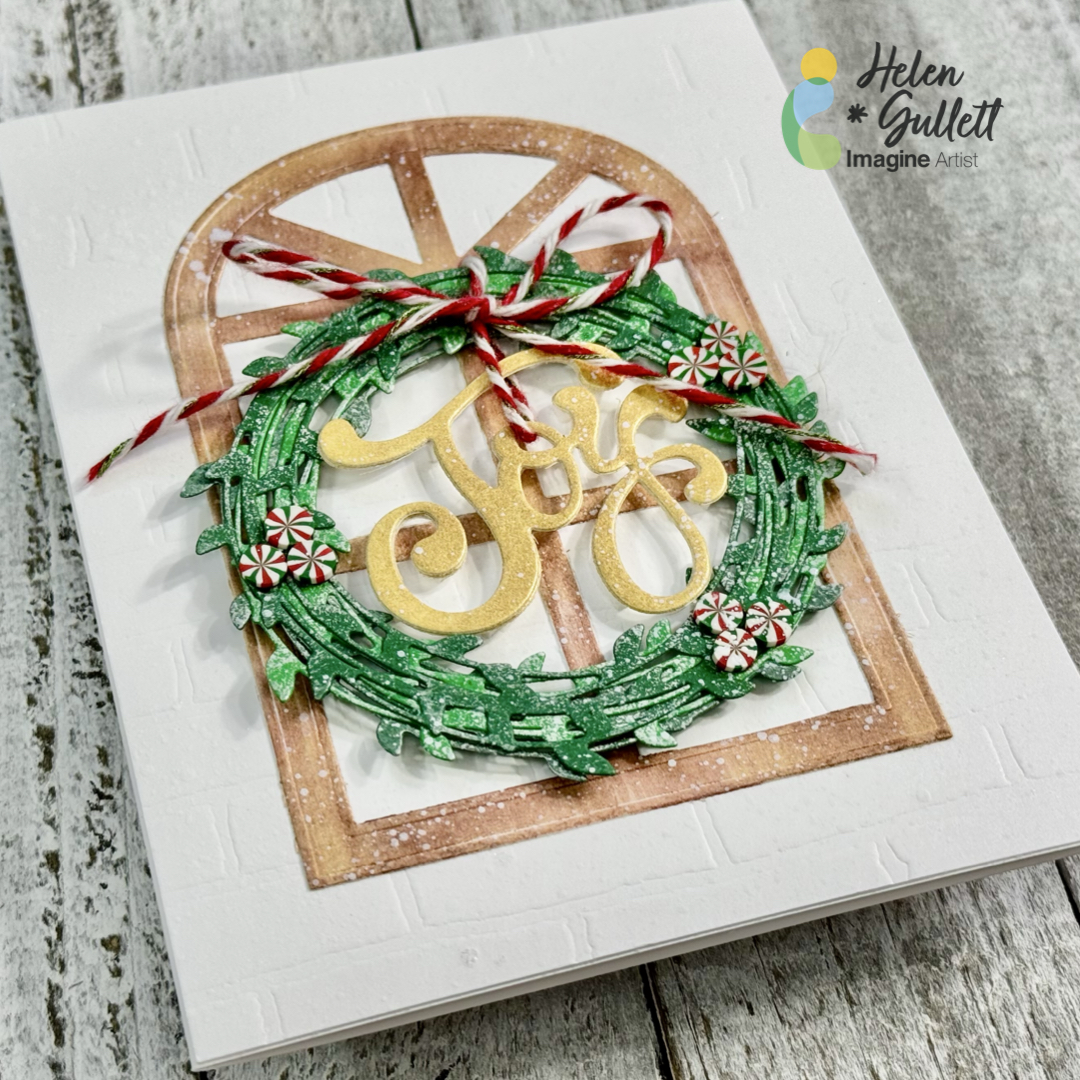
Add the word chipboard to the wreath with some baker’s twine to make it look like hanging down in the middle of the wreath. Tie up the twine into a bow and secure it with a dab of On Point Glue. Put a heavy object (or a larger acrylic stamping block) on it so the twine stays in place until the glue dries permanently.
Step 7 Cut a couple thin strips out of the thin white fun foam (about ¼ inch wide) and add some of the Tear It! Tape to them to create the foam tape.
Cut the foam tape into small pieces and add them at the back of the wreath. Remove the backing of the foam tapes and add the wreath to the card.
Step 8 Decorate the wreath with some of the Peppermint clay embellishments by adding them to the wreath with some of the On Point Glue.
Step 9 On the craft mat, mix a small amount of white acrylic paint with some water.
Add some of white paint splatters to the card using brush for more texture and snowy look.
Dry the whole card with a craft heat gun.
I love how this no-stamping Christmas card turned out and I hope you do, too. I plan to make more of this card to send them out to families and friends later.
Thank you so much for stopping by our blog today. Have a wonderful day!
– Hi everyone! It’s Jessica here. Today I am sharing a simple way to create 3D Christmas trees for your holiday cards. It is beginner friendly with minimal supplies, and I think it’s perfect to mass produce as well.
Skill: Beginner Time: 30 min
Directions:
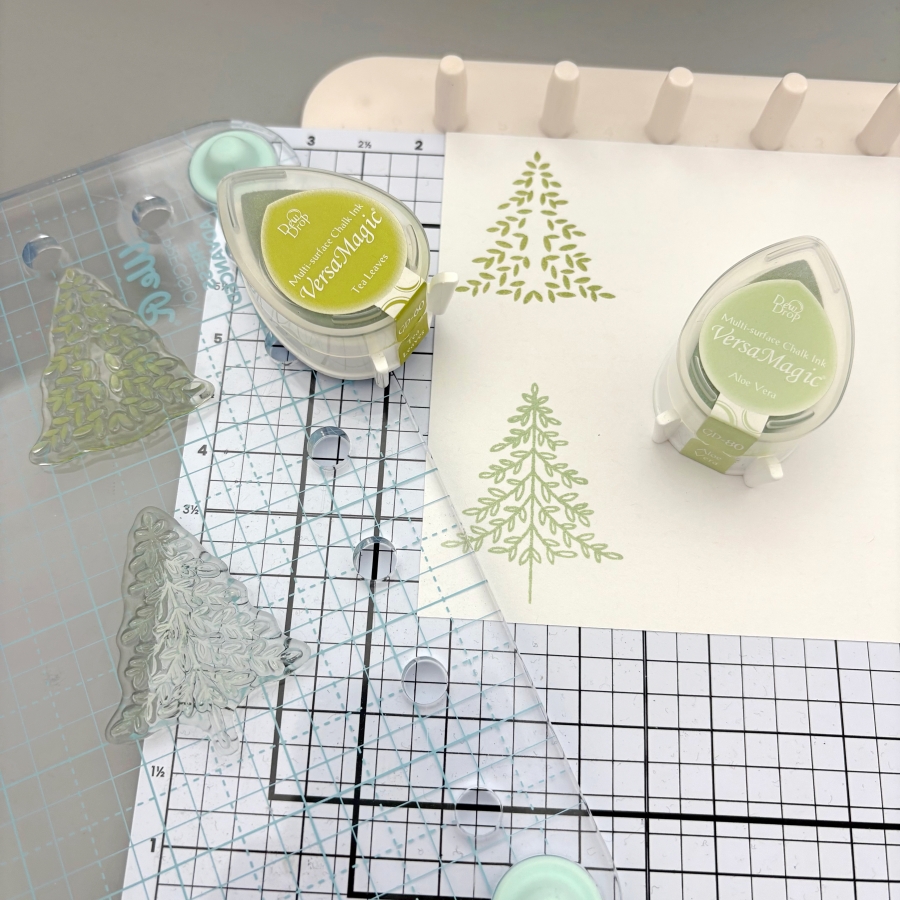
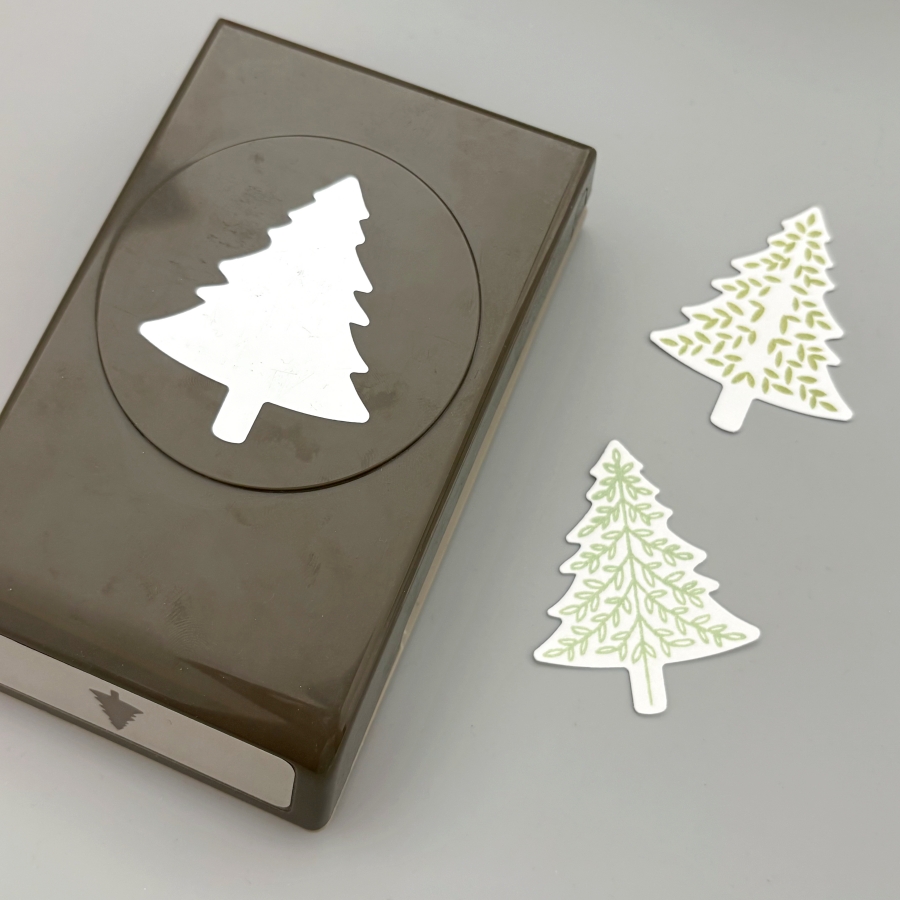
Step 1: Start by stamping Christmas tree images with VersaMagic Aloe Vera and Tea Leaves ink pads. I used stamps from Stampin’ Up’s Perfectly Plaid set, but any small Christmas tree image would work for today’s technique. For each 3D Christmas tree, you would need three layers. You could stamp each design three times for each layer, or only stamp the top layer for quick mass production of cards.
Step 2: Next, use the matching paper punch to cut out the Christmas trees. If you only stamped the top layer, be sure to punch out 2 additional cutouts with white cardstock for each 3D tree you are building. Since I am making two 3D trees today, I would need 4 more white cutouts.
Step 3: Score each Christmas tree cutout in the middle. I lined up the top and bottom of the cutout to the score guide to score.
Step 4: After scoring, fold the stamped Christmas tree cutout in half, and apply On Point Glue to the top of the folded crease. Then adhere it to a blank (or stamped) cutout. Be sure to hold the folded layer in place for about 20 seconds before the glue dries. Repeat this process to adhere the second layer to the third tree cutout.
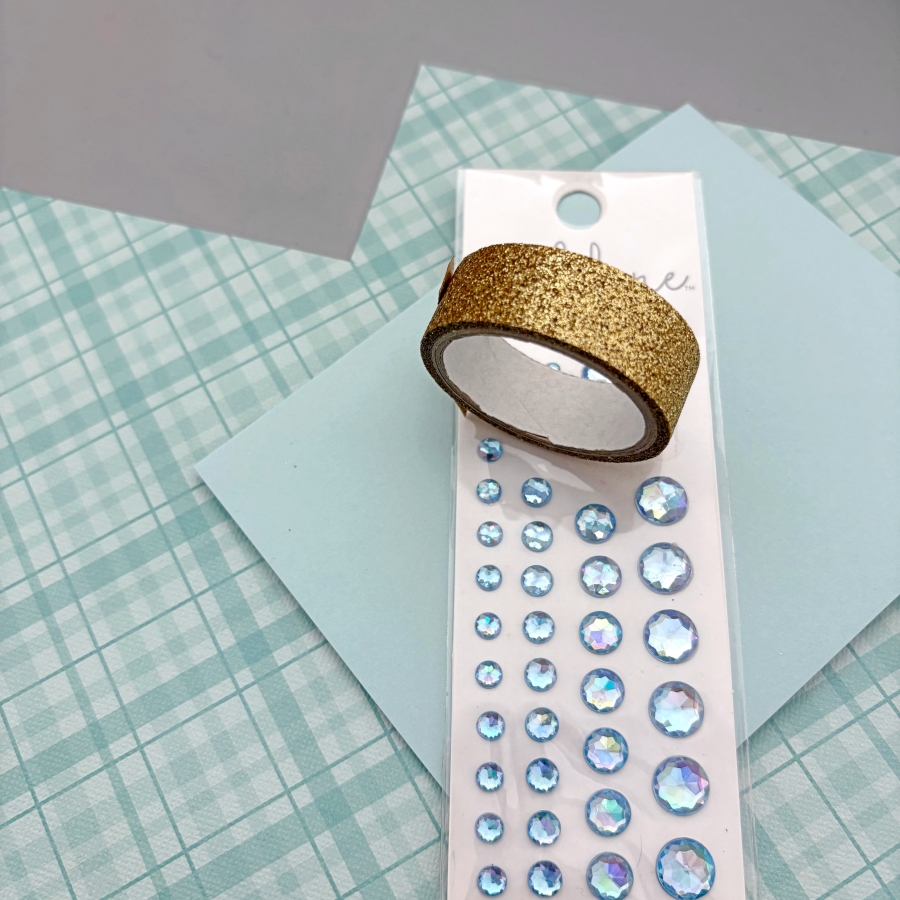
Step 5: Now that the 3D Christmas trees are made, it is time to prepare the card base. Trim a piece of patterned paper to 4 x 2 ¼ inches and a cut a 4 ¼ inch piece of gold glitter washi tape. Trim one side at an angle to create a banner shape and adhere both pieces to the card base.
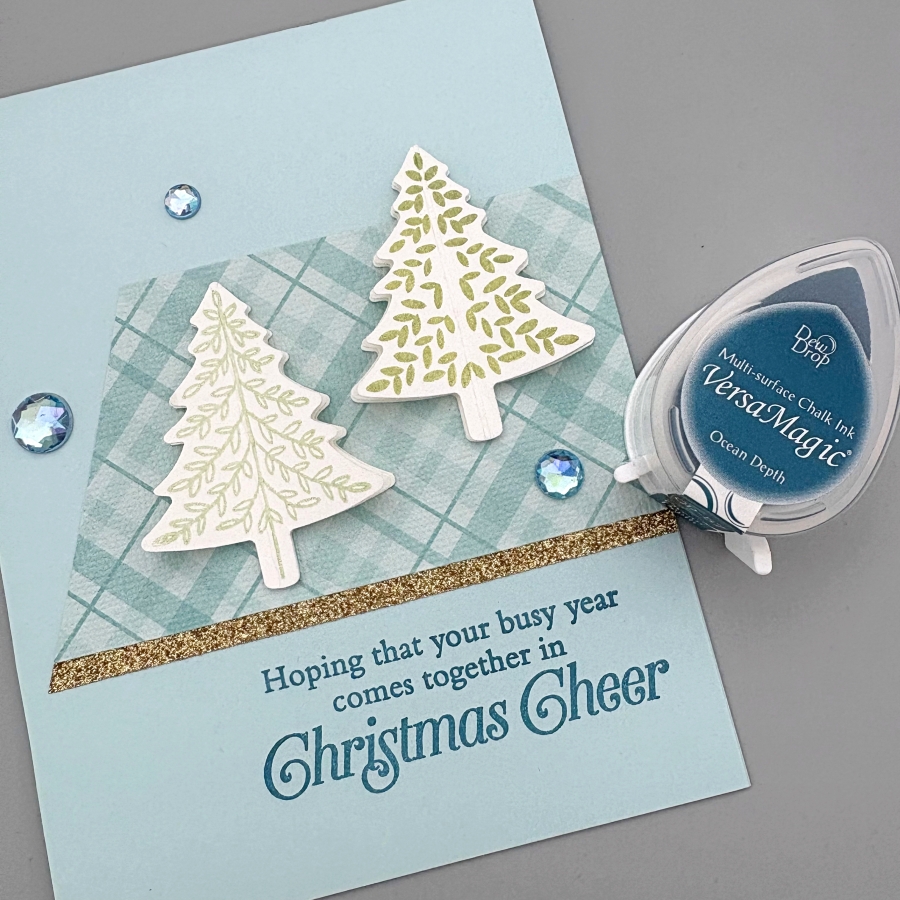
Step 6: Finally, stamp the sentiment using VersaMagic Ocean Depth ink pad. Adhere the 3D Christmas trees using Tear-It! Tape and embellish the card with a few rhinestones.
Here is a finished card where I stamped all 3 layers of the 3D Christmas trees. I love how easy it is to create the 3D element, and it is mail-friendly, too! I hope this tutorial inspires you to get a headstart on making Christmas cards for this year. Thank you so much for stopping by, and I’ll see you in my next tutorial!
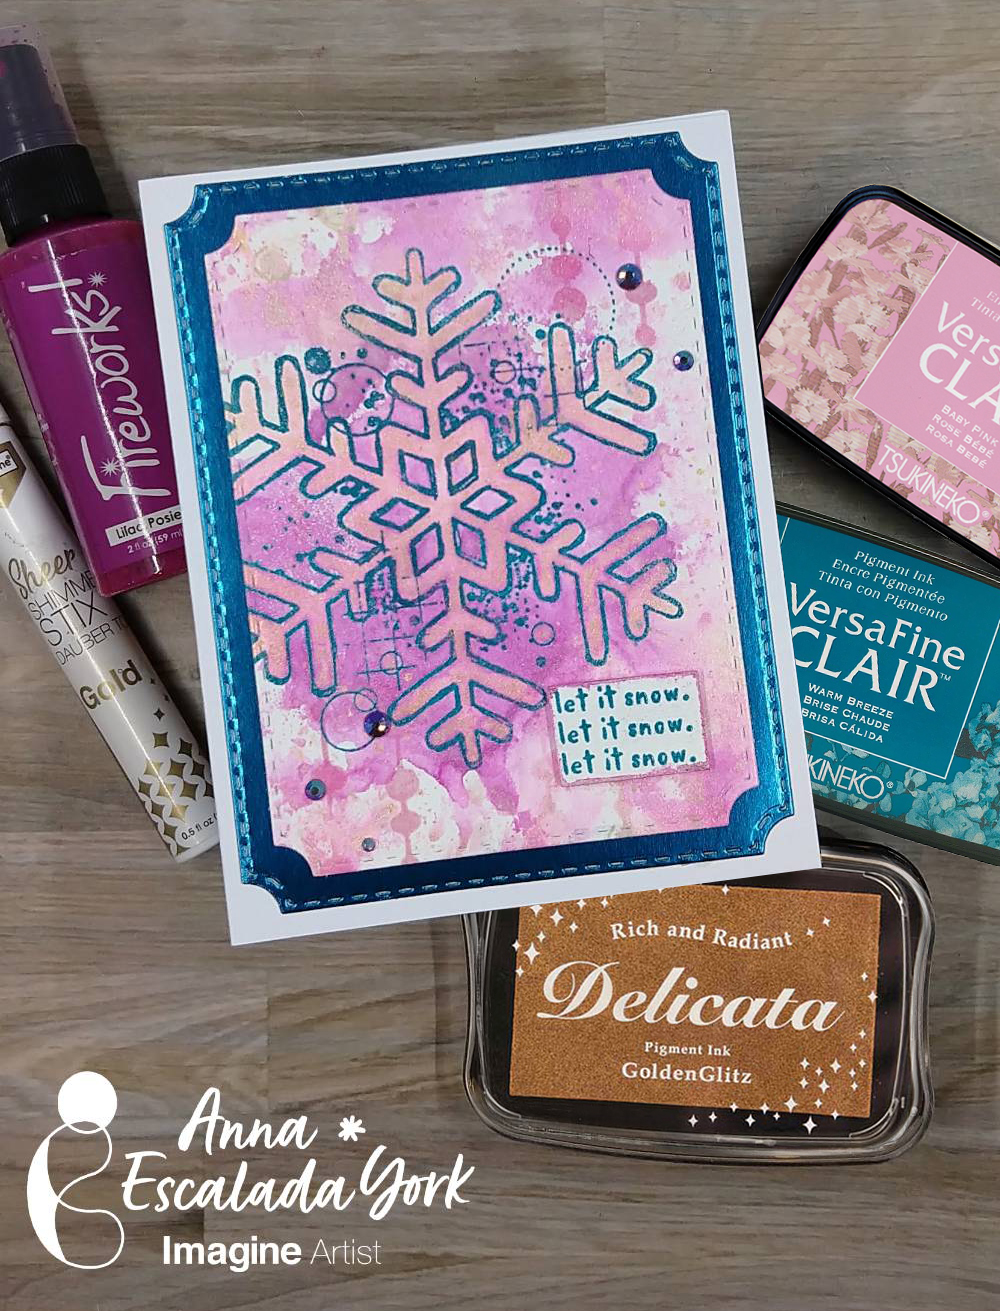
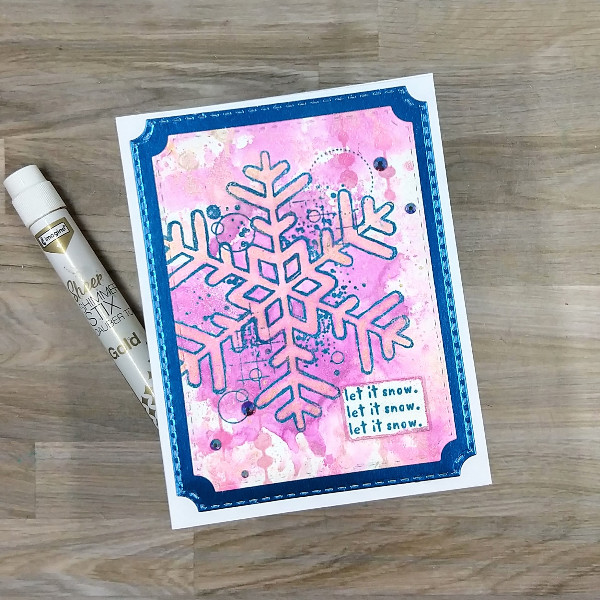
It’s July, so bring on the holiday cards! I personally love non-traditional colored holiday cards and so created one in pink, blue and purple.
Skill: Intermediate Time: 1.0 hour
Directions:
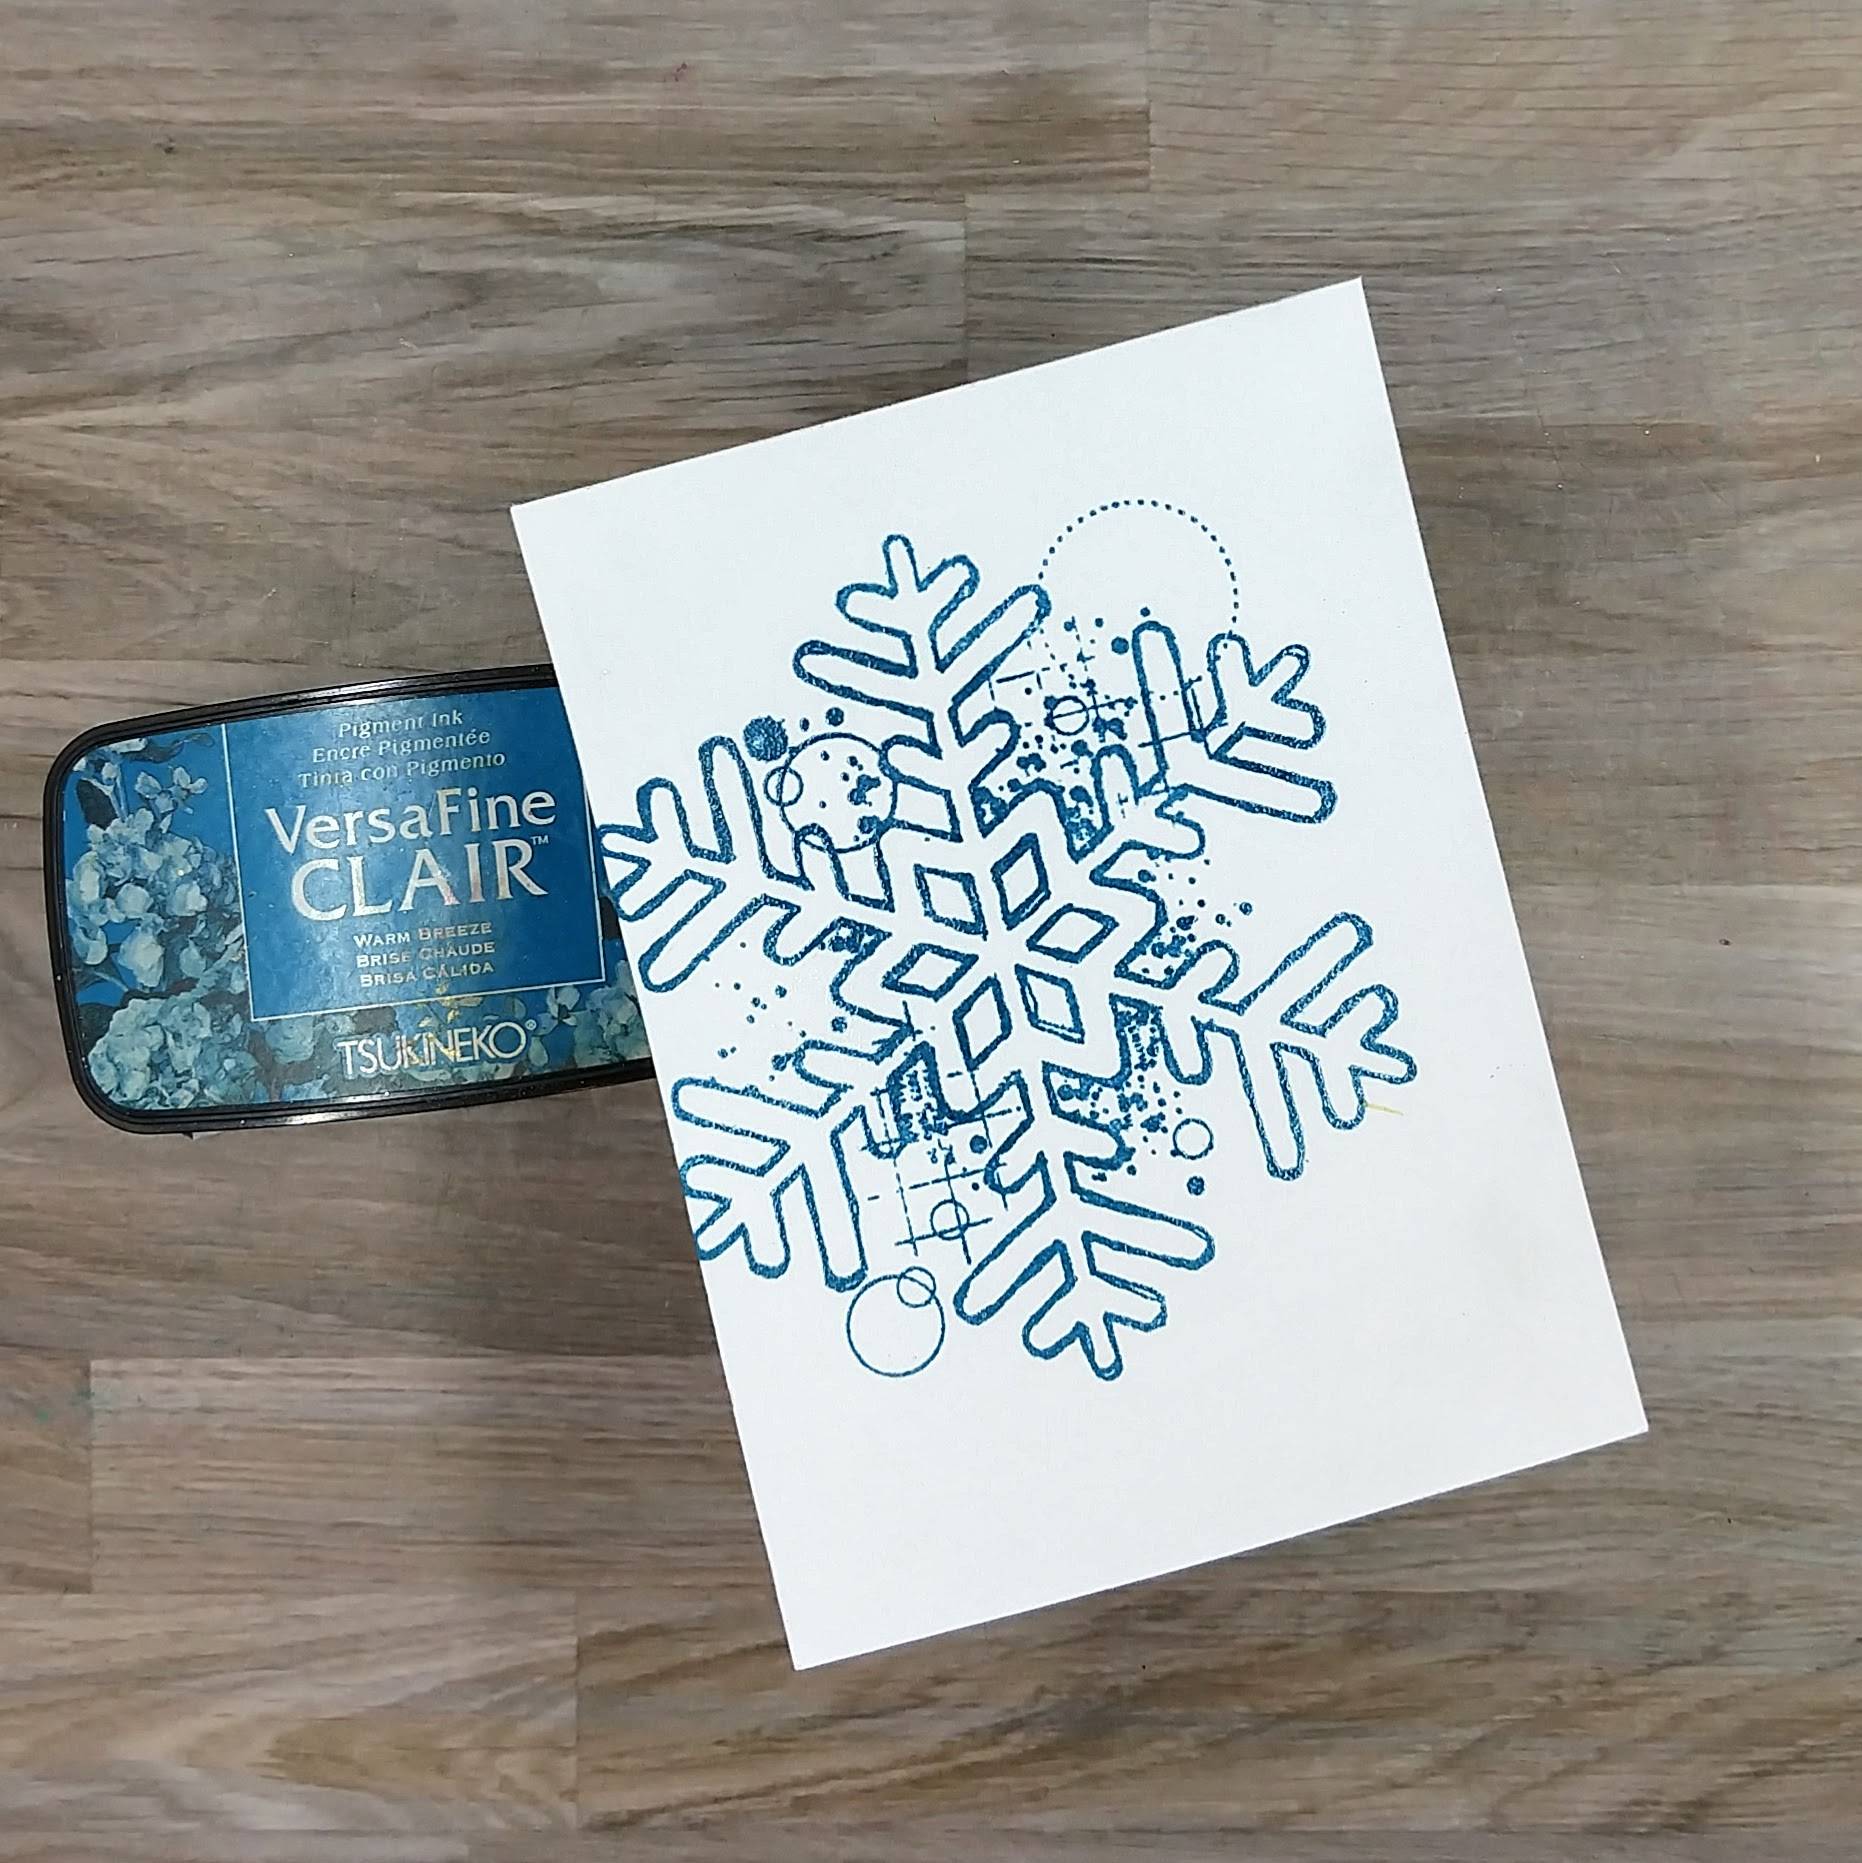
Step 1: Stamp a large snowflake stamp on watercolor paper with Warm Breeze VersaFine Clair ink and heat emboss with clear embossing powder.
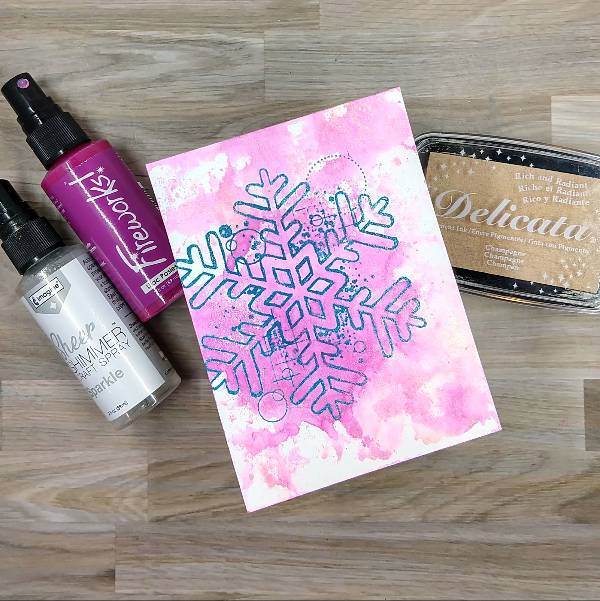
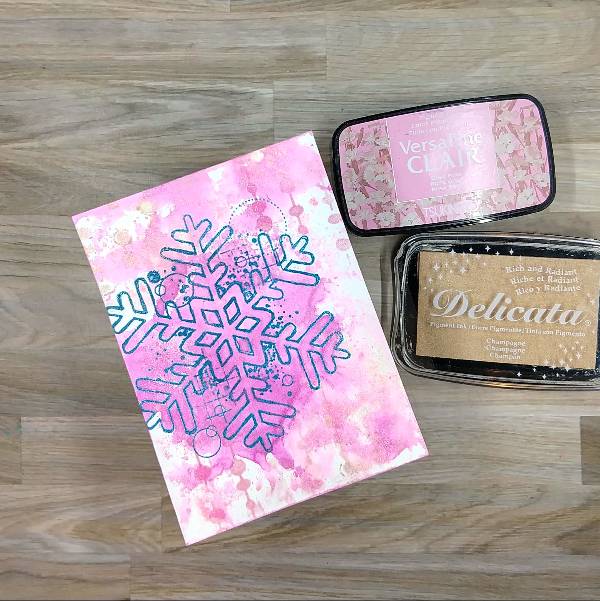
Step 2: Watercolor smoosh the watercolor panel with alternating layers of Lilac Pansies Fireworks! Craft Spray and Champagne Delicata Ink mixed with Sparkle Sheer Shimmer Craft Spray on scrap acetate.
Step 3: Ink blend a combination of Champagne Delicata Ink and
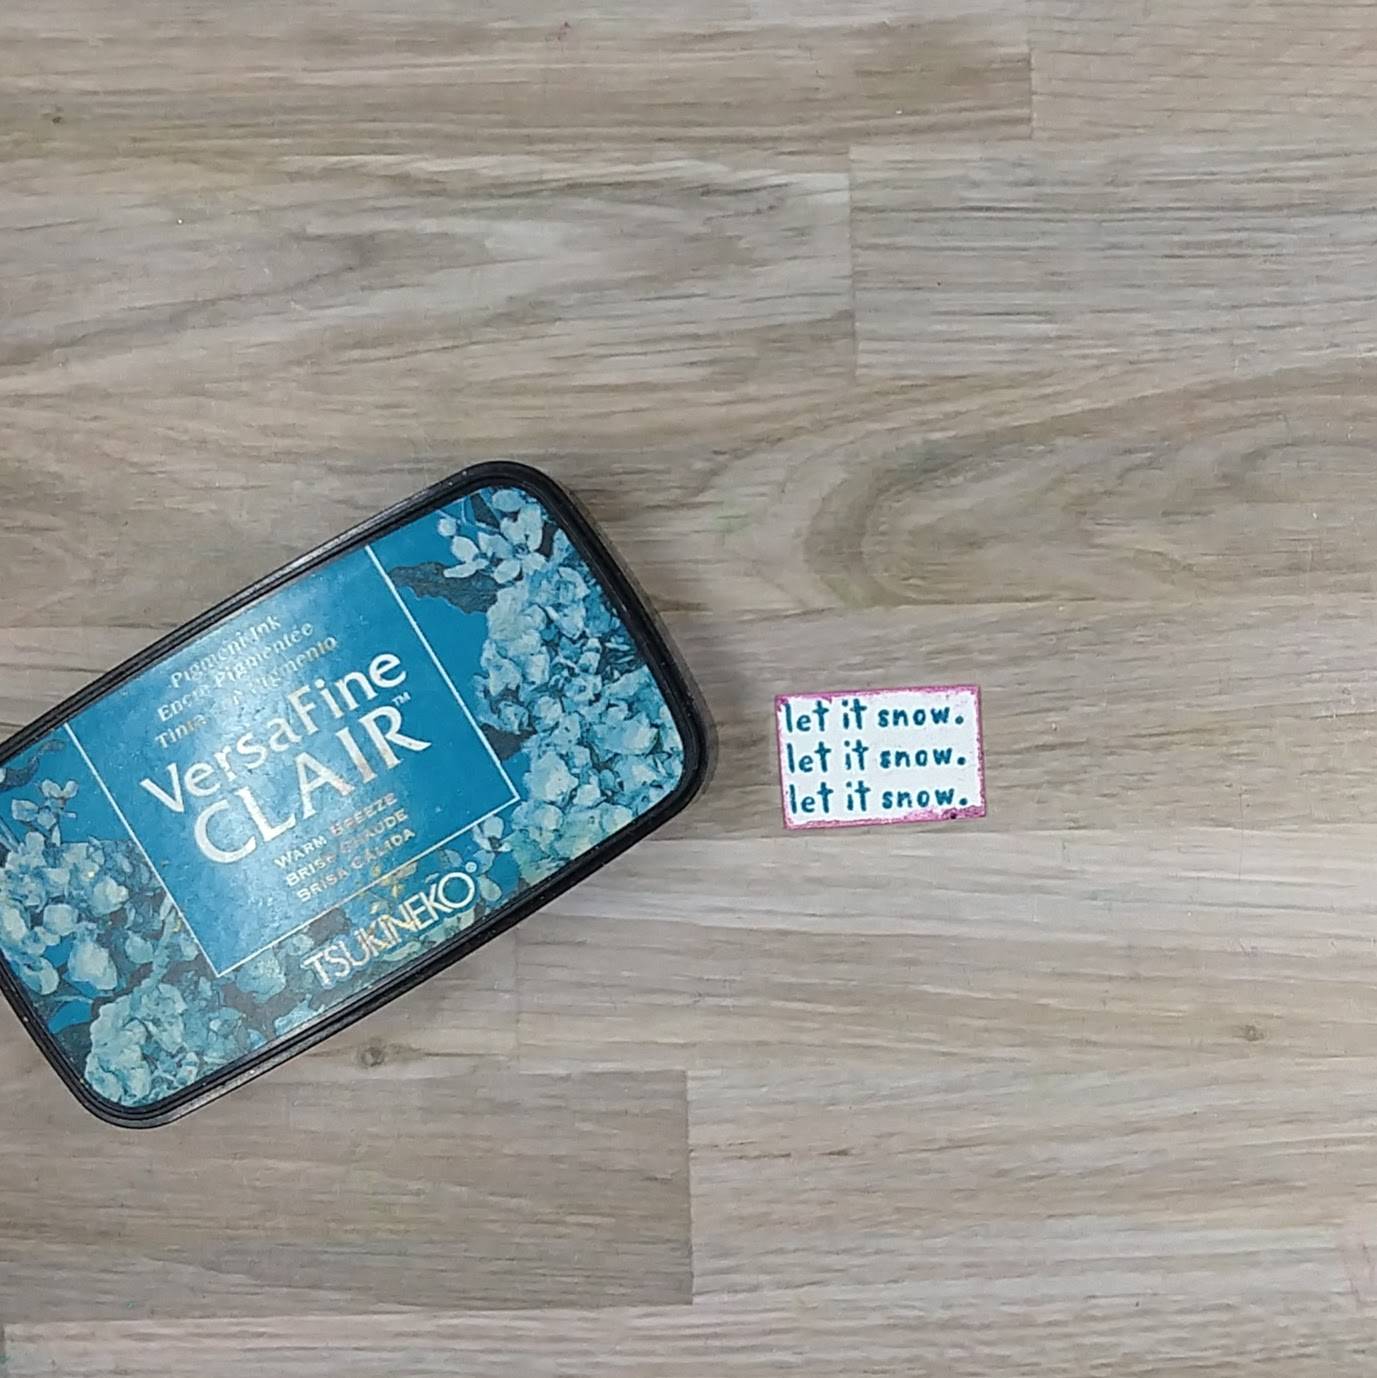
Step 4: Stamp the sentiment on a small scrap of watercolor paper with more of the Warm Breeze VersaFine Clair ink. Heat emboss with more clear embossing powder. Trim the sentiment down to the desired size with scissors. Then press the edges of the sentiment strip into the remaining mix of colors from step 2’s watercolor smooshing to color the edges.
Steps 5 and 6:
Press the Gold Sheer Shimmer Stix Dauber Top onto another piece of scrap acetate to create a liquid gold medium. Watercolor the gold liquid inside the snowflake to make it shiny. Watercolor smoosh the remaining gold watercolor onto the card panel.
After everything dried, die cut the watercolor panel with the second-largest die from an A2-sized nesting die set and a piece of blue metallic cardstock with the largest die from the same
A2-sized die set. Glue both die cut layers together. Attach the sentiment with foam tape. Glue sequins around the snowflake. Finally, glue the whole thing onto an A2-sized white cardbase.
Other • Altenew – foam tape • Crafty Meraki – embellishments – Meraki Sparkle Prismatic Blue • Idea-ology and Tim Holtz – 6 x 9 cardstock – blue (from the Metallic Colors collection) • Pink and Main – die set – Notched Corners • Scrapbook.com – stencil – String Lights • A2-sized white card base • Clear Embossing Powder • Watercolor paper • Thin paint brush • Die cutting machine • Scissors • Glue
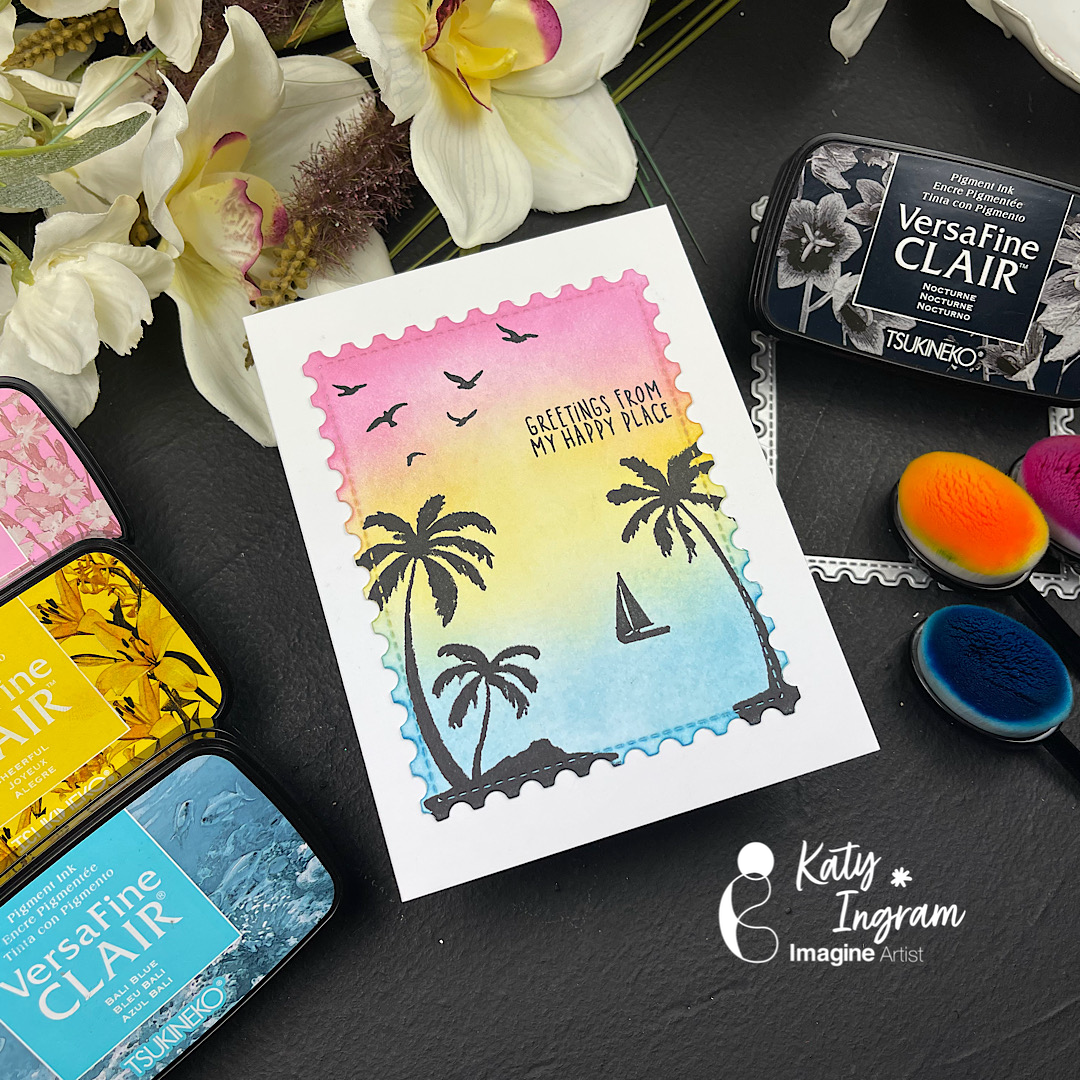
Hello Friends! Katy here with another quick project for you. Today’s card is a fun summertime vibes card, but as always you can use this design for what ever you need!
I did a little ink blending to create my background and used some silhouette stamps to create my scene. Check out the video below for all the details.
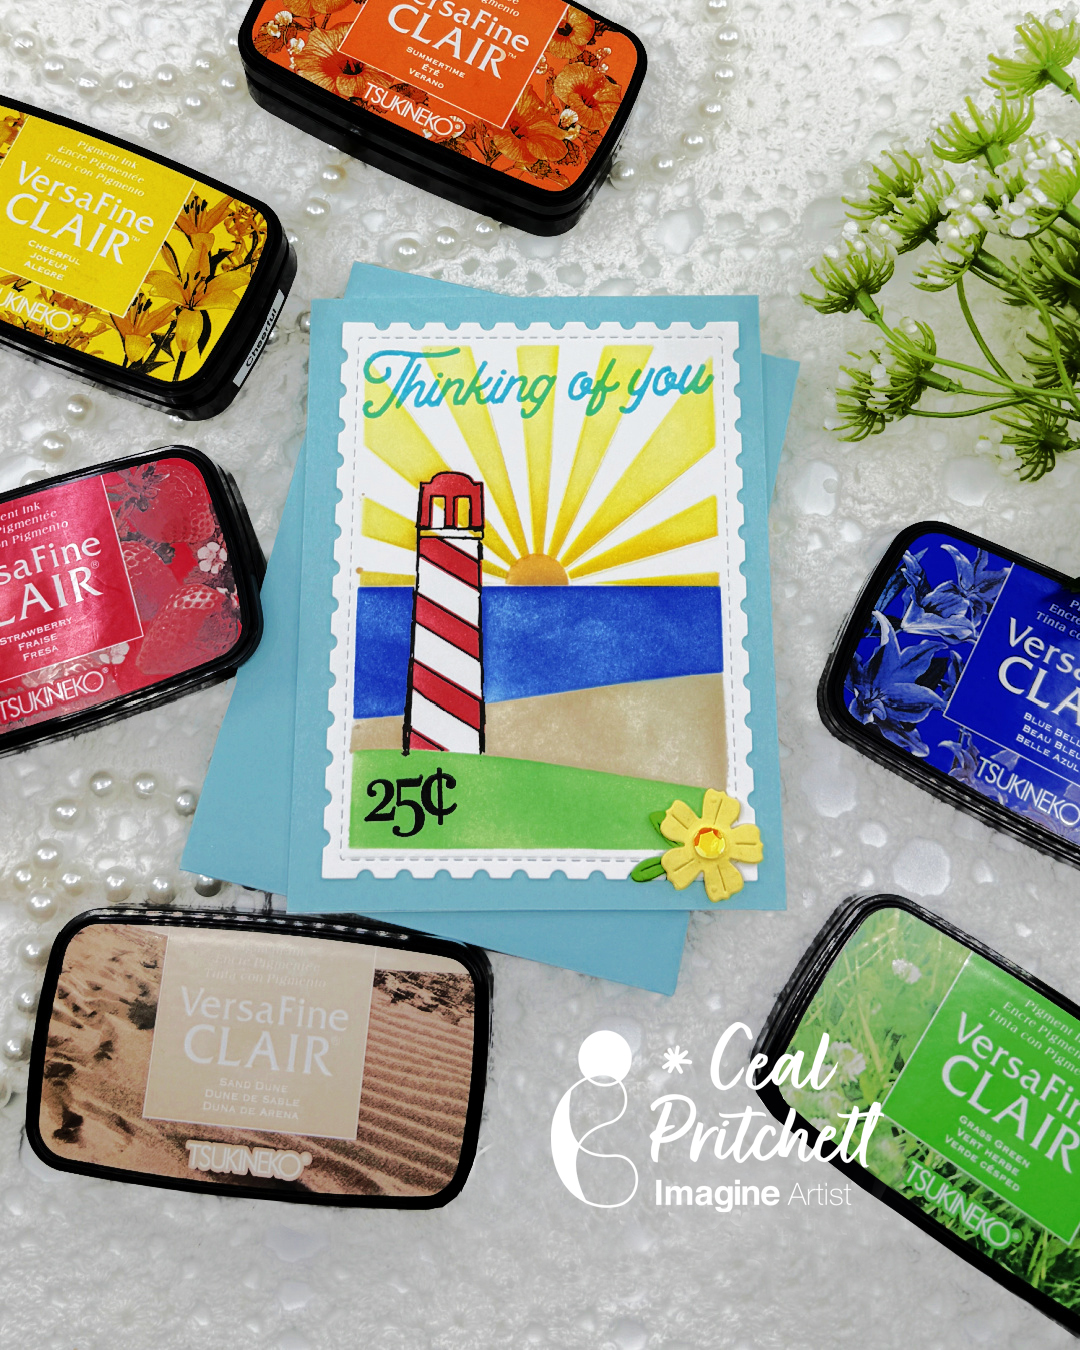
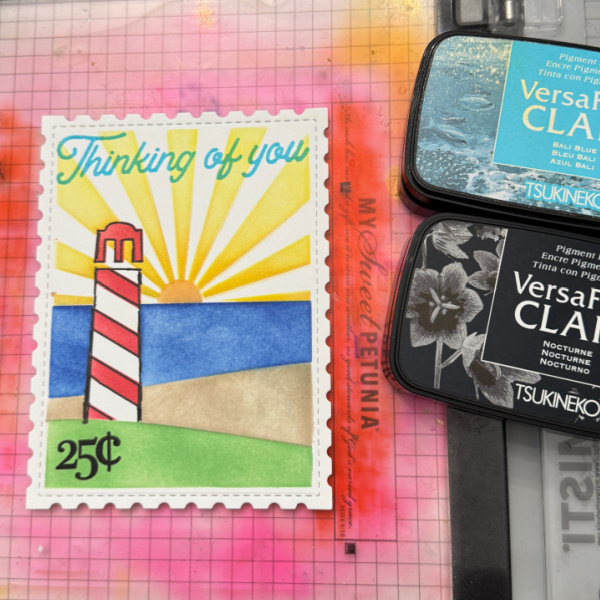
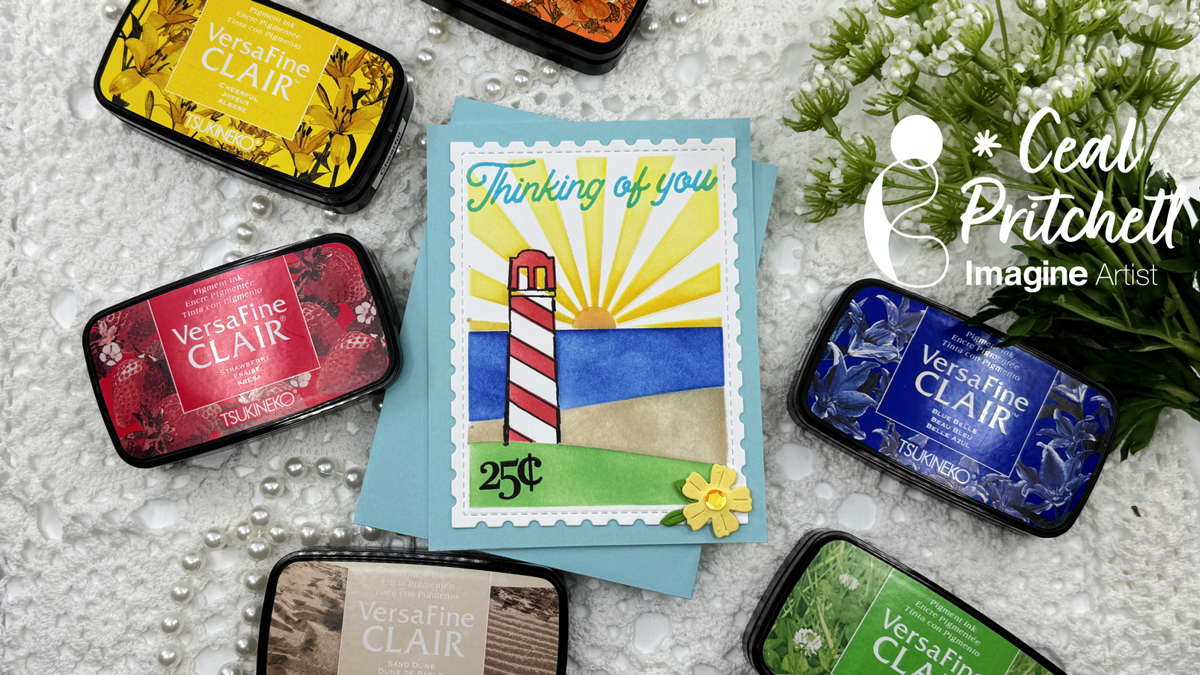
Hello crafty friends. It’s Ceal, here. Today I am sharing a beachy card using some summer colors. When I think beach, I think lighthouses because the beach we go to has one on it.
Skill level: Intermediate to advanced Time: An hour or more
Directions:
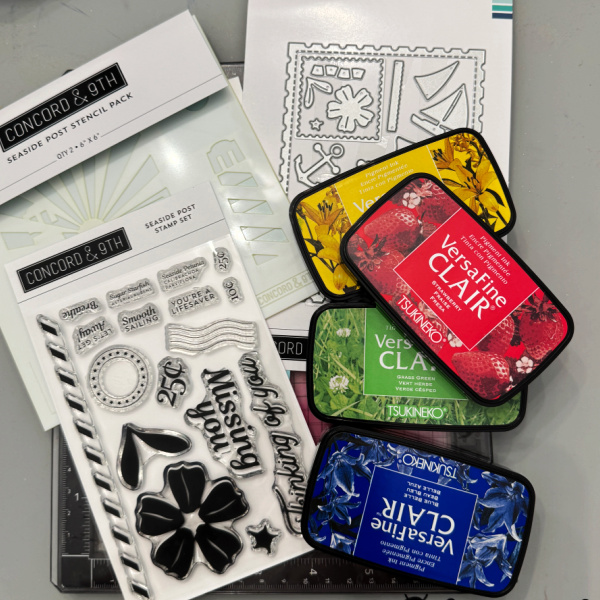
Gather your supplies. You will need a beach themed stamp, stencil and dies. Several colors of inks. Post-it notes or masking paper and a fine liner pen.
Step 1:
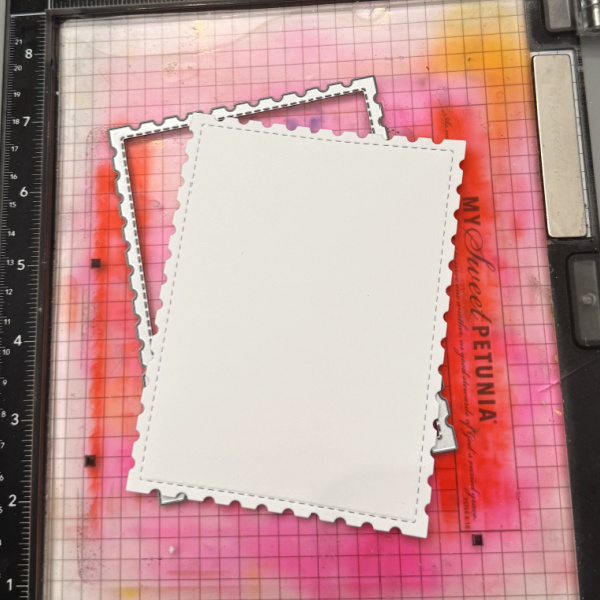
Die cut the postage stamp panel. This must be cut first with this particular set because you line up the stitched lines.
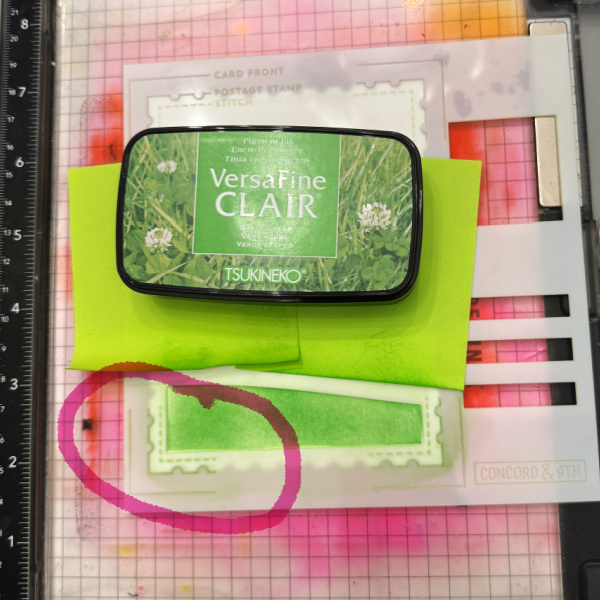
Step 2:
Place the stencil over the panel, lining up the stitched part, I circled it so you could see what I am referencing. Mask off other areas of the card so you don’t get ink on it. Ink blend green ink for the grass. Remove and clean the stencil
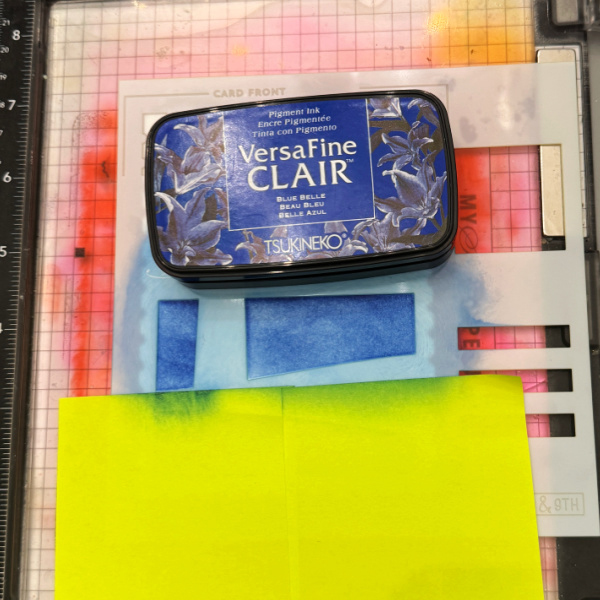
Step 3:
Mask off the grass and ink blend blue for the ocean. Remove and clean the stencil.
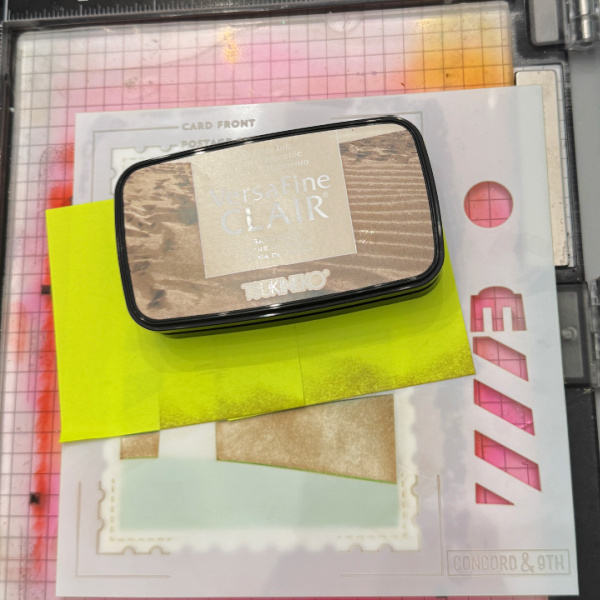
Step 4:
Mask off the ocean. Ink blend brown for the sand, remove and clean the stencil.
Step 5:
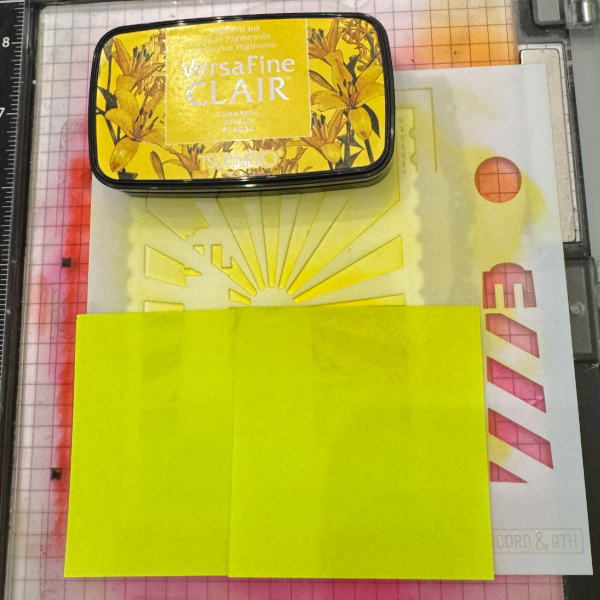
Mask off the bottom portion of the stencil. Ink blend Yellow for the sun rays. Remove and clean the stencil.
Step 6:
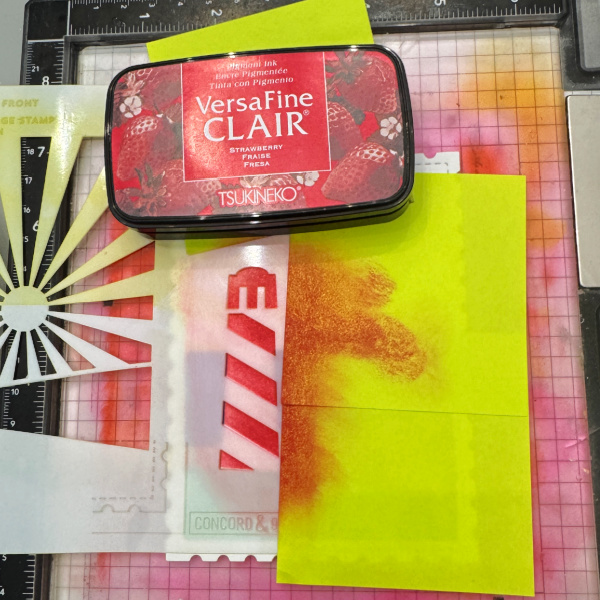
Ink blend red for the lighthouse. Remove and clean the stencil.
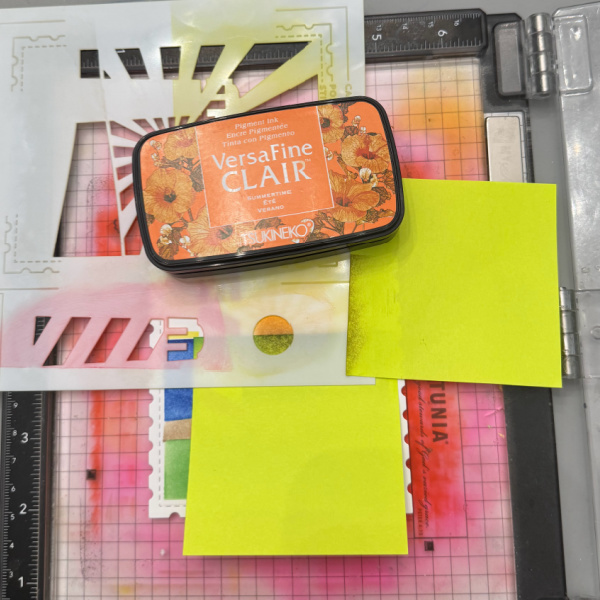
Step 7:
Be sure to mask off portions of the card that may get inky. Place the stencil down where the sun is in the white space that was left after blending the sunrays. Ink blend orange in the circle and also at the base of the sunrays. Remove and clean the stencil.
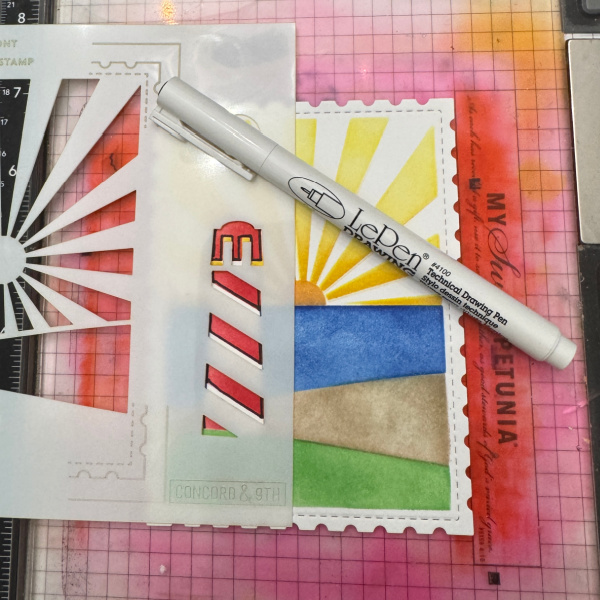
Step 8: (optional)
This step s totally optional but I like the way it grounds the lighthouse. Place stencil back over the lighthouse and use a fine liner pen to trace the stripes.
Step 9:
Stamp the greeting in blue and the 25 cents in black. Not pictured in this photo but you will need to die cut the flower and add it to the corner as shown in the finished card.