by Roni Johnson
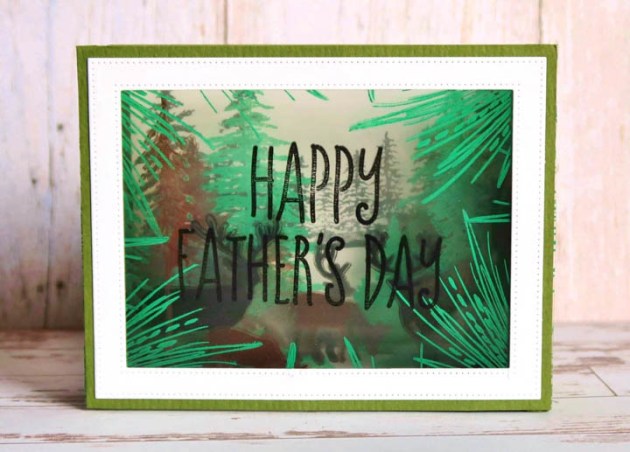
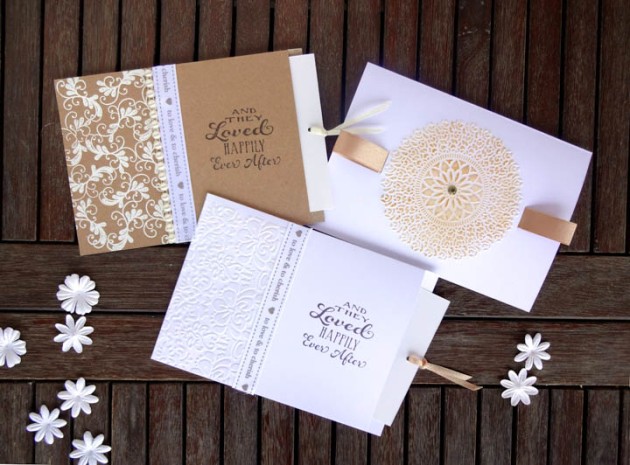
Tunnel cards just got that much cooler because of StazOn Pigment Inkpads! You can now stamp on acetate and really build up those layers without all of the cutting and snipping like traditional tunnel cards. With the help of StazOn Pigment Inks simply stamp on acetate panels, use Tear It! Tape to affix the panels to the accordion sides and you’re good to go! It takes a matter of minutes instead of hours!
Skill: Advanced
Time: 20 minutes
Directions

Step 1
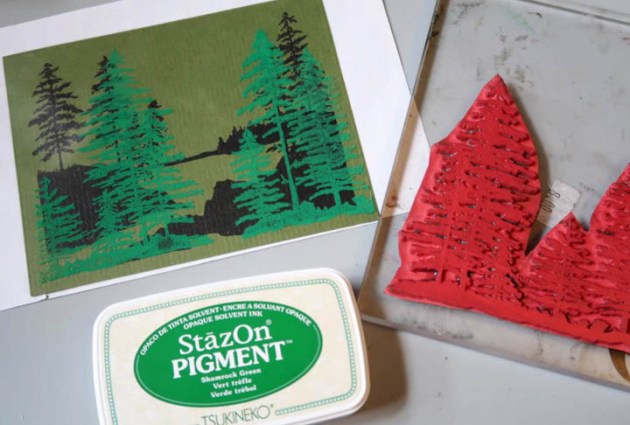
Stamp beginning layer on a card to use as a stamping guide. Originally I thought I would use this as the back panel of the card but the green was too dark so I stamped a second panel on white cardstock to use as the final layer of the tunnel.
Step 2
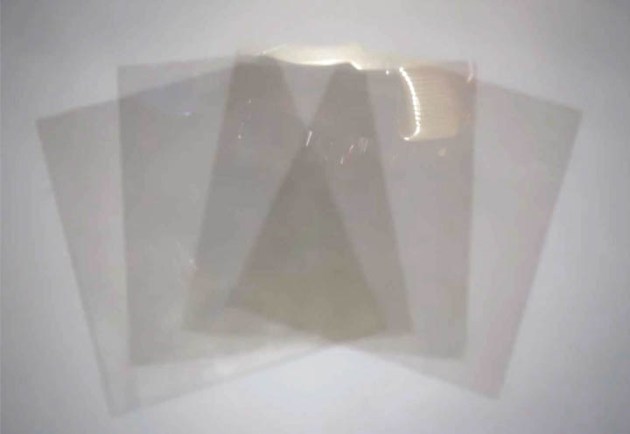
Cut acetate (transparencies) to the desired size. I cut 4 layers for this card.
Step 3
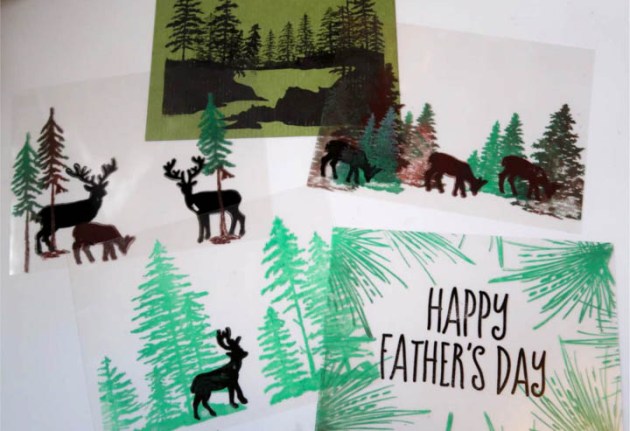
Position one of the acetate panels over the stamping guide. Stamp the panels from back to front stamping panel #4 first.
Step 4
Continue stamping each consecutive layer as desired. As you can see here the inks yield crisp clean opaque images on the acetate. The best part is they dry in a matter of seconds allowing you to stack the next layer on top of the last for ease of alignment and stamping.
Step 5
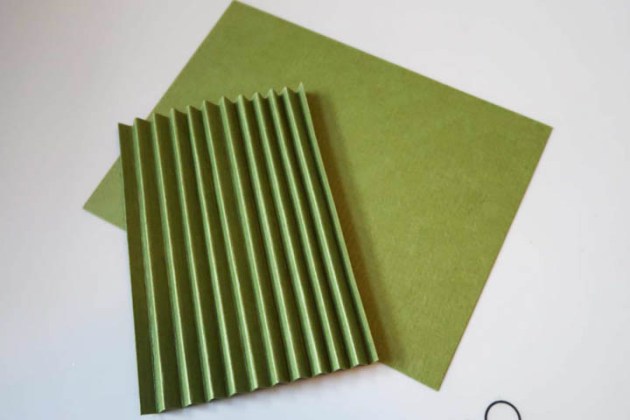
Create the accordion side panels by creasing a 4” x 4 ¼” card panel at ¼” increments.
Step 6
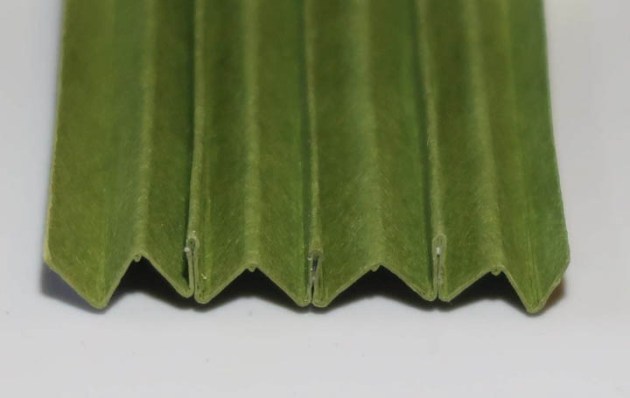
Use On Point Glue to create 3 flats between the mountains as shown in the photo. These flat pieces will be what you affix the acetate panels to creating the tunnel effect.
Step 7
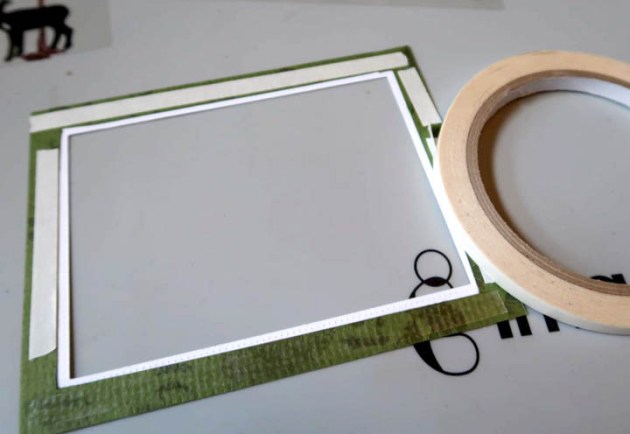
Cut a frame for the front of the card. Use Tear It Tape to affix the front acetate panel to the card frame.
Step 8
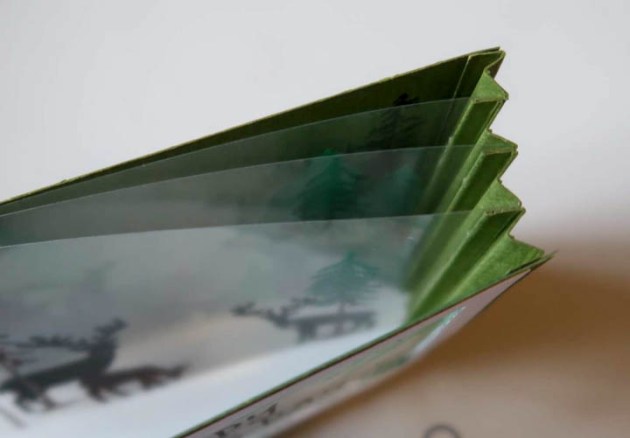
Adhere the accordion pieces to the back sides of the frame. Use Tear It Tape to adhere to each consecutive panel to the accordion sides as shown in the photo.
Your tunnel card is ready to go!
Supplies
Imagine
- StazOn Pigment Ink – Shamrock Green, Piano Black, Chocolate Brown, Koala Gray
- On Point Glue
- Tear It! Tape
Other
- Acetate
- Cardstock
- My Favorites Things – Stitched Frame
- Just For Fun Stamps – Trees, deer, pine bough
- Rubber Stamp Tapestry – Mom & Dad Clear Stamp Set
- Die Machine
- Acrylic Block