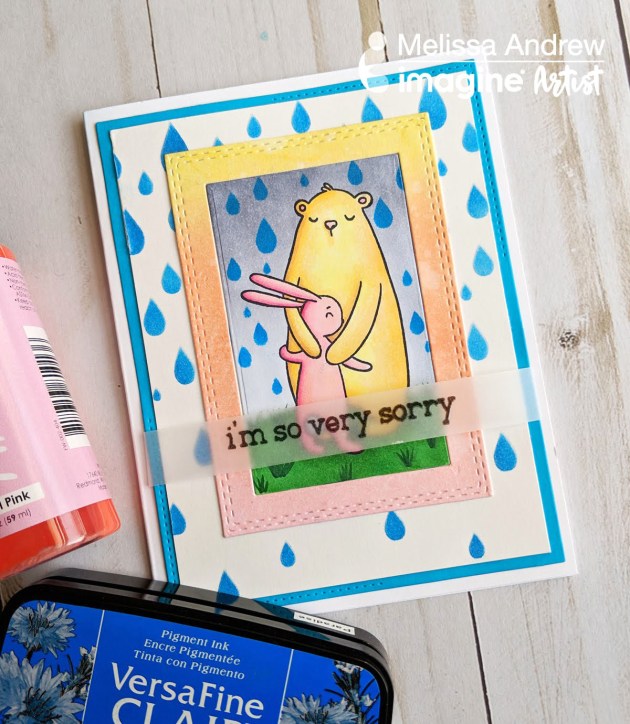
See How VersaFine Ink Can Be Used with Copic Markers and Stenciling

by Melissa Andrew

Today, I share how to use VersaFine Clair in multiple ways! This fabulous pigment ink allows for crisp clean stamping, stenciling, and layering. It works wonderfully for embossing sentiments “I am So Sorry” on vellum for sympathy cards and can be used under mediums such as Creative Medium. I stamped a teddy bear image with Memento ink and used Copic Markers for coloring, however, VersaFine can layer on top of the Copic coloring. See how I use VersaFine carefully with Alcohol Markers.

Skill: Intermediate
Time: 30 minutes

Directions

Supplies

Imagine
Other
  • Whimsy Stamps – Hugs Bunny Clear stamp set
  • Copic markers
  • Cardstock – white, blue
  • Bristol Smooth cardstock
  • Vellum
  • Paper Trimmer
  • Heat Tool
  • Stencil

How To Make A CAS Layered Card

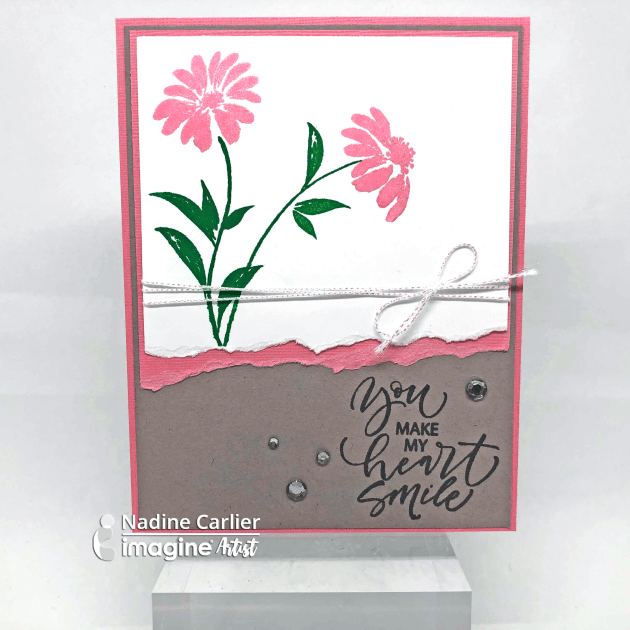
by Nadine Carlier

CAS Layered Card by Nadine Carlier IC

Brillance Pearlescent Coral was the perfect ink for the delicate flowers on my CAS layered card. Watch my video below to see how easy it was to create. Enjoy!

Skill: Beginner
Time: 15 minutes

Supplies

Imagine
Other
  • Gina K Designs Watercolor Flowers Stamp Set
  • Misti
  • String
  • Gemstones
  • Cardstock – White, Gray, Pink

Visit our YouTube Channel for more inspirational videos and subscribe to get updates when we post new videos.

Learn How to Create a Beautiful Coral Theme Card with VersaMark

by Jessica Lin

In this video, I’ll share how you can stretch the use of your VersaMark ink pads and create easy backgrounds with them. Even though VersaMark is generally used for heat embossing, it’s also a great ink for tone-on-tone or monochrome stamping. Let me know if you’d like to try this easy, minimal supply technique, and are interested in seeing more of these tutorials.

Skill: Intermediate
Time: 30-45 minutes

Directions

Supplies

Imagine

• VersaMark Dazzle – Champagne
• VersaMagic DewDrop Ink – Pink Grapefruit
• On Point Glue
• Tear It! Tape

Other

• Stampin’ Up Flourishing Phrases Clear-mount Stamp
• Stampin’ Up Flourish Thinlits Dies
• Cardstock – Coral, Green, Yellow, White
• Stamping Tool

Use Rose Gold Ink to Color a Beautiful Floral Pattern

by Martha Lucia Gomez

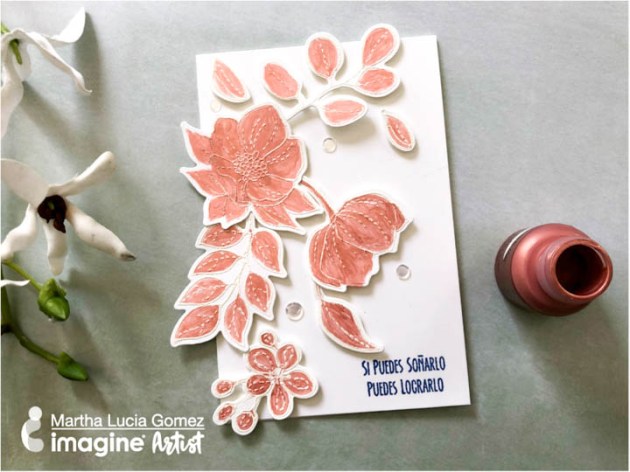
Hello dear friends! Today, I have a very special card that I made just using the new All-Purpose Ink in Rose Gold from Tsukineko. All-Purpose ink comes in a variety of colors including metallics which is perfect for this project. Rose Gold is a trending color and can easily use it in all my creations and thanks to Imagine we have many options to use. Take a look at my card:

Skill: Intermediate
Time: 30 minutes

Directions


Step 1

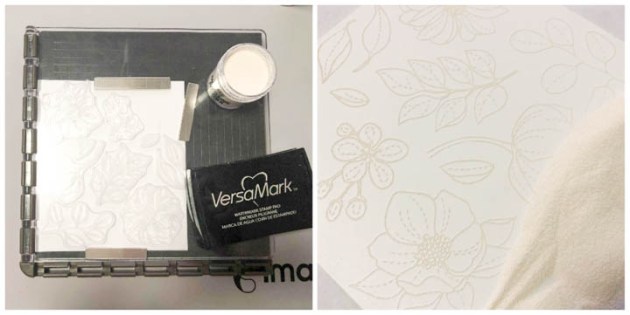
To create my card, I used whisper white card stock, embossing powder and VersaMark ink. I stamped the flowers over whisper white card stock too using VersaMark and White Embossing Powder. I melted the powder with the heat tool and then started my painted or coloring process with All-Purpose Ink Rose Gold.


Step 2

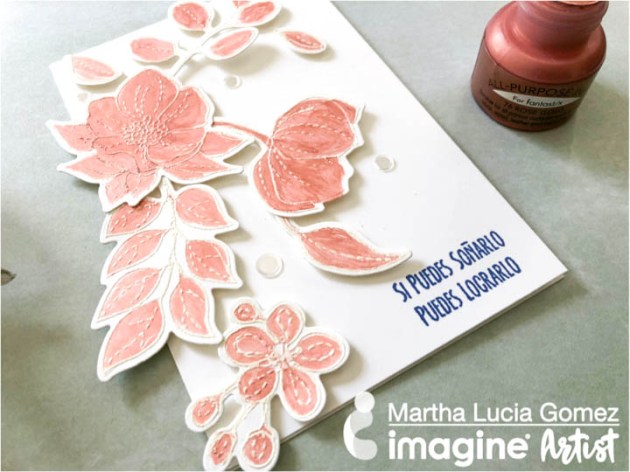
To color the flowers I used a paintbrush but you can also use Fantastix to have the same result. I cut my card in regular size but after finish it, I changed my mind and decided to reduce the width of the card and show off some of the flowers that I used. After coloring the flowers and leaves, I cut all of them with my scissors and arranged them on the left side of the card. During this process, I changed my mind on how I used some parts of the flowers on the left side.


Step 3

To have the card on normal size, I just cut the right side border about 3/4″ of an inch. I pasted all the flowers with double-sided foam tape and added white sequins with On Point Glue. To finalize the card, I stamped with Memento Paris Dusk a Spanish sentiment from the stamp set Vive Ama Sueña from Latina Crafter. Simple, easy and beautiful!

Supplies

Imagine
Other
  • Whisper White Card Stock
  • Sequins
  • Double Sided Foam Tape
  • Even More Spring Flowers Stamp Set from Simon Says
  • Misti Stamping Tool
  • Scissors
  • Paintbrush

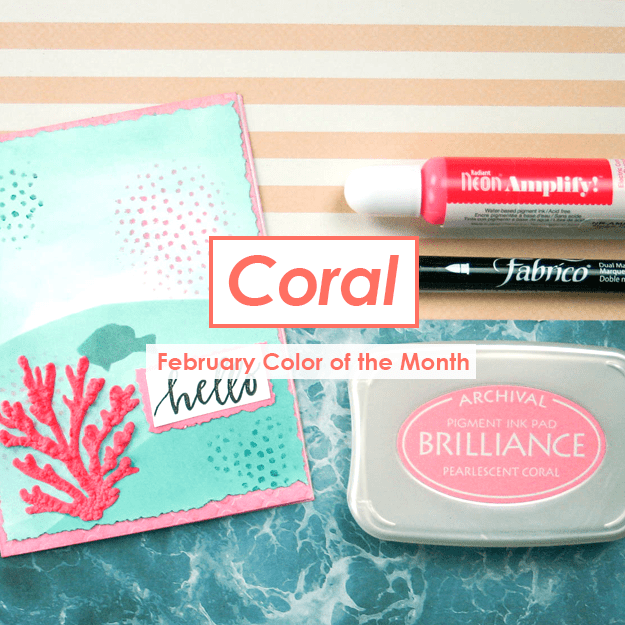
Color of the Month for February is Coral

The Color of the Month for February is Coral. We see coral as a beautiful pink-orange that can have a hue range from vibrant colors found in Radiant Neon product line with the full-size Electric Coral inkpad, Amplify Texture in Electric Coral to softer colors like Fabrico markers such as Apricot, Brilliance Pearlescent Coral, and VersaColor Seashell. These colors are a great addition to your crafting ink collection.

Here is a sneak peek of the projects for February

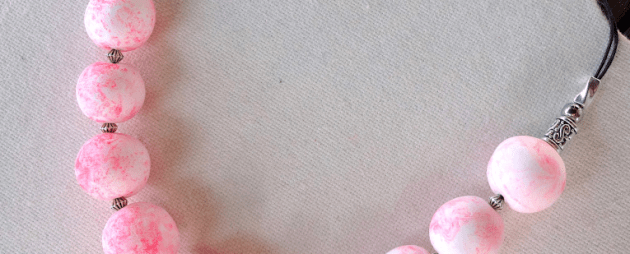
Coral Beads by Kyriakos Pachadiroglou

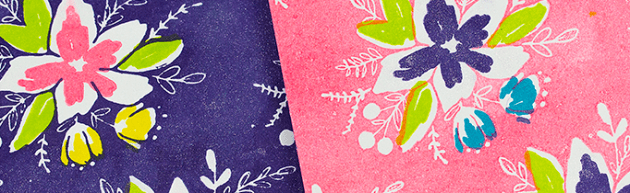
Matching Coral Cards by Kassy Tousignant

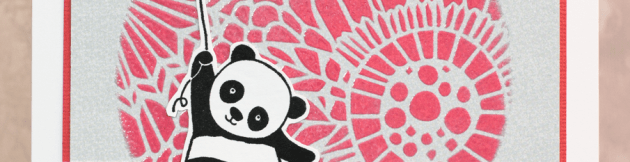
Coral Stenciled Card by Elina Stromberg

See How To Use The Imagine Craft Mat To Print

by Lindsay Adreon

The Craft Mat from Imagine is unlike any other mat I’ve tried! Not only is it a great surface to stamp, ink blend, and work on, it is also a great tool with some really fun techniques! I had such a fun time printing with the Craft Mat and can’t wait to keep trying new color combinations and shapes to make more fun backgrounds!!

Skill: Intermediate
Time: 30 minutes

Directions

Supplies

Imagine

• Imagine Craft Mat
• VersaFine Clair Ink Pad – Warm Breeze, Blue Belle, Twilight
• Daubers
• IrRESISTible Pico Embellishment – Summer Sky
• VersaMark Ink Pad
• StazOn Stamp Cleaner Dauber Top
• On Point Glue
• White Embossing Powder

Other

• Brayer
• Die Cutting Machine
• Tonic Studios – Mixed Rectangle dies
• Craftin Desert Divas – Flag Banner metal dies, Sending Die, Wishful Thoughts Stamp Set
• Ellen Hutson – Home and Hearth metal die
• Wow! Embossing Powder – Silver Glitter
• Scrapbook.com – 6×6 Adhesive Sheets