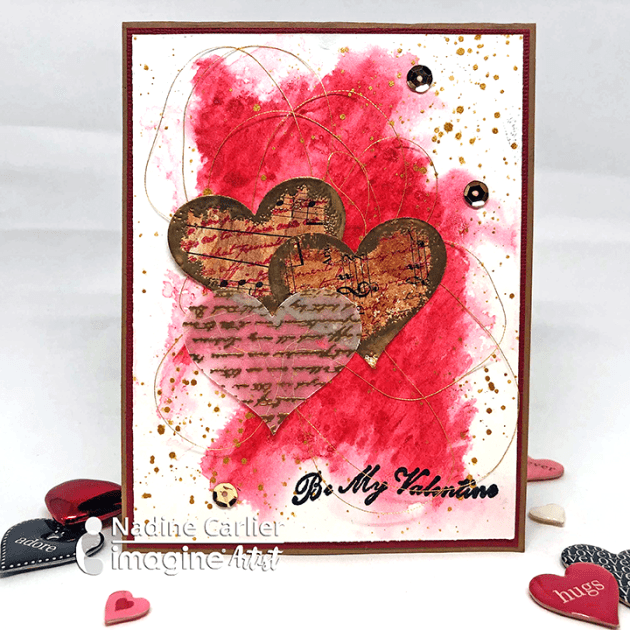
How To Create An Eclectic Valentine’s Day Card

by Nadine Carlier

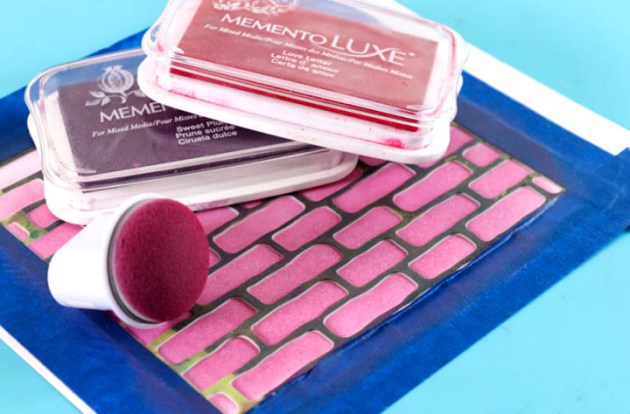
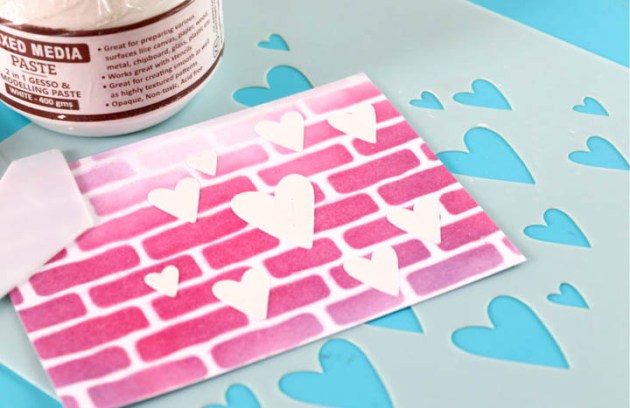
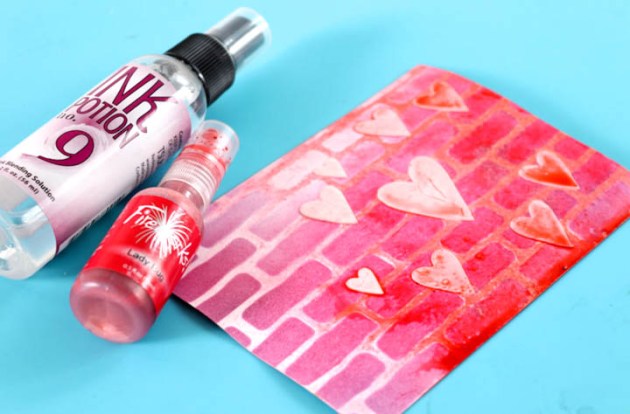
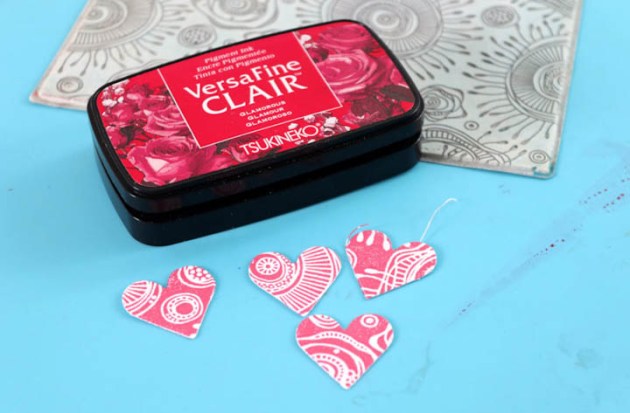
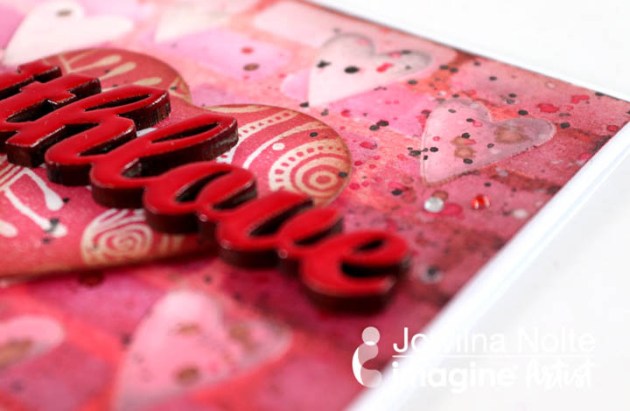
I have always considered myself as an eclectic type crafter and this card is the perfect representation of my style. It has a little bit of modern, vintage and grunge mixed together using several different techniques and products. Watch my video below to see how I did it. Enjoy!

Skill: Intermediate
Time: 20 minutes

Supplies

Imagine
Other

Visit our YouTube Channel for more inspirational videos and subscribe to get updates when we post new videos.

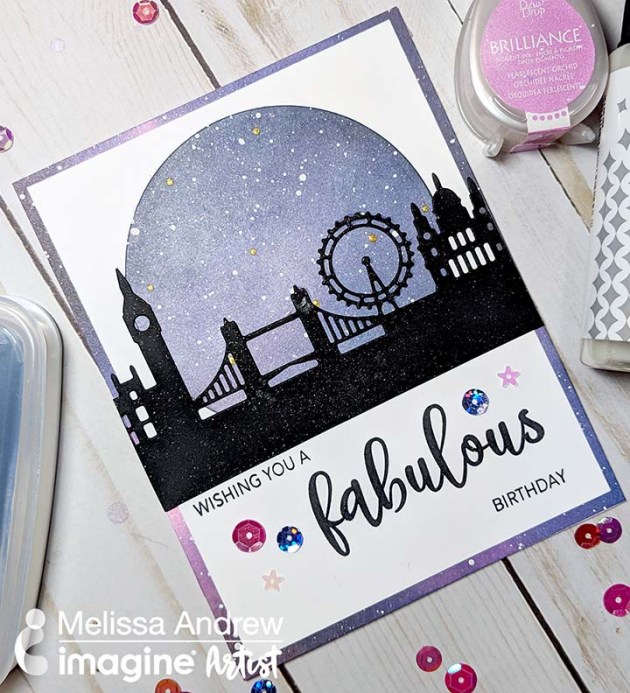
Create a London Night Sky Birthday Card

by Melissa Andrew

Create a London Night Sky Birthday Card

Today, I share with you how to create a Galaxy or night sky using VersaMagic Ink, Brilliance Ink, and MementoLuxe. These creamy inks blend so smoothly and seamlessly that anyone can create a gorgeous night sky. The addition of Sheer Shimmer Spray and white acrylic paint finish this creation. Please join me as I teach you how to create a wonderful Galaxy card.

Skill: Intermediate
Time: 30 – 45 minutes

Directions

Supplies

Imagine

• VersaMagic Chalk Ink – Night Sky, Concord Grape, Pretty Petunia, White Cloud
• Memento Luxe – Tuxedo Black
• Brilliance Ink – Pearlescent Orchid
• Sheer Shimmer Spray – Sparkle
• VersaFine Clair – Nocturne
• Pico irRESISTible – Gold
• Sponge Dauber – Large, Small
• Tear It! Tape
• On Point Glue 

Other

• SugarPea Designs Stamp Set – Simply Fabulous
• SugarPea Designs Die – LondonScape
• White Acrylic Paint
• Paint Brush
• Acrylic Block
• Circle Die
• Stamping Platform – Misti
• Sequence
• Paper Trimmer
• White Card Stock
• Black Card Stock

Make a Valentine’s Card with a Blue and Green Color Scheme

by Arjita Sepaha Singh

Make a Valentine's Card with a Blue and Green Color Scheme

For today’s card, I stamped two super adorable seal images using black ink and colored them using few shades of brown Memento ink. Then I used my sharp pair of scissors to cut them. To create a fun background I used a solid stripe stamp and two Versamagic inks which give a beautiful opaque chalky result. I repeatedly stamped them to create a cute plaid background. I arranged the layout for my card and its quick and easy card perfect for valentine’s day.

Skill: Intermediate
Time: 30 minutes

Supplies

Imagine

• VersaFine inkpad – Onyx Black
• VersaMagic DewDrop inkpads – Key Lime, Sea Breeze
• On Point Glue
• Memento ink pad – Rich Cocoa, Desert Sand
• Sheer Shimmer Spray – Sparkle
• Fantastix

Other
  • Card Stock –White
  • Heat gun
  • Acrylic block
  • Scissors
  • Lawn Fawn stamps

Use a Mirror Technique to Create a Cute Mermaid Card

by Roni Johnson

Use a Mirror Technique to Create a Cute Mermaid Card

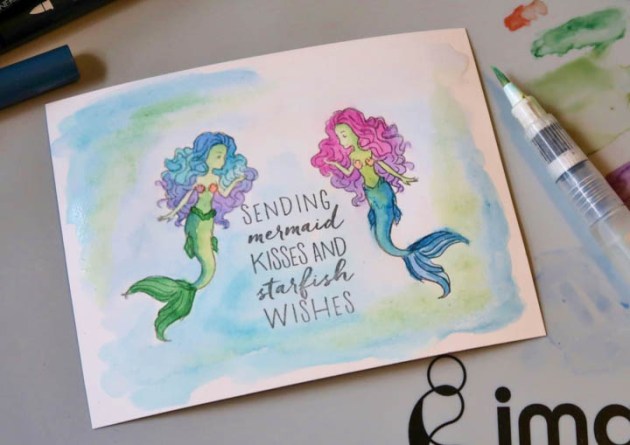
Imagine’s Craft Mat is a handy tool to have in your crafting arsenal. Not only is it great for keeping your work surface clean but there are many techniques you can use it for as well. Take the above card for example. Can you tell which mermaid is stamped and which one is a mirror image? Bet you can’t tell, can you? Find out the answer below….

Skill: Beginner
Time: 45 minutes + dry time

Directions


Step 1

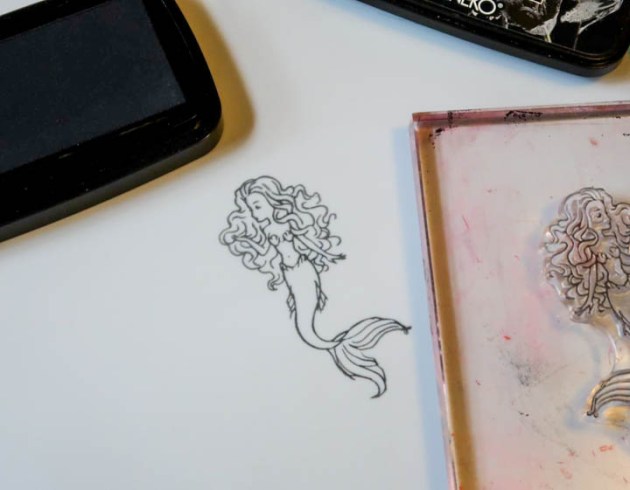
Stamp the desired image on to the Craft Mat using VersaFine Clair ink. VersaFine Clair is an excellent choice for mirror images as there is a nice open time and it creates such a crisp clean image when stamped.


Step 2

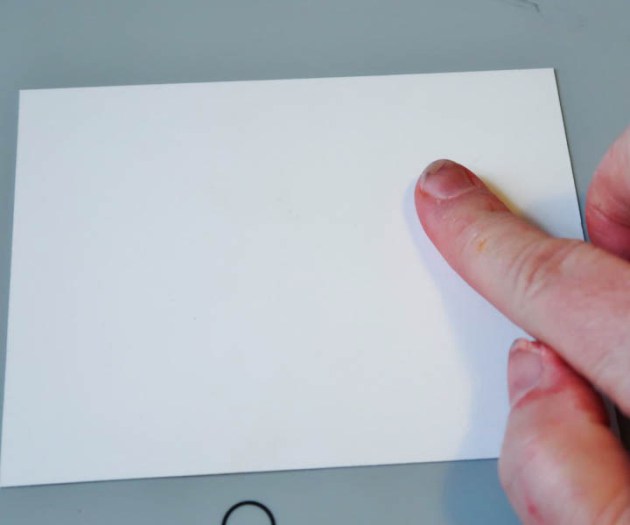
Place a piece of cardstock over the image stamped on the Craft Mat and burnish with your finger.


Step 3

Carefully lift the paper. Wipe the excess ink from the Craft Mat with a damp cloth. It’s as simple as that. You may finish the card as desired. Did you know that the Craft Mat is also a great palette for water coloring? Simply scribble Memento Dual-Tip markers onto the craft mat. You may then blend and pick up the inks with a water brush.


Step 4

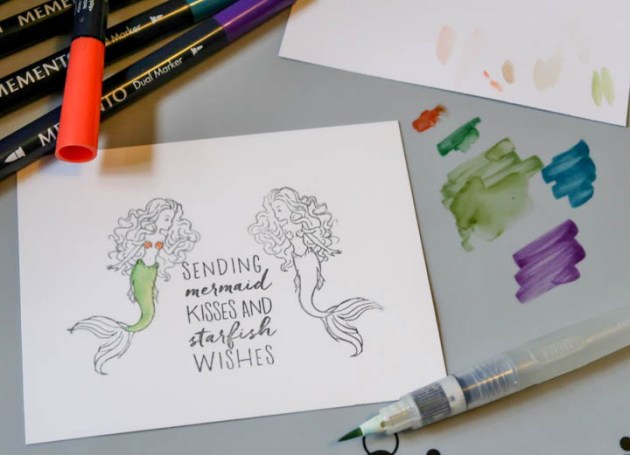
To finish off the example I stamped a second mermaid directly to paper and added a sentiment.


Step 5

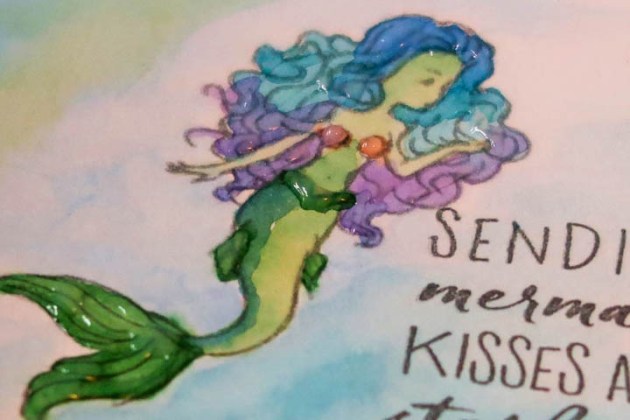
I then watercolored the image as desired using Memento Dual-Tip Markers and a water brush.


Step 6

I added a bit of Shimmer Pico Embellisher to various areas to add a bit of shine and sparkle. The green-tailed mermaid was the mirror image.

Supplies

Imagine
Other
  • White Cardstock
  • Hero Arts – Mermaid Kisses
  • Waterbrush

Create a Valentines Card with a Paper Airplane Theme

by Martha Lucia Gomez

Create a Valentines Card with a Paper Airplane Theme

Hello everyone! Today, I have a fun and creative stamping technique that you can use with all your clear stamps with symmetric form. This month we have prepared Valentine’s projects and of course, we are using the red color to enhance our passion for the inks.

Skill: Intermediate
Time: 1 hour

Directions


Step 1

To create this project, I am using the Pink Shimmer Delicata inkpad and Glamorous VersaFine Clair in combination with both sides of one single stamp from the stamp set Life’s a Breeze from Joy Clair. Yes, you read well – to create my card I used both sides of the stamp. Let me share it with you.


Step 2

First, I positioned the paper airplane stamp over the acrylic block. I adhered the stamping side over the block and let the backside be inked with the Delicata ink in Pink Shimmer. Then I stamped randomly the image over a piece of whisper white card stock, cleaned the stamp thoroughly and let the ink dry naturally. I love to use the Pink Shimmer Delicata Ink – the color is soft and shiny at the same time.


Step 3

When the ink was totally dry I turned the same paper airplane stamp in the normal way and inked it with VersaFine Clair Glamorous Ink. Like I used a symmetric image, stamp the image in the normal way was easy.


Step 4

After stamping all the comets, I covered the entire layer with Clear Embossing Powder and melted with the heat tool. Then I resized the layer and pasted over the red card base using dimensional or double-sided foam tape. To resize the image, I used a stitched rectangle die cut from Gina Marie Designs. Set the entire piece aside for a while.


Step 5

To decorate the background, take a piece of cardstock in any color and ink it directly with VersaFine Clair Glamorous inkpad. Cover the entire piece with Clear Embossing Powder and activate the powder with the heat tool.


Step 6

Take the embossed piece and cut with the dies that you want to use. On this card, I am using the new I Love You Shadow dies from Kat Scrappiness. These dies come with a mat and I cut them from a pink piece of card stock, pasted the layer with On Point Glue and then paste the letters over the decorated card base using dimensional or double-sided foam tape. This is a creative technique that you can explore with different types of stamps. The result is always different and if you mix and match the colors of ink you will love the effect.

Supplies

Imagine
Other
  • Cardstock: Real Red, Whisper White, Powder Pink
  • Acrylic Block
  • Die Cuts – Gina Marie Designs & Kat Scrappiness
  • Stamps – Life’s a Breeze by Joy Clair Stamps
  • Dimensionals or Double-sided foam tape

Create an Cat Themed Card with Ombre Background with Memento Ink

by Melissa Andrew

Today, I create a Kitty Theme Ombre background using a watercolor technique and Memento Ink. This will give you a gorgeous transition from dark to light of the same color. The technique is smooth and allows for a seamless background. The Memento ink is vibrant and colorful and can be easily moved with water. In addition, I show you how to watercolor images directly with Memento Inks.

Skill: Advanced
Time: 1 hour

Directions

Supplies

Imagine
Other
  • LDRS Creative Stamp Set – Kitten Caboodle
  • White Acrylic Paint
  • Acrylic Stamp Block
  • Paint Brush – 12 round, 6 round
  • Water Color Paper
  • White Cardstock
  • Misti Stamping Tool