DIY Wedding Favor Gift Boxes

by Nadine Carlier

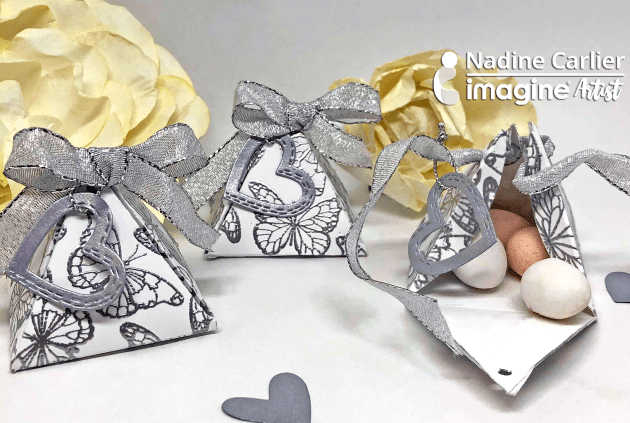
DIY Wedding Favor Gift Boxes with silver embossing

Sometimes you want to leave your guests a little something as a thank you for attending your wedding. These DIY wedding favor gift boxes are super easy to make. They can be made in many different sizes and colors to fit your style and needs. They would also be great for party favors for a baby shower too.
Watch my video below for details on how to make these cute little boxes.

Skill: Intermediate
Time: 10 minutes

Supplies

Imagine
Other

Visit our YouTube Channel for more inspirational videos and subscribe. Make sure to click the bell to get updates when we post new videos.

See How to Use Instant Drying Pigment Ink for Wedding Invitations

by Jessica Lin

See How to Use Instant Drying Pigment Ink for Wedding Invitations

Happy spring, everyone! This month we are focusing on wedding themes and I thought I would share some ideas using large floral stamps. When you are mass producing cards or invitations, you want to minimize the number of steps when creating. So using large images will save you a lot of time. Creating with a mess-free ink, like StazOn Pigment, is also key because it dries instantly and won’t smear. Lastly, for quick embellishing, use the Sheer Shimmer Stix to add the final wow factor. And your simple wedding project is done!

Skill: Beginner
Time: 15 minutes

Directions

Supplies

Imagine
Other
  • Stampin’ Up – Rose Wonder Photopolymer Stamp
  • Unity Stamps Girl Truly
  • Teal & Navy Cardstock
  • Rhinestones

Create An Awesome Accordion Fathers Day Card

by Roni Johnson

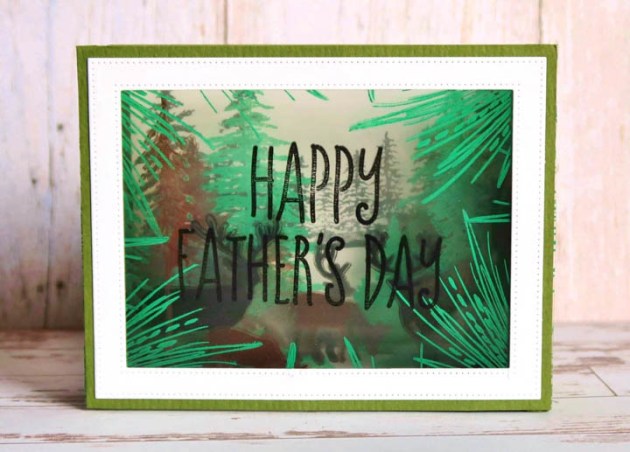
Tunnel cards just got that much cooler because of StazOn Pigment Inkpads! You can now stamp on acetate and really build up those layers without all of the cutting and snipping like traditional tunnel cards. With the help of StazOn Pigment Inks simply stamp on acetate panels, use Tear It! Tape to affix the panels to the accordion sides and you’re good to go! It takes a matter of minutes instead of hours!

Skill: Advanced
Time: 20 minutes

Directions

Step 1

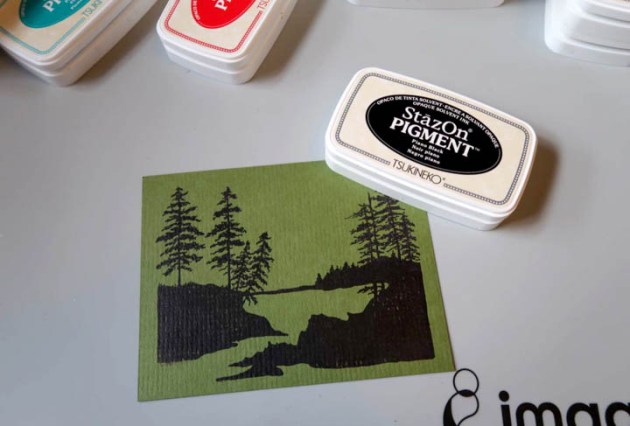
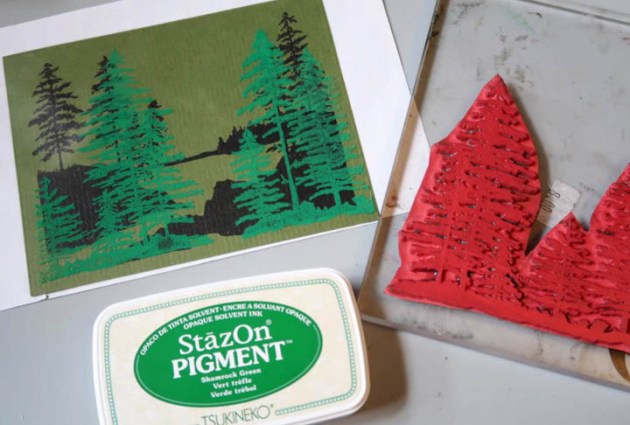
Stamp beginning layer on a card to use as a stamping guide. Originally I thought I would use this as the back panel of the card but the green was too dark so I stamped a second panel on white cardstock to use as the final layer of the tunnel.

Step 2

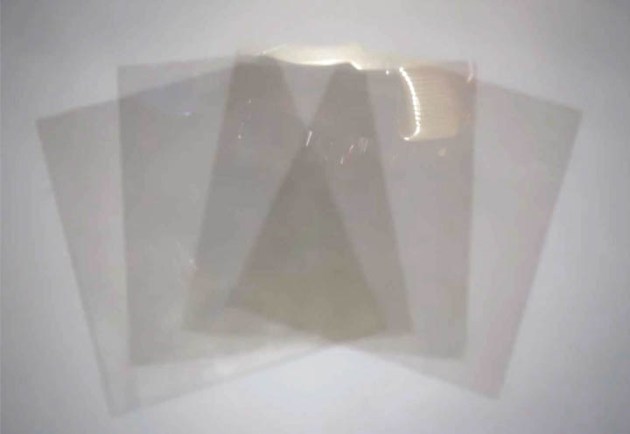
Cut acetate (transparencies) to the desired size. I cut 4 layers for this card.

Step 3

Position one of the acetate panels over the stamping guide. Stamp the panels from back to front stamping panel #4 first.
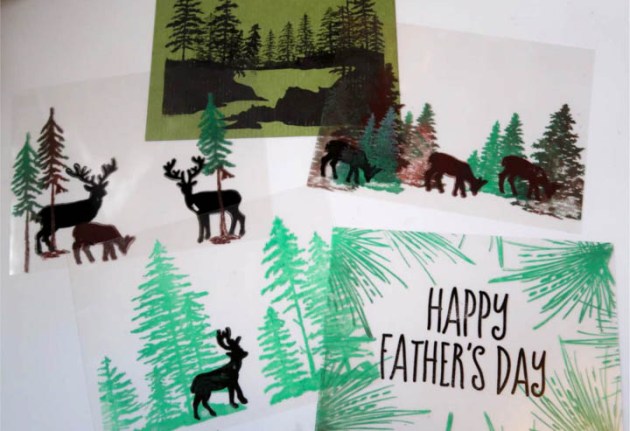
inks yield crisp clean opaque images on the acetate
Step 4

Continue stamping each consecutive layer as desired. As you can see here the inks yield crisp clean opaque images on the acetate. The best part is they dry in a matter of seconds allowing you to stack the next layer on top of the last for ease of alignment and stamping.
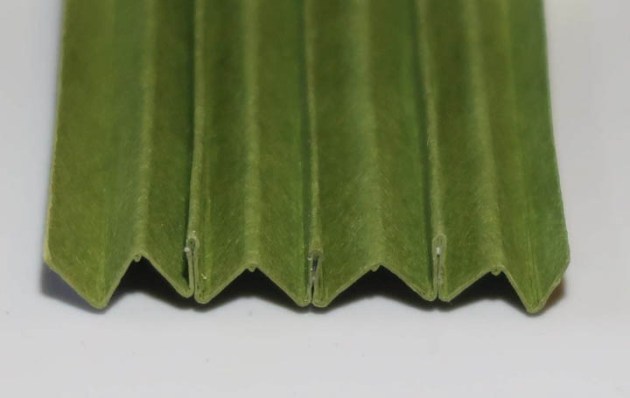
Create the accordion side panels by creasing a 4” x 4 ¼” card panel at ¼” increments.
Step 5

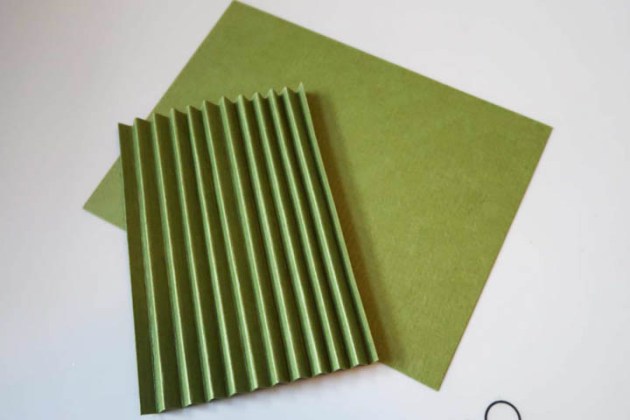
Create the accordion side panels by creasing a 4” x 4 ¼” card panel at ¼” increments.


Step 6

Use On Point Glue to create 3 flats between the mountains as shown in the photo. These flat pieces will be what you affix the acetate panels to creating the tunnel effect.
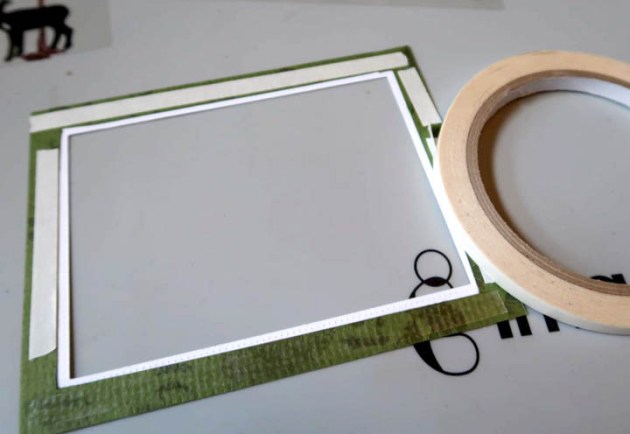
 Use Tear It Tape to affix the front acetate panel to the card frame.
Step 7

Cut a frame for the front of the card. Use Tear It Tape to affix the front acetate panel to the card frame.

Step 8

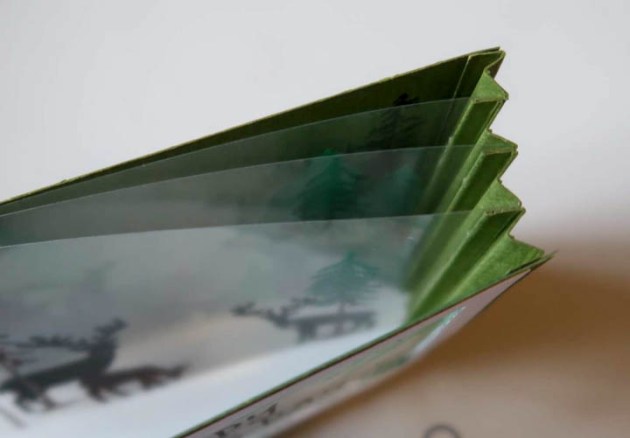
Adhere the accordion pieces to the back sides of the frame. Use Tear It Tape to adhere to each consecutive panel to the accordion sides as shown in the photo.

Your tunnel card is ready to go!

Supplies

Imagine
Other
  • Acetate
  • Cardstock
  • My Favorites Things – Stitched Frame
  • Just For Fun Stamps – Trees, deer, pine bough
  • Rubber Stamp Tapestry – Mom & Dad Clear Stamp Set
  • Die Machine
  • Acrylic Block

Learn How To Handcraft A Wedding Guest Book

by Kassy Tousignant

Learn How To Handcraft A Wedding Guest Book

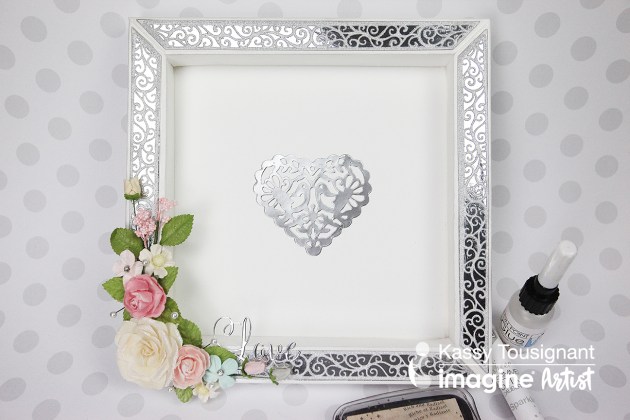
On Point Glue and Tear It! Tape worked wonders on my die-cut wedding frame construction. Imagine’s adhesives are very strong, durable, and easy to work with! Also, I really love using the new Sheer Shimmer Stix in Sparkle to enhance this project and I thought it would be perfect for this wedding frame keepsake that could be used to have your guests sign instead of a guest book.

Skill: Beginner
Time: 1 hour

Directions

Supplies

Imagine

• On Point Glue
• Sheer Shimmer Stix – Sparkle
• Large dauber
• Tear It! Tape
• Delicata Inkpad – White Shimmer
• Imagine Craft Mat

Other

• Prima – Flowers
• Glue gun and sticks
• Crafter’s Companion – silver mirror CS, Silver glitter CS, Love sentiment
• Build a frame die heart & birds die
• Neenah – white cardstock

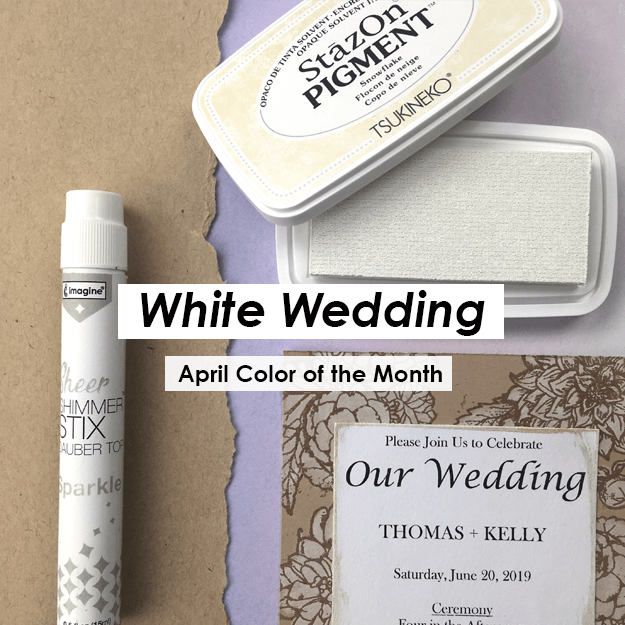
April Color of the Month is White Wedding

April Color of the Month is White Wedding

“Hey, little sister what have you done? Hey, little sister who is the only one?”…*continues Billy Idol song until the chorus* “It’s a nice day for a White Wedding”! We are happy to announce the Color of the Month for April is White Wedding. With wedding season just around the bend, we hope you are stocking up on the right inks for your special day.

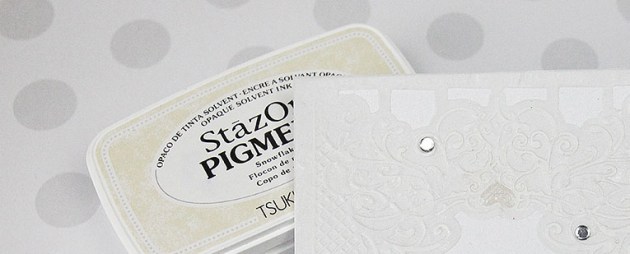
We have been very pleased with our latest release of StazOn Pigment Ink in Snowflake. This ink will be great for multiple surfaces and especially great on dark or kraft cardstock. Another set of fantastic inks for wedding crafts is Delicata in White Shimmer (the name speaks for itself), Brilliance in Moonlight White (a bit of a heavier pigment ink), and VersaMagic in Cloud White (matte finish ink).

As always we challenge our artist with the color of the month and a technique or theme. This month expect to see white inks and wedding crafts!

Here is a Sneak Peak!

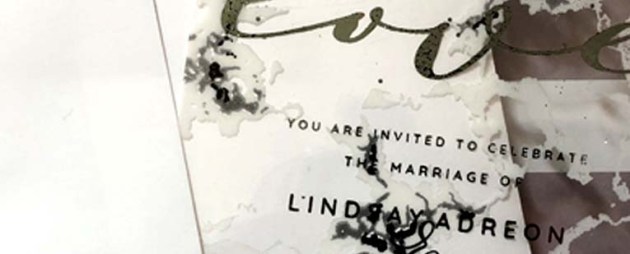
Project by Lindsay Adreon

Project by Martha Lucia Gomez

Project by Kassy Tousignant

Introducing OMG Ink!

Omg ink!

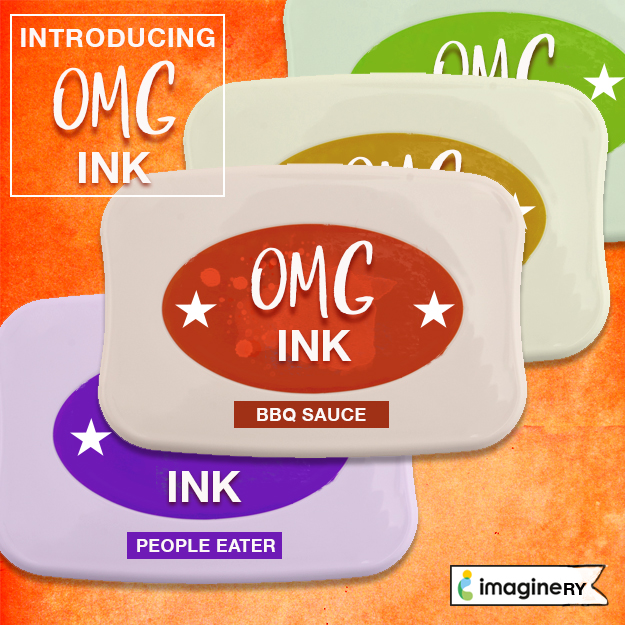
We have a new ink line—It’s the OMG Inkpad!

We are introducing a new ink line that is in-trend for 2019 with its very unusual color names! This incredible edible inkpad is resistant to heat, cats, food stains, cheesy sentiment stamps and to actual cheese. This ink stamps well on cards, metal, acetate, walls, shoe soles, souls, cars, and the couch—but not on cheese!

See the range of colors offered in this very #hashtagable ink!

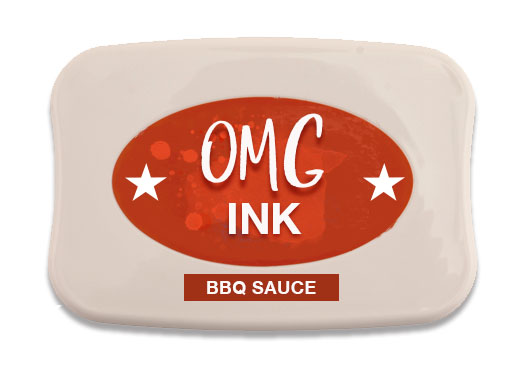
BBQ Sauce is a fantastic ink choice for blending with inks like Pepper or Chicken Flavoring.


This Purple People Eater is long haired and long-eared, and is great for stamping on creatures with only one horn.

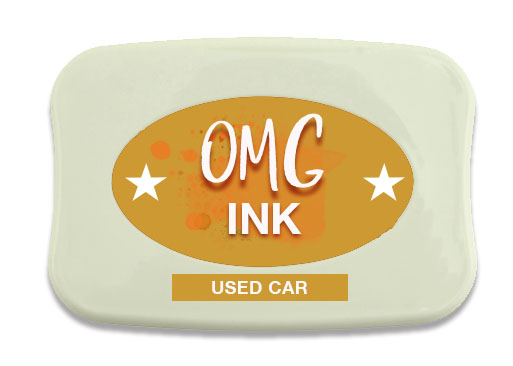
This Used Car ink also has a slightly mildewy fragrance for an added effect (which occurred naturally when we mixed the color)!

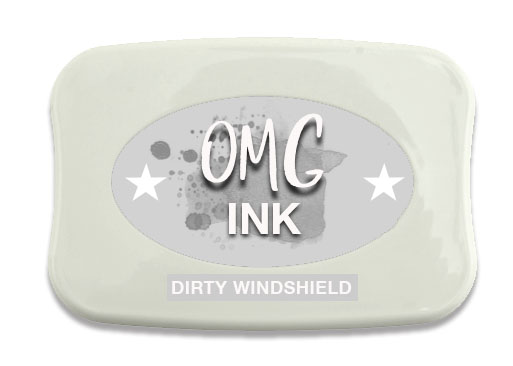
With the Dirty Windshield ink, you are sure to fog up any of your shaker windows with a very nice inconsistency.