Creative Inking with Sheer Shimmer 

By Jessica Lin

Skill: Beginner
Time: 30 minutes

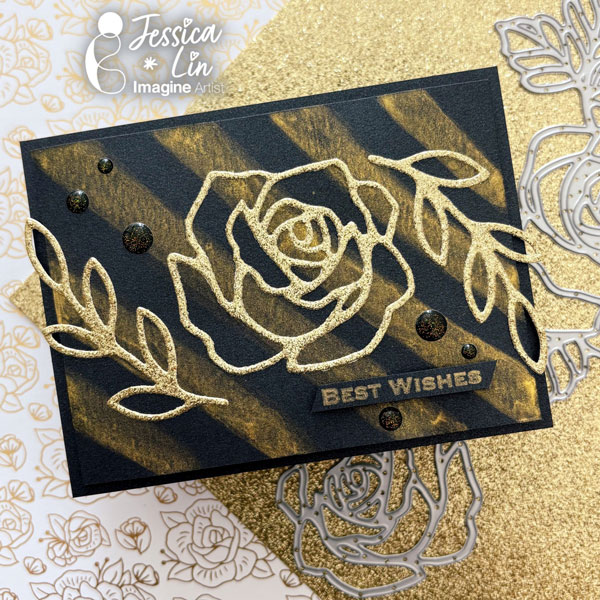
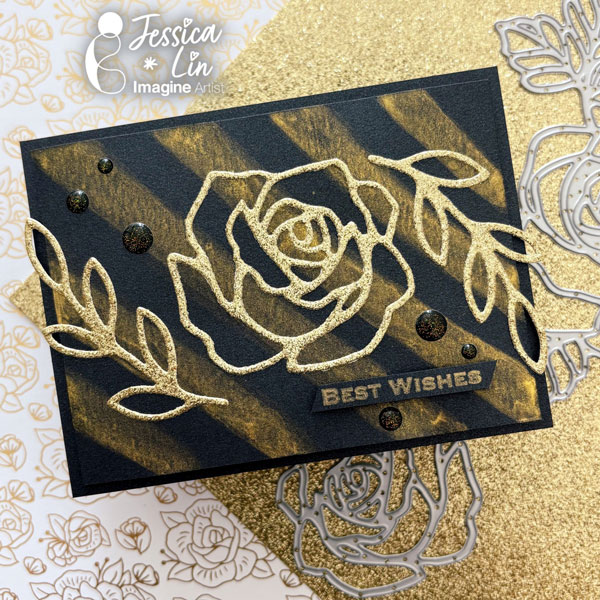
– Hi everyone! It’s Jessica here. Today I would like to share a card with a black and gold color combo. My card creations are typically full of bright colors; so I decided to change it up a bit by using a simpler color palette. Since there are only two colors on this card, I wanted to add various shimmer and glitter textures to create dimension. Let’s take a look!

Step 1:
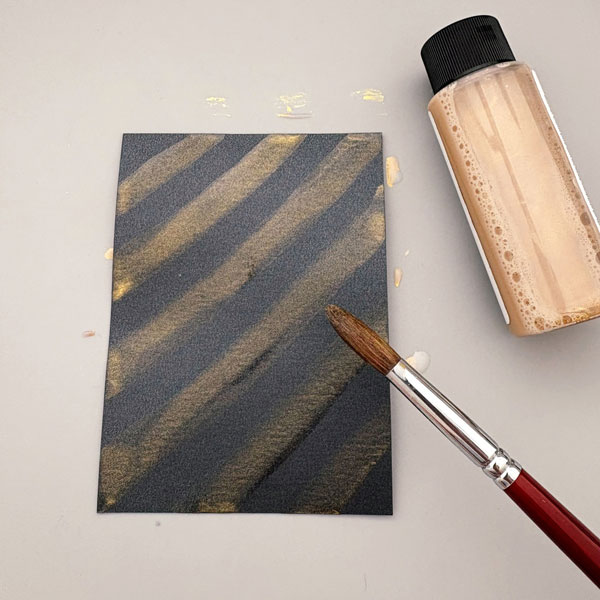
Trim Stardream Metallic 5 x 7 Onyx cardstock to 3 ¾’’ x 5’’. Paint golden stripes on the card panel with Sheer Shimmer Gold. One trick to avoid the gold shimmer from pooling on the edges is to swipe your paintbrush onto the craft mat. Another alternative is starting with a bigger piece of cardstock, then trimming the panel down to size.

Step 2:
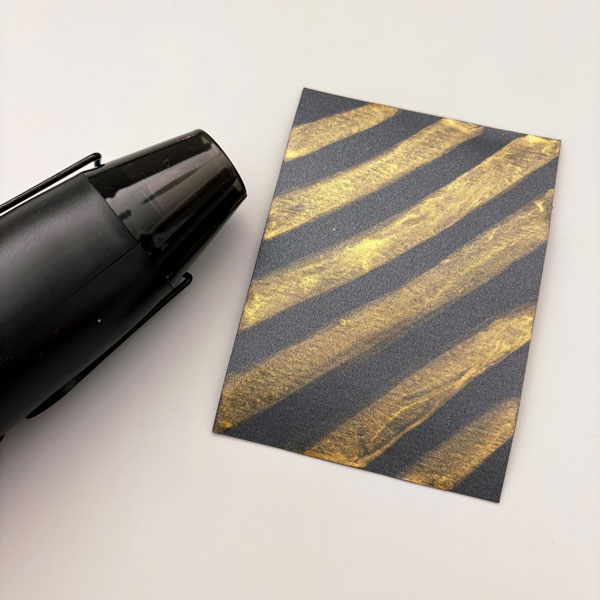
Dry the cardstock panel with a heat gun, and repeat steps 1-2 until you achieve bold, gold stripes. The Stardream Metallic Onyx cardstock has a subtle shimmer as well – it adds an elegant touch to the card base.

Step 3:
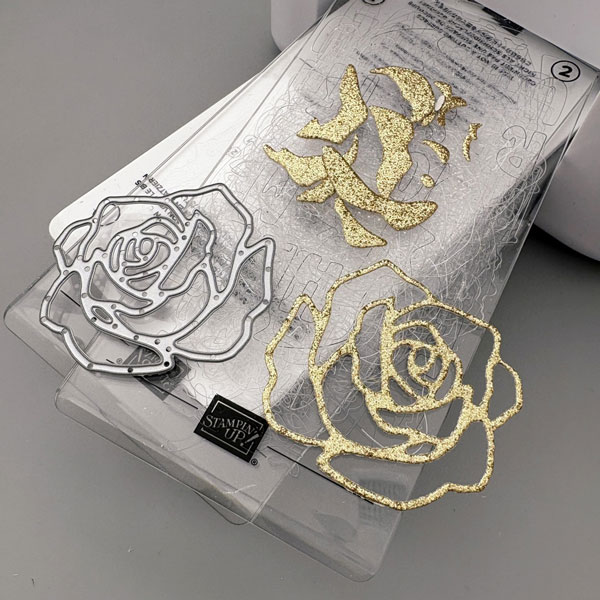
Die cut roses and leaves with DCS Gold Glitter Heavyweight 12 x 12 cardstock. I find this glitter cardstock very easy to cut through. Some of the glitter cardstock I’ve used before uses adhesives to bind to the glitter, which takes a little more time to peel the die cut pieces off each other. This glitter cardstock, on the other hand, separates very easily after it’s been cut through.

Step 4:
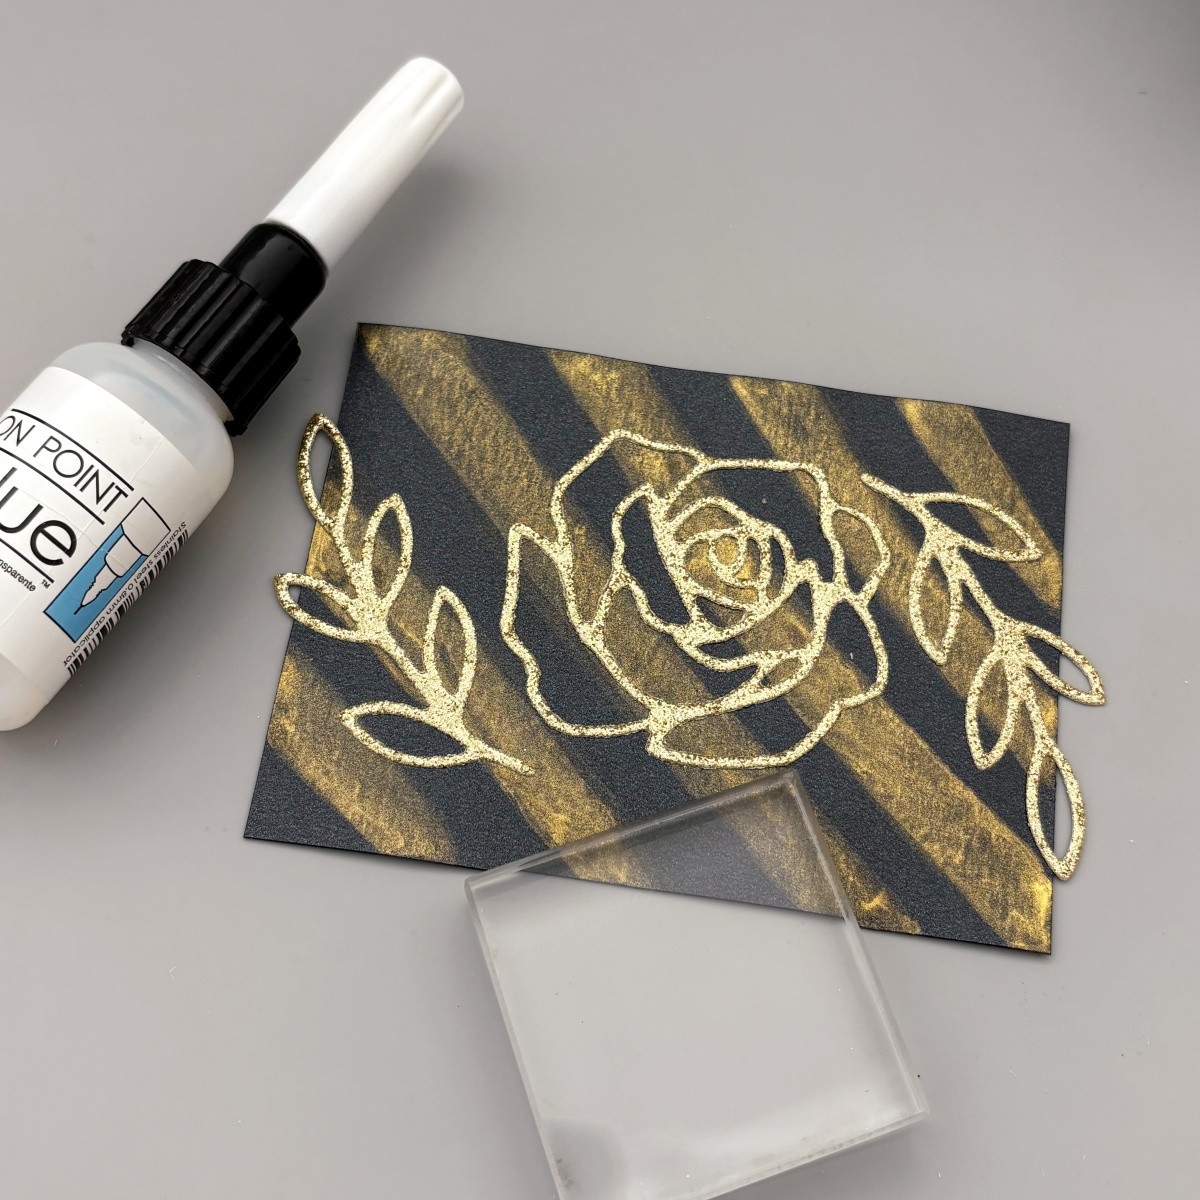
Next, adhere the die cuts to the strips background panel. I used On-Point Glue since the fine-tip nozzle is perfect for applying small amounts of glue. Then, use an acrylic block to press down on the die cut so that it completely adheres to the background.

Step 5:
Finally, stamp the sentiment with Brilliance Galaxy Gold ink pad. This gold ink pad matches the Sheer Shimmer Gold so well! I added some black enamel dots to complete the card. I love the classic black and gold color combo, and I hope this card inspires you to try different kinds of gold shimmer on your project.

Imagine Supplies:

Other Supplies:

  • Stampin’ Up! – Dies – Rose Garden
  • CutCardStock – Cardstock – DCS Gold Glitter Heavyweight 12 x 12
  • CutCardStock – Cardstock – Stardream Metallic 5 x 7 Onyx

Make a Mother’s Day Card Using VersaFine Clair on Craft Plastic

By Katy Ingram

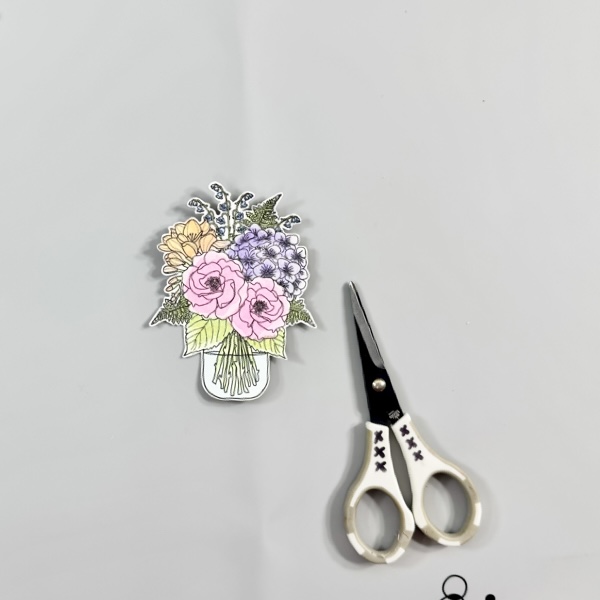
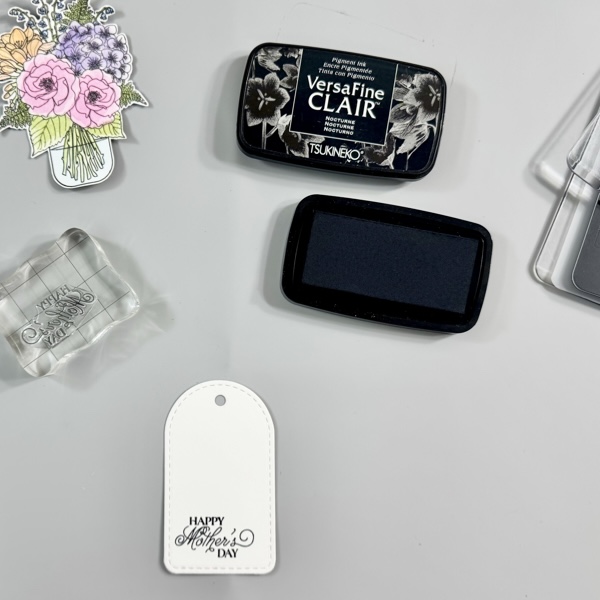
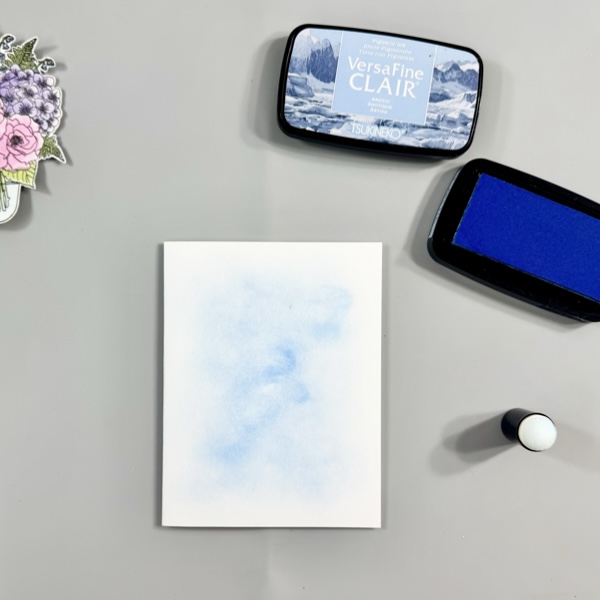
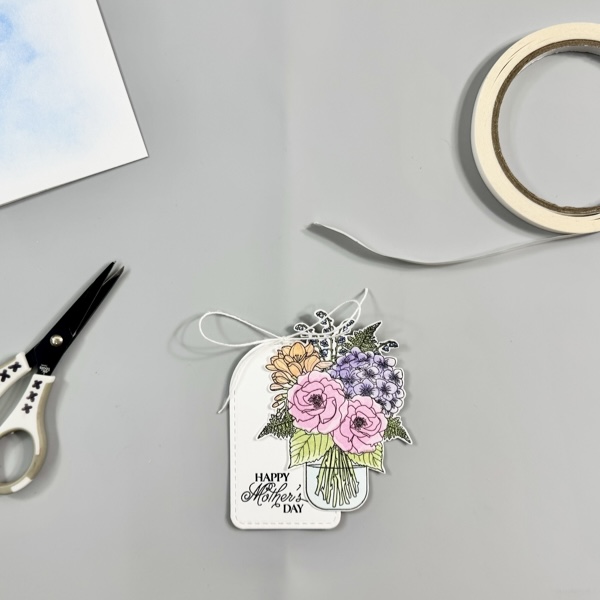
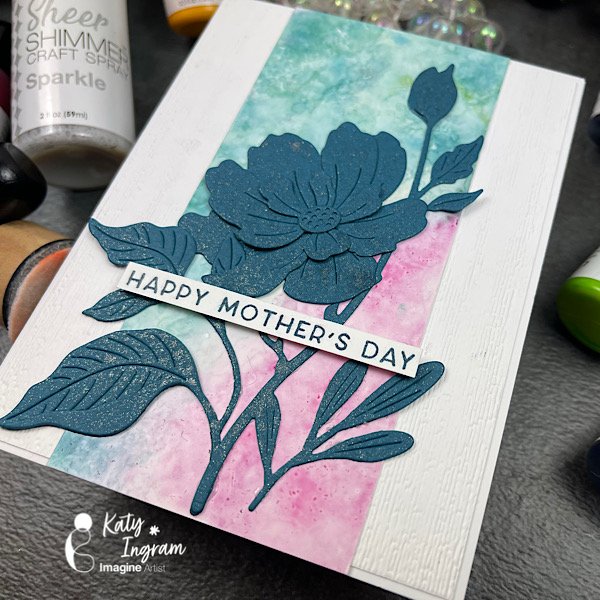
Hello Friends! Katy here with my latest video sharing a great way to use VersaFine Clair re-inkers on Craft Plastic with felt pads and Isopropyl Alcohol. Video has all the details. Thanks for watching.  

Skill: intermediate, advanced
Time: 15 minutes 

https://youtu.be/VoK1amN7Tq8

Art Supplies

Imagine Products
– VersaFine Clair
– Twilight, baby pink, cheerful, warm breeze, verdant
– Sheer Shimmer Spray – Sparkle

Other Products Used
Yupo Paper
Simon Says Stamp Devine Peony Die
Spellbinders Oceanside Cardstock 
Stampin up Subtle 3D folder
The Greetery Mothers Day Stamp- To Mom with Love Stamp Set
Gina K White Layering Cardstock
100 lb Accent Opaque Cardstock
Felt Pads
Isopropyl Alcohol

Mixed Media Art Journal

By Helen Gullett

Hello crafty friends! Today, I would like to share how to make this mixed media art journal using some inks, craft sprays, embossing powder, and GooseBumps.Let’s get crafting!

Skill: Intermediate
Time: 30-60 minutes

Direction:

Step 1
I used my handmade traveler journal using watercolor papers and mixed media papers. You can use any mixed media journal you have.

Dab some of the VersaMagic Jumbo Java ink on the craft mat and spray with some water.

Smoosh the page (or paper) to the ink and dry it with a craft heat gun. Repeat this step to create the watercolor background.

Step 2
Once the watercolored background dried well, add some of the anti-static powder to the page.

Stamp the script stamp on the page randomly with VersaMark ink and then add some of the Gold Mboss Embossing Powder to the page. Heat set the embossing powder with a craft heat gun.

Step 3
Add the stencil to the page.

Add some of the GooseBumps Original (Dauber Top Bottle) to the page on the stencil randomly all over the page.

The best result is to let the GooseBumps texture spray dry naturally (about 2 hours) but I use a handheld fan to speed up the drying process to a few minutes. My suggestion is not to use a craft heat gun.

Step 4
Once the GooseBumps texture spray dry well, spray the Cottage Ivy Fireworks! Shimmery Craft Spray.

Dry the ink with a craft heat gun. Make sure to move the heat gun around, not stay too long at one spot to avoid melting the GooseBumps.

Step 5
Next, spray the Bamboo Leaves Fireworks! Shimmery Craft Spray.

Dry the ink with a craft heat gun. Make sure to move the heat gun around, not stay too long at one spot to avoid melting the GooseBumps.

Step 6
And then, spray the Pear Tart Fireworks! Shimmery Craft Spray.

Dry the ink with a craft heat gun. Make sure to move the heat gun around, not stay too long at one spot to avoid melting the GooseBumps.

Step 7
Wipe the ink spray off using a clean slightly damp paper towel.

You can see the shapes start to pop out of the page adding fun texture to the background page.

Step 8
Stamp the dots texture stamp randomly on the page with VersaMagic Midnight Black ink using first generation stamping technique.

Step 9
Stamp the numbers texture stamp randomly on the page with VersaMagic Midnight Black ink using first and second generation stamping technique.

Step 10
Stamp the old ledger texture stamp randomly on the page with VersaMagic Jumbo Java ink using second and third generation stamping technique.

Step 11
Stamp the leaf branch stamp randomly on the page with VersaFine Clair Green Oasis.

Dry the stamped images with a craft heat gun.

Step 12
Next stamp the cactus stamps randomly on the page with VersaFine Clair Spruce ink.

Dry the stamped images with a craft heat gun.

Step 13
Stamp the first butterfly stamp randomly on the page with VersaMagic Jumbo Java ink using second generation stamping technique.

Step 14
Stamp the second butterfly (smaller size) stamp randomly on the page with VersaMagic Jumbo Java ink using second generation stamping technique.

Step 15
On a white cardstock, stamp the sentiments with VersaMark Ink and then add some of the Gold Mboss Embossing Powder. Heat them with a craft heat gun.

Step 16
Trim the embossed sentiments into sentiment stripes with papercutter or scissors.

Add some of the VersaMagic Jumbo Java ink around the edges with finger sponge dauber to give them some shadow.

Step 17
Add the sentiments to the page with On Point Glue.

Step 18
Draw some border lines around the page and sentiment strips using the Memento Marker Tuxedo Black.

Step 19
For more texture, add some of the Cottage Ivy Fireworks! Shimmery Craft Spray to the page by tapping the sprayer tube.

Dry the whole page one more time with a craft heat gun.

I tried to capture the shiny and shimmery on the page in this picture but it looks even more in real life.

I hope you enjoy today’s mixed media project. Thank you for visiting our blog, have a fabulous day.

Craft Supplies

Imagine Crafts:

Others:

How to Make a Floral Birthday Card

By Von Marie

Hello everyone. Von Marie here with my newest video using colorful inks to use with stencils. Memento inks are really perfect for inking and stamping. I used Memento Dew inks to stencil some pretty florals and leaves. The video will have more details. I hope you enjoy. Thank you for watching.

Skill: Intermediate
Time: 45 Mins.

Products Used:

• 100lb white Hammermill Paper
• A2 Card Base
• Glass Board and magnets
• Glue
• Die-cutting Machine
• Heat Tool
• Foam Tape
• Scissors
• Sequins

Imagine Products

Memento Dew Drops: New Sprout, Rose Bud and Dandelion

Espresso Truffle

VersaMark ink pad

Mboss Embossing Powder Gold

On Point Glue

Sponge Dauber

Other Products Used

• Simon Says Stamp Butterfly Blossoms Stamp and Coordinating Stencils

• Simon Says Stamp Splendid Leaves Circle Frame Embossing Folder

• Kat Scrappiness Platinum Gold Glitter Sequins

ALTERNATIVE PRODUCTS THAT CAN BE USED TO RECREATE SOMETHING SIMILAR
Any stamps, inks, and or Embossing Folder.
You can watch how to create this Birthday Card Click Here

Stamp a Gender-Neutral Birthday Card with VersaFine Clair Inks

By Jessica Lin

Skill: Beginner
Time: 20 minutes

Hi everyone! It’s Jessica here. I am always looking for ways to create gender-neutral birthday cards, and I am so excited to share a beginner-friendly version today. This plant stamp set has some punny sentiments for Valentine’s Day, too. Some of the phrases are perfect for all-occasions, which makes this set so versatile to pair up with the potted plants images.

Step 1:
Stamp the succulent plant with VersaFine Clair Grass Green ink pad. For the pot, use VersaFine Clair Sand Dune. Stamp another succulent image on a post-it note and fussy cut the image for masking in step 2. Tip: Stamp on the sticky edge of the post-it note so that the fussy cut image will turn into a temporary sticker

Step 2:
Mask the stamped succulent image with the fussy cut sticky note. Then stamp the second plant pot with VersaFine Clair Verdant and Acorn. Masking the succulent plant creates the illusion that it sits in front of the second plant pot. I did not overlap the two plants very much, but you could stamp the two closer together to emphasize the spatial arrangement.

Step 3:
For the third cactus plant, stamp with VersaFine Clair Green Oasis and Pinecone. I love the different shades of greens and browns in the VersaFine Clair line; they complement each other so well.

Step 4:
Lastly, stamp the outline images with VersaFine Clair Nocturne ink pad. The super cute pun sentiment was also stamped with the same ink.

Step 5:
Trim the stamped card panel to 3 ½’’ x 4 ¾’’. Adhere it to a 3 ¾’’ x 5’’ piece of green cardstock, then adhere both layers to a cardbase with foam tape.

Step 6:
For the final finishing touch, add a few enamel drops from Doodlebug Sprinkles Limeade.

Products Used:

Imagine Supplies:

Other Supplies:

  • iCrafter – Stamps – Positively Plants
  • Stampin’ Up! – Cardstock – Pear Pizzazz
  • Neenah – Cardstock – Desert Storm
  • Foam Tape
  • Doodlebug – Enamel Dots – Sprinkles Limeade

Watercolored Daffodils Thank You Card

By Anna Escalada York

After winter holidays, my family always needs thank you notes. I really love this wonderful daffodils stamp set and wanted to use it to make one of those cards.

Skill: Intermediate
Time: 1.5 hours

Directions:

Step 1:
Stamp the main floral stamp on a piece of watercolor paper with Nocturne VersaFine Clair ink. Heat emboss with clear embossing powder. Then die cut the image with a mid-sized background panel die

Step 2:
Spray Dandelion Fireworks! Craft Spray onto acetate packaging and watercolor smoosh the two flowers.

Step 3:
Color the corona (the central part of the flower) with the Tangerine Fabrico Dual Marker.

Step 4:
Press the Emerald Green Delicata ink pad onto acetate. Then spray Pear Tart Fireworks! Craft Spray onto the same acetate. Mix the ink and spray together. Press the acetate onto the daffodil’s stem and leaf. Then paint the leaf and stem with the remaining green mix. After the image has dried, spray the mix with water to dilute the green. Paint the sides with this lighter color green watercolor. (I ended up using my finger to spread the watercolor the way I wanted, but I don’t mind getting messy!) After this layer dried, press the Emerald Green Delicata ink pad onto the edge of the die cut. Heat emboss the inked edge with more clear embossing powder.

Step 5:
Die cut light green patterned paper with the next-largest die from the background panel die cut set. Brush the Emerald Green Delicata ink around the edges of the panel to mask the pattern and make the green more intense.

Step 6:
Stamp the sentiment with Nocturne VersaFine CLair ink and heat emboss with clear embossing powder. Then trim the sentiment with a paper trimmer.

Step 7:
Trim a piece of the same light green patterned paper a little bit bigger than the sentiment strip with the paper trimmer. Press the edges into the Emerald Green Delicata ink pad and heat emboss with clear embossing powder.

Step 8:
Assemble the card. Glue the two panels together. Glue the sentiment strip onto the light green, slightly bigger strip. Then attach the sentiment strip to the card panel with foam tape. Glue green and yellow sequins around the sentiment and daffodils. To finish the card, glue the whole thing onto an A2-sized white card base.

Art Supplies

Imagine
• Delicata Ink – Emerald Green
• Fireworks! Craft Spray – Dandelion and Pear Tart
• Fabrico Dual Marker Tangerine
• VersaFine Clair ink – Nocturne

Other
• Altenew – foam tape – Instant Dimension Foam Tape
• Catherine Pooler – sequin mix – North Pole
• Simon Says Stamp – die set – Squovals
• Visible Images – stamp set – Golden Daffodils
• Clear Embossing Powder
• Glue
• Green patterned paper
• Watercolor paper
• A2-sized white card base