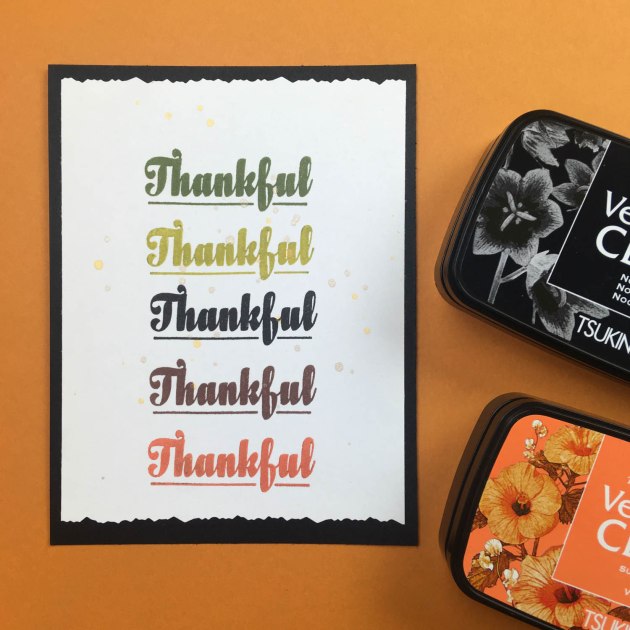
Color of the Month for November is Hunter Green. We feel this color is a perfect segway between Thanksgiving and the Christmas holiday season. We love dark rich greens inks and Tsukineko certainly has a great number of inks to choose from in this color hue. For a solid stamping ink try VersaFine in Rain Forest, VersaColor in Evergreen makes a nice blending ink with a sponge dauber and if you need a green with a bit of shine then don’t forget Delicata in Emerald Green.
November is also exciting because we are collaborating with Joy Clair Stamps this month. See the Joy Clair website for more information on their stamp sets.
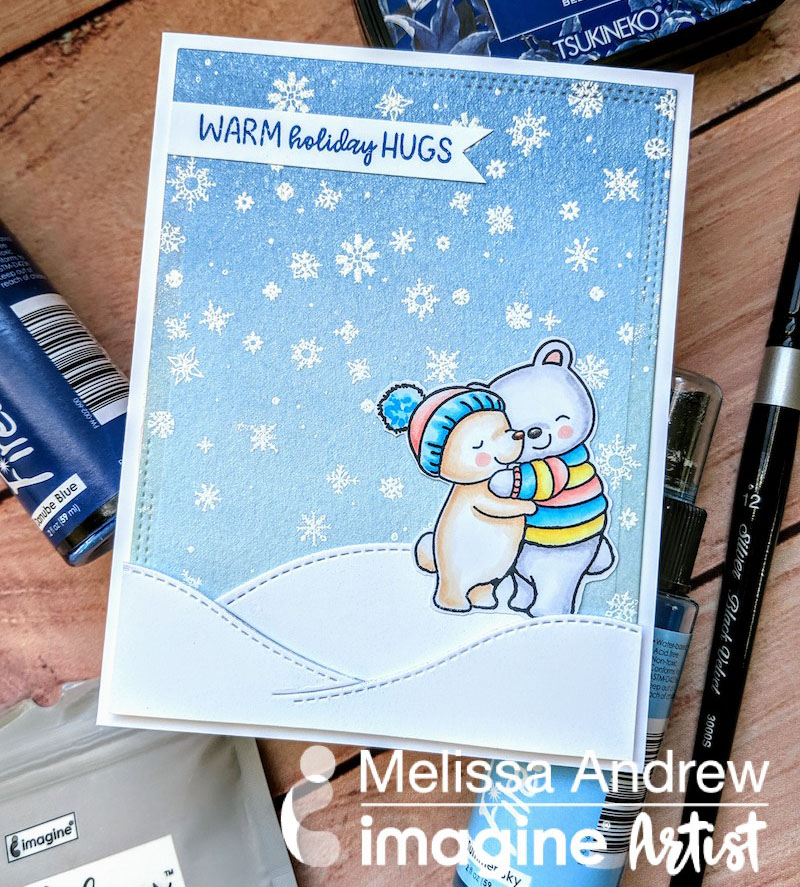
Here is a peek of what we have coming up this month in cardmaking tutorials and videos!

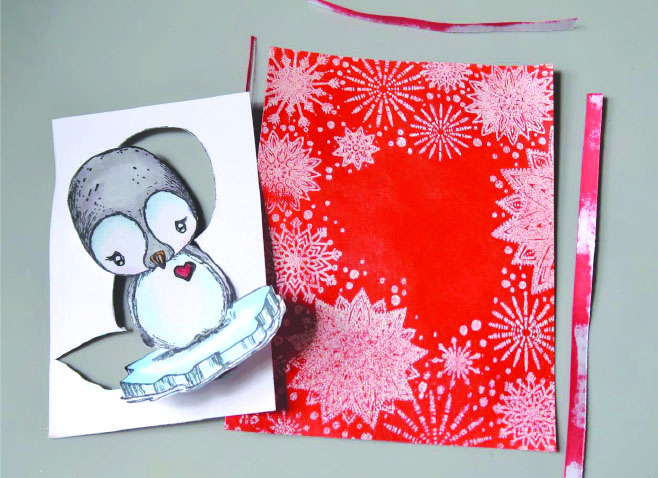
Lindsay Adreon creates matching Christmas Cards
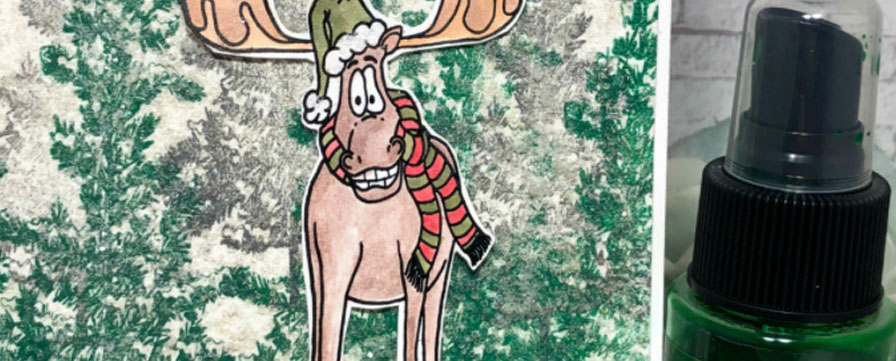
Lori Warren uses a cute Moose Stamp for a Holiday card.

Melissa Andrew uses this super cute sloth as a theme for a card.