Quick & Easy Card Plus A Sneak Peek

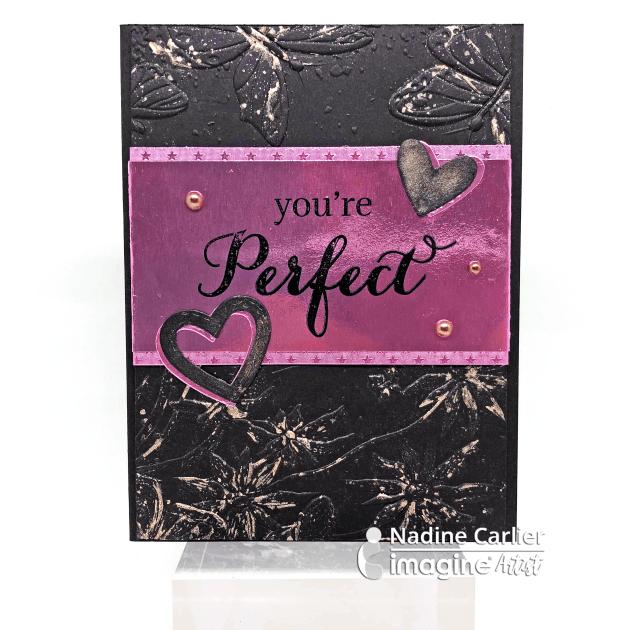
by Nadine CarlierYoure perfect card by Nadine Carlier IC


Happy Valentine’s Day!
To see how I created this quick and easy card and what new Imagine product I share a sneak peek of watch my video below. Enjoy!

Skill: Beginner
Time: 15 minutes

Supplies

Imagine
Other

Visit our YouTube Channel for more inspirational videos and subscribe to get updates when we post new videos.

Use a Beautiful Coral Color on These Cute Panda Birthday Cards

by Elina Stromberg

Use a Beautiful Coral Color on These Cute Panda Birthday Cards

Since 2000, the Pantone Color Institute declares a particular color “Color of the Year”. It is chosen in a secret meeting of representatives from various nations’ color standards groups, and the result of the meeting is communicated in Pantone View, which fashion designers and other consumer-oriented companies purchase and use as guidance for their future product designs.

This year the Pantone Color of the Year is “Living Coral”. It is described as “an animating and life-affirming coral hue with a golden undertone that energizes and enlivens with a softer edge”. Lovely! To celebrate this newly released Color of the Year “Living Coral” is also the color of the month for Imagine AIR’s. I must admit that coral is very rarely seen on my crafting projects, but I was quite surprised how yummy this rich red color looked on my card creation. Especially when contrasted with simple light grey hues!

Skill: Beginner/Intermediate
Time: 1 hour

Directions


Step 1

Layer two stencils on the card background: Place the patterned stencil on the background paper and a circle stencil on top. Secure on your crafting mat with masking tape. Apply ‘Electric Coral’ Radiant Neon ink through the stencil with a sponge dauber. Remove both stencils.


Step 2

Place the inked background paper on a sheet of printing paper. Pour clear embossing powder over the stenciled and inked area. Pour any extra embossing powder onto the printing paper and funnel the extra powder back into its container. Heat the embossing powder with a heating tool until completely melted. Trim the decorated paper to size and mat on a piece of coral colored cardstock.


Step 3

Stamp the panda image and sentiment text with black ink on white paper. Cut out and glue on the card front. Attach card on white card base using double-sided tape. When the card was finished the stencil still had still coral ink on it, so I decided to use it for another fun card background: I misted the inked part of the stencil gently with water, placed it upside down on a piece of grey patterned paper, and transferred the ink on the paper by rolling the stencil background with a brayer.


Step 4

Then I removed the stencil, let the ink dry, and dabbed a thin layer of coral ink on the pattern. Then I repeated the mounting on coral cardstock and used a different panda image for this card. I think this reverse version of the stencil pattern looks very nice, too!

Supplies

Imagine
Other
  • Light grey patterned paper
  • Coral cardstock
  • White paper
  • White card base
  • Heat gun
  • Brayer
  • Water mister
  • Stamps: Stampin’Up: Party Pandas
  • Stencils: Circle stencil
  • TCW: Botanical Garden (6”x6”)
  • Scissors
  • Glue
  • Double-sided tape

See How VersaFine Ink Can Be Used with Copic Markers and Stenciling

by Melissa Andrew

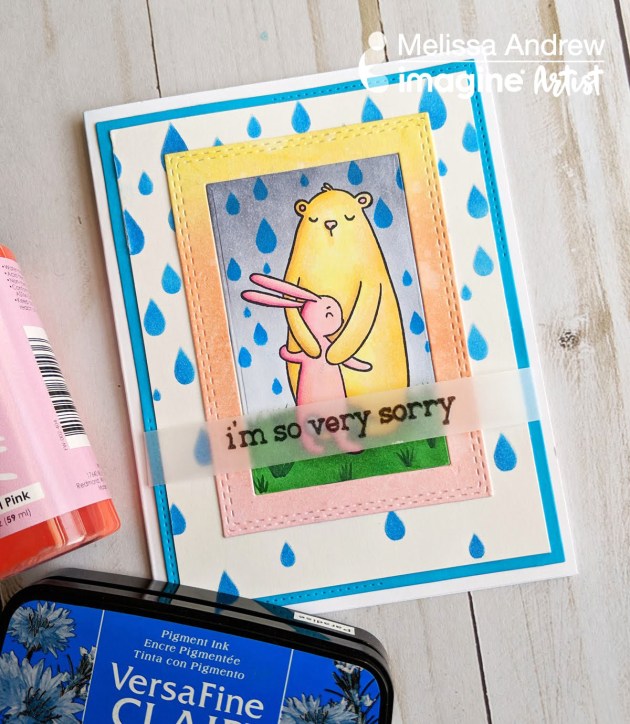
Today, I share how to use VersaFine Clair in multiple ways! This fabulous pigment ink allows for crisp clean stamping, stenciling, and layering. It works wonderfully for embossing sentiments “I am So Sorry” on vellum for sympathy cards and can be used under mediums such as Creative Medium. I stamped a teddy bear image with Memento ink and used Copic Markers for coloring, however, VersaFine can layer on top of the Copic coloring. See how I use VersaFine carefully with Alcohol Markers.

Skill: Intermediate
Time: 30 minutes

Directions

Supplies

Imagine
Other
  • Whimsy Stamps – Hugs Bunny Clear stamp set
  • Copic markers
  • Cardstock – white, blue
  • Bristol Smooth cardstock
  • Vellum
  • Paper Trimmer
  • Heat Tool
  • Stencil

How To Make A CAS Layered Card

by Nadine Carlier

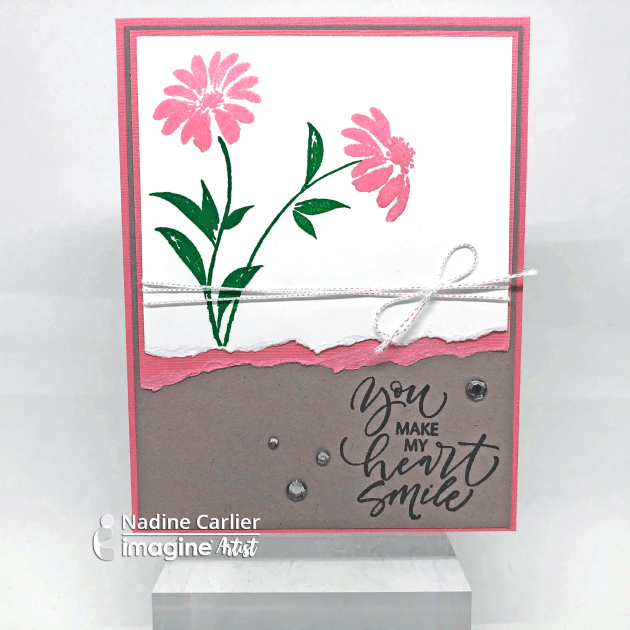
CAS Layered Card by Nadine Carlier IC

Brillance Pearlescent Coral was the perfect ink for the delicate flowers on my CAS layered card. Watch my video below to see how easy it was to create. Enjoy!

Skill: Beginner
Time: 15 minutes

Supplies

Imagine
Other
  • Gina K Designs Watercolor Flowers Stamp Set
  • Misti
  • String
  • Gemstones
  • Cardstock – White, Gray, Pink

Visit our YouTube Channel for more inspirational videos and subscribe to get updates when we post new videos.

Learn How to Create a Beautiful Coral Theme Card with VersaMark

by Jessica Lin

In this video, I’ll share how you can stretch the use of your VersaMark ink pads and create easy backgrounds with them. Even though VersaMark is generally used for heat embossing, it’s also a great ink for tone-on-tone or monochrome stamping. Let me know if you’d like to try this easy, minimal supply technique, and are interested in seeing more of these tutorials.

Skill: Intermediate
Time: 30-45 minutes

Directions

Supplies

Imagine

• VersaMark Dazzle – Champagne
• VersaMagic DewDrop Ink – Pink Grapefruit
• On Point Glue
• Tear It! Tape

Other

• Stampin’ Up Flourishing Phrases Clear-mount Stamp
• Stampin’ Up Flourish Thinlits Dies
• Cardstock – Coral, Green, Yellow, White
• Stamping Tool

With Love Is The Sentiment Today

by Jowilna Nolte

Make your colors pop and become more vibrant by using layers of ink on top of each other and add a magical spray of Ink Potion to it. A quick resist effect and stenciling adds to this fun love inspired Valentine’s Day card in shades of red.

Skill: Intermediate
Time: 30 minutes

Directions


Step 1

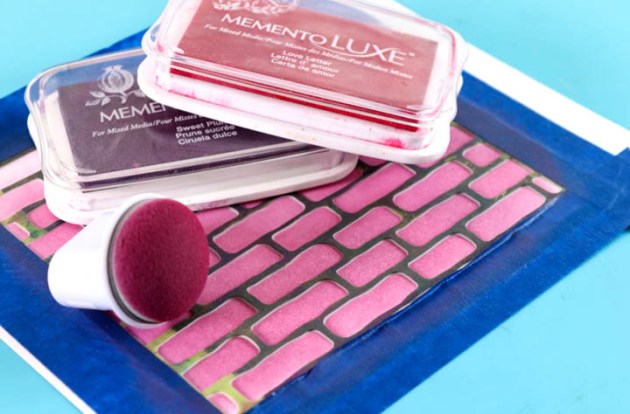
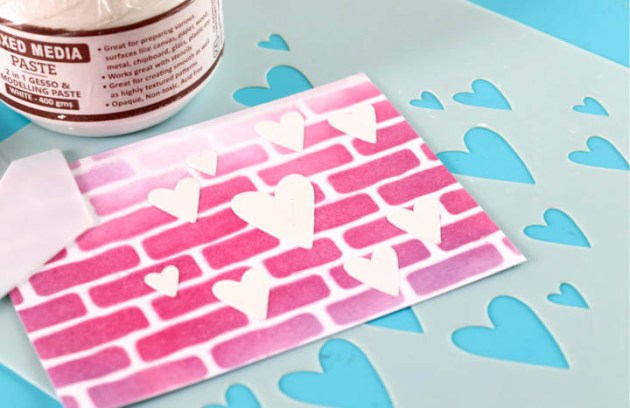
Adhere a stencil (brick design) to a piece of white cardstock. Use Sweet Plum and Love Letter Memento Luxe ink pads and blend color through the stencil.


Step 2

Leave the stencil in place for this step. Use an ink blusher and a small amount of gloss texture paste and swipe it over the stencil. Using a small amount at a time will prevent the paste from seeping underneath the stencil. Carefully remove the stencil and leave to dry. Wash your stencil immediately.


Step 3

Trim your stenciled panel smaller to fit onto the front of a card. Use a heart stencil and modeling paste to add a stenciled design to your background. Leave the paste to dry.


Step 4

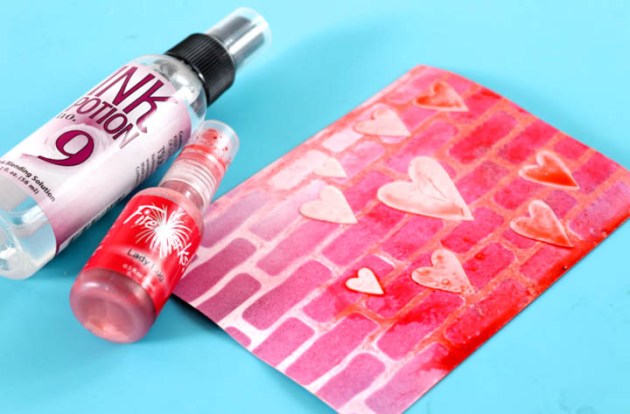
Once the paste is dry, spray Lady Bug Fireworks over the right side of the panel to add color. Mist the entire panel with Ink Potion no.9 and see how all the colors pop. The resist from the glossy paste leaves the design clear only letting the ink sit inside the open spaces adding more color in selected areas.


Step 5

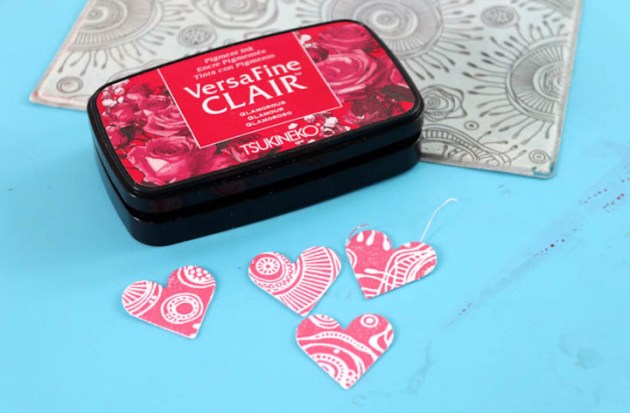
Use VersaFine Clair Glamorous and stamp onto white cardstock using a background design. Die-cut small and large hearts out of the stamped piece.


Step 6

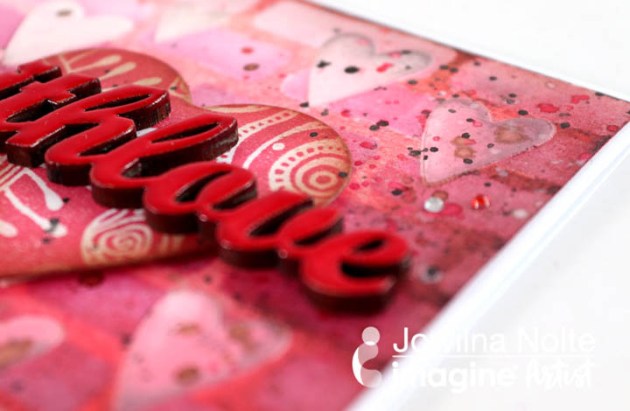
Ink the panel around the edges using Memento Rich Cocoa to highlight the color even more. Adhere the hearts using foam tape for dimension. Emboss a sentiment and adhere to the large heart. Add ink splats in red, white, brown and black. Finish off your card with diamante.

Supplies

Imagine 

Other

  • Modeling Paste
  • Heart Stencil
  • Brick stencil
  • Kaisercraft – Sentiment
  • Heart die-cuts
  • Carabelle Studio – background stamp
  • Watercolor paint
  • Palette knife
  • Heat gun
  • Anna Griffin – Glossy Paste
  • Foam tape