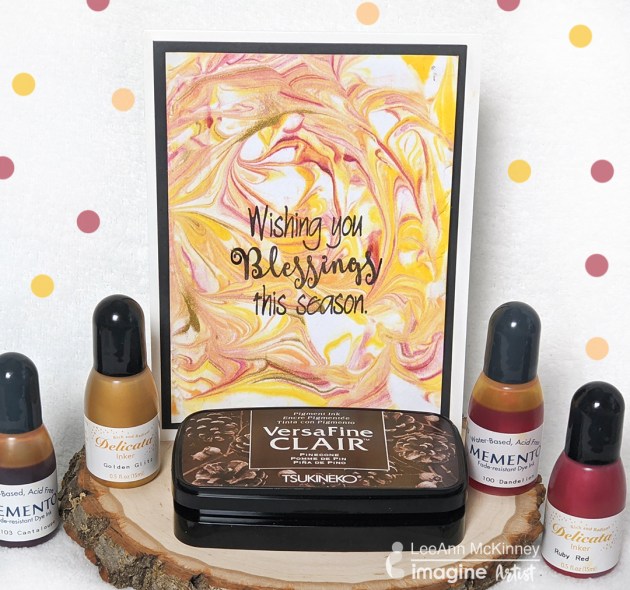
Quick and Easy Projects: Create a Marble Effect on Paper

by LeeAnn McKinney

Greetings crafty friends! I was watching YouTube and came across this shaving cream ink marbling technique from GinaK and just had to try it. This is a quick, fun card style to make, you can use any re-inkers you have in your stash and mix/match with plain colors and beautiful metallic tones as I did here. As I say in the video, the Golden Glitz really makes this card for me. This technique can also be used on all sorts of paper crafting projects.

Since it is the fall season, I focus on a warm color palette for an Autumn leaves look and stamped the sentiment with a rich brown to compliment the yellow, orange, and gold colors. This card design is a perfect way to spend an afternoon crafting and coming up with multiple card designs with a marble look. The shaving cream can be used to make several card panels until you run out of the medium.

Skill: Beginner
Time: 30 minutes

Directions

Imagine
use memento inkers to create marble paper

Other Art Supplies
  • Bamboo Skewer
  • Joy Clair Fall Leaves Stamp Set
  • Paper Plate
  • Card Base
  • Brown Cardstock
  • Shaving Cream (Foam type)
 

Just say Hello Greeting Card with a Fall Leaves Background

by Nicole Watt

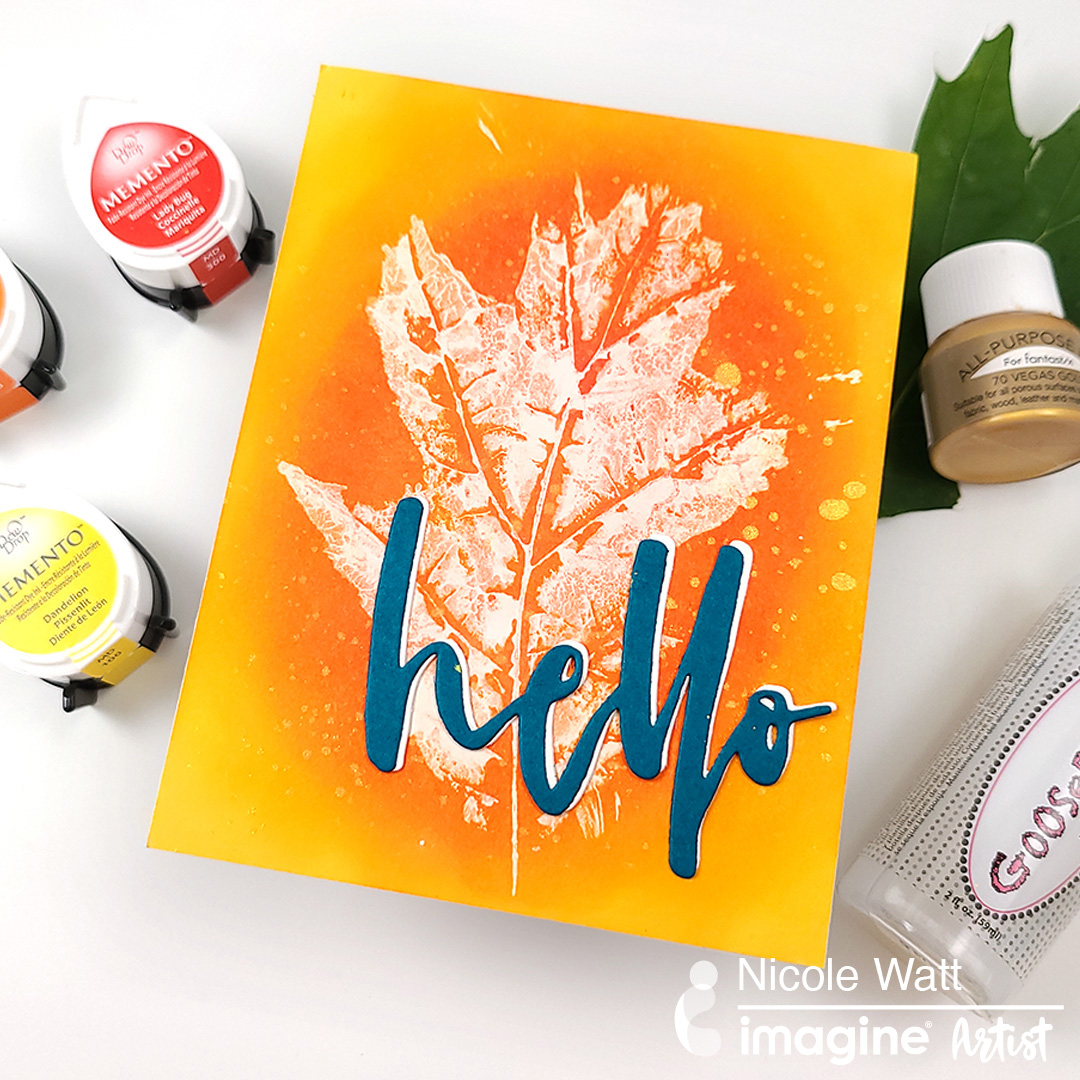
red, yellow, orange ink pad use to make fall leaves october hello card gold splatter background

Fall is one of the best times of the year. The transition from green to rich yellows, oranges, and reds is not only inspiring to witness, it can also inspire beautiful art. In today’s cardmaking tutorial, Nicole shows a simple technique to create a card without the use of stamps! Join Nicole as she creates a beautiful leaf imprint card using a real leaf, Goosebumps medium, and ink blending with Memento Ink.

Skill: Intermediate
Time: 10 minutes + dry time

Directions

Supplies

Imagine
Other 
  • Brayer 
  • Altenew Waterbrush Hello die 
  • Cardstock 
  • Paint Brush
  • Waterbrush
  • A Leaf to use as an imprint

Best of Wedding Cards and Crafts

Over the years our Design team members have created beautiful wedding invitations and other paper crafting projects. We thought we would do a quick “Best Of” collection of wedding-themed crafts and cards. Enjoy!


Best Wedding Invitations

Learn How to Make a Clear Wedding Invitation

Mr. and Mrs. Wedding Invitation

See How to Create a Layered Wedding Invitation


Best Wedding Decor

A Simple, Elegant and Inexpensive Wedding Table Setting

Bright Blue StazOn ink used to cover metal.

See How to Make Illustrious Lapis Blue Napkin Rings

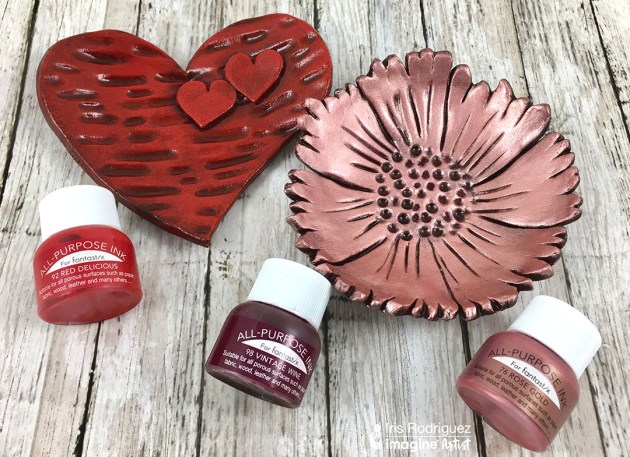
Learn How to Create Wedding Ring Clay Bowls

Beginner Guide: Mboss Clear in Matte Finish


by Imagine staff

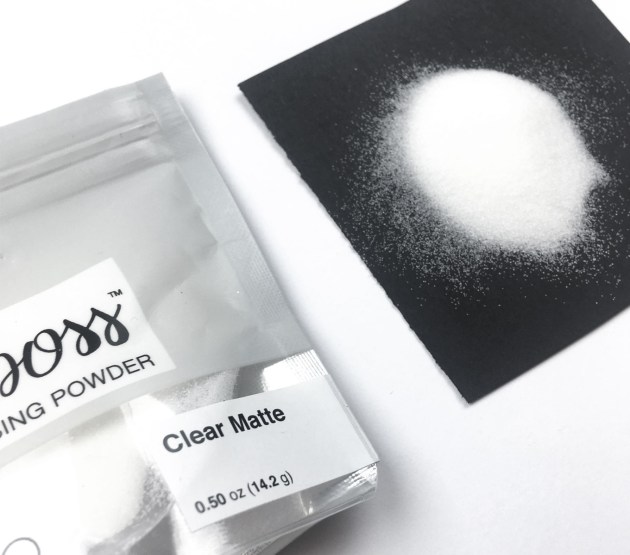
Many of you may have heard of embossing powders by now. There are plenty of introductions on how to heat emboss. In fact, we feature a great introduction to embossing on a metal tin by Nicole Watt. Check it out! But there is no end to the many uses of this unique product. So, in today’s post, we thought we would highlight a fun technique with one of the cool powders that Imagine has in stock — Mboss in Clear Matte!

Directions


Step 1

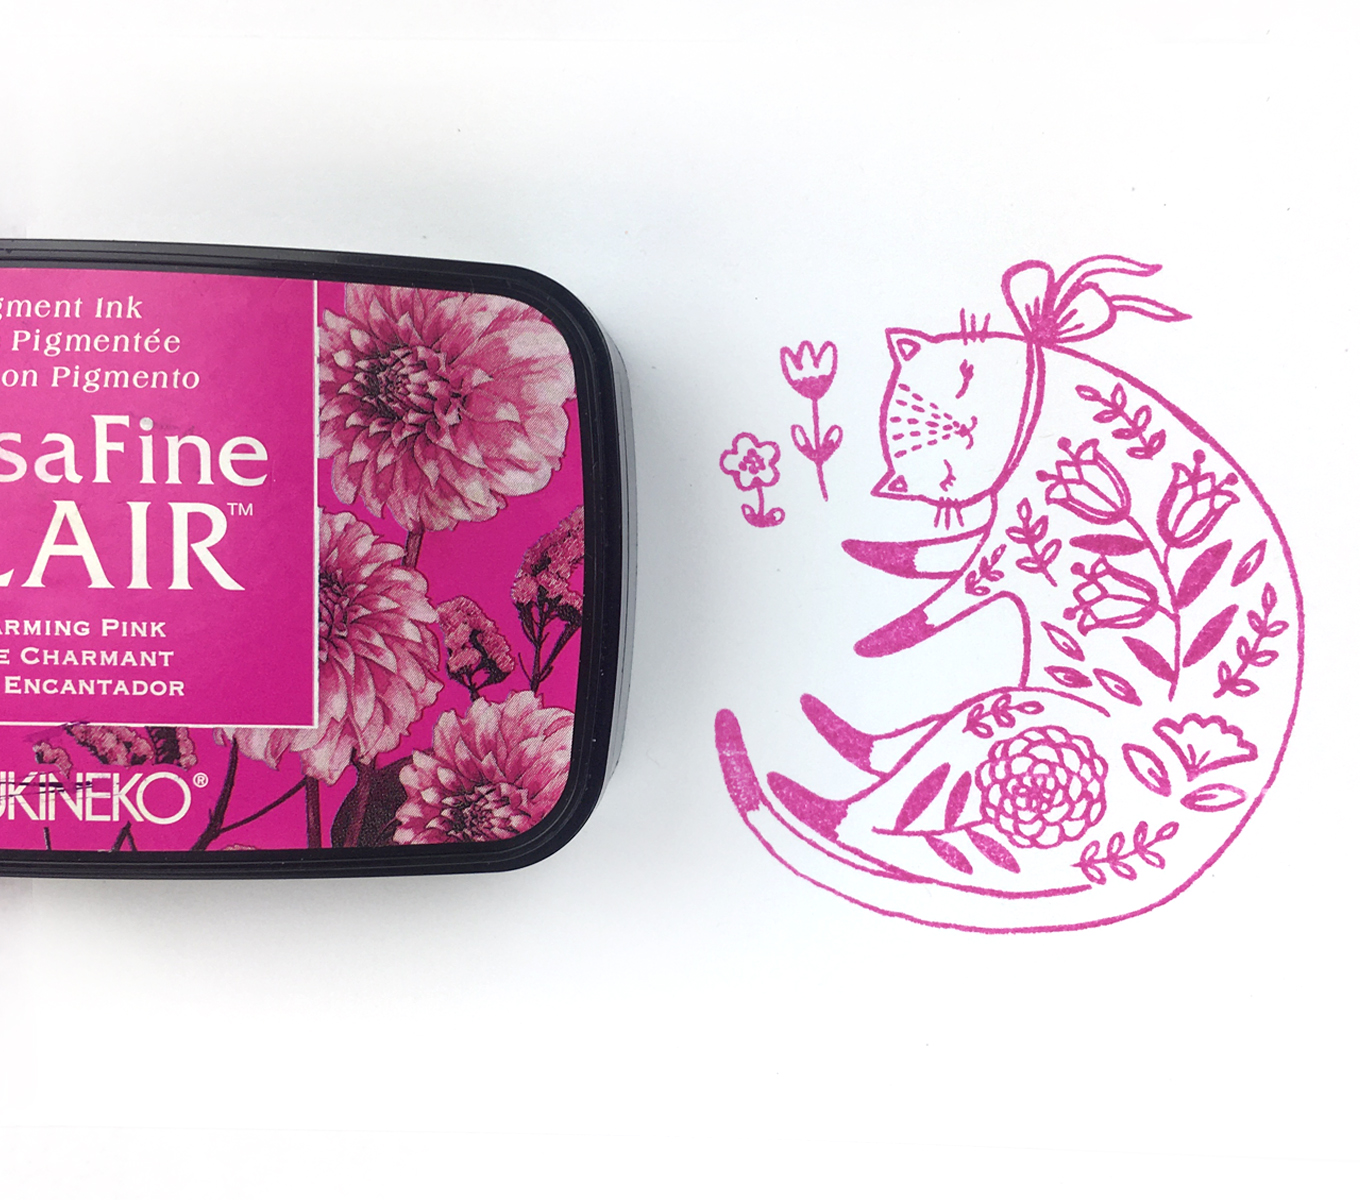
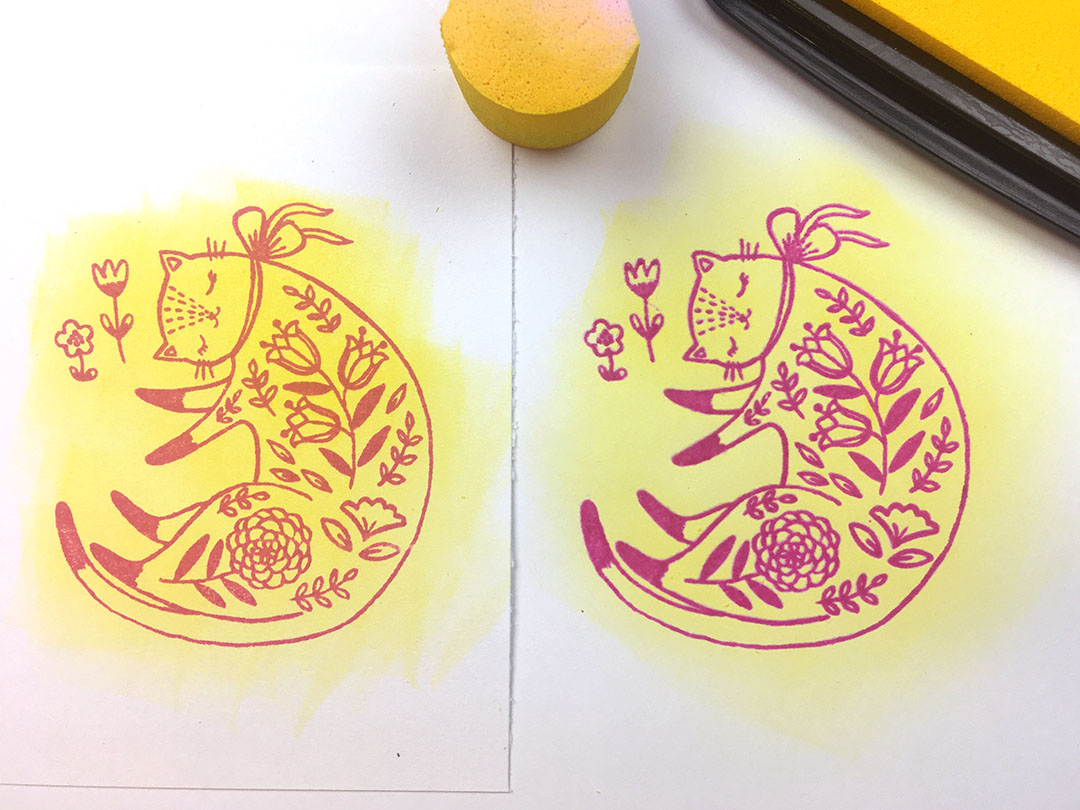
Choose a pigment ink and a stamp. Here I picked VersaFine Clair in Charming Pink and a Waffle Flower stamp.


Step 2

Emboss the stamped image with Mboss Matte Clear. Notice how the Matte Clear deepens the Charming Pink color. With a regular clear embossing powder, a high gloss would show. With the Matte Clear, it simply enhances the stamped image without the high gloss. If you wanted to leave it as is then this is a great technique for enhancing a stamp. For embossing powders, you will need a heat tool. We listed a purchase option in the supplies below. 


Step 3

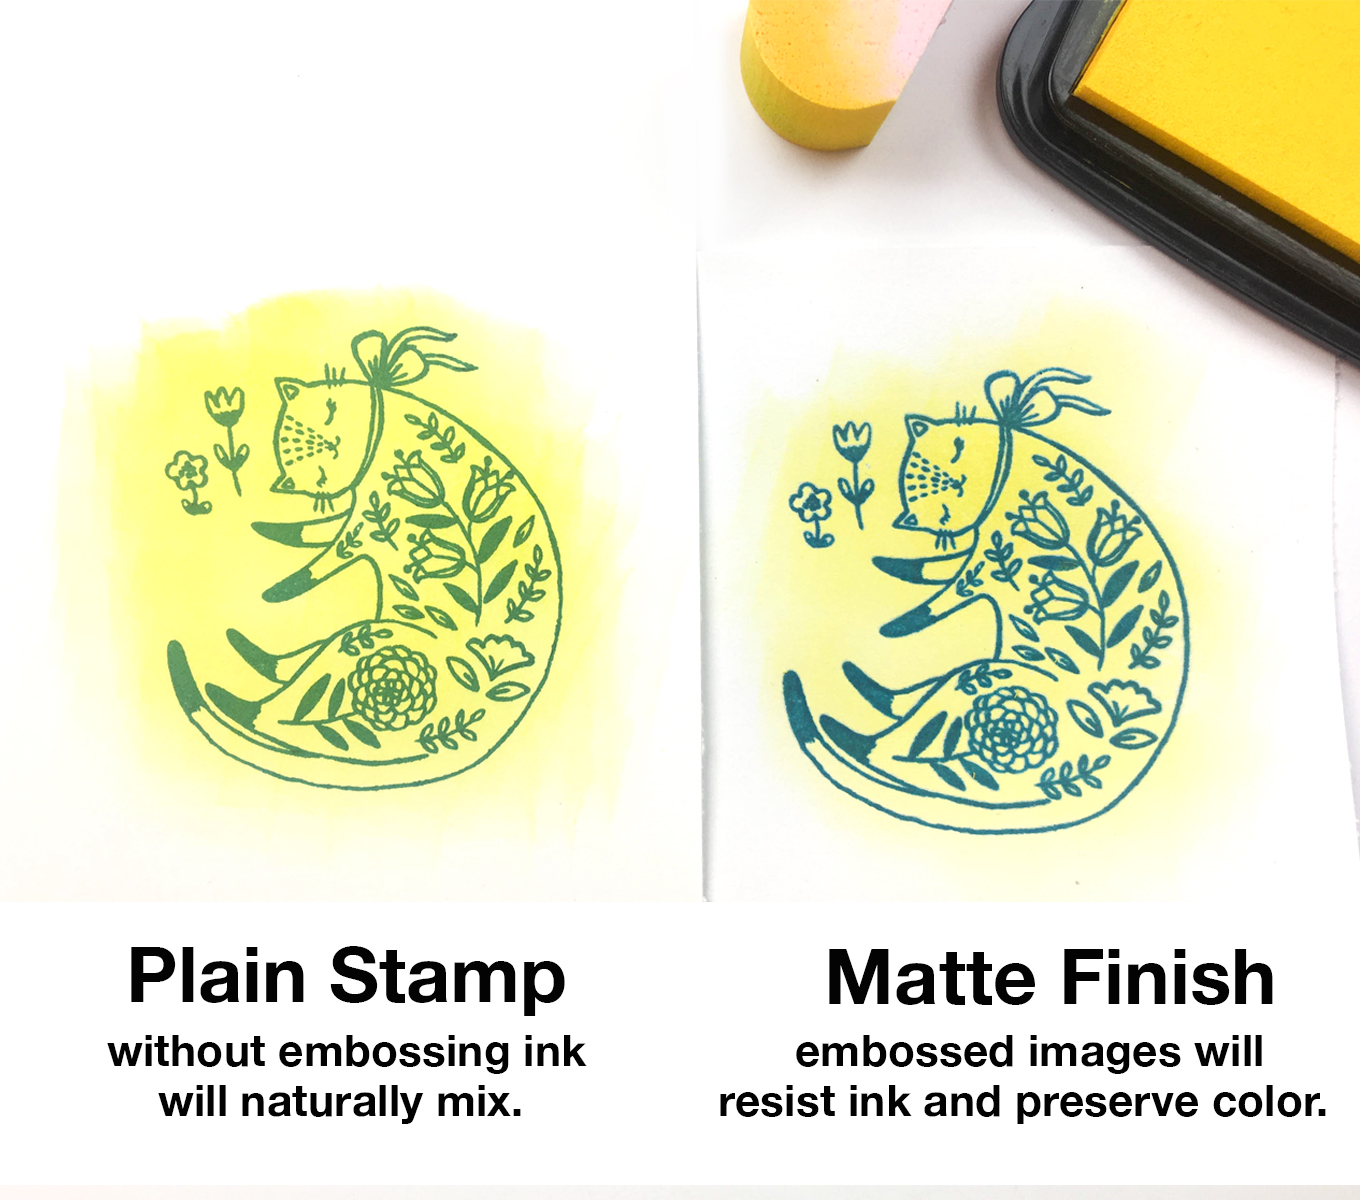
To take it a bit further, here is an embossing technique that can really intensify any papercraft or cardmaking project. In the sample above you can see the stamp inked with Warm Breeze in VersaFine and then inked again with VersaColor in Canary Yellow. One benefit of embossing is to lock the color of the first stamped image to the paper. It can be inked over with additional colors without affecting it. The plain stamp blends a bit and turns the image to a green hue. The embossed image keeps it’s turquoise color perfectly.

Last example again with VersaFine in Charming Pink — you can see the luster of the embossing keeps the deep pink color intact! Inked with VersaColor can turn the Charming Pink into a coral color (which is beautiful). With the Mboss the Charming Pink pops through the yellow background.

Other

Retro Floral Card Using Various VersaColor Ink Techniques

by Nicole Watt

Versacolor ink to make a card

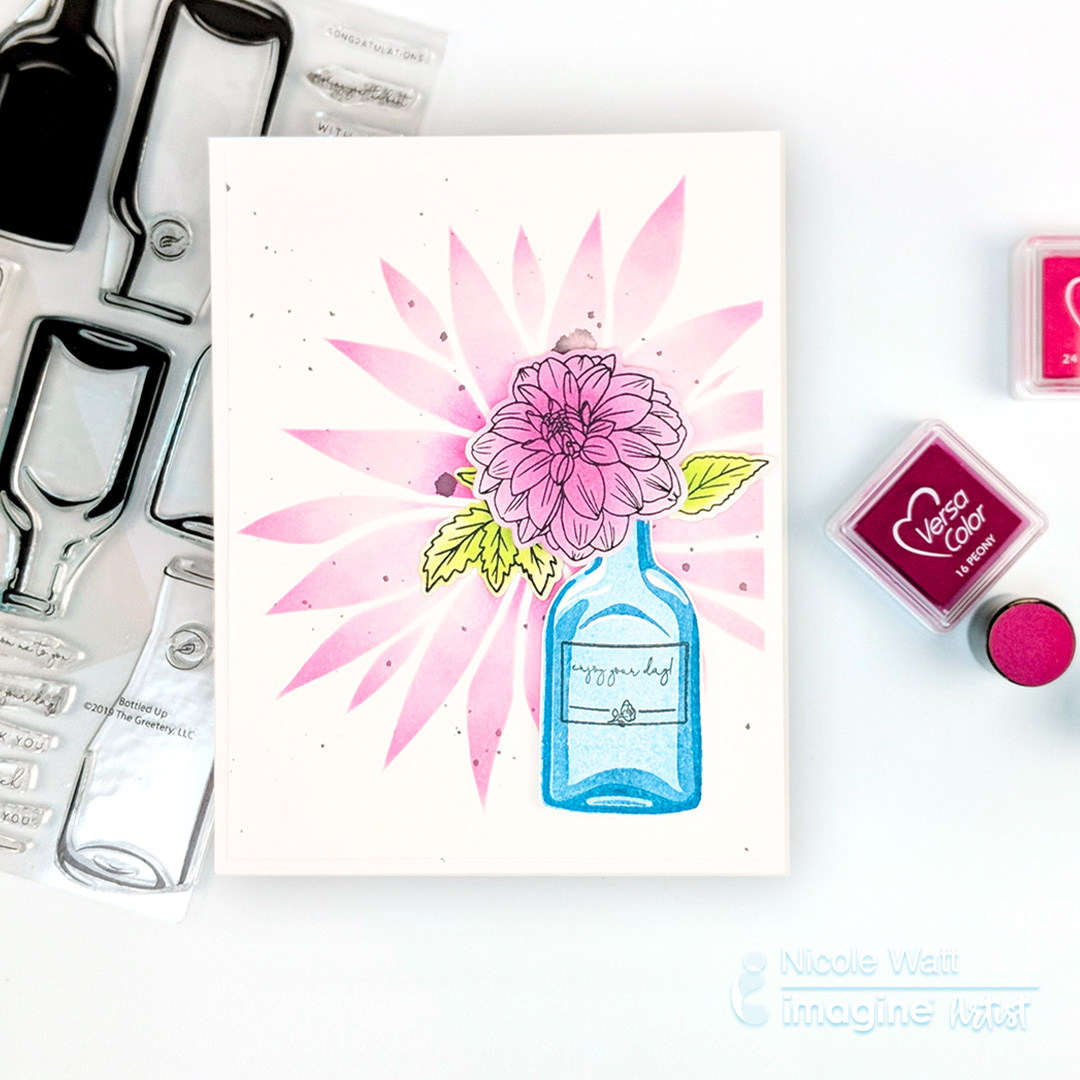
Join Nicole as she creates a retro-looking floral card using VersaColor inks. She’ll show you a few different ways you can use this versatile water-based pigment ink to create different effects.

Skill: Intermediate
Time: 20 minutes

Directions

Supplies

Imagine
  • VersaColor – Peony, Opera Pink, Pink, Lime, Cyan, Lapis Lazuli, Mountain Lake, Black

Other

  • Bottle Up Stamp Set (The Greetery)
  • New Beginnings Stamp Set (Altenew)
  • Bursting Dahlia Stencil (Altenew)

Quick & Easy Projects: Sending Hope Greeting Card

by LeeAnn McKinney

Hi Friends, LeeAnn here with a fun project made using my favorite ink and technique, Kaleidacolor and brayering. I am Sending Hope to all out there to stay healthy through these times for you and your families.

Skill: Beginner
Time: 10 minutes

Directions

Other 

  • Brayer
  • Virginia Turtle Stamp Set “HOPE”
  • Honey Bee Stamp Set “Special Delivery”
  • Acrylic Blocks