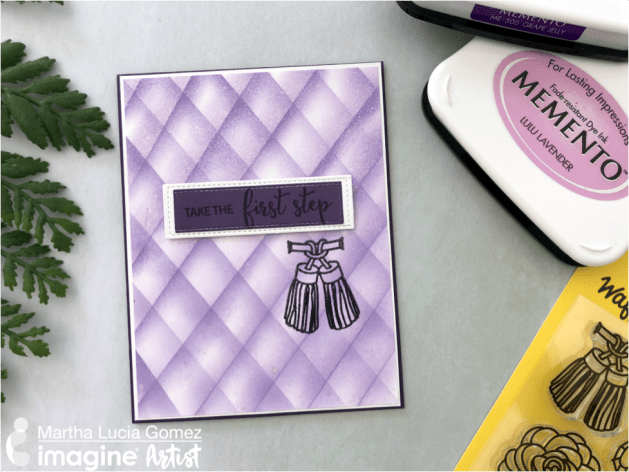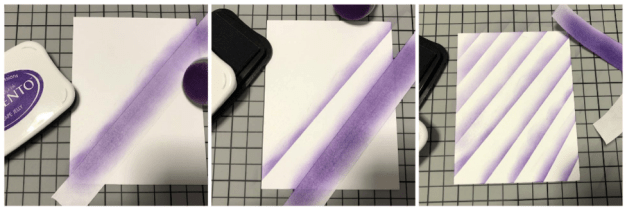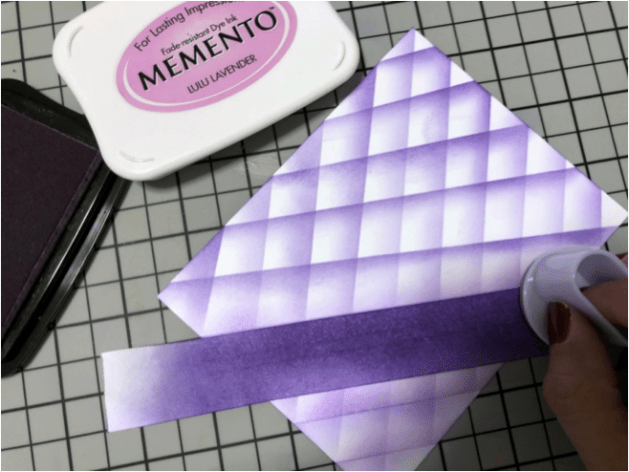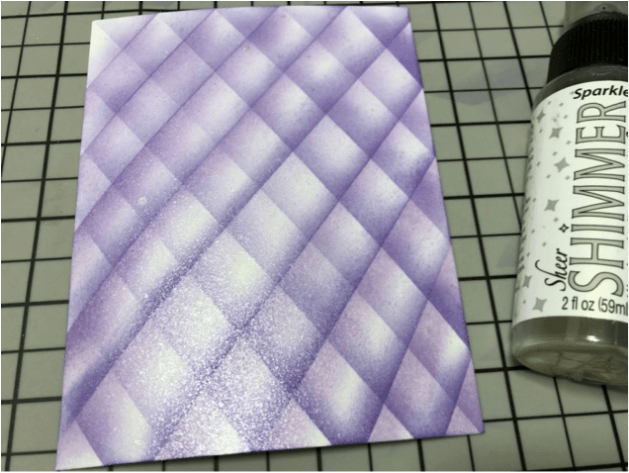
Quick & Easy: Acrylic Block Inking Technique

Beginner Guide: Acrylic Block Inking Technique

by Martha Lucia Gomez

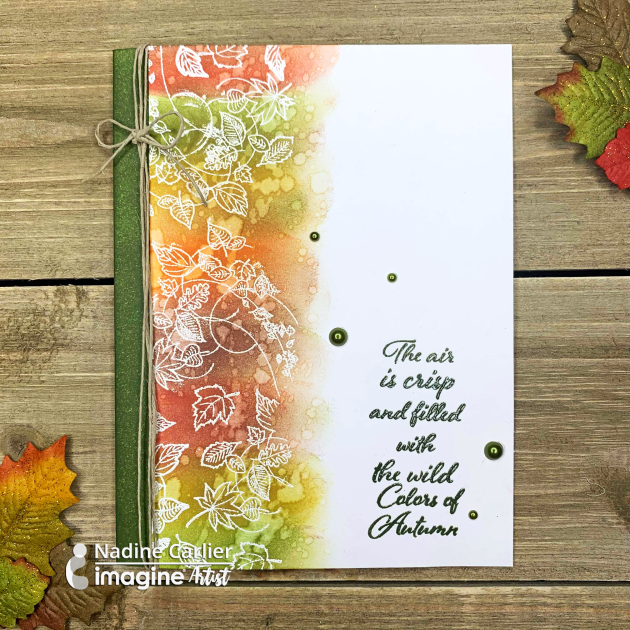
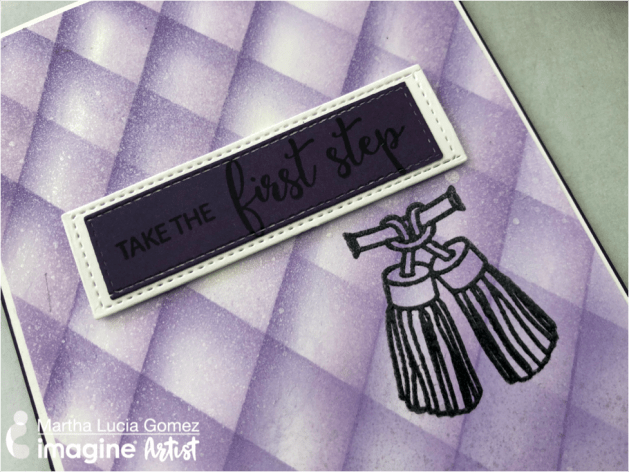
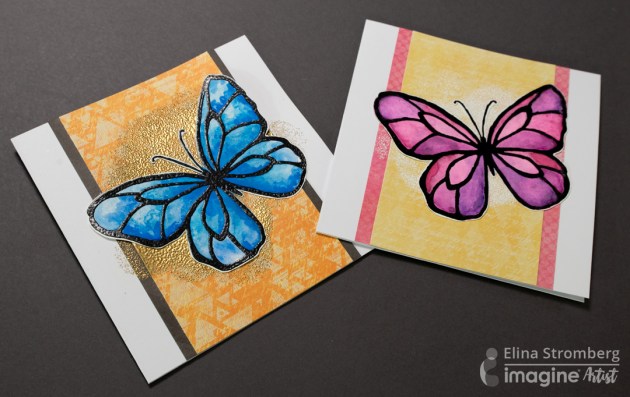
Using this acrylic block technique is an easy way to create a colorful background with a watercolor effect on your paper projects like cards and scrapbook layouts. You can do this technique using any water-based pigment or dye inks, and acrylic blocks of different sizes and shapes. You do not need a lot of different supplies to make beautiful backgrounds! You can do this with a single color of ink, but I used two colors of Memento water-based dye inks because the colors in the line blend together so nicely.

shopping list for Imagine


Memento Inkpad Tuxedo Black

Memento Inkpad Tangelo

Memento Inkpad Dandelion

Imagine Craft Mat

 Joy Clair Stamps

Stampin Up Cardstock

Acrylic Block by Stampin’ Up

Case base – white or black

2 oz Water Bottle

Tear It Tape

Select the size and shape of the acrylic block that you want to use to create the background. Here I used a block large enough to cover most of a standard size card but small enough to also leave a white border. Apply the ink directly on the acrylic block by swiping the ink pad on the surface.. Dye inks appearance on the block will look clear, but once you press the block onto paper the color will pop! I used two different colors, Memento Dandelion and Tangelo. I love the way the two similar colors fade into one another.

Spray your inked block with water. The intensity of color depends on the amount of water that you apply. Less water  will result in more color, and more water less color. Since the dye inks are waterbased the water will allow the orange and yellow to blend even more. Turn your block around and stamp the color directly over your cardstock or watercolor paper. Press the block into the paper with your hands to transfer the color. Lift the block off of the paper and let the cardstock dry naturally or speed the process with a heat tool. This technique can be used on most types of cardstock.

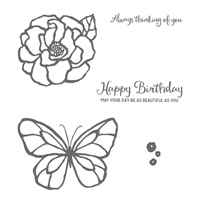
Arrange your clear stamps on the acrylic block. If you are not sure how you would like the design to look you can practice placement before you ink the stamp. This gives you a sense of the final look and feel. It can be eye-pleasing to have the stamped image use the full panel frame, meaning it covers both the colored and white areas. Here I decided to place the large floral image in the top corner and the sentiment “Thanks” in the opposite corner. Ink your main image using Memento Tuxedo Black to create a contrast. Adhere your inked and stamped panel to the black card base using double-sided tape. The black in the flower print and sentiment will pop even more because it matches the paper of the card base.


Color of the Month is Tuscan Sun

Color of the Month is Tuscan Sun

Color of the Month is Tuscan Sun. We were thinking of blended burnt orange and yellow sunset when we choose this hot summer color. Some of the inks that easily reflect this color choice are Memento Luxe in Morocco, Memento in Tangelo and VersaMagic in Pumpkin Spice.

For the Month of July August, we are also doing a special feature of Rinea Foil Paper. This beautiful paper foil comes in a variety of colors and patterns and we challenged our artists to use them in their tutorials and projects, so be on the lookout for awesomeness!!!  ******Correction: the exchange with Rinea is in August! 

Mixed Media by Roni Johnson

Best Wishes Card by Lori Warren

Paper Craft by Martha Lucia Gomez

Learn a Simple Smoosh Technique Using Memento Inkpad

by Melissa Andrew

Learn a Simple Smoosh Technique Using Memento Inkpad

Today, I show you a simple technique using your Memento DewDrops. You don’t need stamps when you have fabulous inks! I choose colors of Memento that work well together for an interesting background.

Skill: Intermediate
Time: 30 minutes

Directions

Supplies

Imagine
Other
  • Catherine Pooler Stamp – Feathered Friends
  • Catherine Pooler Chevron Divide Coverplate
  • White Cardstock
  • Bristol Smooth Paper
  • Copic Alcohol Markers

How to Make Different Sparkle Backgrounds on Handmade Cards

by Lindsay Adreon

Glittery backgrounds are the best backgrounds! I love anything glittery and the Sparkle MBoss is quickly becoming one of my favorite new embossing powders. It is a clear embossing powder with holographic glitter mixed into it. It’s perfect to add over any backgrounds because it doesn’t add any color, just shine and sparkle! You can watch the video tutorial to see two different ways to make your backgrounds sparkle!

Skill: Advanced
Time: 1 – 2 hours

Directions

Supplies

Imagine

VersaFine Clair in Green Oasis

VersaFine Clair in Verdant

VersaFine Clair in Rain Forest

Memento DewDrop in Pistachio

Memento DewDrop in Olive Grove

VersaMark

On Point Glue

Mboss Embossing Powder in
Sparkle

Jumbo Dauber

Other
  • Heat Tool
  • Masking Paper (Label Paper)
  • Kat Scrappiness Dies – Fancy Floral Cover Plate
  • Condensed Uppercase Alphabet
  • Blending Brush Set
  • Peel N Stick Toner Sheets
  • Laminator
  • Deco Foil – Black
  • Die Cutting Machine
  • Lawn Fawn Dies – Scripty Hello
  • Banner Dies
  • The Crafter’s Workshop Floral Spectacle 6 x 6 Stencil
  • Foam Tape
  • White Cardstock
  • Olive Green Cardstock

Create a Rainbow Blended Disney Theme Keepsake with VersaFine Clair

by Jessica Lin

Create a Rainbow Blended Disney Theme Keepsake with VersaFine Clair

Hi everyone! It’s Jessica and I’m so excited to share this Disney-inspired Twist and Pop 3D Card with you. As you can see, there are 4 panels dedicated to The Little Mermaid, The Lion King, Up and Cinderella. And I’ve used 14 VersaFine Clair ink pads to ink blend all of the backgrounds. I’ve used several sets of Mama Elephant stamps as well; the images are stamped with Memento ink in Tuxedo Black and colored with Copics. I hope you enjoy this magical creation as much as I do!

Skill: Advanced
Time: 15-20 minutes for each panel, 2-3 hours total

Directions

Supplies

Imagine
Other
  • Mama Elephant Stamp set – Mermaid Kisses, Carnival Cupcakes, Christmas Scene, Up and Away, Meowlloween Extras, Unicorn and Rainbows, Pix’s Favorites
  • Copic Sketch Markers
  • Cardstock – Neenah Solar White, Stampin’ Up Blueberry Bushel

Create a Watercolor Effect for a Thank You Card

by Elina Stromberg

Create a Watercolor Effect for a Thank You Card

This easy background technique can be used for creating beautiful soft backgrounds for various paper crafting projects. I used it for decorating a simple one-layer card, embracing our lovely color of the month ‘Fern Green’. The technique is quick and easy, and it requires only a very limited amount of supplies. Just take out your favorite Memento ink pad, any pattern stencil, a sponge dauber, and you’re good to go!

Skill: Beginner
Time: 1 hour

Directions


Step 1

Place card base flat on your Craft Mat, inside facing down. Wipe the Craft Mat with the ‘Bamboo Leaves’ green ink pad, mist the ink gently with water. Using a Jumbo dauber apply a soft layer of ink on the card base, both on the card front and on the backside. Do not ink the entire card but leave some areas blank. Let dry for a few minutes.


Step 2

Stencil random text patterns on the inked areas. Use the same green Memento ink and a small Sponge dauber.


Step 3

Die-cut the ‘Thank You’ sentiment twice, once from white cardstock and once from dark green. Layer the die-cut words letting the white layer partly show underneath. Glue on the card front. Die cut a branch from dark green cardstock and glue on the card front. If you don’t have a die-cutting machine decorate the card with letter stickers and hand-cut leaves, branches, or flowers.

Supplies

Imagine
Other
  • Card base
  • Cardstock – White, Dark Green
  • The Crafter’s Workshop – Art Is Stencil
  • Sizzix – Skeleton Leaves
  • Die-Versions – Everyday
  • Water Mister
  • Glue