Quick & Easy: Stamp & Drawing Technique


by Roni Johnson

Sometimes when you’re just starting out stamping you don’t want to have to purchase a bunch of supplies when you’re not sure if you’ll like it or not. Well today I have a really fun and easy technique that will add some spice to your cards and all you need besides stamps, ink, and paper is a pen and a ruler and you don’t even really need a ruler – it can be any straight edge.

What are we going to be doing with the pen…making doodles! It’s really easy and I’ll bet you’ve been practicing this for years without even realizing it. Let’s go!

Memento Marker in Tuxedo Black


VersaFine Clair in Nocturne

Acrylic Block by Stampin’ Up

Imagine Craft Mat

Unity – Naturally Beautiful

Stampin Up Cardstock

Directions

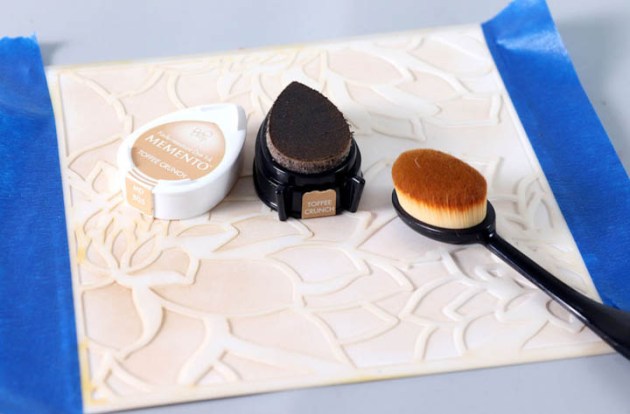
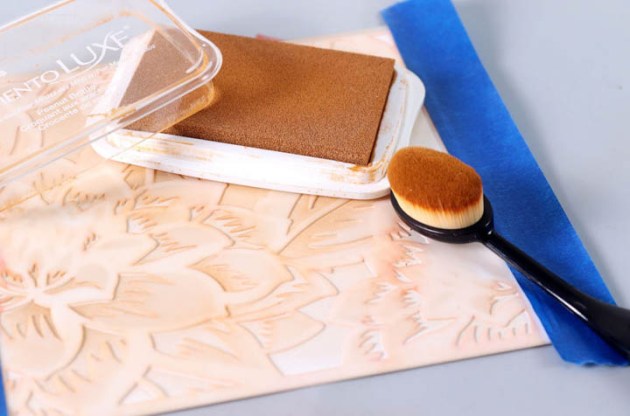
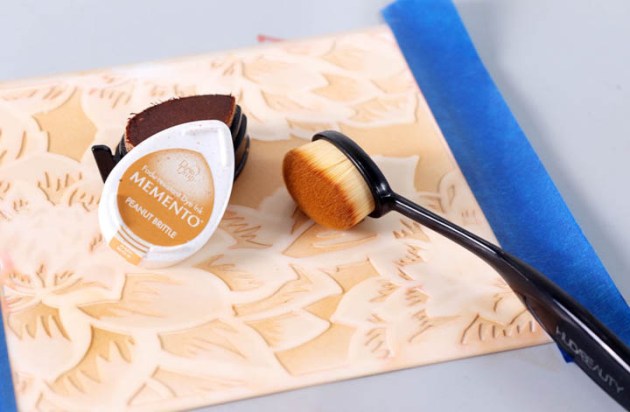
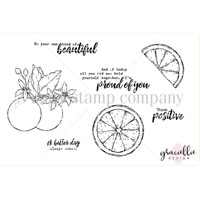
Place the “orange blossum” stamp onto an acrylic block (you can skip this if you have wood mounted stamp). Pounce VersaFine Clair in Nocturne over the stamp. Press the inked stamp onto the paper.

Now for the doodles…we’re going to start out with a really basic line doodle frame. First determine where you want your border. I went with ¼” for this example. So line up your ruler (I find that clear rulers are easier to work with) and make a dot at the ¼” mark in all 4 corners with a pencil.

Now you’re going to take a marker, in this case, I’m using the Tuxedo Black Memento Dual Tip Marker to doodle with. It has 2 tips – a brush type marker tip and the other end is like a pen so you can write with it too.

Align the ruler with your pencil dots, using the pen tip; draw a line from dot to dot. Easy Peasy right?

You can choose to stop right there or you can go back and add a few more doodles like these zig-zag lines.

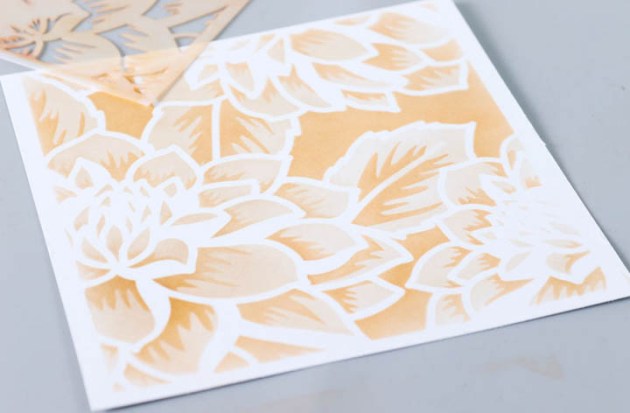
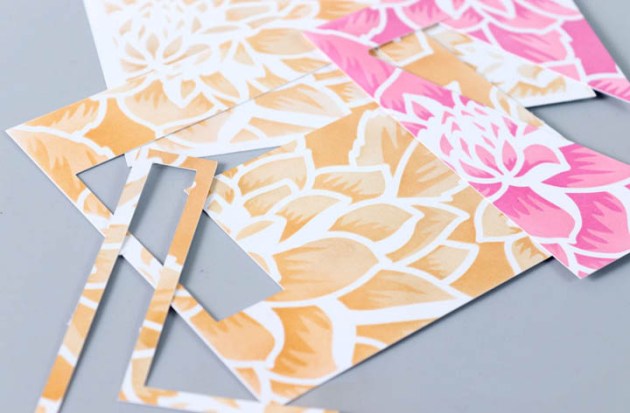
From here you can mount the card on a card base or leave it as a postcard style, color in the oranges, leaves and add a sentiment for whatever occasion fits. As you can see in the first photo — you can apply this technique to several card designs!

Learn How to Stamp Layered Tropical Themes with Memento Ink

by Arjita Sepaha Singh

Learn How to Stamp Layered Tropical Themes with Memento Ink

For today’s card, I used a few Memento Inks to stamp the different shades of foliage and the flamingos from a Hampton Art Tropical stamp set. For the sentiment “With Love, and Prayers”, I used Versafine Clair ink. I took a stamp set which had few layers and created the perfect Tropical theme using first and second generation stamping.

Skill: Intermediate
Time: 30 – 45 minutes

Directions

Supplies

Imagine
Other
  • Cardstock – Neenah Solar white
  • Misti Stamping Tool
  • Paint Brush
  • Scissors
  • Acrylic Block
  • Hampton Art – Tropical (SC0753) Layering Clear Stamps

Learn to Weave Rinea Foil Paper to Create a Card Background

by Kyriakos Pachadiroglou

Learn to Weave Rinea Foil Paper to Create a Card Background

Use the shiny Rinea papers to create a weaving background that mixes bright red and chocolate brown with the white cardstock. Distress the base card with Memento Desert Sand inkpad to create a frame that comes in contrast with the white cardstock. The same Memento color is also used to color the edges of the “Espresso Yourself” stamp with Mboss embossing powder in Black that creates a high contrast on the design.

Skill: Intermediate
Time: 1 hour

Directions


Step 1

On a 4 ½ x 6 ½ inch piece of watercolor paper, mark horizontal lines in various heights. Continue with vertical one that always comes in pairs, marking one entry and one exit point where the Rinea paper stripes will go through.


Step 2

Cut the vertical marks to make openings.


Step 3

Cut stripes of the Rinea double-sided foil paper, Ruby starstruck and Mocka glossy, and pass them through the previously made openings.


Step 4

Color the front of the base card around it with Memento Desert Sand inkpad to make a frame.


Step 5

Turn the back of the decorated with Rinea papers watercolor paper and ut stripes of the Tear It! Tape to secure both the Rinea papers and then the whole of it on the card base.


Step 6

Stamp the “Espresso Yourself” stamp or alternative coffee-theme stamp with VersaMark, cover with Mboss Embossing Powder in Black and heat set.


Step 7

Distress around the stamped image with Memento Desert Sand color and a sponge dauber. Add the ribbon, the spoon, and the coffee beans.

Supplies

Imagine
Other
  • Rinea – Variety Autumn foiled paper
  • 5×7 Card base
  • Watercolor paper
  • Creative Expressions – “Espresso Yourself” stamp
  • Brown grosgrain ribbon
  • Coffee beans
  • Small spoon charm
  • Hot glue gun
  • Heat tool

See How to Make a Mixed Media Project with Rinea Foil and VersaFine Clair

by Kassy Tousignant

See How to Make a Mixed Media Project with Rinea Foil and VersaFine Clair

This mixed media paper doll panel was so fun to make. I used Rinea foil, Creative Medium, foam tape and Tsukineko inks in this crafting project. Rinea foiled paper works beautifully with 3D embossing folders and makes a great foundation for the girls stamped in VersaFine Clair inks. Enjoy!

Skill: Advanced
Time: 1 – 2 hours

Directions

Supplies

Imagine
Other
  • Black gesso
  • Catherine Moore stamps
  • Pink twine
  • Wood panel
  • Rinea – copper glossy paper
  • Prima – paper, and metal flowers
  • Metal charm
  • White cardstock
  • Foam adhesive
  • Sizzix – 3d embossing folder
  • Die-cutting machine
  • Metal brads

How to Use Rinea Foil and Memento Inks on a Scrapbook Layout

by Jowilna Nolte

How to Use Rinea Foil and Memento Inks on a Scrapbook Layout

Create amazing elements for your scrapbook layout using the range of Rinea foils, Memento inks, and a layered stencil set. Combined with inked backgrounds you can create a feast of color and shine.

Skill: Intermediate
Time: 45 minutes

Directions


Step 1

Blend Toffee Crunch Memento ink through the first layer of a stencil set onto smooth white cardstock.


Step 2

Then blend Peanut Brittle Memento Luxe through the second layer of the stencil to bring out some more of the details.


Step 3

Add more highlights by blending in certain areas using Memento Peanut Brittle. Layering a dye on top of a pigment ink creates beautiful results.


Step 4

Remove the stencil to reveal the blended background. And repeat with different color hues to create more variety. I repeated this process with pink.


Step 5

Die-cut the stenciled background using a die-cut machine or hand-cut some letters.


Step 6

Back a sheet of Rinea foil with double-sided tape. Then die-cut some leaves out of the foil.


Step 7

Assemble your layout by adhering the die-cut letters, then add your photo. Create a cluster using your foil leaves and cut out elements.

Supplies

Imagine
Other
  • Wooden block
  • Altenew – Stencil – Layered Dahlia A, Layered Dahlia B
  • Resin
  • Prima Moulds
  • Texture Paste
  • Little Birdie

See How to Make a Happy Birthday Panda Card with Rinea Foil

by Elina Stromberg

See How to Make a Happy Birthday Panda Card with Rinea Foil

This panda stamp set is one of my favorites, and I’ve used it on many card projects. Embossed Rinea foil took these cute images on a completely new level; the shimmering patterned background is truly eye-catching and made the adorable party pandas pop! This card design is simple to make, and the Rinea foil is easy to emboss. If you don’t have a die-cutting machine and embossing folders you can easily emboss and pattern the foil with a stylus.

Skill: Intermediate
Time: 1.5 hours

Directions


Step 1

Stamp the pandas on white cardstock using clear VersaMark ink. Heat emboss the images using black Mboss embossing powder.


Step 2

Using the craft mat as palette color the embossed pandas with black, grey and red Memento inks. Wipe the ink pads on the craft mat and pick up the colors with a water brush. Once dry add highlights with a white color pencil. Cut out the images.


Step 4

Place a sheet of red Rinea foil in an embossing folder. Run through the die-cutting machine to create an embossed pattern. Doesn’t the embossed sheet look amazing! Trim the foil to a size slightly smaller than your card front.


Step 5

Trim a white panel to a size that is ¼” smaller than your card base on all edges. Die-cut two circles on the card front. Layer the card front panel on the embossed foil and mat onto a piece of dark red cardstock. Attach the layered card front to the card base using double-sided tape. Stamp the sentiment on the card front. Glue pandas on the die-cut circles.

Supplies

Imagine
Other
  • Rinea Foil Paper – Autumn
  • Cardstock – Red, White
  • Cardbase
  • Stampin’Up – ‘Party Pandas’ Stamp set
  • Water brush
  • White color pencil
  • Scissors
  • Glue
  • Double-sided tape