By Helen Gullett
Skill: Intermediate
Time: 30 – 45 minutes
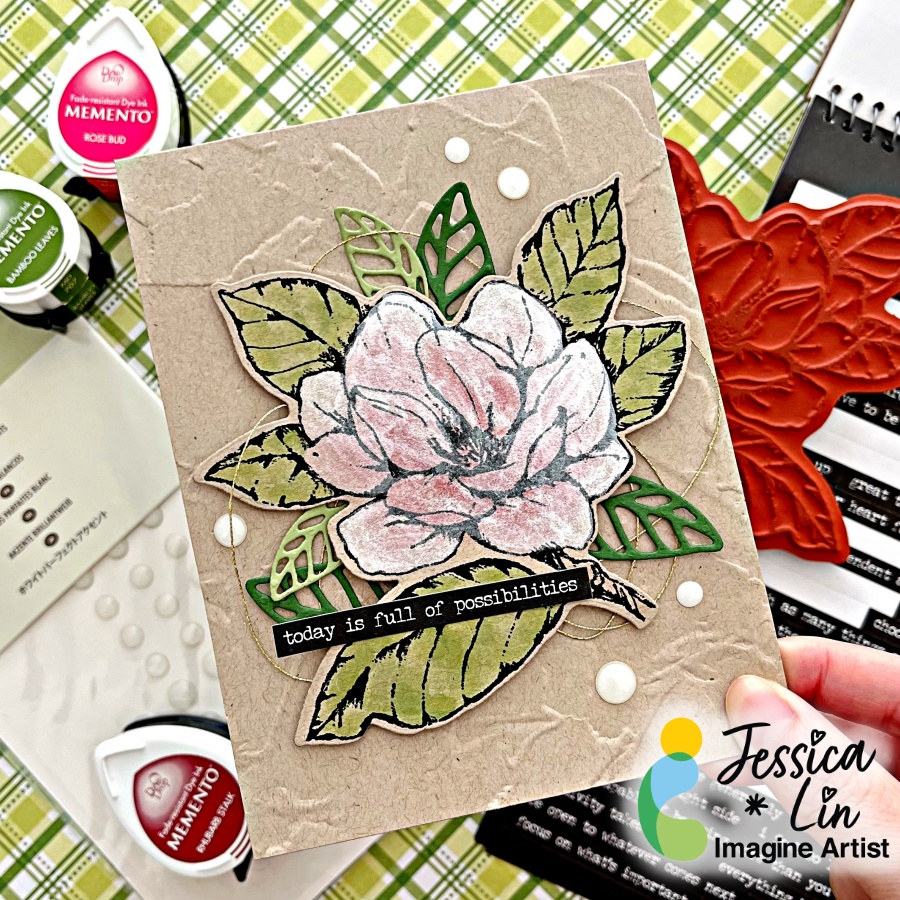
Hi everyone! Helen is here. I am super excited today to share with you all my very first project as one of the new Imagine Artists in Residence!!!
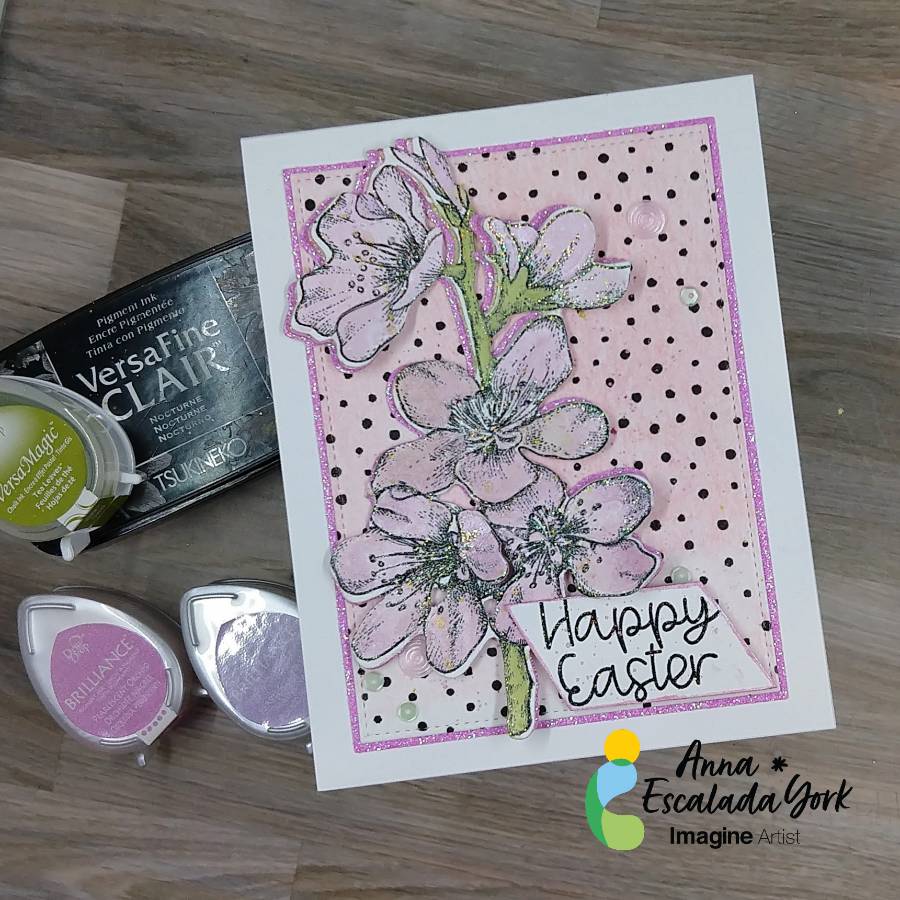
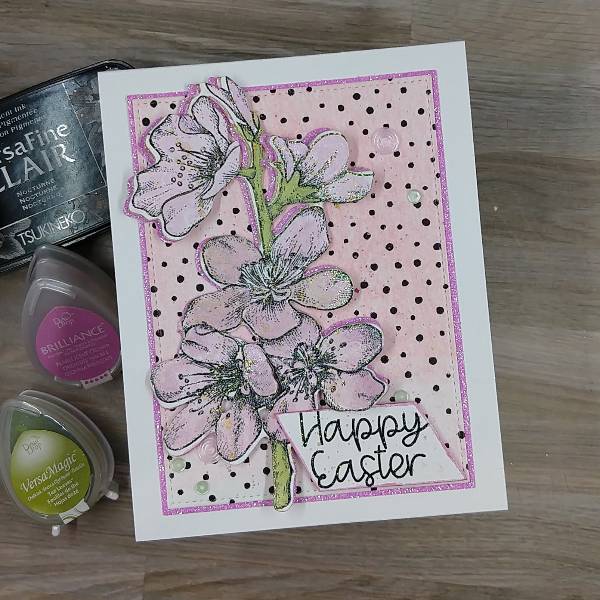
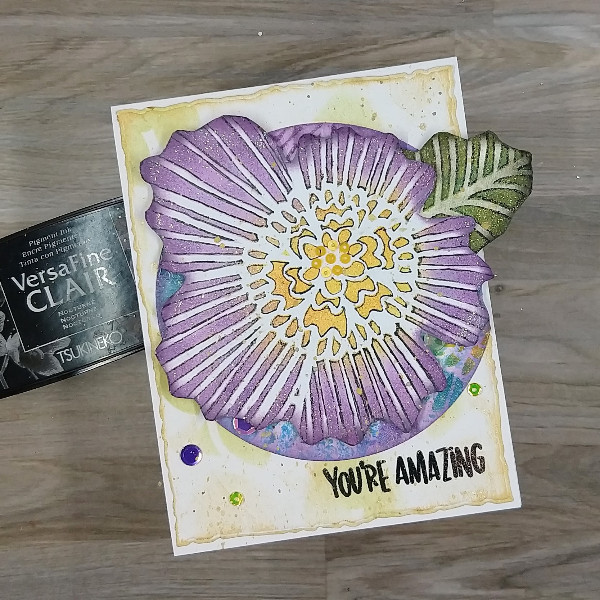
I have been a big fan of Imagine Crafts products since I started making crafts. I made this monochromatic card. It is clean-and-simple yet has some layers to create an encouragement card or any occasion card.
Directions:

Step 1
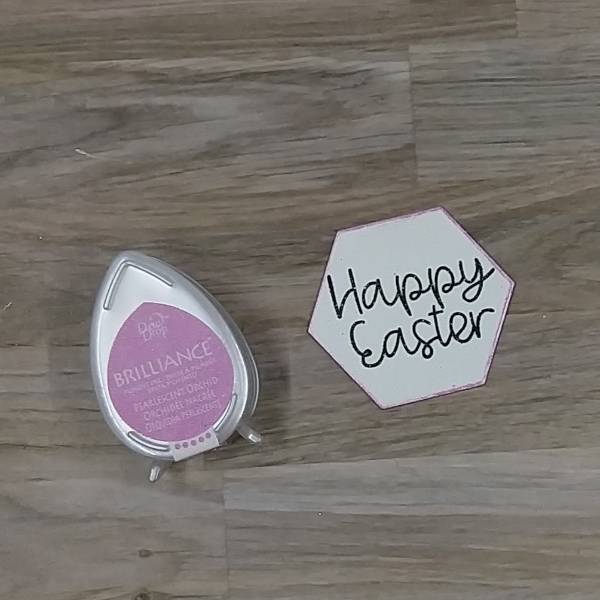
Stamping the sentiment labels. Arrange the stamp labels you want to use on the stamping tool and then stamp them on a piece of white cardstock with VersaFine Clair Nocturne ink pad. Stamping tool will help to get great second stamping for bold result. After stamping, dry the ink with craft heat gun and then trim them using the paper trimmer.
Step 2
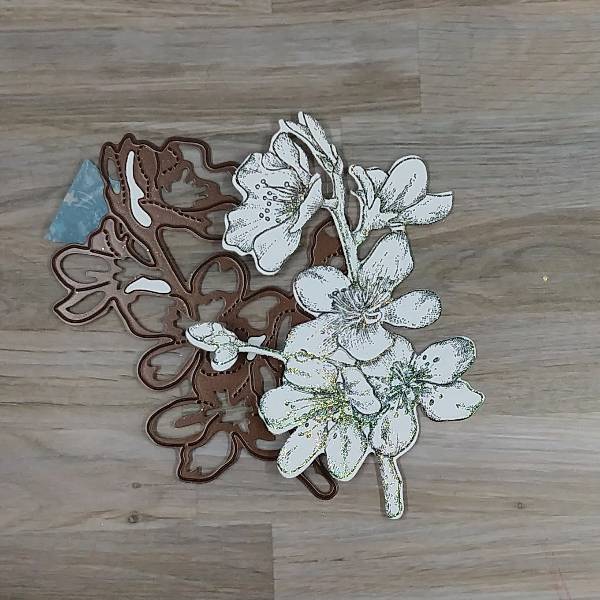
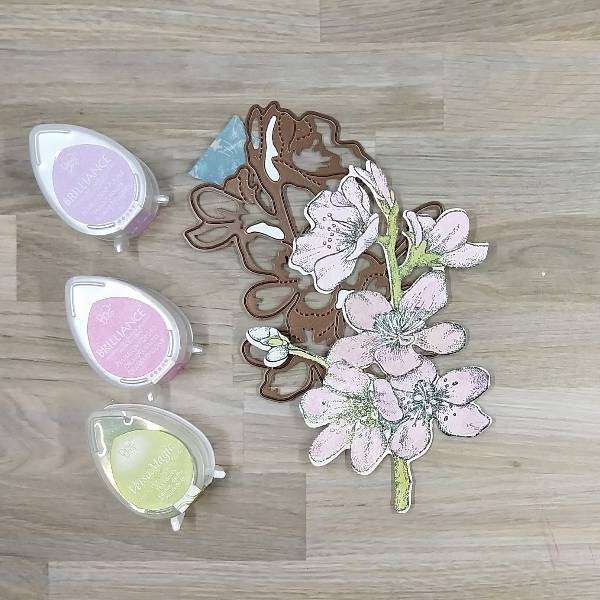
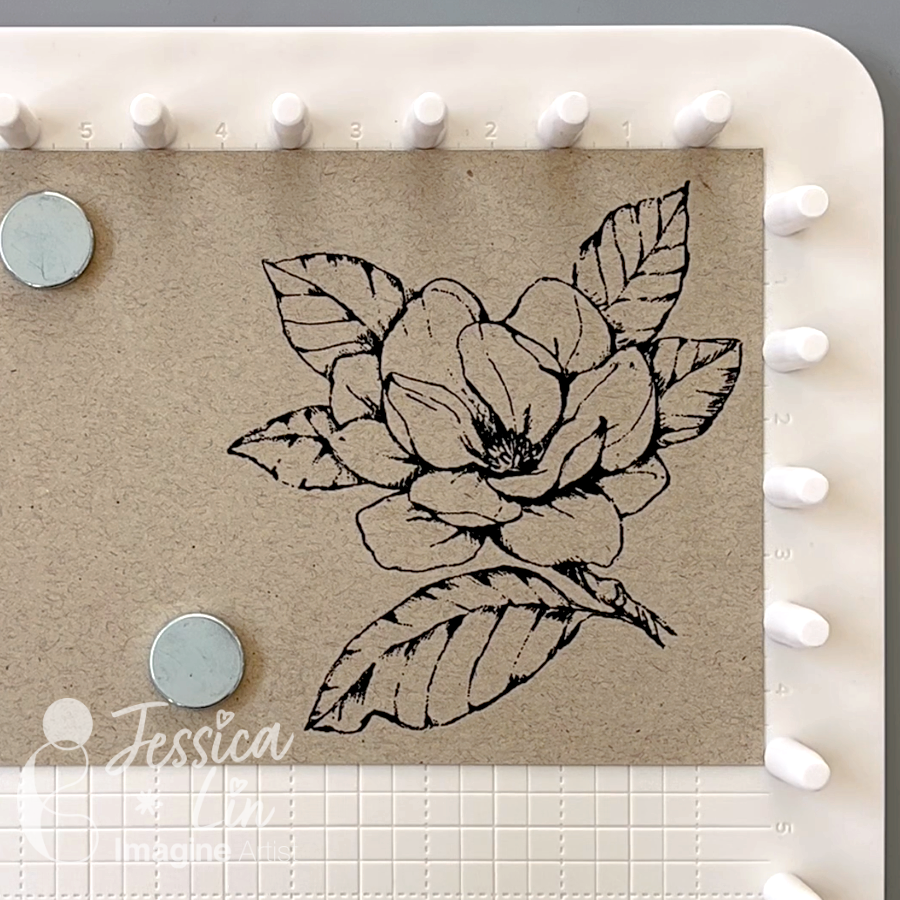
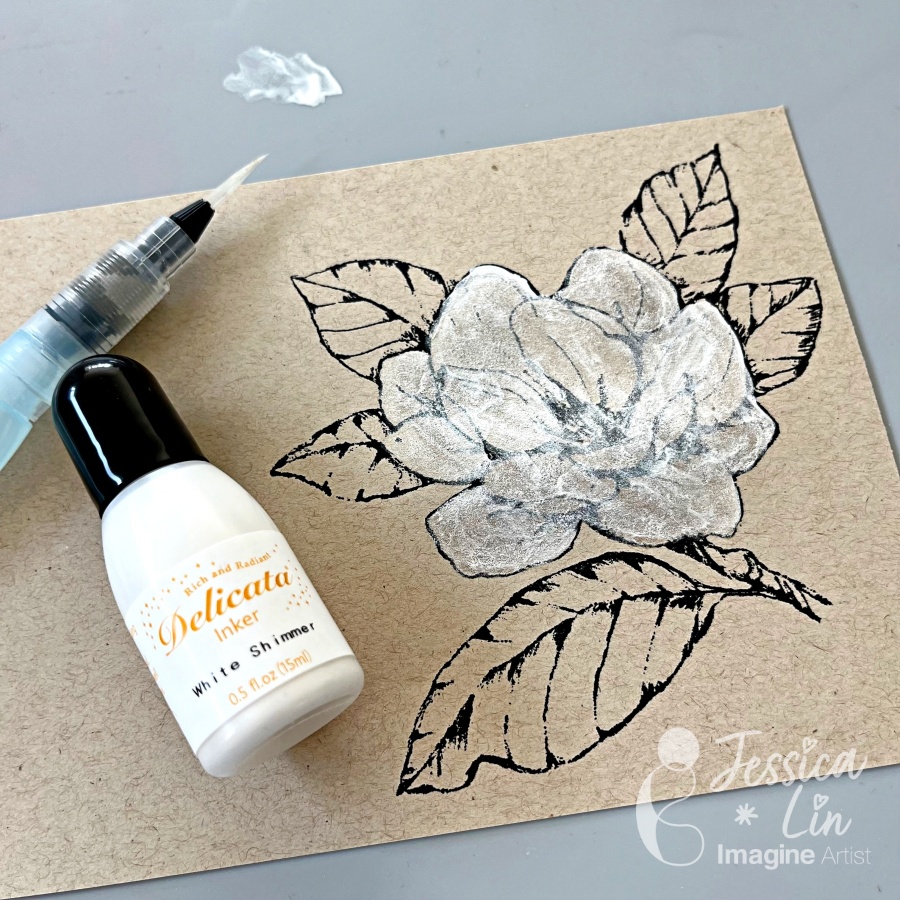
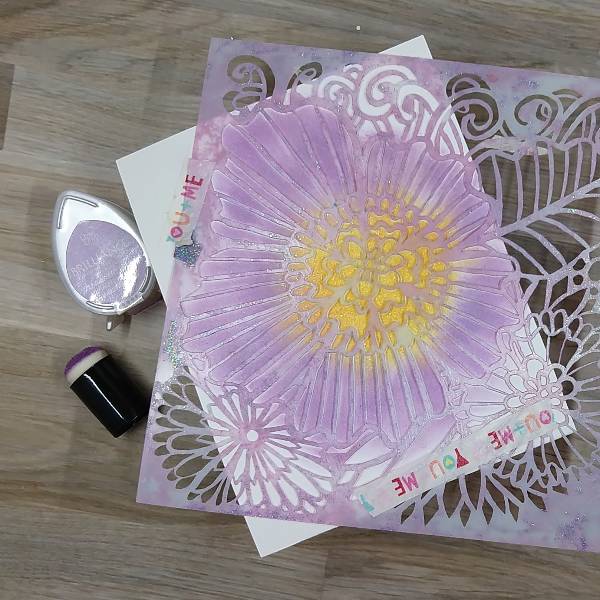
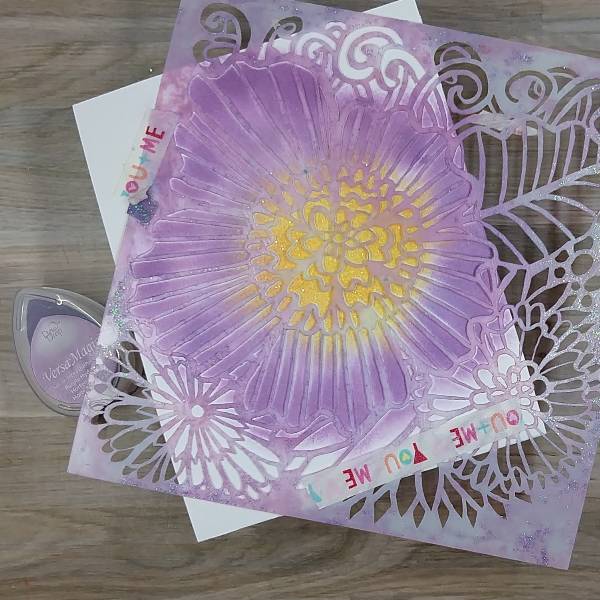
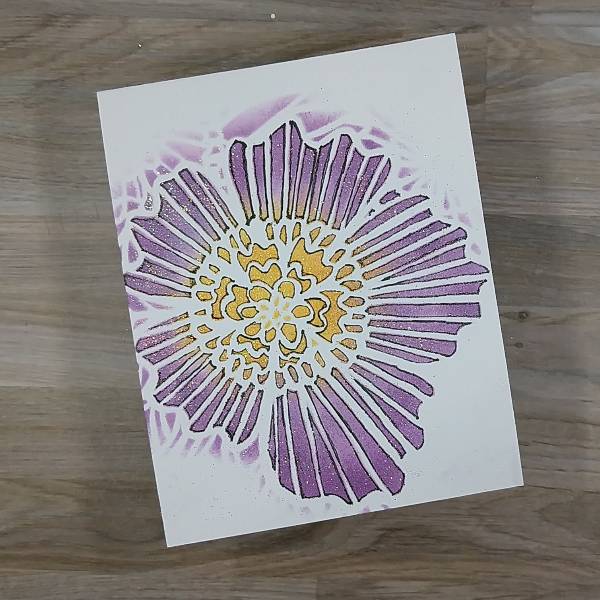
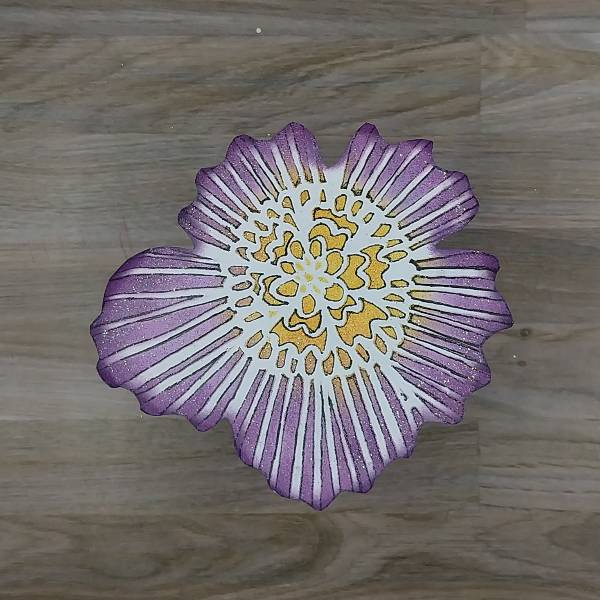
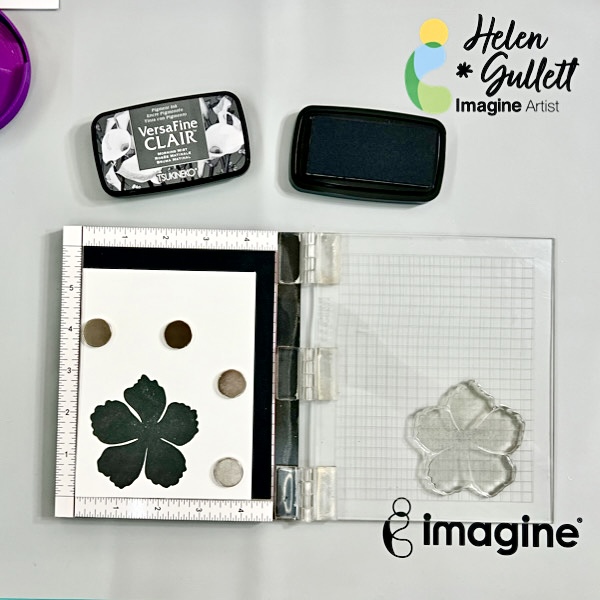
Using the stamping tool, stamp the solid image of the flower (the first layer base of the layering flower stamps) using the VersaFine Clair Morning Mist ink pad on the white cardstock. Use the pressure tool to press the inked stamp to the cardstock to get even and better transfer ink. This pressure tool is very handy to use when stamping big images. But you can always stamp it again if needed.

Step 3
Line up the second layer of the flower stamp image on top of the solid stamped image. Make sure you position it in the right direction. Grab the stamp using the lid of the stamping tool and then ink it with VersaFine Clair Nocturne ink pad and then stamp it. Use the pressure tool to press the inked stamp to the cardstock to get even and better transfer ink. You can always stamp it again if needed.

Step 4
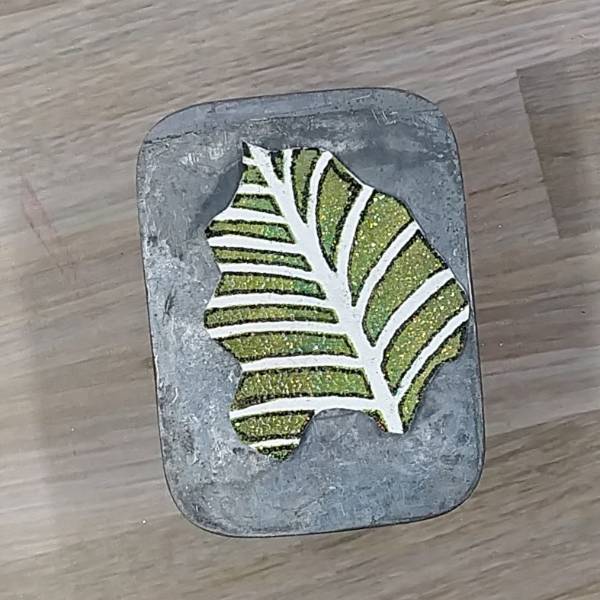
Grab the last part of the layering flower stamps, position it in the center of the stamped flower and then stamp it using the VersaFine Clair Nocturne ink pad. For this center part, I stamped it 3 times to get darker stamped image. You still can use the pressure tool to press the inked stamp to the cardstock to get even and better transfer ink.
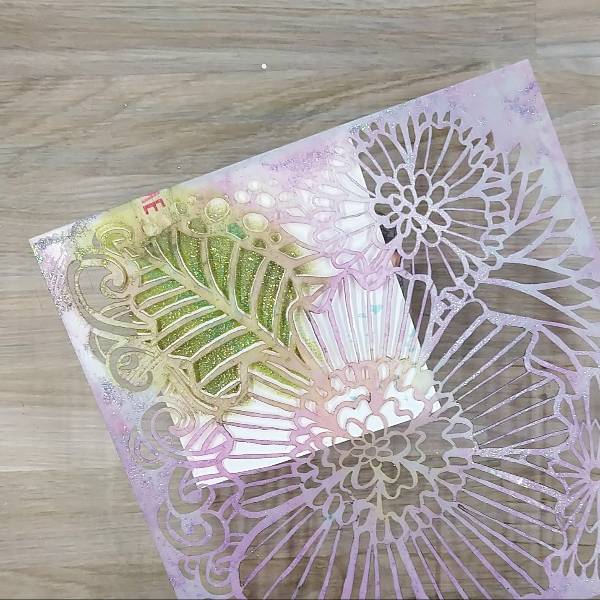
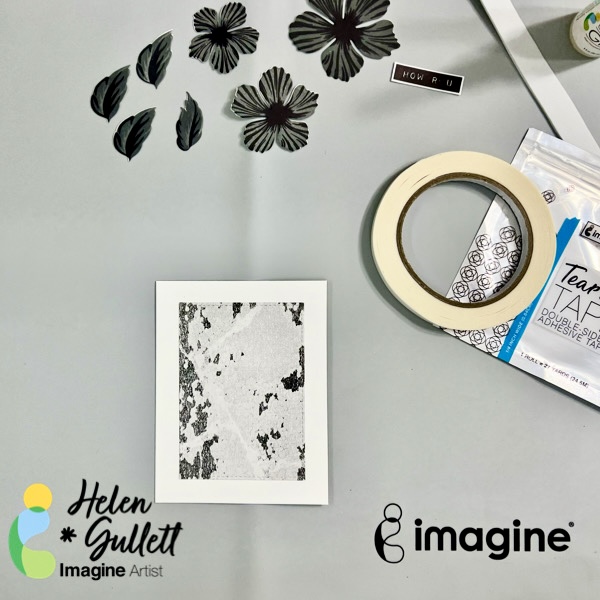
Repeat these steps: 2, 3, and 4 for the leaves.
After stamping the images, use the StazOn All-Purpose Stamp Cleaner Dauber Top to clean the ink of all the clear stamps.

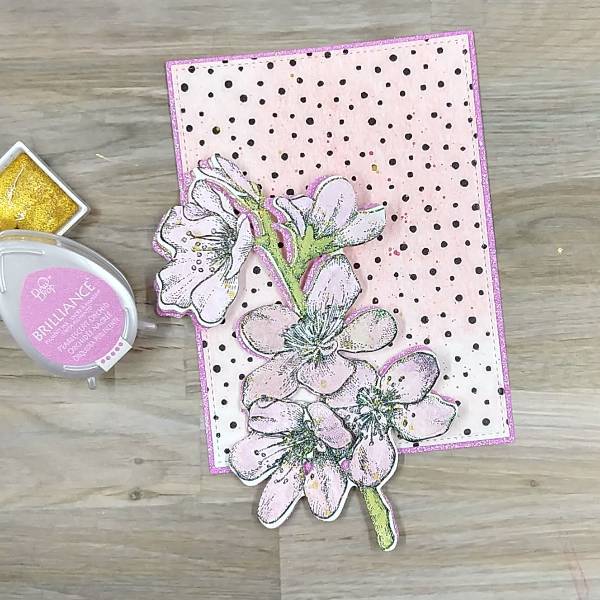
Step 5
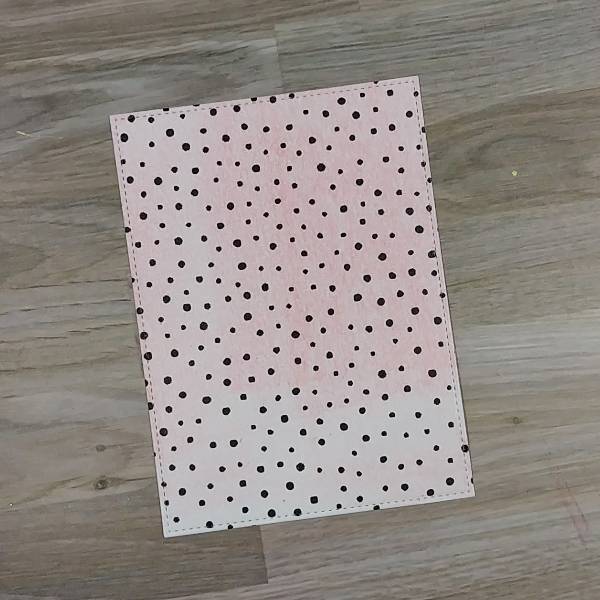
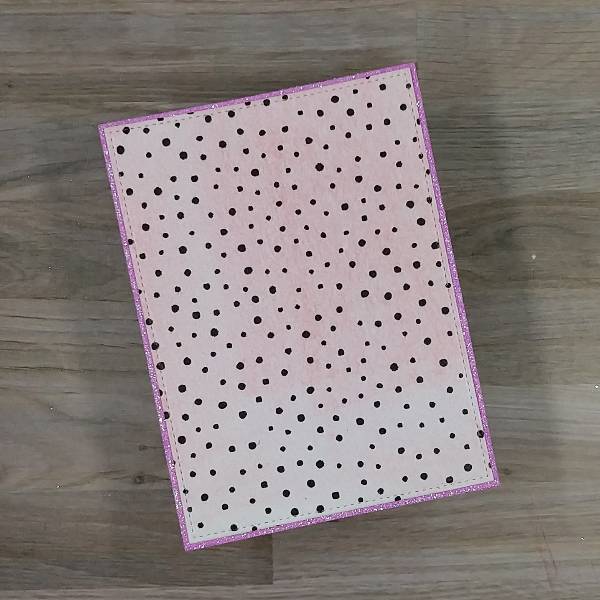
Cut all the flowers and leaves using the matching thin metal dies using the die cutting machine. And then after that, you can cut the pattern paper also with one of the Stitched Rectangle Dies to make a background mat for the flowers.
Step 6
Make a white card base out of the 8.5-inch x 11-inch 110lb white cardstock you cut into 2 pieces using the paper trimmer, using score in the middle of the cardstock, and then fold it into a card.
Put some of the Tear It! Tape on the back for the pattern background mat and then add it to the card base. This tape is strong and permanent, so make sure you position it at the center of the card lightly and then press it down.

Step 7
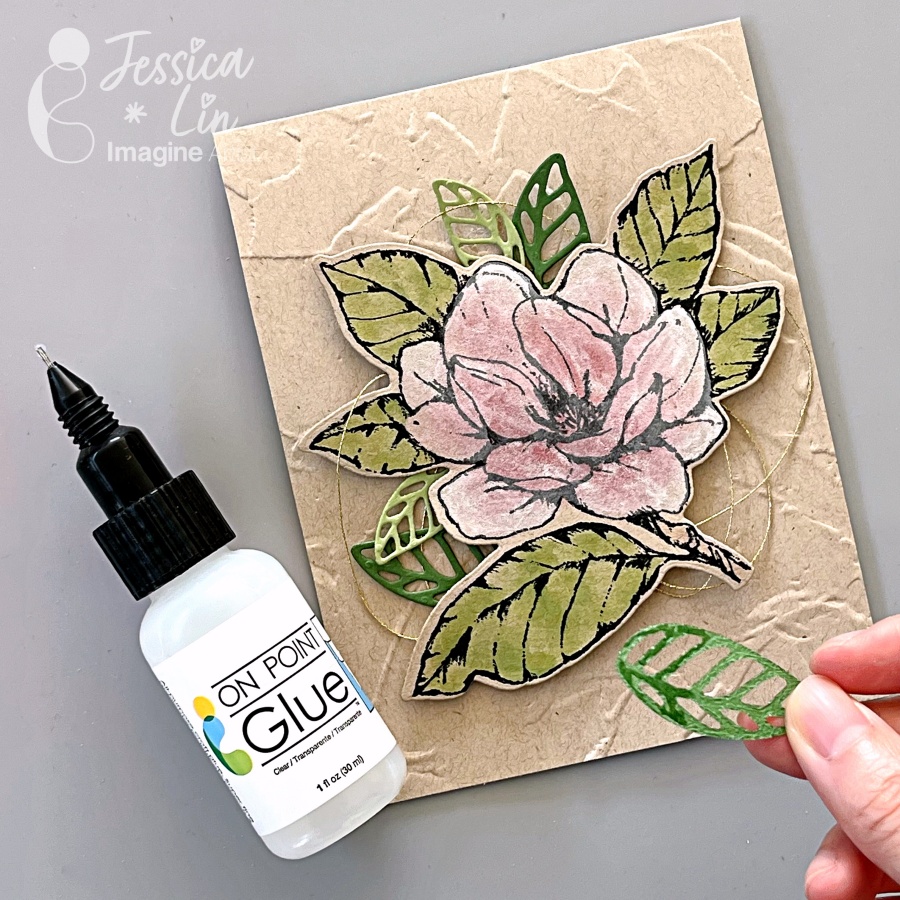
This is the time we arrange all the stamped flowers and leaves. Using the On Point Glue to add the first layer of the flower and leaves on the card. This glue gives you a few seconds of its drying time so you can position the flower and leaves to the spot where you like it. Then press them down and hold them down for a few seconds for the glue to dry permanently.

Step 8
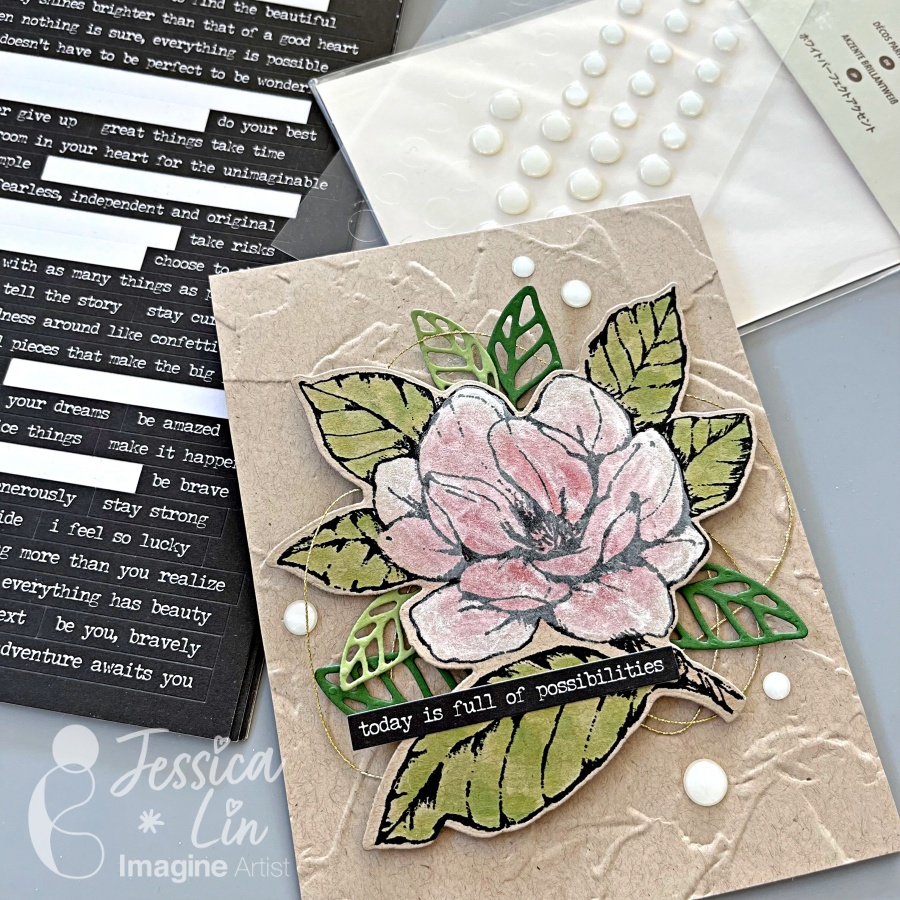
For the second and third layers, we will use foam tape for extra dimension to the flower. I made the foam tape out of white fun foam and Tear It! Tape. I put pieces of the foam tape on the petals of the flowers and added them to the base flower. And then, add one of the sentiment labels to the card with foam tape, too.
Step 9
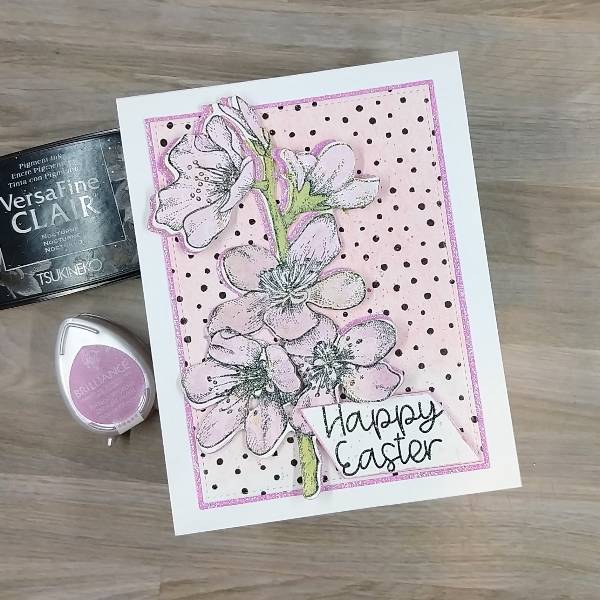
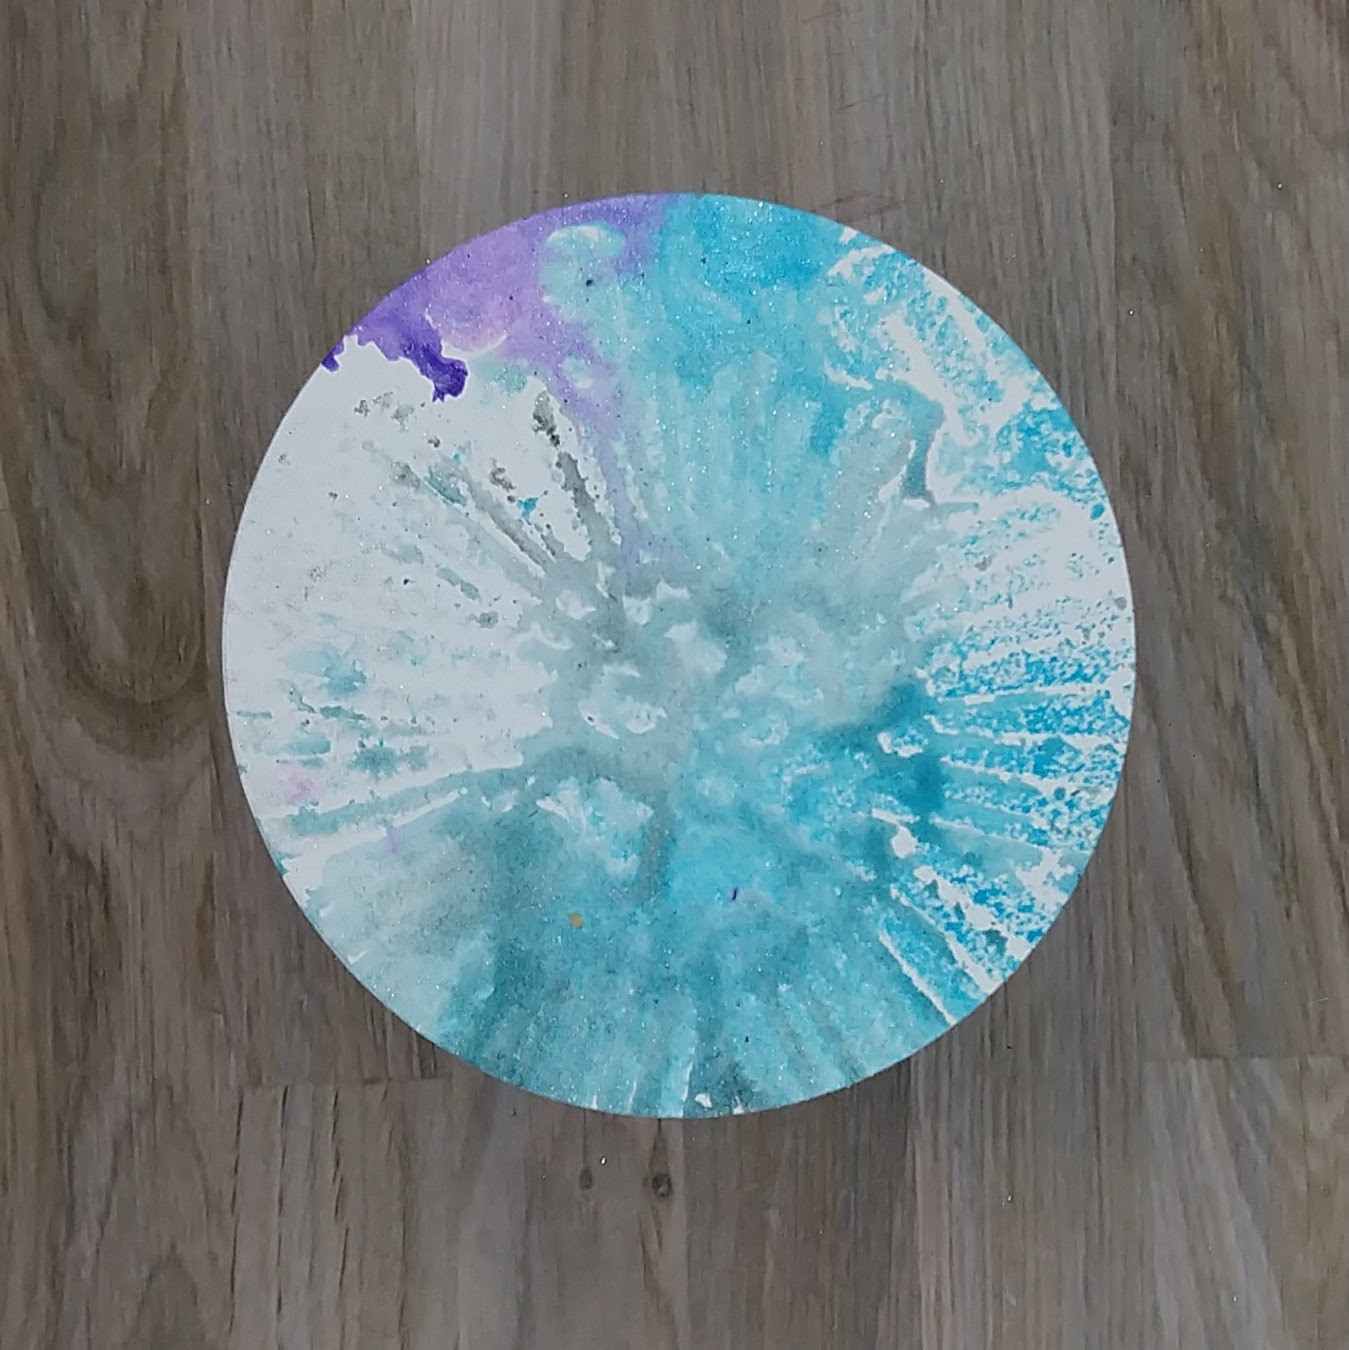
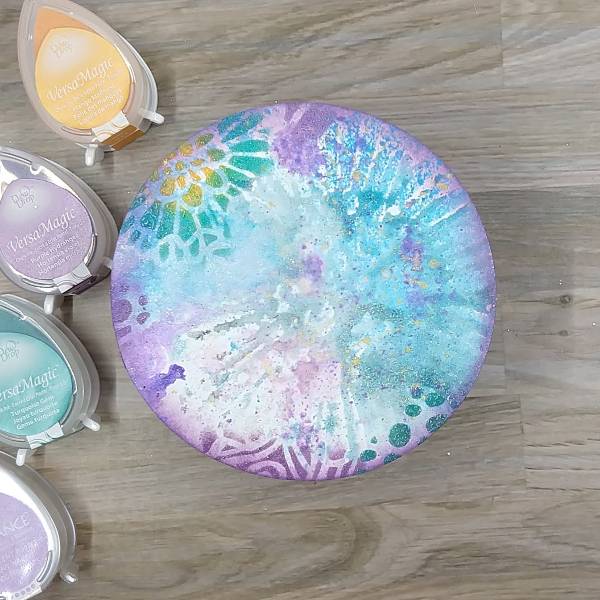
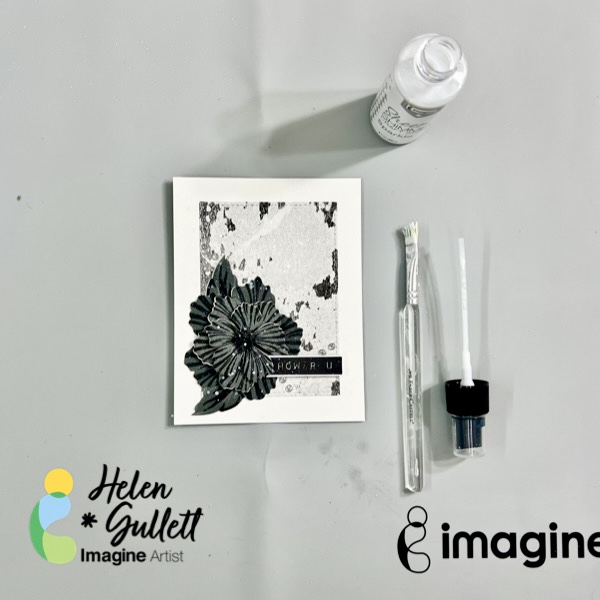
Add some splatters of the Sheer Shimmer Craft Spray on the card using the spray bottle nozzle and flat brush (or fan brush). Add also some white paint splatters on it for more texture.
Dry the splatters on the card with a craft heat gun by moving the heat lightly around the top.
It is optional, you can embellish the card with some clear gems or other embellishment you like.
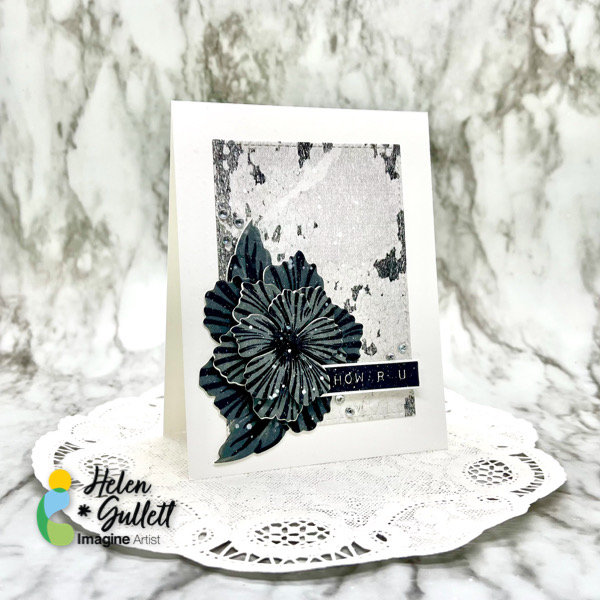
Look at those layers on a CAS style card! That’s my first project to share with you. Thanks for stopping by the blog today!

Craft Supplies
Imagine Craft supplies:
- VersaFine Clair Nocturne
- VersaFine Clair Morning Mist
- Sheer Simmer Craft Spray Sparkle
- Imagine Craft Mat
- On Point Glue
- Tear It! Tape
- StazOn All-Purpose Stamp Cleaner Dauber Top
Other Supplies:
- Altenew – Label Love Stamp Set
- Altenew – Build A Flower: Peony Blossom (stamp and die set)
- Altenew – White Ink Spray
- Sweet ‘n Sassy Stamp – Stitched Rectangle Die Set
- Neenah Classic Crest White Cardstock 110lb
- Graciellie Design – Botanical Dream Digital Paper Pack
- Clear gems (or other embellishments)
- White fun foam
- Fiskar Paper Trimmer
- MISTI Stamping Tool
- TwiddlersNook Pressure Pal
- Gemini Junior cutting machine
- Craft heat gun
- White brush (flat or fan)
- Micro-tip scissors