By Neva Cole
In today’s crafting tutoring I will share how to make absolutely gorgeous flowers from foam paper and StazOn On Trend inks that hold their shape beautifully. Create a very special card to give to a Mother for Mother’s Day.
Skill: Advanced
Time: 3 hours plus time to dry ink on foam paper

Directions:
Step 1
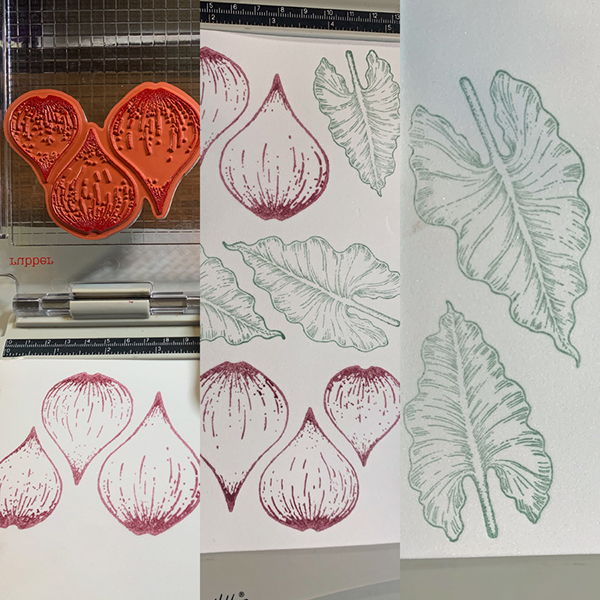
Stamp Calla Lily image in StazOn Bordeaux. Stamp Calla Lily Leaves image in StazOn Forest Green. Set aside while working on the rest of the card. The ink will take time to dry, otherwise it will smear or come off on your fingers.
Step 2
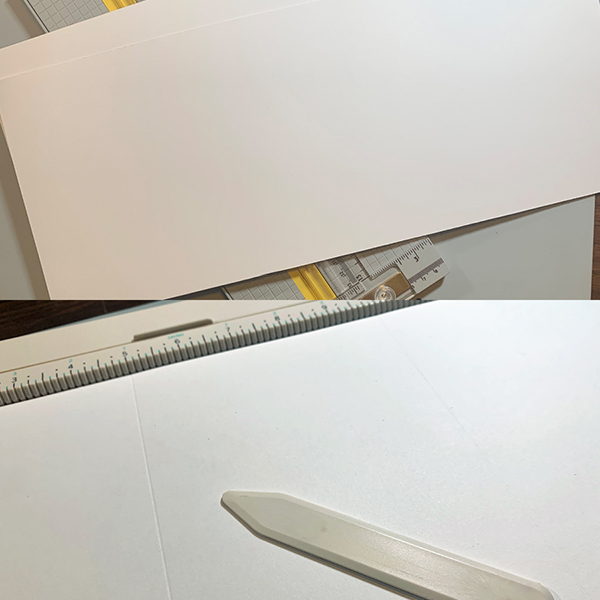
Trim a sheet of Strathmore Bristol Vellum Finish 100 lb paper to 7″ x 15″. My pad comes in 14″ x 17″ so it will make two cards of this style from one sheet. Score at 5″ from each end and accordion fold sheet using bone folder to crease folds.
Step 3
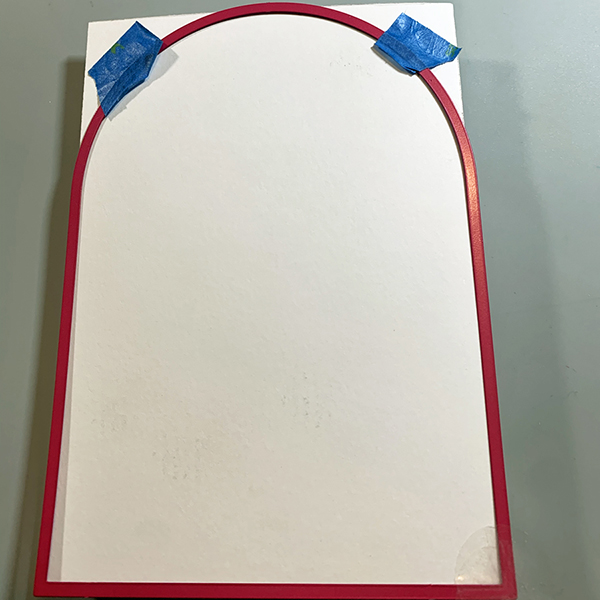
Place folded cardstock into Largest die from the Teardrop Lattice Gateway die by Heartfelt Creations. Run through die cut machine. Remove curved corners once they are cut, to allow all layers to cut through.

Step 4
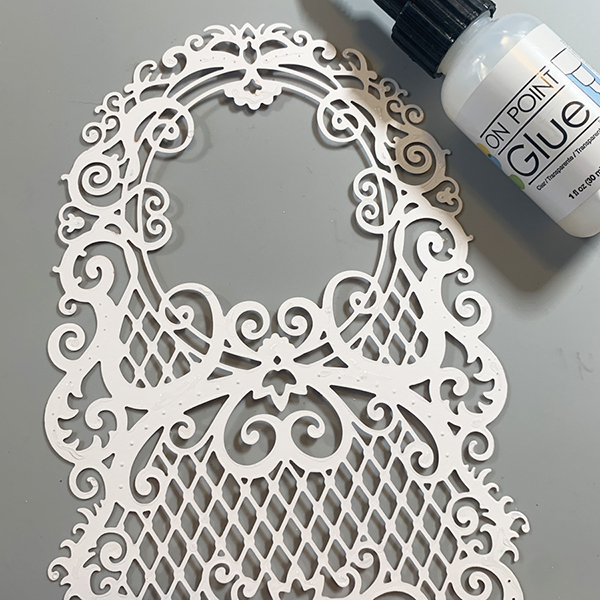
Die cut decorative card front from white cardstock. It is from the Heartfelt Creations Lattice Swirl Gateway die. Die cut lower portion of Heartfelt Creations Lattice Flourish Gateway die (shown below).

Step 5
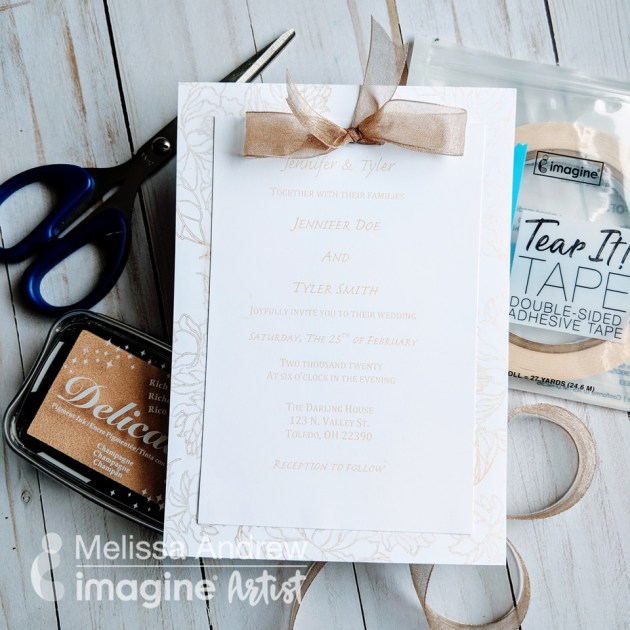
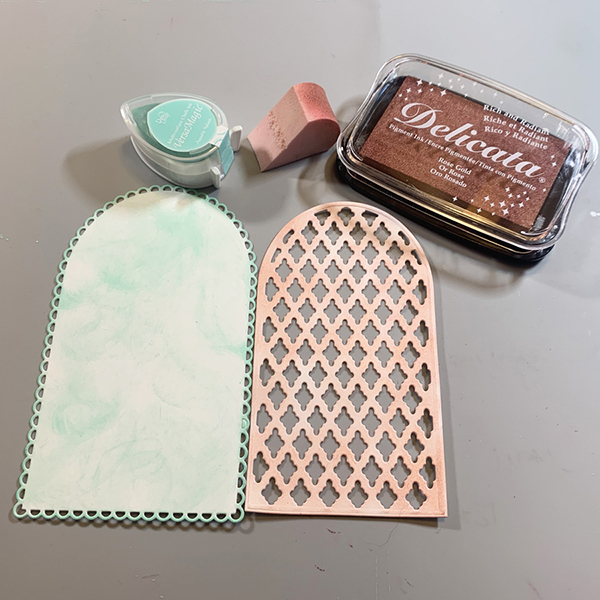
Use an ink blusher and Delicata Rose Gold to color die cuts.

Step 6
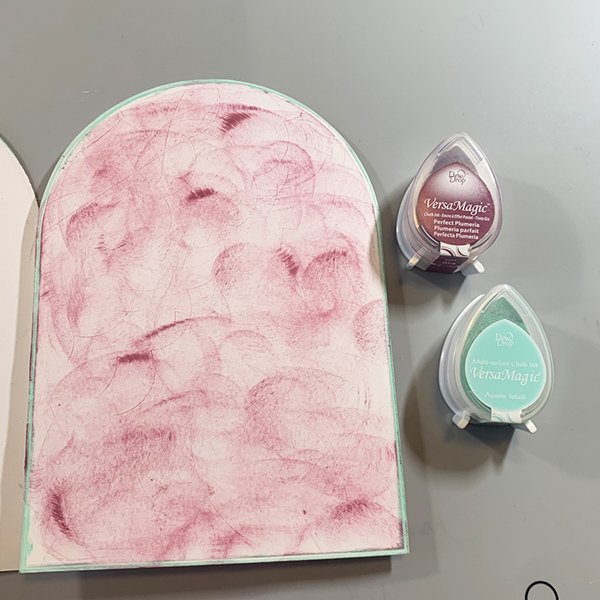
Use Versa Magic Aqua Splash Dew Drop to ink all outside edges of the tri-fold card. Front is shown.
Step 7
Using direct to paper method ink the front panel and back panel of the tri-fold card. Shown is the back panel.

Step 8
Die cut scalloped edge die from the Heartfelt Creations Scalloped Flourish Gateway die. Ink the edge with VersaMagic Perfect Plumeria. Using direct to paper method ink the center of the panel.

Step 9
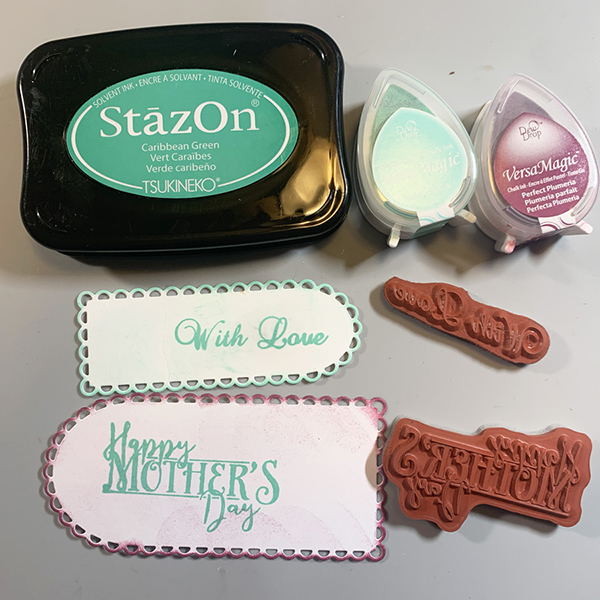
Stamp the sentiment from Heartfelt Creations Fancy Special Day Stamp in StazOn Bordeaux at the top of the panel from step 8.

Step 10
Center Lattice Flourish Gateway die below the sentiment and trim to fit. Adhere with On Point glue.
Step 11
Die cut the third from the largest Heartfelt Creations Eyelet Frame Gateway from white cardstock. Ink the edges and the center of the panel with VersaMagic Aqua Splash. Die cut center panel form Heartfelt Creations Regal Lattice Gateway die from white cardstock. Use an ink blusher to color the die cut.
Step 12
Die cut two smallest Eyelet Frame Gateway dies from white cardstock. Ink smallest with Versa Magic Aqua Splash around the edges and lightly in the center. Stamp with Inspire Me Sentiment Stamp in Caribbean Green StazOn ink. Ink the larger die with Perfect Plumeria around the edges and lightly in the center. Stamp “Happy Mother’s Day” from the Heartfelt Thank You Sentiments in StazOn Caribbean Green.
Step 13
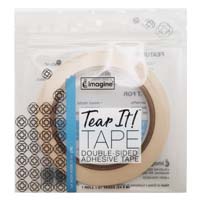
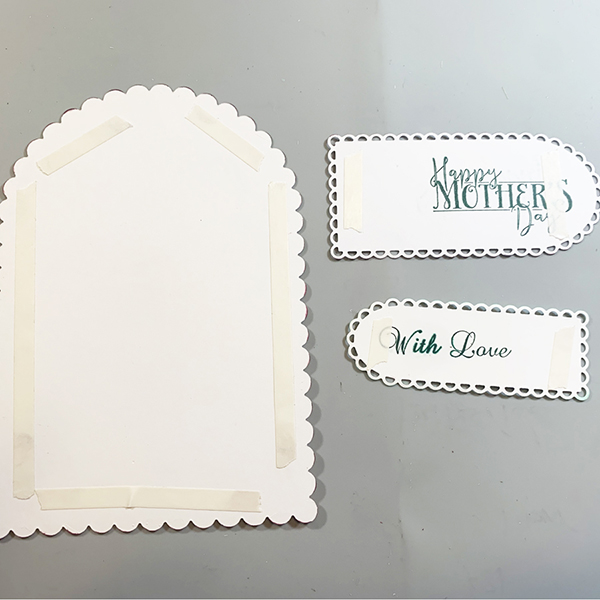
Apply Tear It tape to the back of prepared panels from Steps 9, 10, and 11. (Notice that I decided to change color used for the sentiments for step 12 and simply used the opposite side of the die cut.)

Step 14
Use and ink dauber to color the leaves and Calla Lily images with StazOn ink in Caribbean Green and Bordeaux. Set aside for the ink to dry, I let mine dry over-night to keep from staining my fingers in the next step and smudging the ink.

Step 15
Die cut the Calla Lily and leaves. Prep space to create flowers. Heat glue, glue gun, die cuts and Heartfelt Creations Pastel Pollen Stamens. (Note I colored the back of the die cuts as well, but turns out it is not necessary because the back of the images do not show on the finished card.)
Step 16
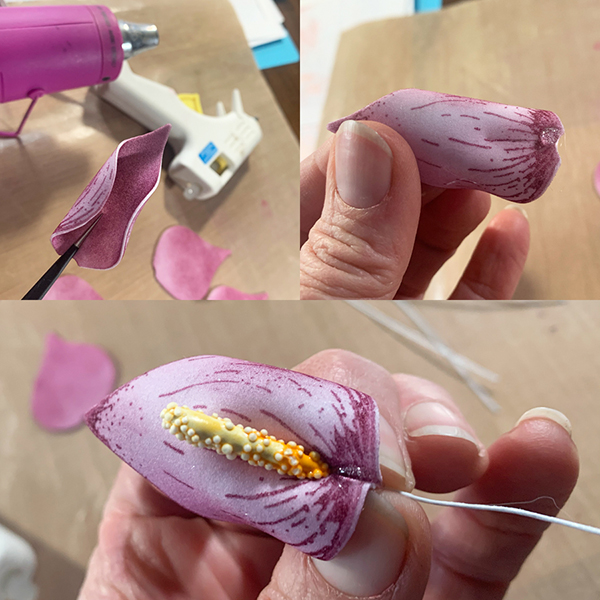
Holding the Cally Lily die cut with a pair of tweezers and heat the back of foam paper until it just begins to curl. The foam paper will curve towards the heat. While the foam paper is still warm gently add a small dab of hot glue at the very base of the Cally Lily. Place stamen and pinch closed, hold for a moment until hot glue cools and flower will hold it’s shape. Repeat with remaining five flowers.

Step 17
Heat the back of the leaf image until it curls. While it is still warm pinch into shape until the foam paper has cooled and it will hold its shape.
Step 18
Using small dots of On Point glue adhere the Lattice Swirl Gateway die cut from Steps 4 and 5 to the front panel of the card.

Step 19
Apply Scalloped panel to middle of section of the tri-fold card.

Step 20
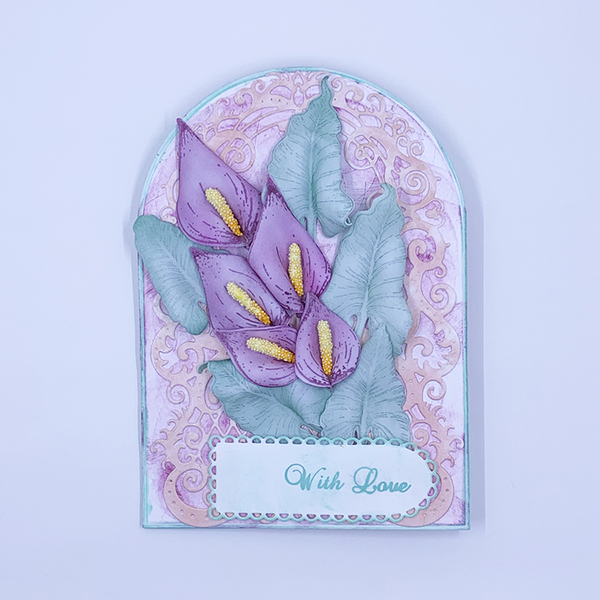
Use hot glue to adhere foam flowers to the front of the card as shown above.
Step 21
Continue to adhere flowers and leaves to the card front as shown. Adhere the sentiment over the trimmed wires from the stamens.

Step 22
Adhere die cuts from Step 11 to the back panel of the card. Adhere flower and leaf and the sentiment panel in place as shown.
Art Supplies
Imagine
StazOn Ink Pad-Bordeaux, Caribbean Green, Forest Green
VersaMagic Ink Pad-Perfect Plumeria, Aqua Splash
Other
Strathmore Bristol Vellum Finish 100 lb cardstock
Bone folder
Heartfelt Creations Art Foam Paper
Heartfelt Creations Calla Lily stamp and die
Heartfelt Creations Inspire Me Sentiment stamp
Heartfelt Creations Fancy Special Day stamp
Heartfelt Creations Thank You Sentiments stamp
Heartfelt Creations Scalloped Flourish Gateway die
Heartfelt Creations Lattice Swirl Gateway die
Heartfelt Creations Lattice Flourish Gateway die
Heartfelt Creations Regal Lattice Gateway die
Heartfelt Creations Eyelet Frame Gateway die
Heartfelt Creations Pastel Pollen Stamens
Tweezers
Heat Gun
Hot Glue Gun and hot glue sticks