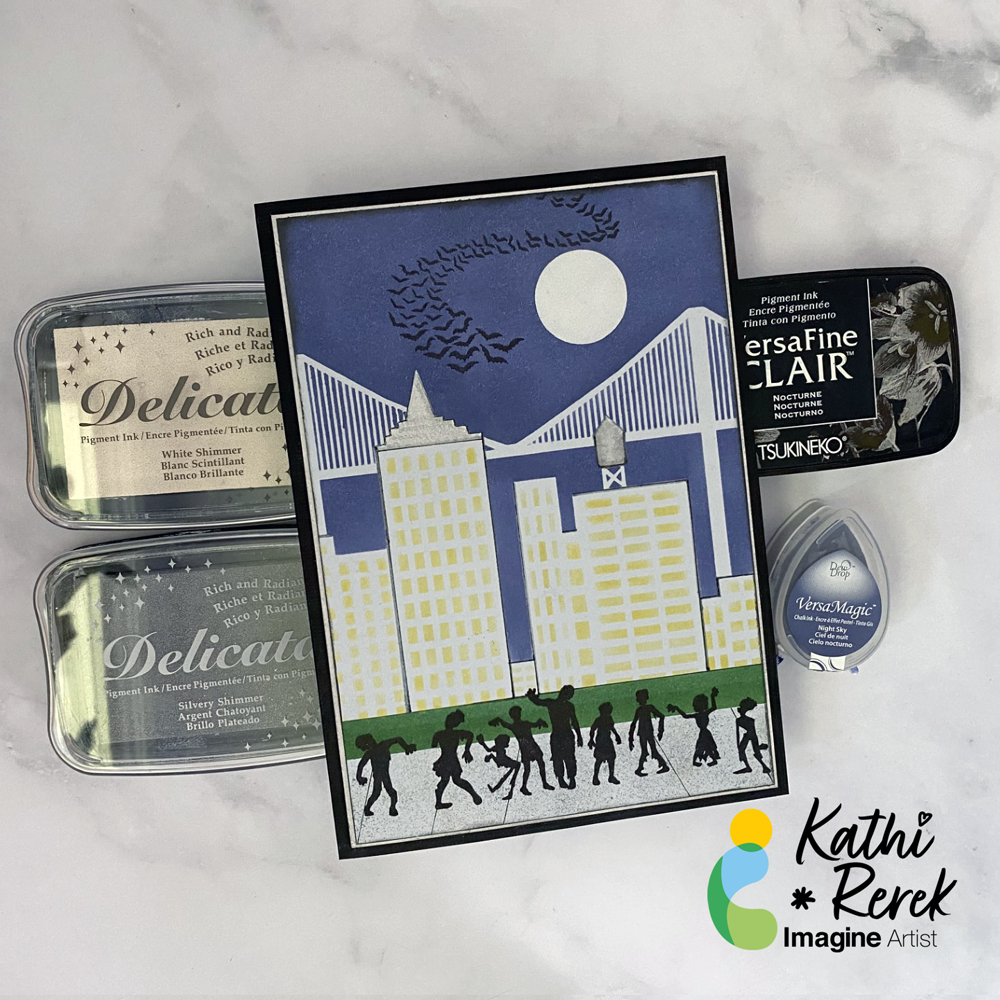
By Kathi Rerek
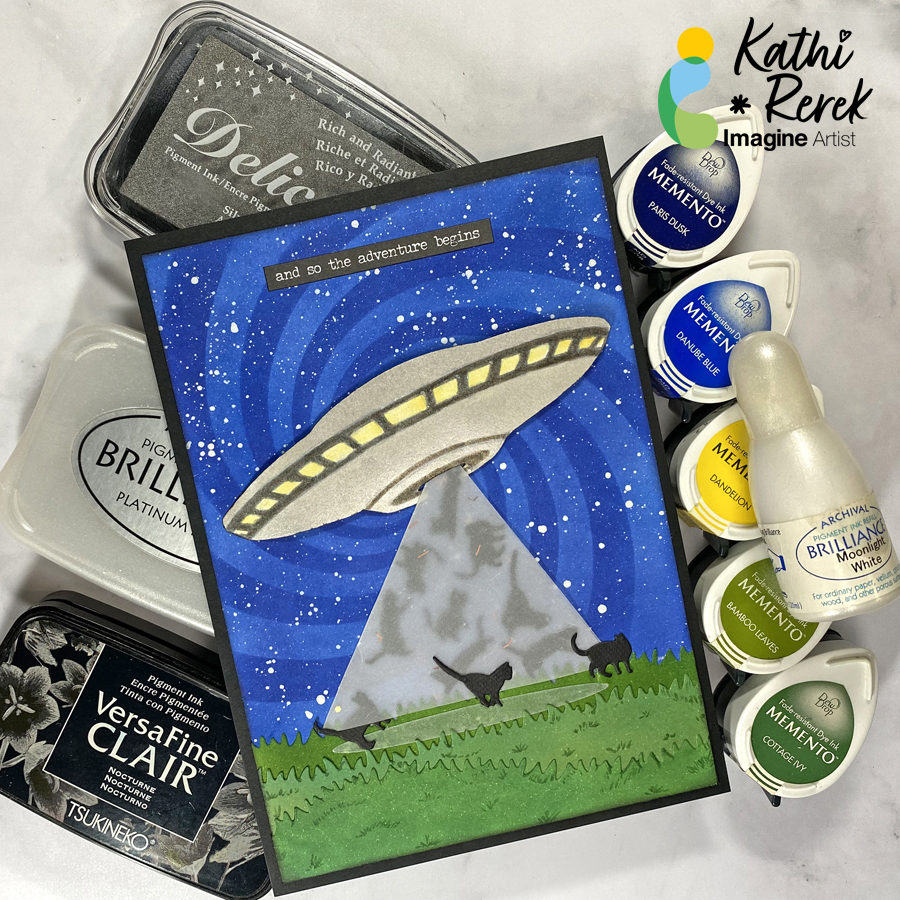
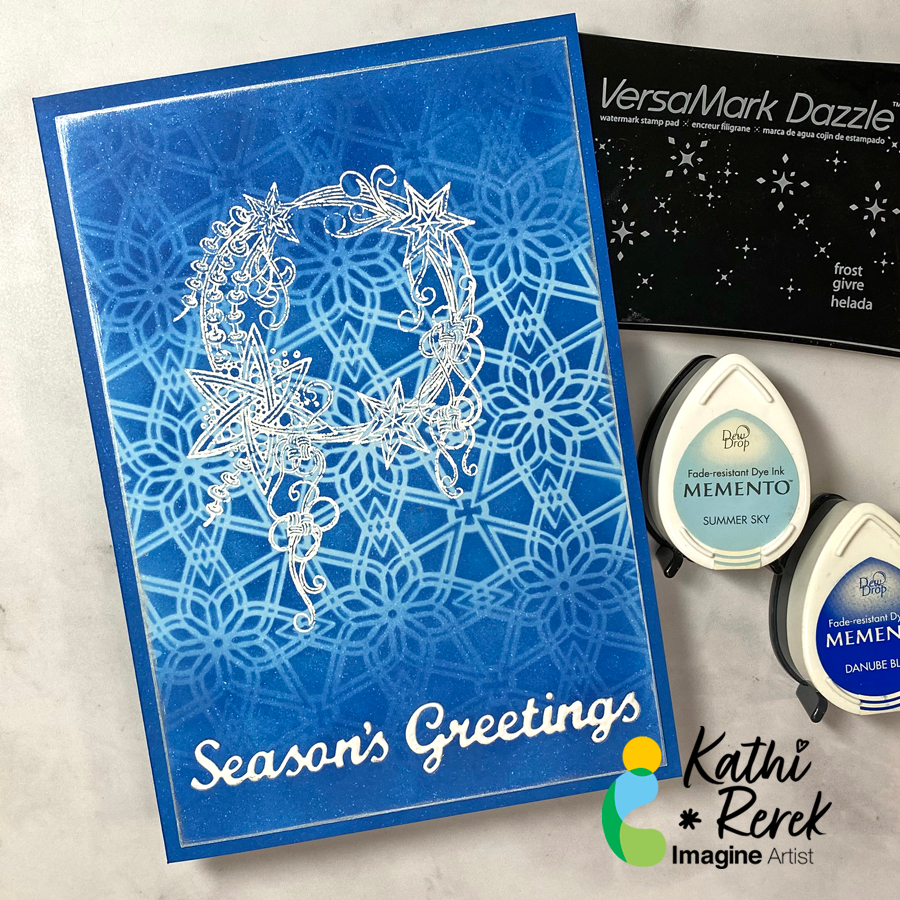
Here’s a dramatic, yet quick and easy Season’s Greeting’s Card
Skill Level: Beginner to Intermediate
Time: 1 hour
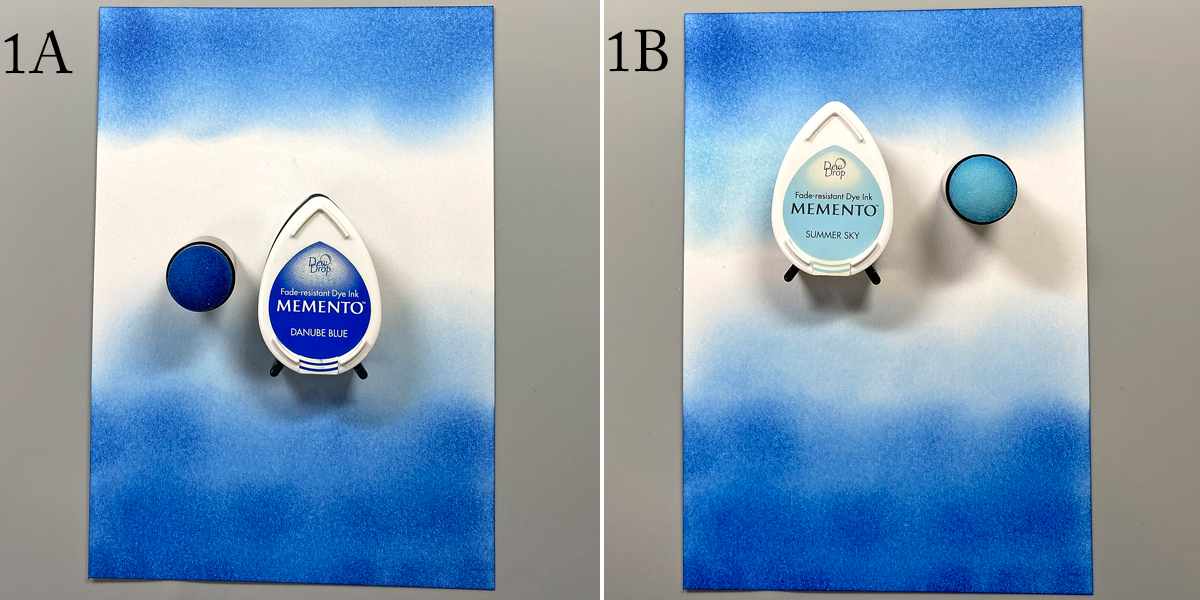
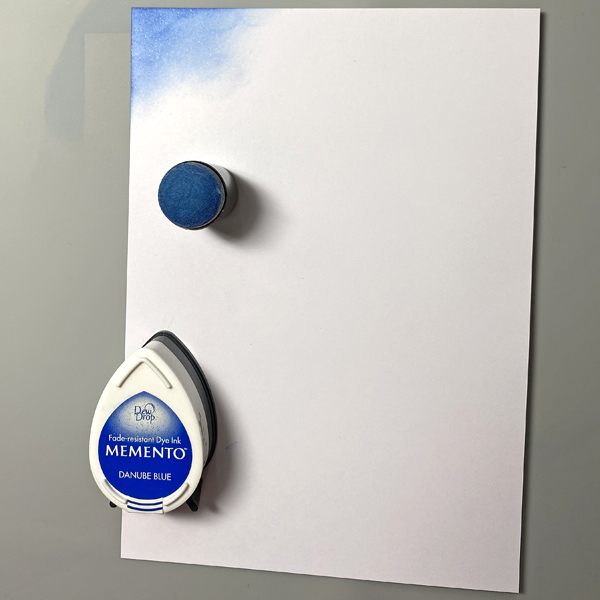
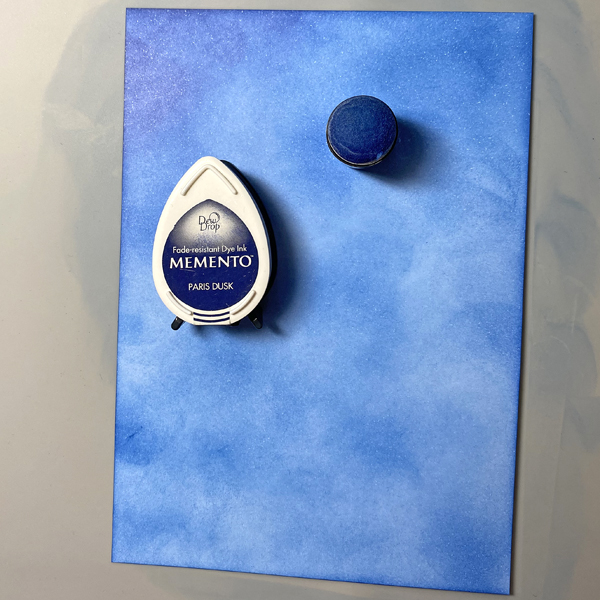
Step 1.
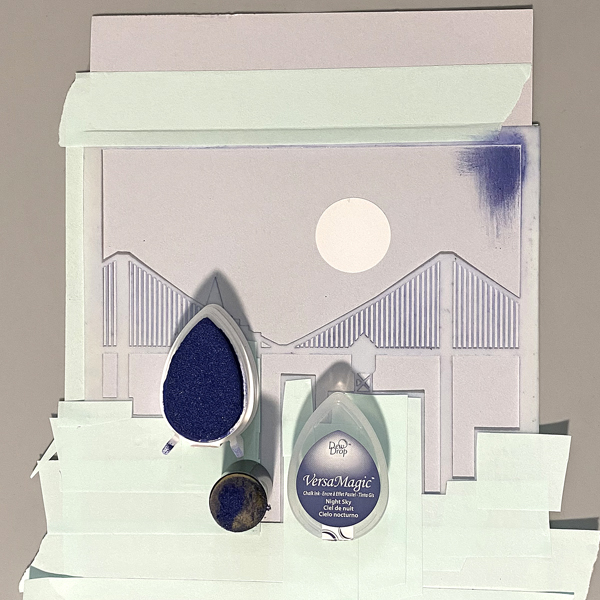
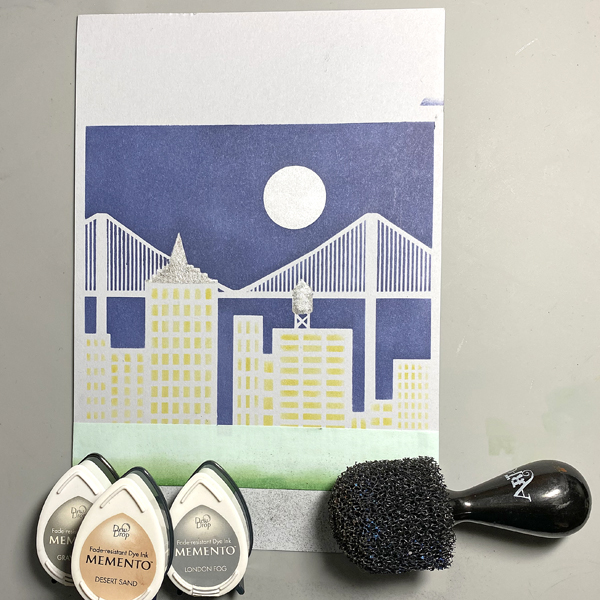
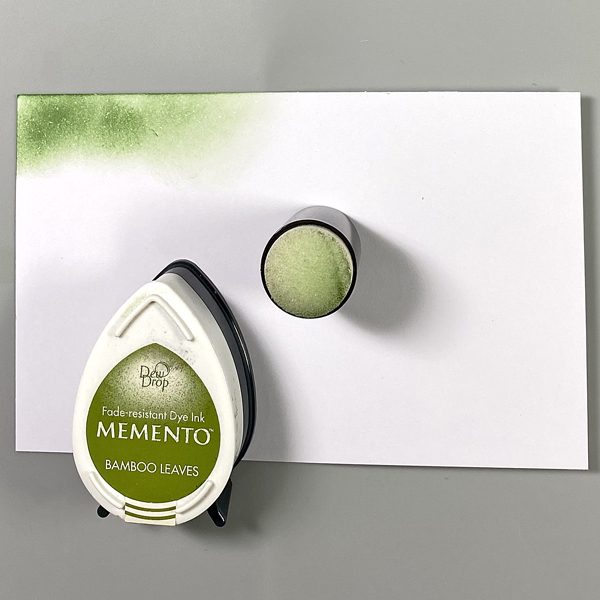
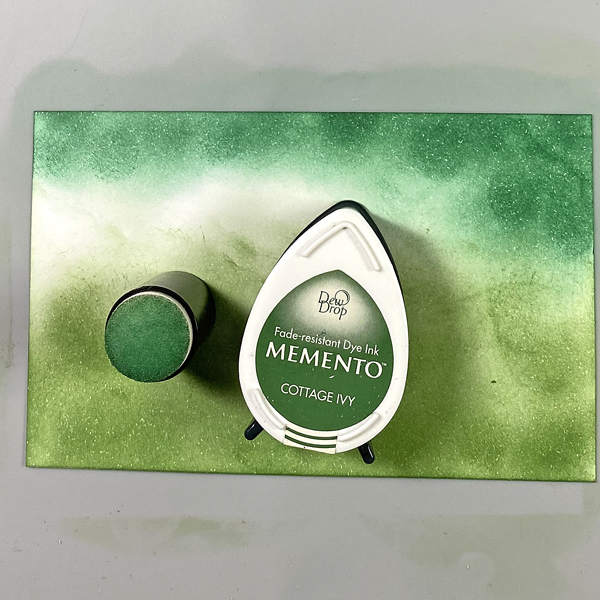
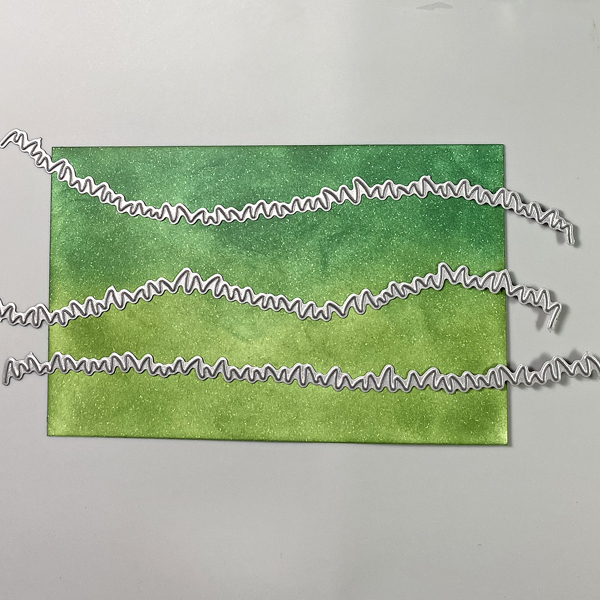
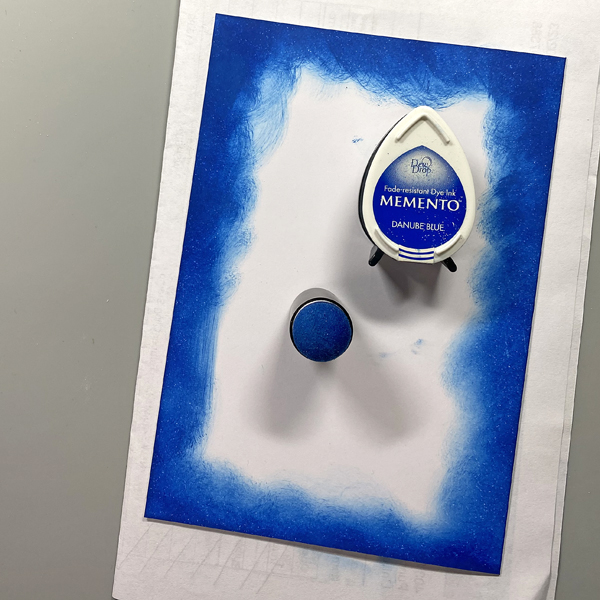
Use a Sponge Dauber to apply Danube Blue Memento Ink to the top and bottom of piece of white cardstock. Use another Sponge Dauber to apply Summer Sky Memento Ink to the center of the cardstock, taking care to blend the blues where they meet.
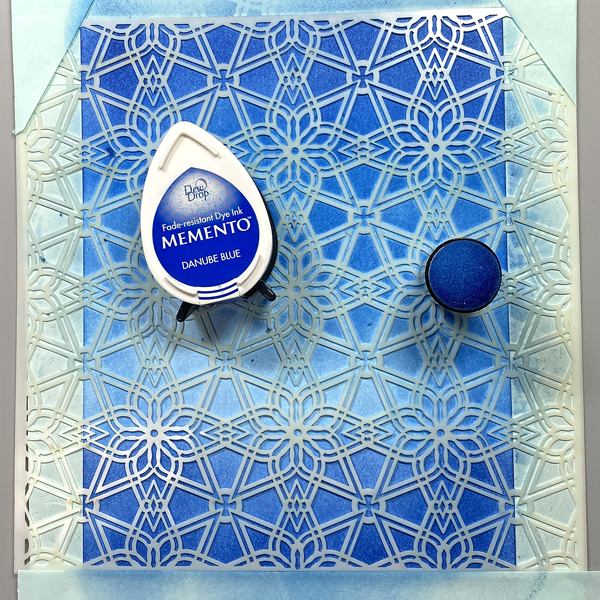
Step 2:
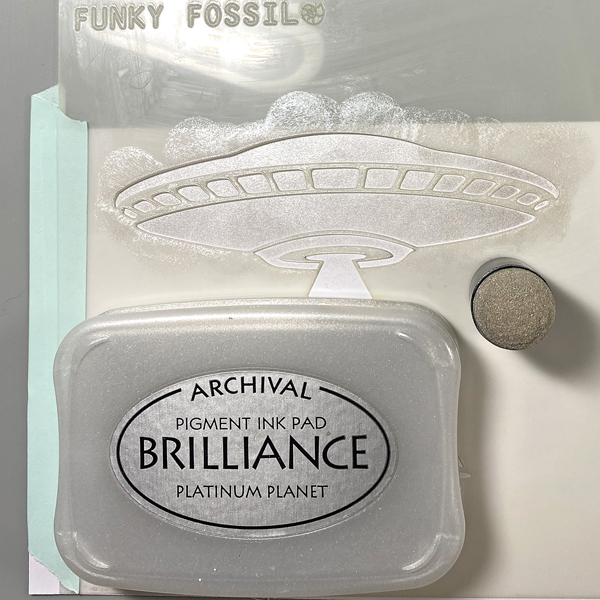
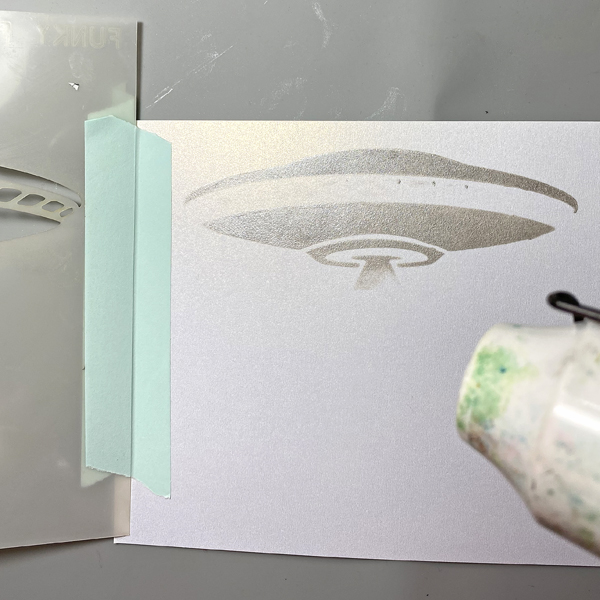
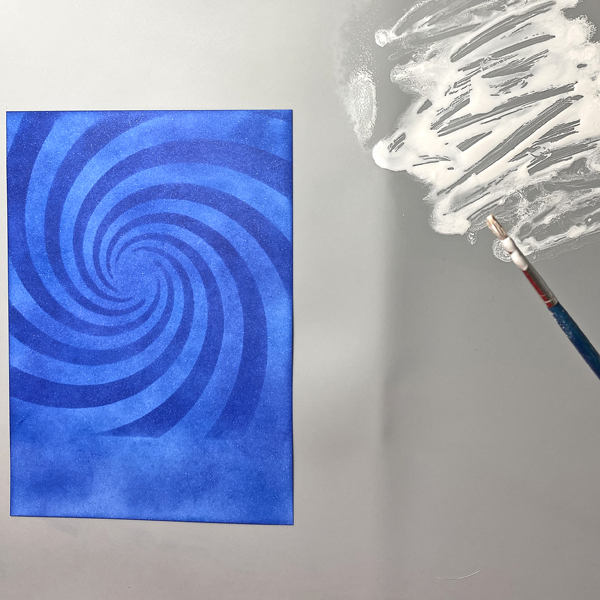
Use low-tack tape to secure the Florastella Stencil to the inked cardstock. Sponge Danube Blue Memento Ink over the stencil onto the cardstock.
Remove the stencil and rub a used dryer sheet onto the image panel.
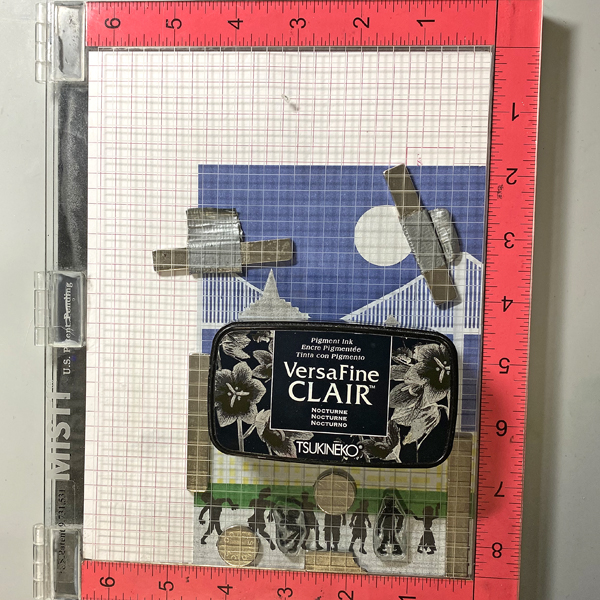
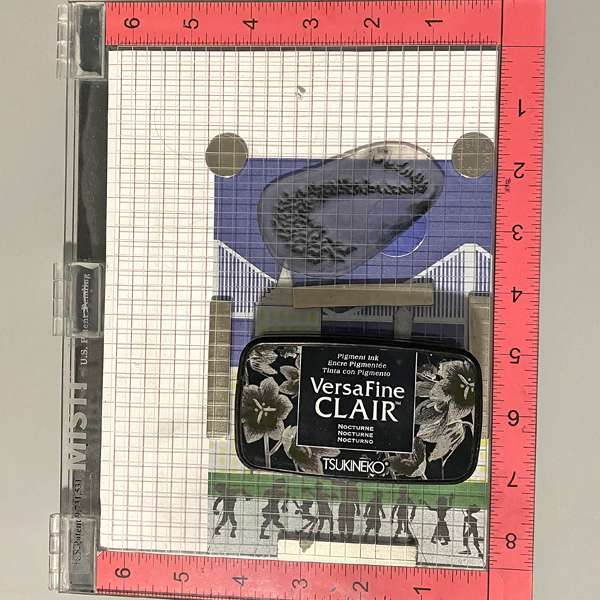
Step 3:
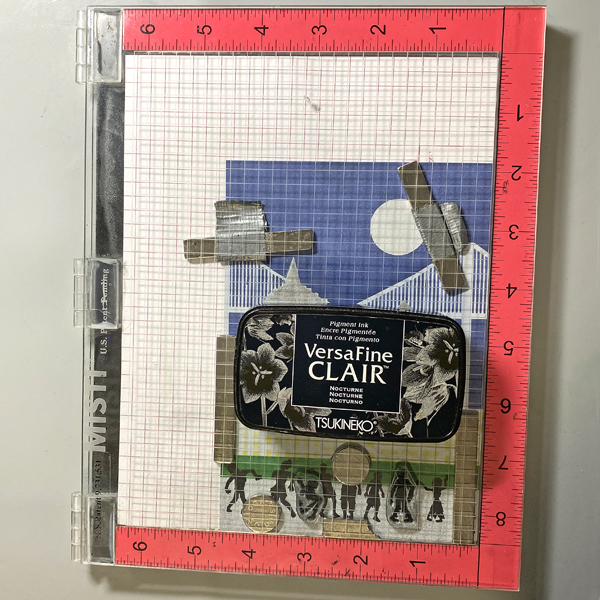
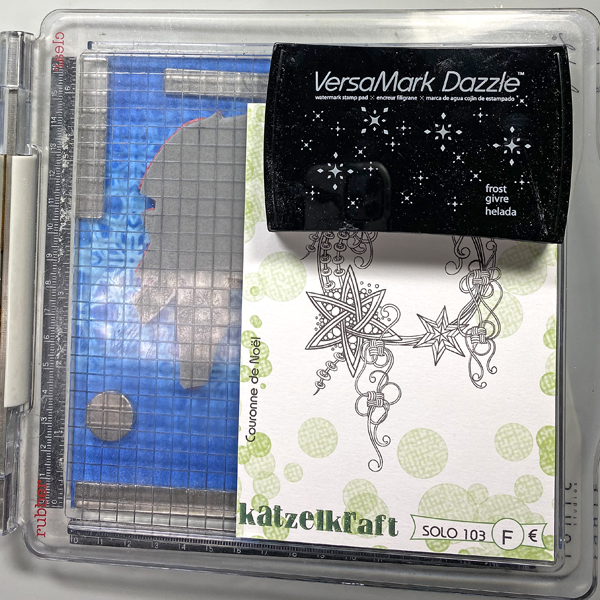
Use magnets to secure the image panel to the base of a stamping platform. Position the Christmas Crown stamp facedown where desired. Ink the stamp with Frost VersaMark Dazzle Ink and stamp. Re-ink and stamp again to ensure a good impression. Remove the image panel from the stamping platform.
Step 4:
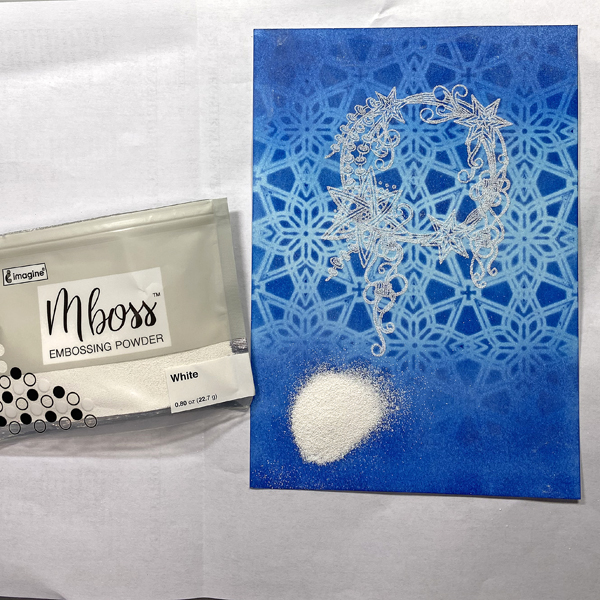
Place the image panel onto a sheet of folded copier paper. Pour White Mboss Embossing Powder onto the image panel. Pour the excess powder onto the copier paper, then pour it back into its packet. Tap off any stray powder and heat set the image. Set aside.
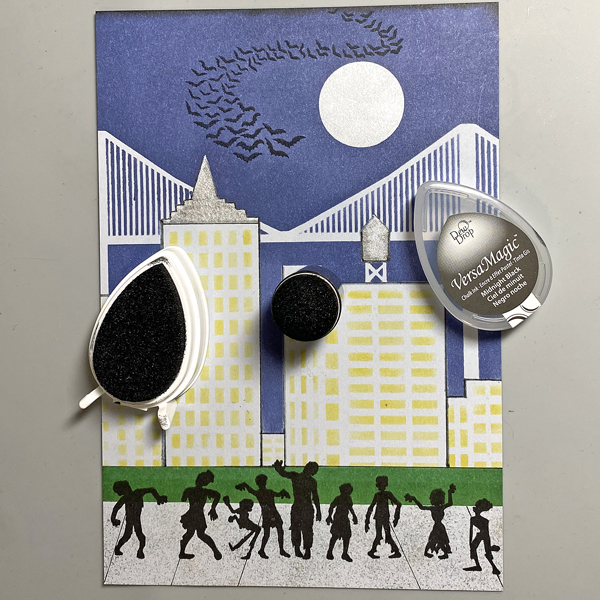
Step 5:
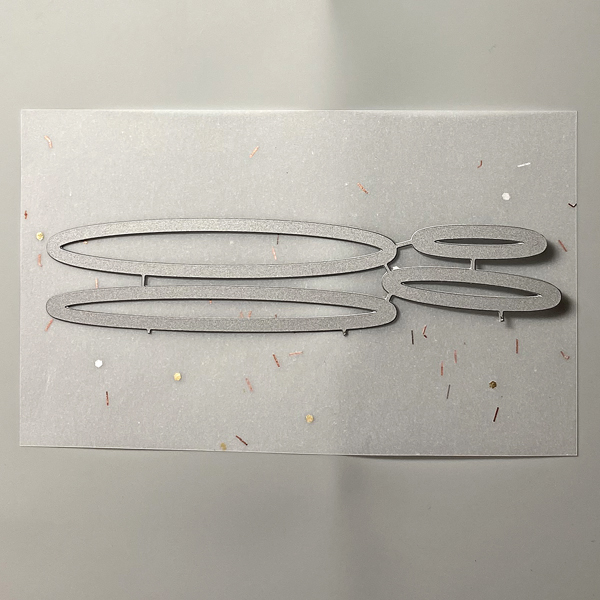
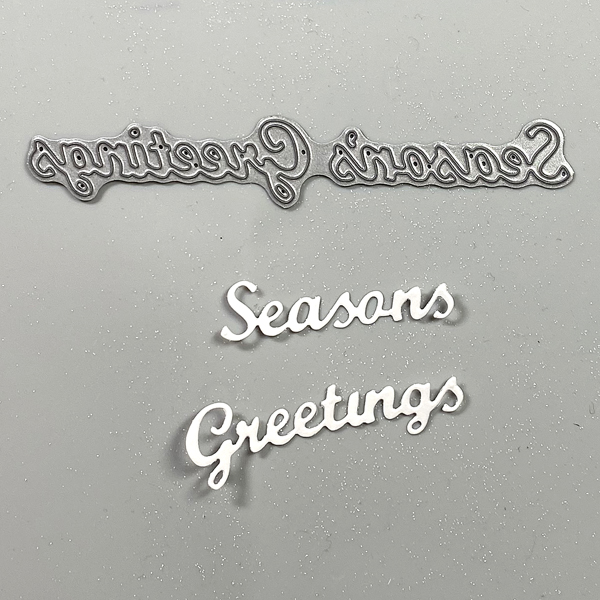
Use a “Season’s Greetings” cutting die to cut white cardstock.
Step 6:
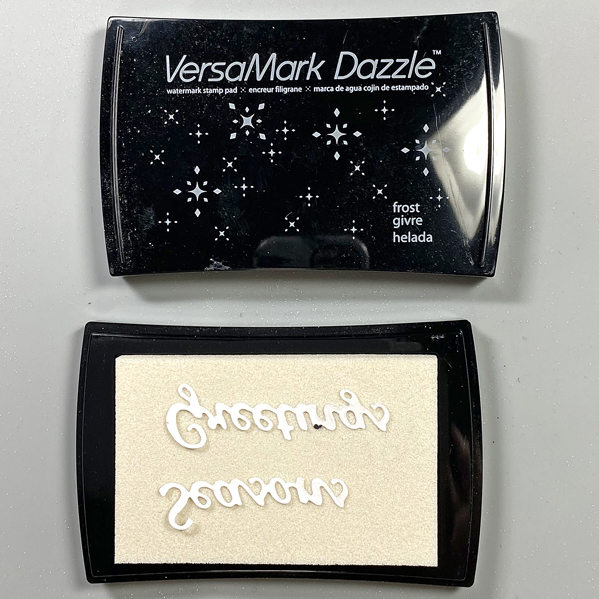
Press the die-cut words face-down onto the Frost VersaMark Dazzle Inkpad.
Place the inked die-cut words onto the folded up copier paper, pour White Mboss Embossing Powder over the words, then use tweezers to remove them from the embossing powder. (Photo not shown.)
Pour the excess powder onto the copier paper, then pour it back into its packet.
Heat set the sentiment words to melt the embossing powder.
Step 7:
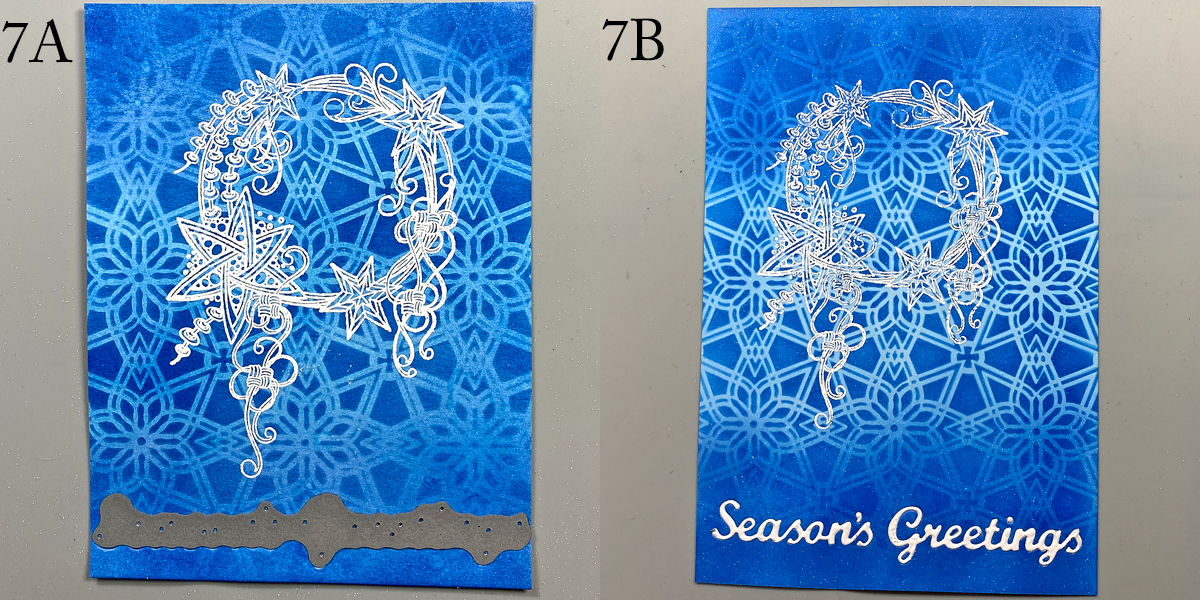
Place the “Season’s Greetings” dies facedown towards the bottom of the image panel and run through the machine to cut.
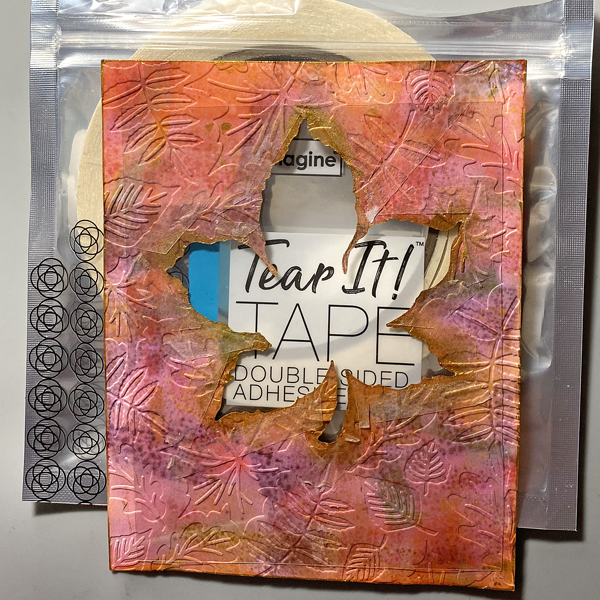
Use Tear-It Tape on the back of the image panel to cover the die-cut area. (Photo not shown)
Inset the embossed sentiments into the apertures.
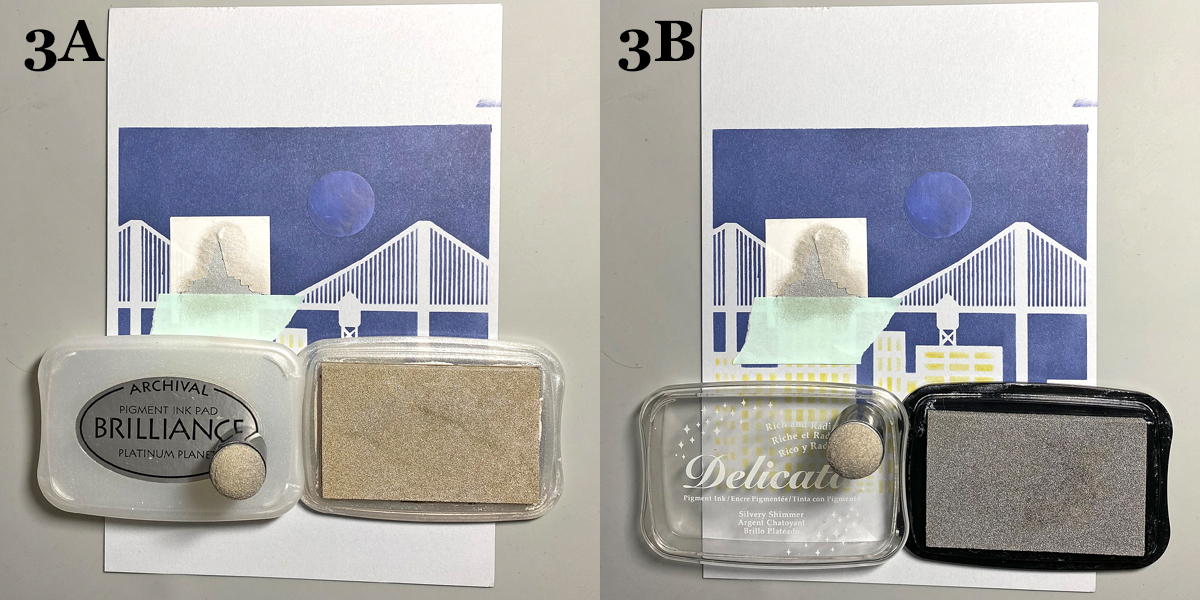
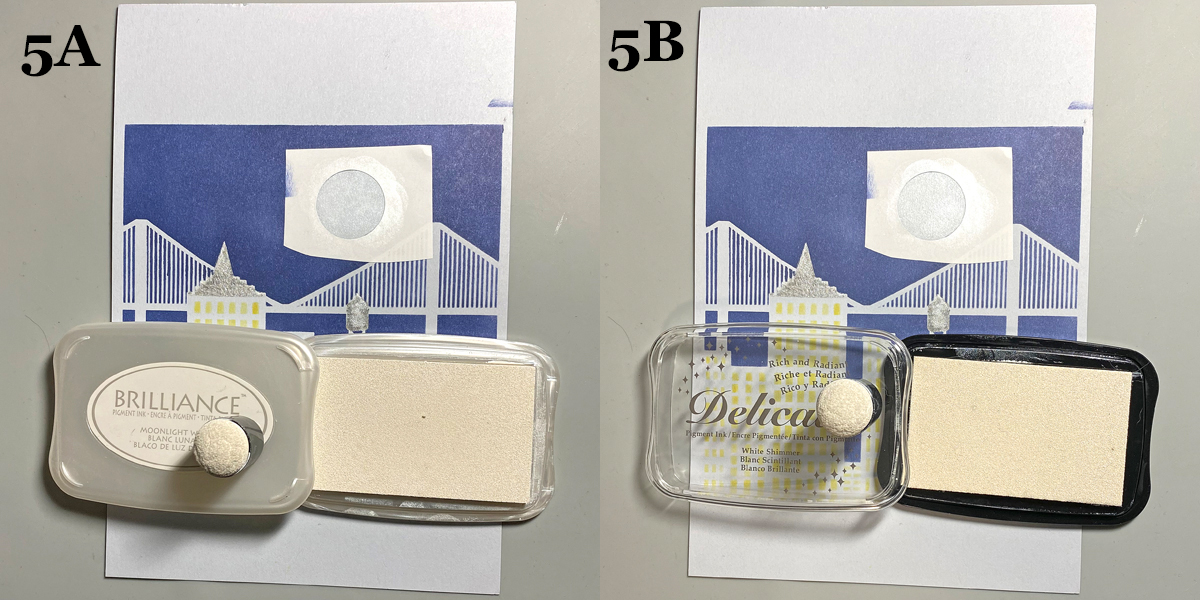
Step 8:
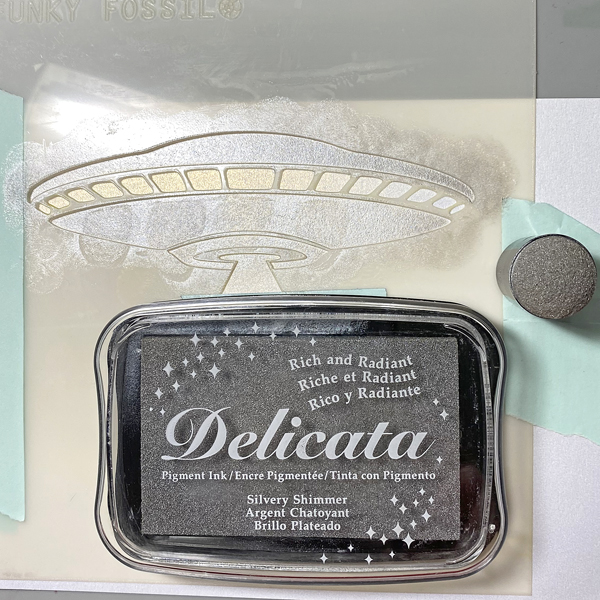
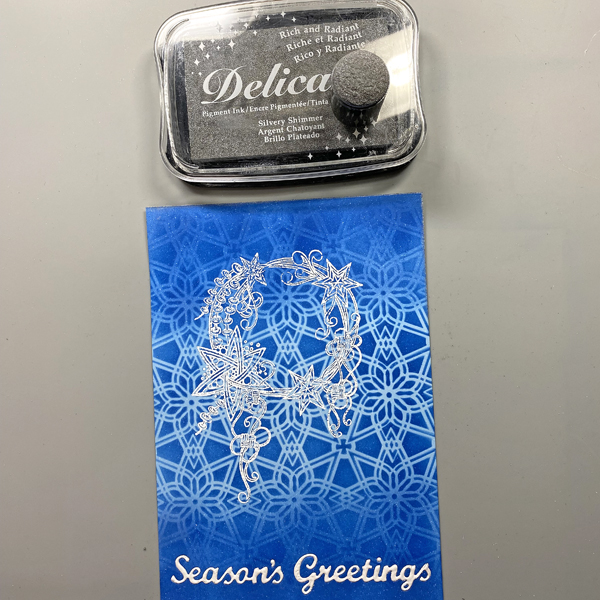
Use a Sponge Dauber to apply Silvery Shimmer Delicata Ink to the edges of the image panel. Heat set. Use another Sponge Dauber to edge the image panel with White Shimmer Delicata Ink. Heat set.
Step 9:
Cut white cardstock to 9” x 6.5”. Score at 4.5” and fold to form a 4.5” x 6.5” card. Place a piece of scrap paper into the card. Use a Sponge Dauber to apply Danube Blue Memento ink to the periphery of the card.
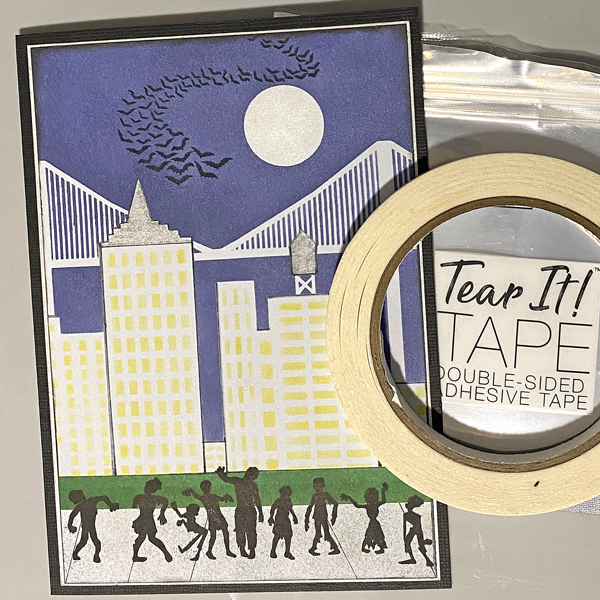
Step 10:
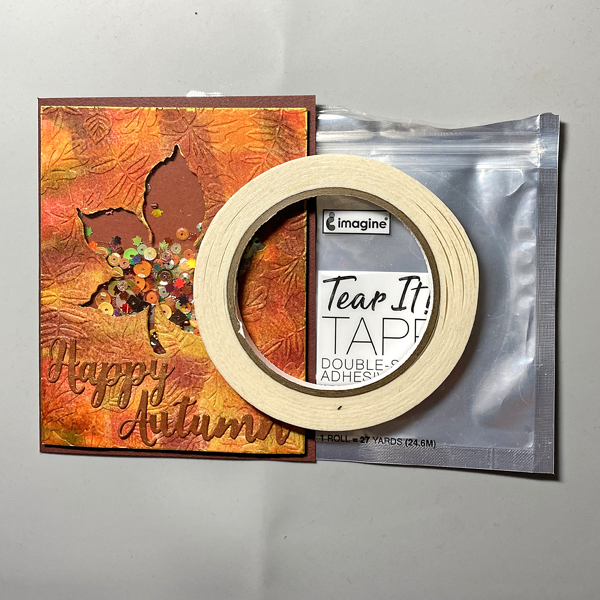
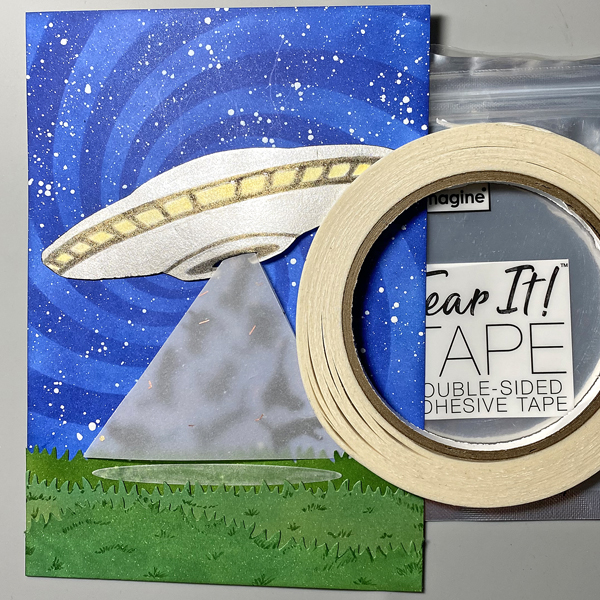
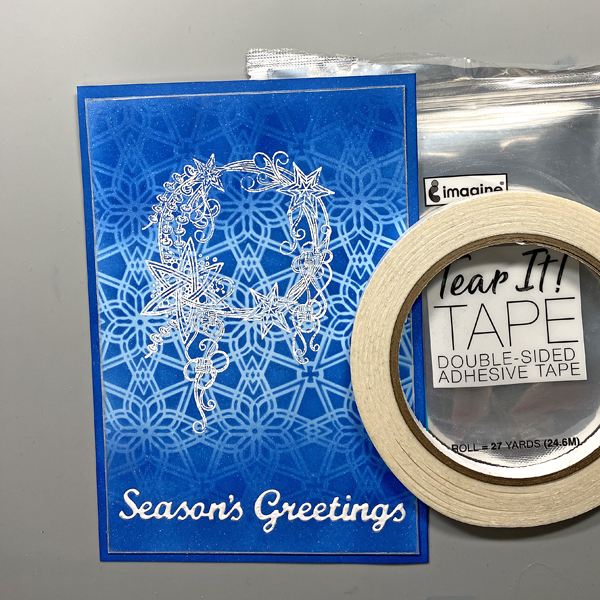
Use Tear It! Tape to adhere the image panel to the front of the card .
Imagine Crafts Supplies:
- Memento Dew Drop Ink – Danube Blue
- Memento Dew Drop Ink – Summer Sky
- VersaMark – Frost Dazzle
- Delicata Ink – Silvery Shimmer
- Delicata Ink – White Shimmer
- MBoss Powder – White
- Sponge Daubers
- Tear It! Tape
- On Point Glue
- Craft Mat
Other Supplies:
- Solar White Classic Crest Cardstock by Neenah Papers
- Christmas Crown Unmounted Red Rubber Stamp by Katzelkraft
- Florastella Stencil #53 by AALL and Create
- Heat Gun by EK Success
- Mini Guillotine Trimmer by Tim Holtz for Tonic
- Big Shot