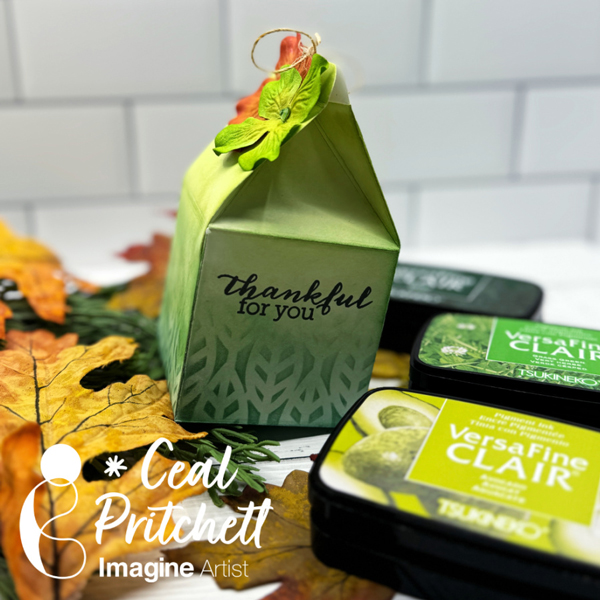
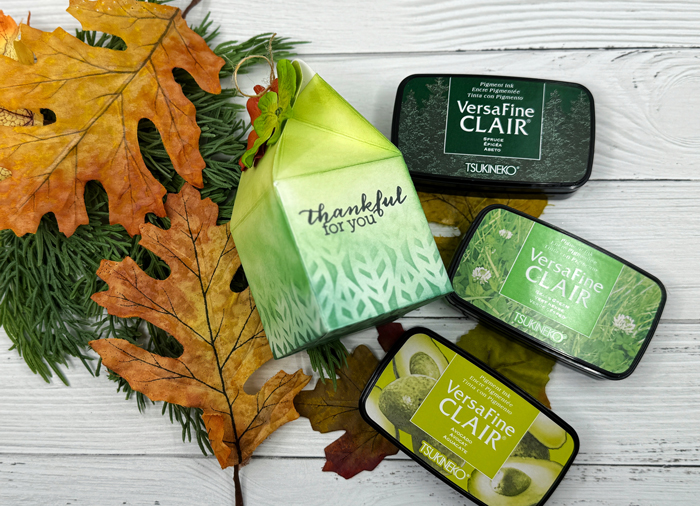
Hello crafty friends! Today I am sharing how to create this milk carton treat box
Skill Level: Beginner Time: 30 minutes
Directions:
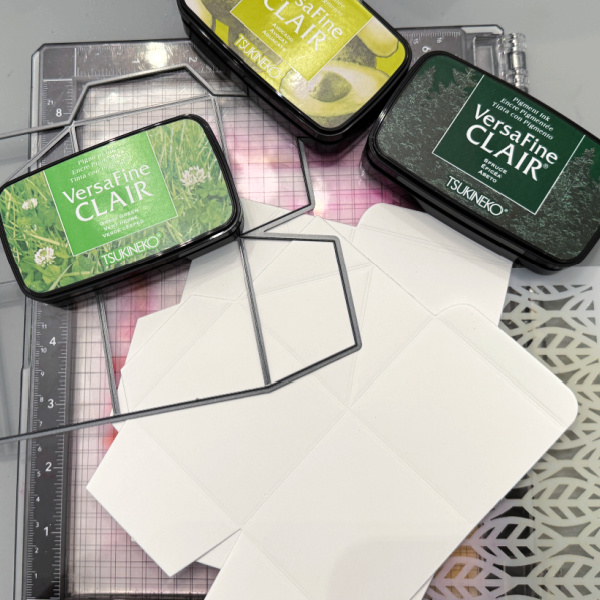
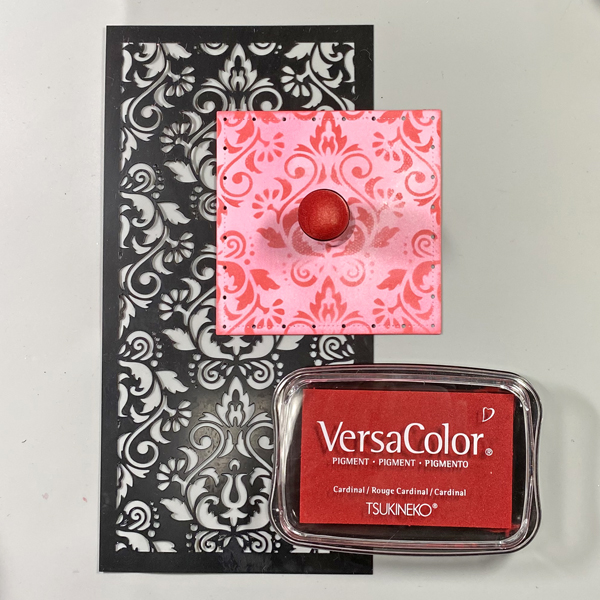
Gather your supplies. You will need a treat box die (I am using a tailored Expressions) a stencil and three colors of ink (I am using VersaFine Clair new colors) White cardstock cut to 6 x 8.5
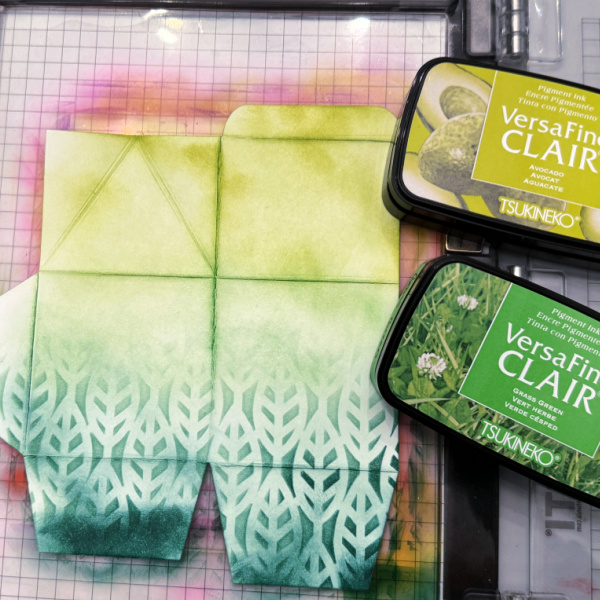
Step 1: Cut out two pieces of the die using white card stock. Place one of the pieces down on a stick mat to hold it in place. Place the stencil over it and ink the bottom third of the die with the darkest ink color.
Step 2: Remove the stencil and ink the next third using the medium color of ink and the last third with the lightest color of ink. Repeat this process for the next piece.
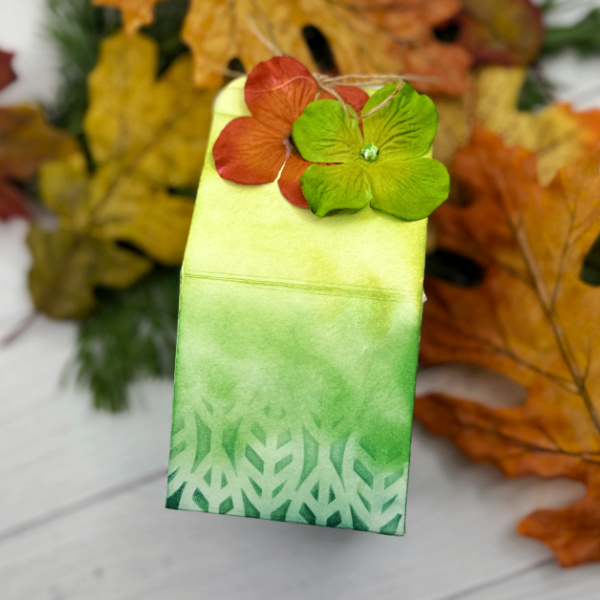
Step 3: Assemble the carton and embellish. I used some embellishments from my stash.
Other products: Neenah Classic Crest Solar White 80lb Cardstock – CutCardStock Milk carton die – Taylored Expressions Stencil – Ink On 3 Embellishments
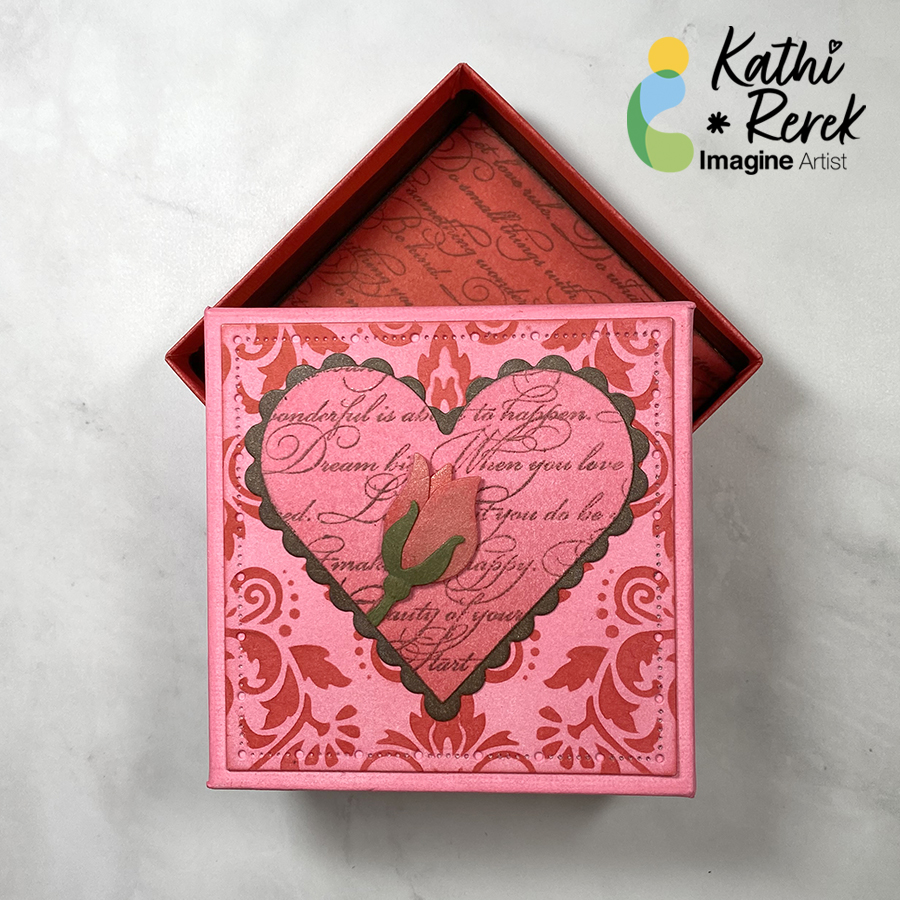
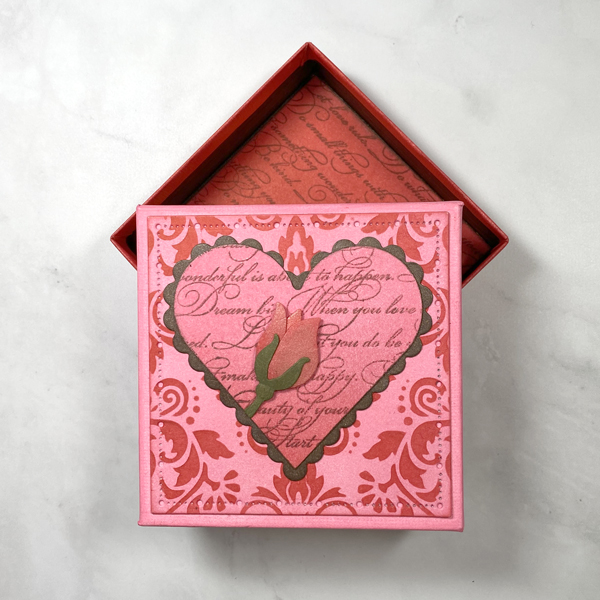
Keep the gift boxes you receive and decorate them to hold special gifts.
The recipient will treasure the gift and the stunning box. Great for Valentines or any occasion!
Skill Level: Intermediate
Time: 1 hour plus drying time
Directions:
Step 1:
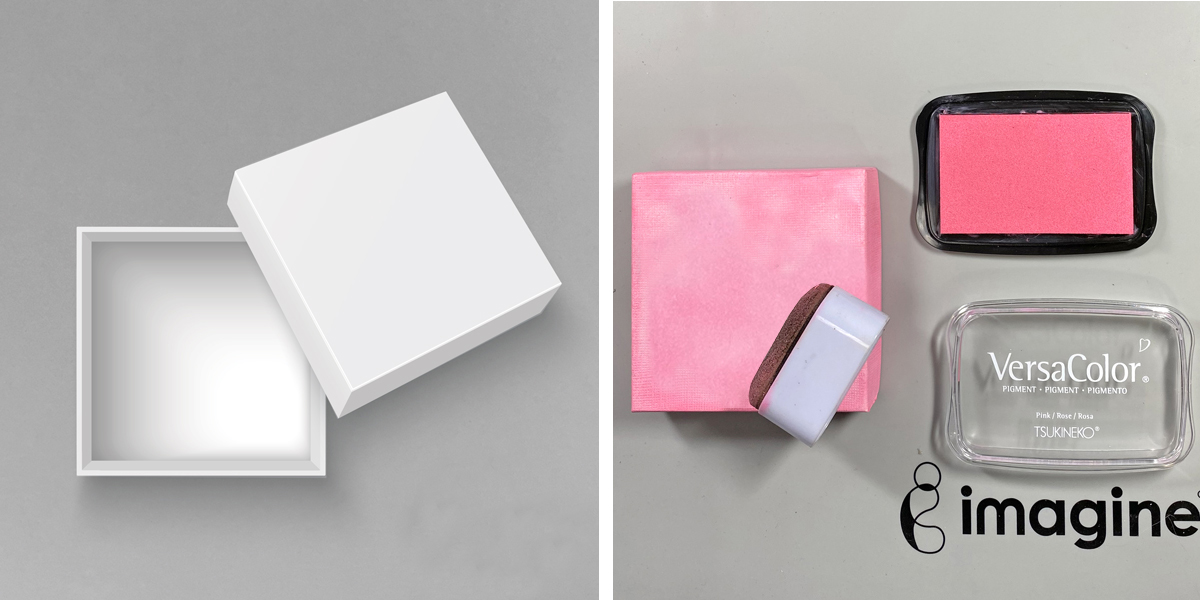
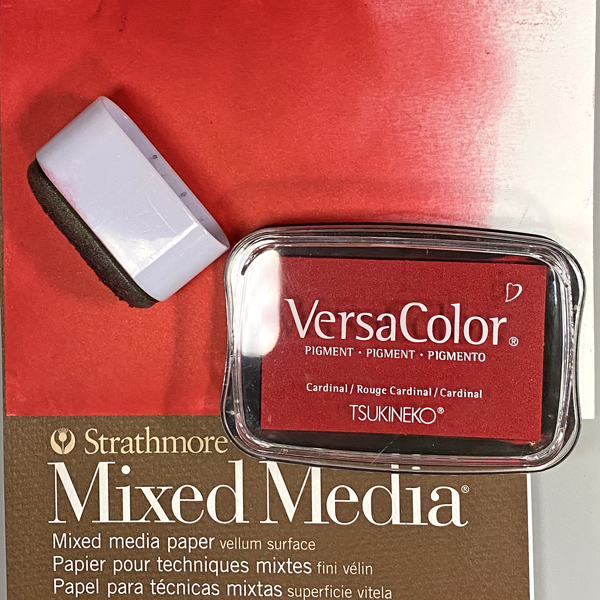
Using an Ink Sweeper, stamp the lid using Pink VersaColor covering the top and all sides. You don’t need to ink the entire top of the box because you will be covering it. Heat set thoroughly. Set aside.
TIP: I use a heat tool to speed up the drying process.
Step 2:
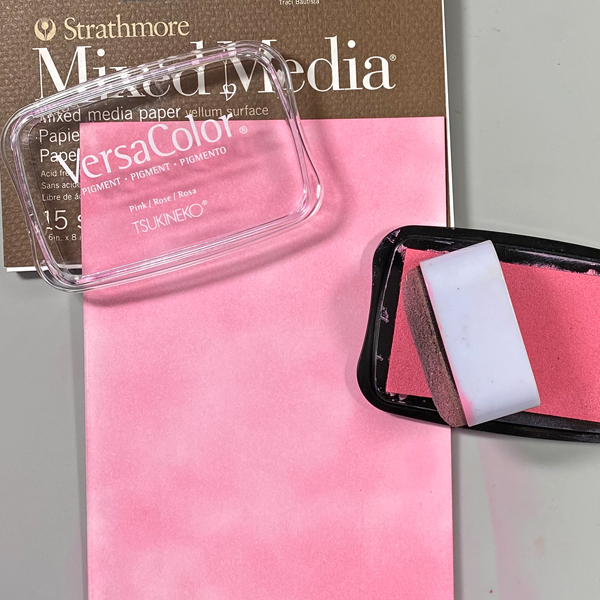
Trim a sheet of Mixed Media Strathmore piece of cardstock to about 3″x3″
Ink with Pink VersaColor. Heat Set.
Step 3:
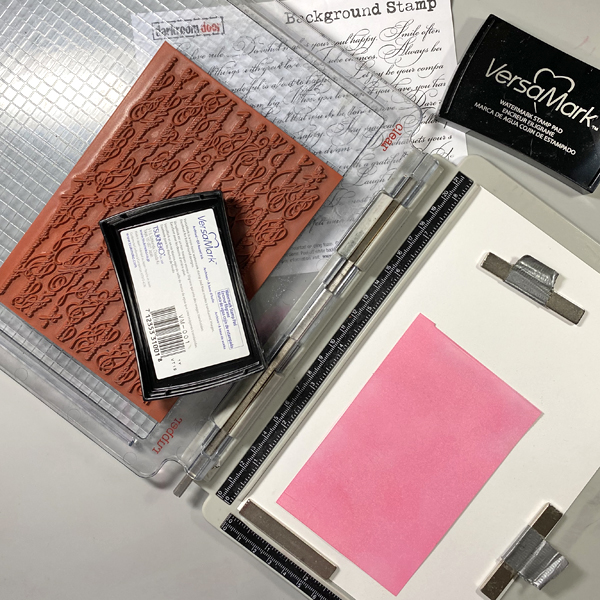
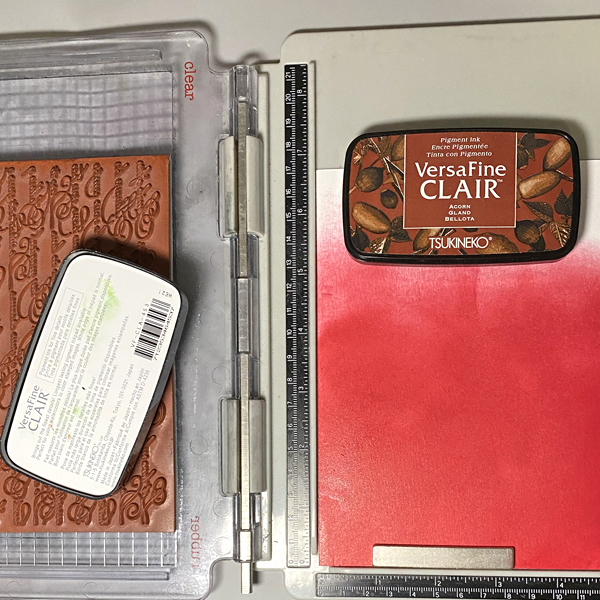
Secure the inked cardstock to the base of a stamping platform. Position your Elegant Script Background stamp and cover surface with VersaMark. It is important to use a stamp platform for this technique to ensure that the image lines up properly.
Step 4:
Ink the Elegant Script stamp with Rich Cocoa Memento ink.
Heat emboss with MBoss powder. (Photo not shown)
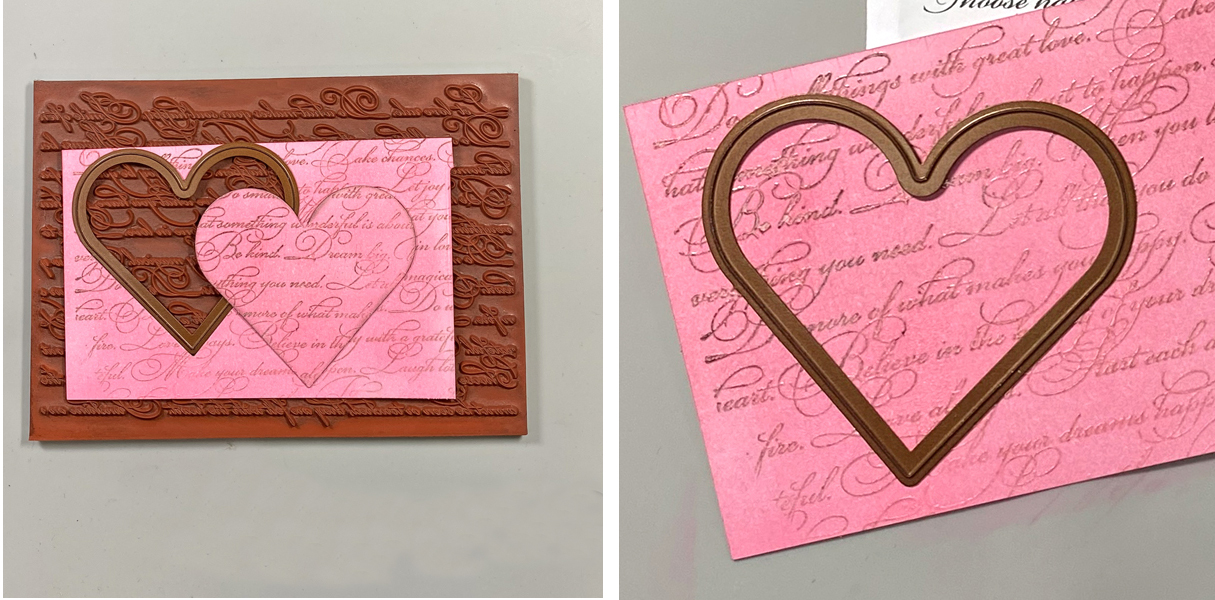
Step 5.
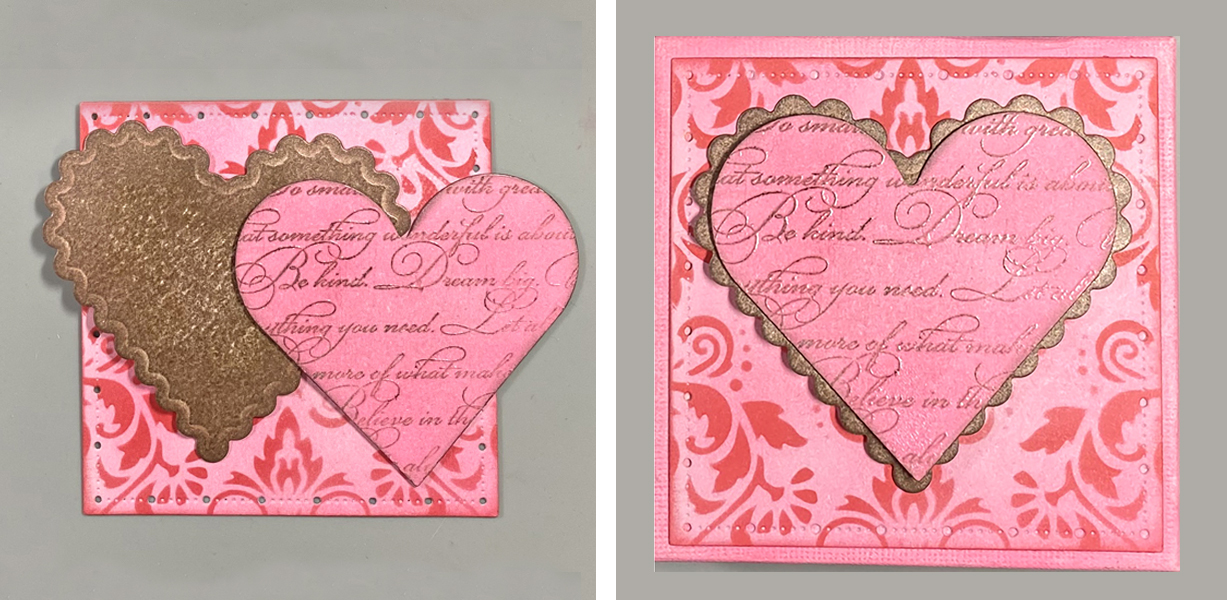
Die-cut heart using the Nestabilities Plain Heart Die Set by Spellbinders.
Pro Tip: You can use Rich Cocoa Memento Ink to edge the heart.
Step 6:
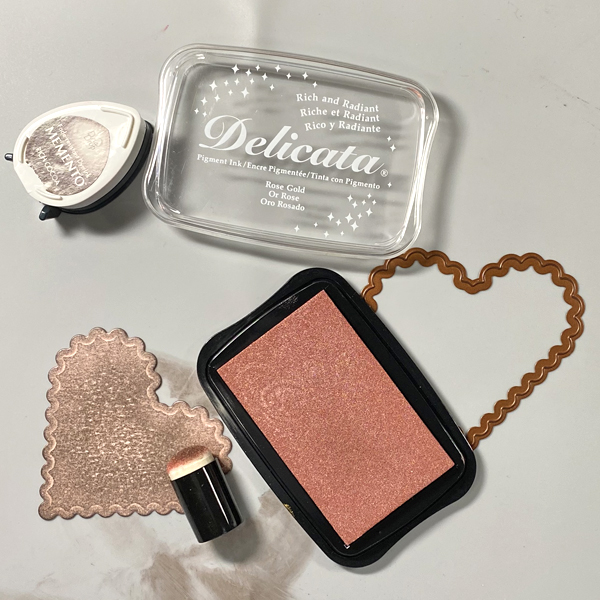
Trim a small piece of Mixed Media cardstock (about 3″x3″) and using the Scalloped Heart Die Set from Spellbinders, die-cut another heart. Ink using Rich Cocoa Memento. Heat set. Using a Sponge Dauber, apply Rose Gold Delicata ink to add a touch of rosy shimmer.
Step 7:
Use a square die (that’s a bit smaller than your box) to cut Mixed Media cardstock. Stamp with Pink VersaColor.
Tape the inked square to the back of the Slimline Baroque Stencil and ink with Cardinal VersaColor.
Step 8:
Tape each element using Tear-It! Tape. Set Aside.
Step 9:
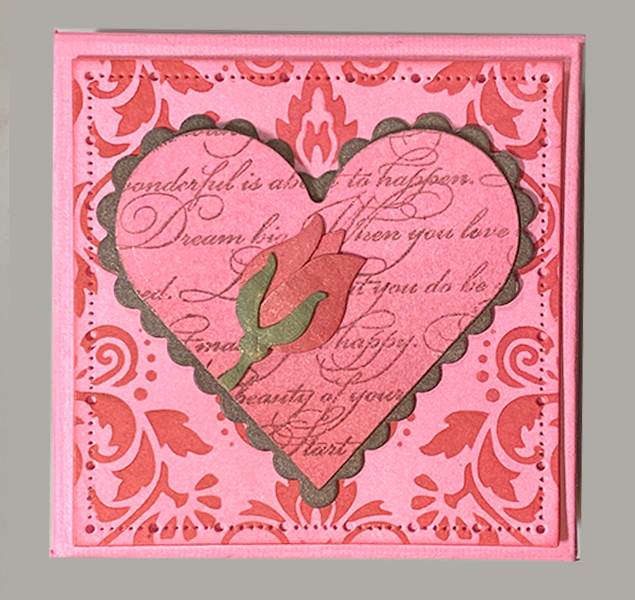
To create the rose embellishment, take a small piece of cardstock and die cut the flower pieces. The Quickutz Doublekutz Rose bud die set was used here. Using embossing styluses can add dimension to the petals. Press the flower petals into the Cardinal VersaColor ink pad. Let them dry. Sponge with Rose Gold Delicata ink to give them some shimmer. Heat set.
Ink the stem and rose-hip with VersaMagic Hint of Pesto. Heat step. Then add a little Delicata Golden Glitz.
Step 10
Tape rose to the top of the lid using Tear It! Tape. Now your lid is complete.
Directions – Box Bottom
Step 11:
Ink box bottom with VersaColor Cardinal. Heat set.
Step 12:
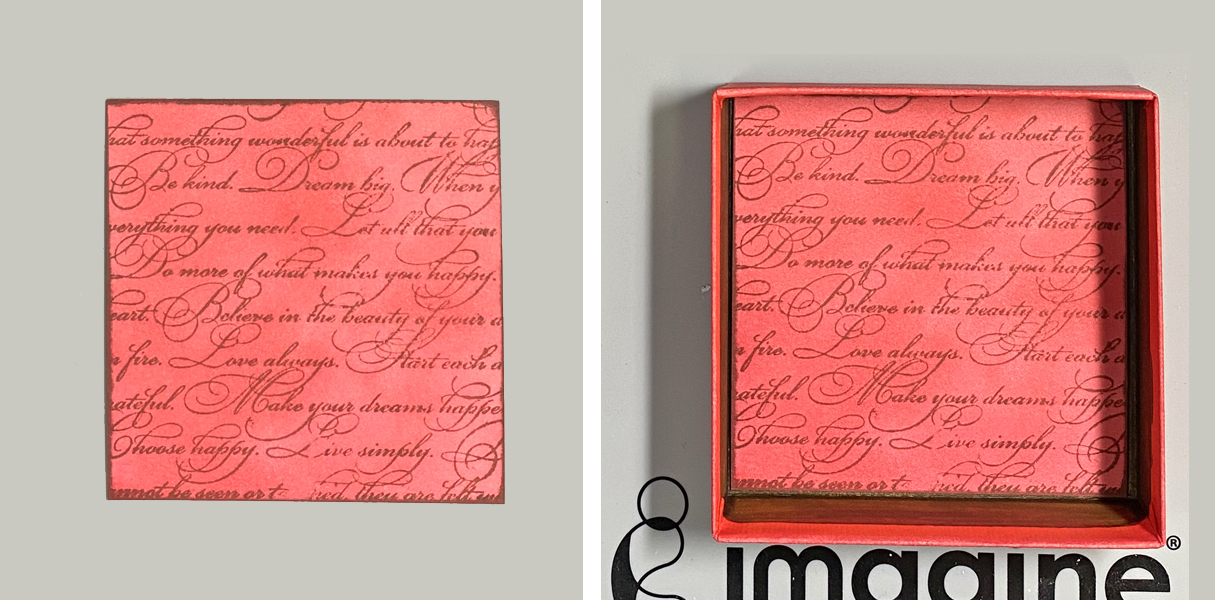
Cut a piece of Mixed Media Strathmore piece of cardstock no smaller than 4″x4″.
(This piece will be used to decorate the inside of the box)
Ink with Cardinal VersaColor. Heat set.
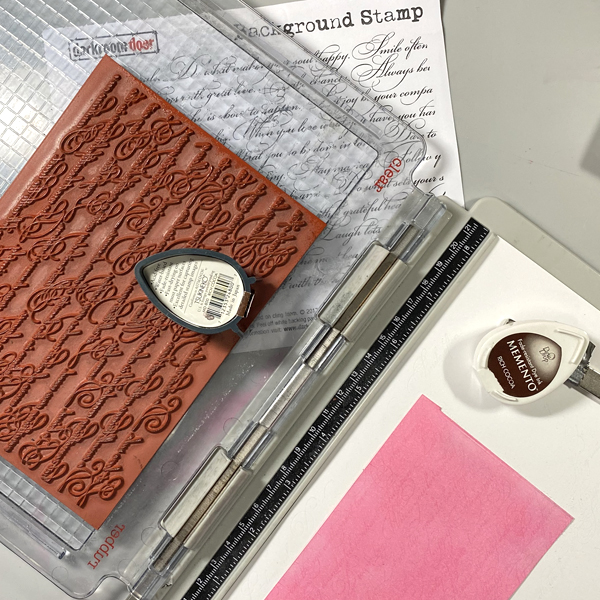
Step 13:
Secure the inked cardstock to the base of a stamping platform. Position your Elegant Script Background stamp and ink with VersaFine Clair – Acorn.
Step 14:
Trim the stamped red panel slightly smaller than the box. Edge with Acorn VersaFine ink and heat set. Adhere to the interior of the box with Tear It! Tape. Now your bottom box is done.
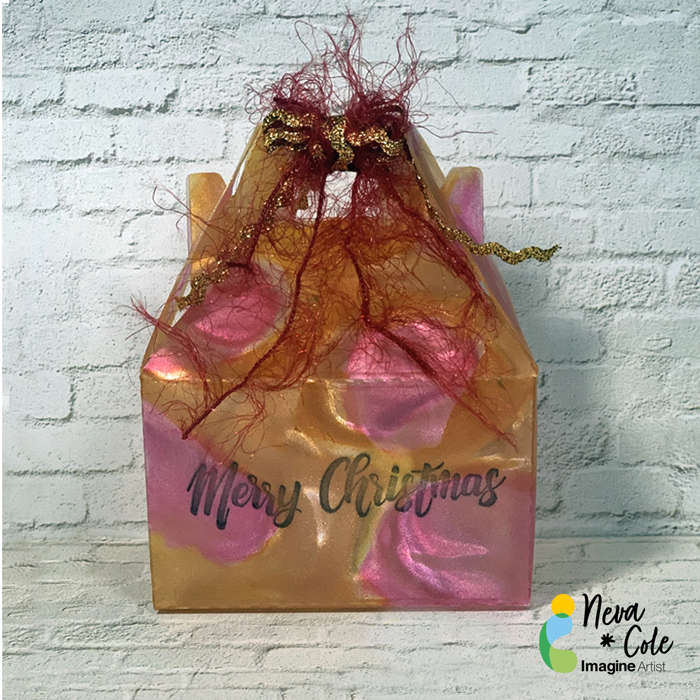
Vertigo is a beautiful translucent material to use in creating projects, in today’s tutorial, I am sharing tips and hints to make your project shine! The perfect ink for this box is StazOn, as it is the only ink that will dry on Vertigo and other plastics.
Skill: Intermediate
Time: 1 hour
Directions:
Step1:
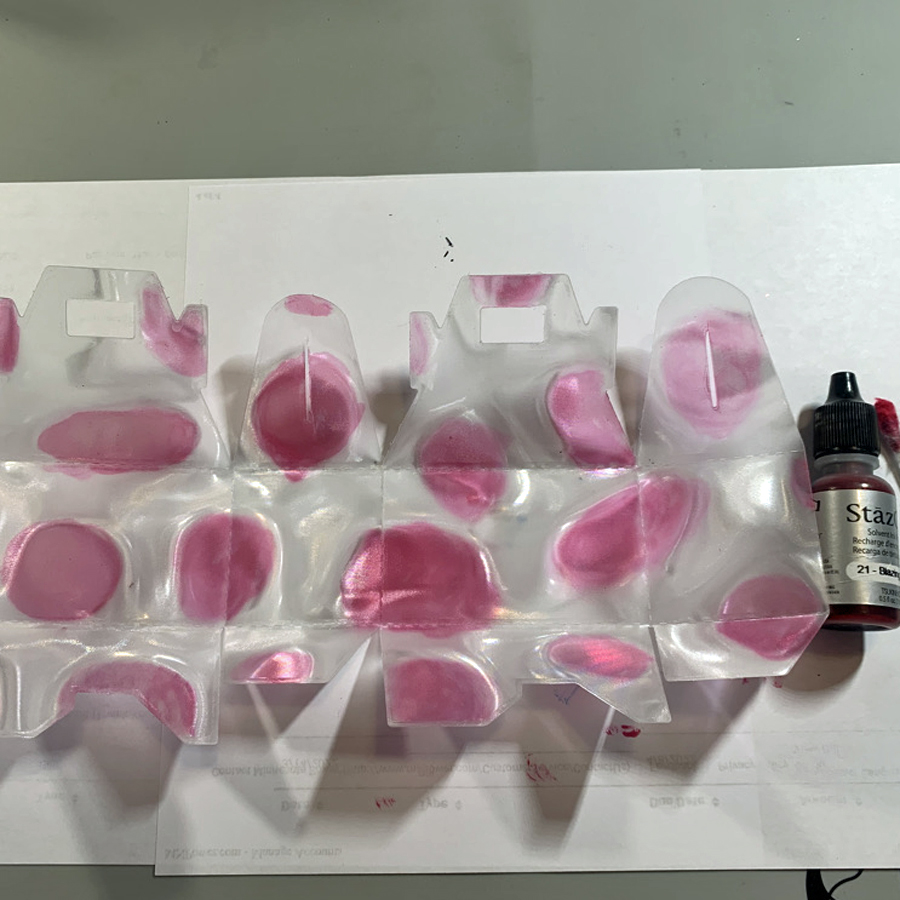
Vertigo can be cut with scissors OR with a simple die. Complex dies do not work well with most plastics, Vertigo included. This particular box needed 8.5” by 5” section of Vertigo, 12” x 12” sheets can be purchased directly from Imagine Crafts website. Recycled packaging may be substituted for Vertigo, however the results will not have the stunning effect the the patterns that Vertigo provides. The Pebbles pattern of Vertigo was used for my box.
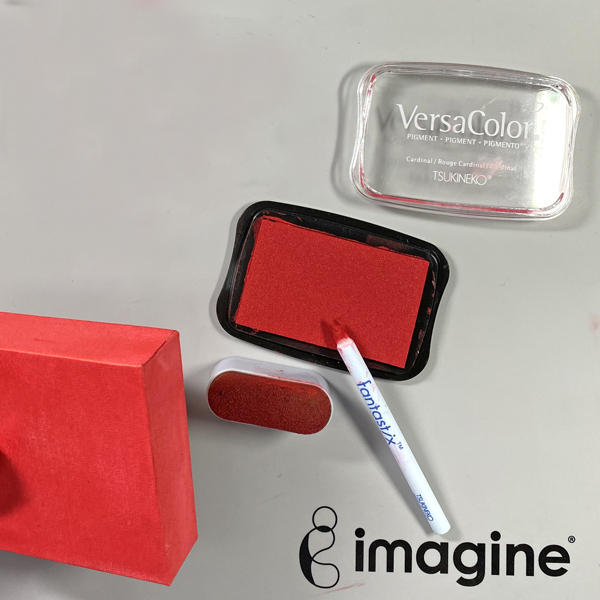
Step 2:
Place a few drops ink from StazOn Blazing Red inker on a plastic surface to use as a palette. On the INSIDE of the box use a cotton swab to color each of the pebbles from the center out. A little goes a long way with the translucent colors.
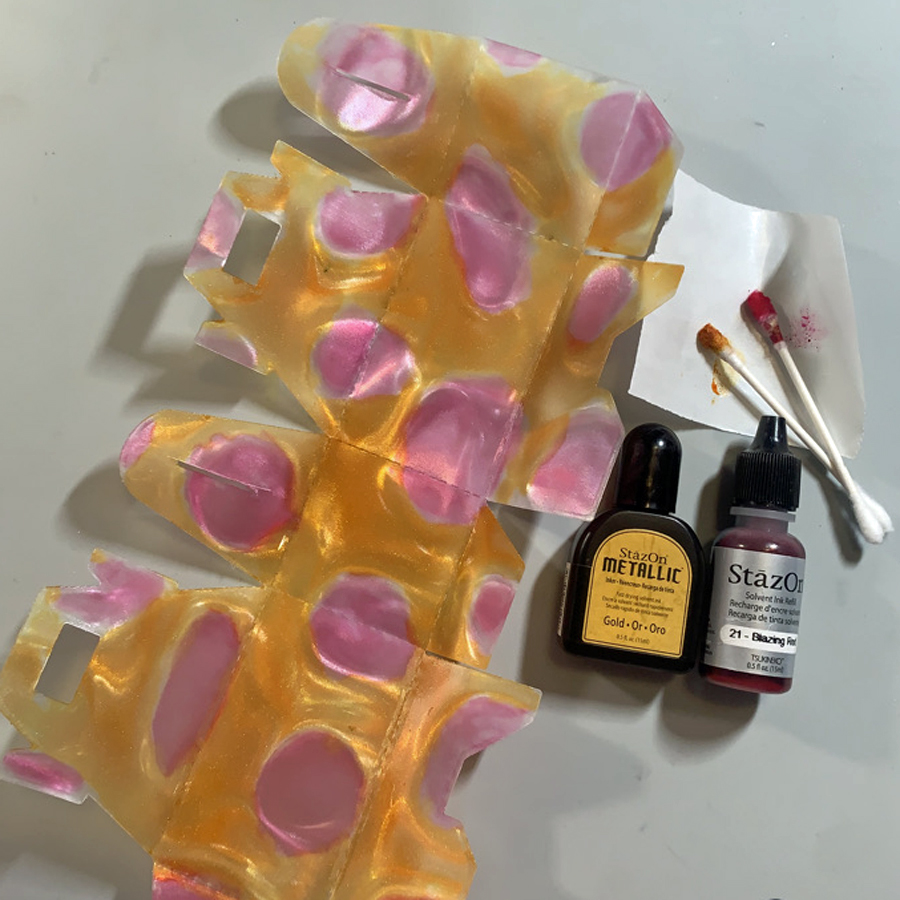
Step 3:
Metallic StazOn ink is slightly less translucent than the other colors. To capture more shimmer, apply a drop or two of StazOn Metallic Gold on the INSIDE of the box and move the ink with a cotton swab to color around the pebbles.
Step 4:
Continue to add StazOn Metallic Gold ink to cover the remaining areas of the inside of the box. Set aside to dry, as the Metallic ink is a bit thicker and takes a longer to dry.
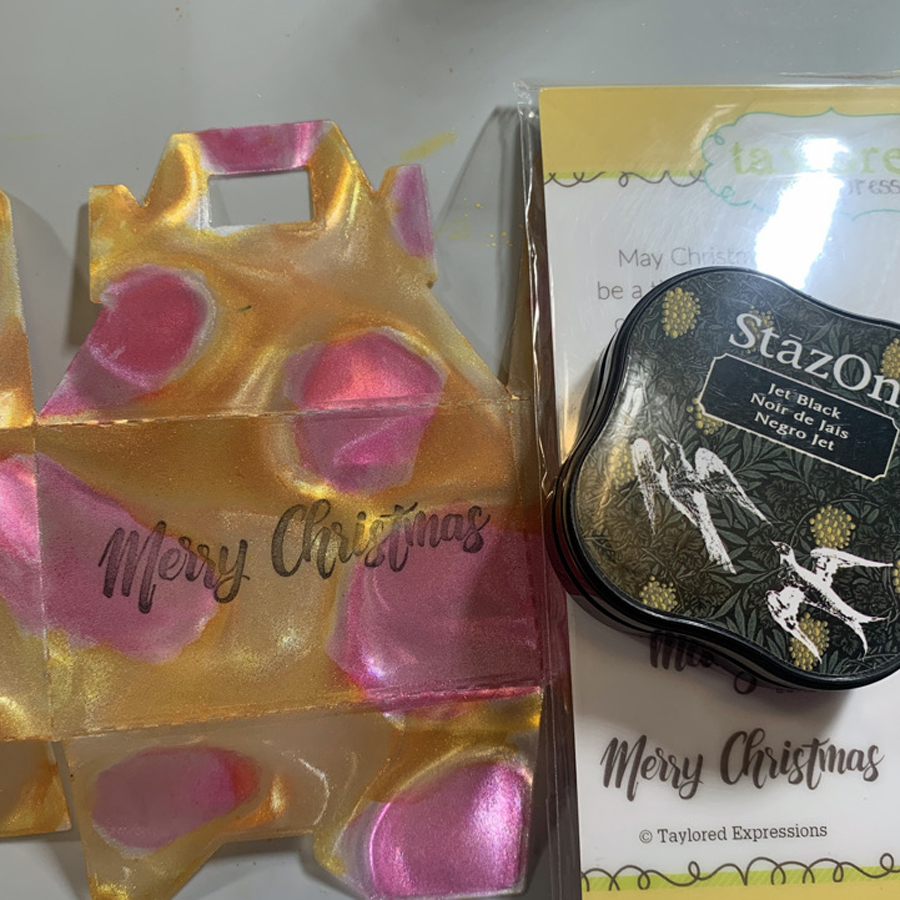
Step 5:
Using StazOn Jet Black, stamp the “Merry Christmas” sentiment on the OUTSIDE of the box. This keeps the interior of the box ink from lifting and to have the correct orientation.
Step 6:
Tear It! tape is perfect to hold the bottom of this gift box together. Assemble box and determine the best placement for the Tear It! tape. Unfold box and add Tear It! tape, my project called for five sections to hold the box in shape.
Remove Tear It! Tape liner and assemble gift box.
Decorate with matching ribbon and fibers to close the top and keep your gift secure.
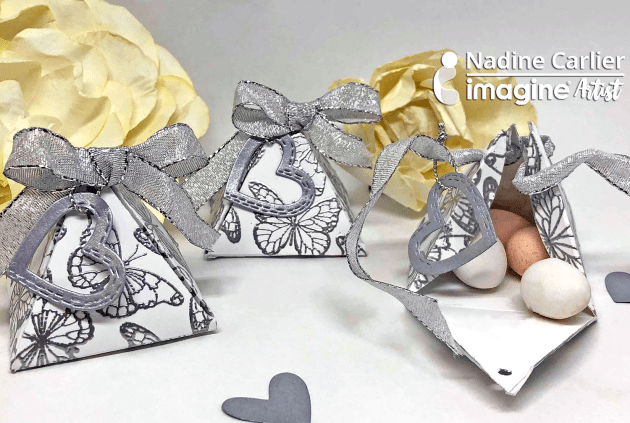
Sometimes you want to leave your guests a little something as a thank you for attending your wedding. These DIY wedding favor gift boxes are super easy to make. They can be made in many different sizes and colors to fit your style and needs. They would also be great for party favors for a baby shower too.
Watch my video below for details on how to make these cute little boxes.