By Helen Gullett
Hello crafty friends! This time, I want to share an idea on how you can personalize your own marker bag simply using Fabrico Markers and stencil. It is a fun project. You can do it in your free time and it is quick because the markers do not require a long time to dry. For my project today, I got the fabric bag from a craft store and I picked just one color to use but you can pick any color you want to use depending on the stencil design you use.
Skill: Intermediate
Time: 30 minutes
Direction:

Step 1
Pick a plain fabric bag that is made to be personalized. You can iron it if there are wrinkles on the bag surface, but it is an option.
Cut a piece of cardboard to put inside the bag to prevent ink bleeding through the fabric.
Pick a stencil design that you want to use.
Secure the stencil on the bag surface with temporary tape, or washi tape. Make sure the stencil won’t move around when you start the next step.

Step 2
Trace the design with the Fabrico marker. Fabrico markers are dual tip markers. Pick the tip that will fit to be used for your stencil. On my project, I used the bullet tip to trace the image and words.
After trace one design, remove the stencil to the other side to trace another design if needed.

Step 3
After tracing all the design on the fabric bag, remove the stencil.
You can retrace the design without the stencil if needed.
Fill in the design with more colors using the marker using either bullet or brush tip.
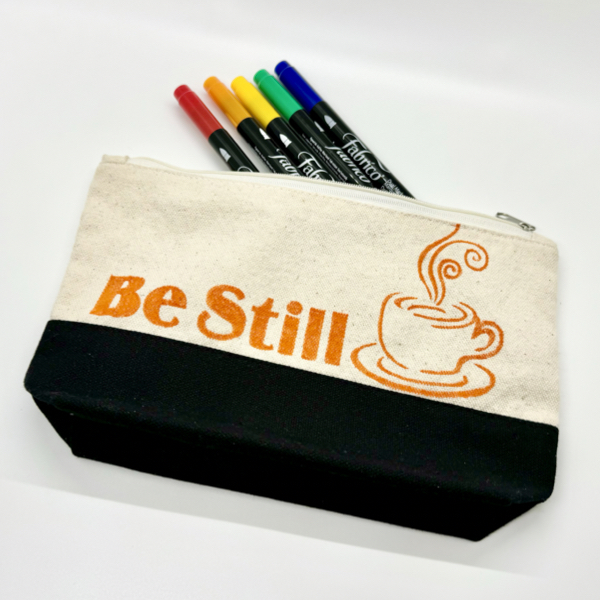
Isn’t that quick and easy to personalize your own fabric bag for markers? I hope you will give it a try.
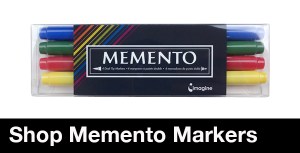
Craft Supplies
Imagine:
Others:
- Clear Scraps 3×12 Peace Be Still Stencil
- Removable Tape
- Cardboard / Thick cardstock