I have used one of my all-time favorite Rose stamp for today’s card project. I love this stamp because of its realistic layering effect. To achieve this beautiful layering I used a couple of ink types today. I used the Memento Inkpads, our brand new Stazon Pigment inks, Radiant Neon inkpad, and VersaMagic inkpads & I was very happy to see the final outcome and the way they all work together.
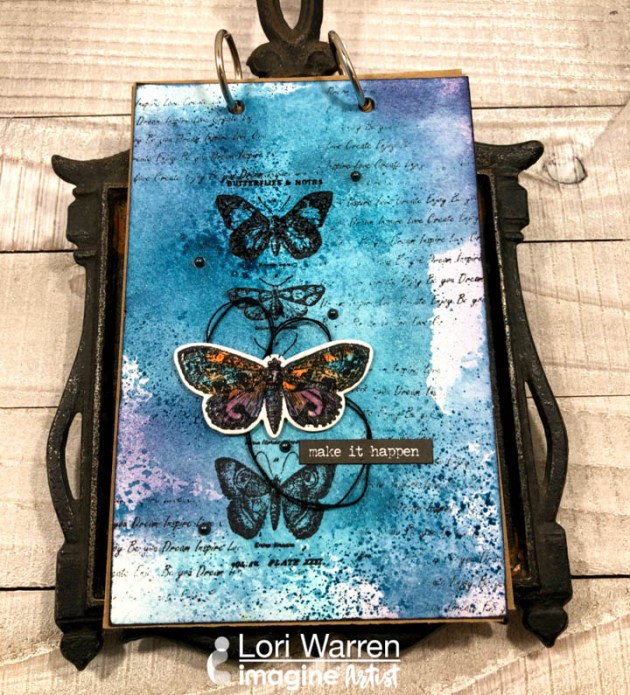
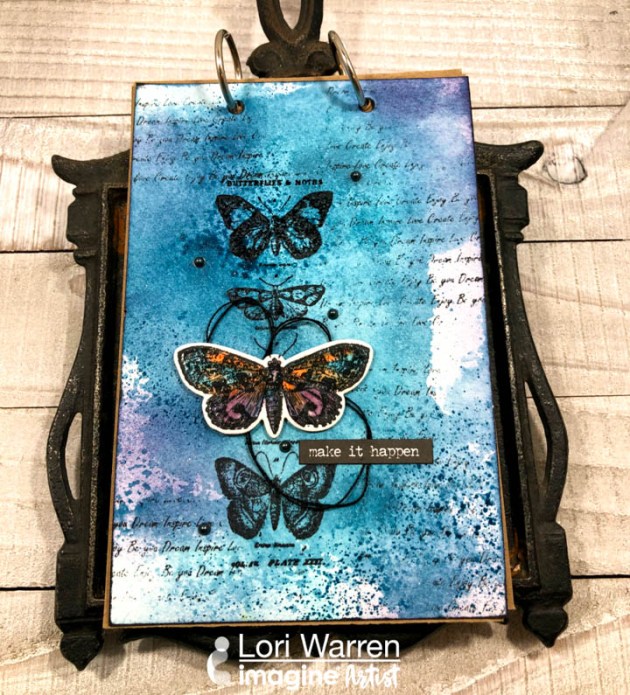
Who wants to “Make things happen” in 2019? I sure do and that is what inspired me to make this 4” x 6” Art Journal page featuring a variety of Imagine products. The tutorial includes how to use your Craft Mat to create a watercolor background effect with irRESISTible sprays as well as how to create a watercolor palette for detail coloring with Memento inks.
Skill: Beginner Time: 1 hour
Directions
Step 1
Apply VersaFine Clair (Medieval Blue & Teal Zeal) to a 4” x 6” Art Journal panel with Jumbo Daubers.
Step 2
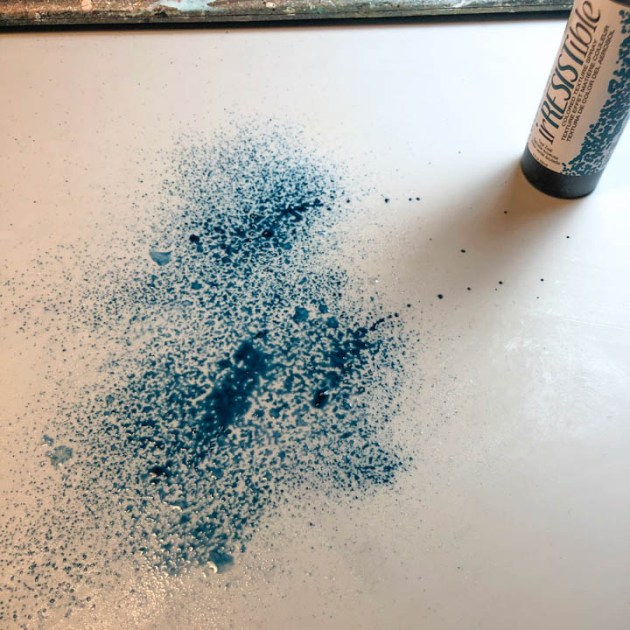
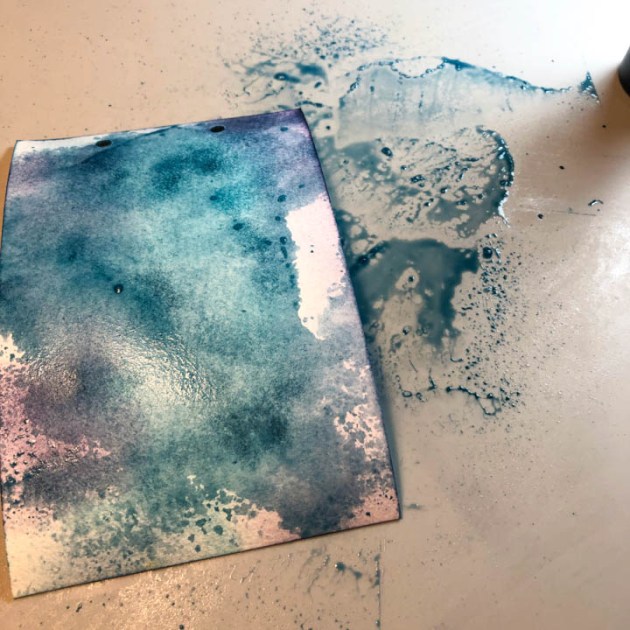
Spray panel with Ink Potion No. 9 and encourage the ink to blend.
Lay the panel, facedown, into the wet ink and lift. Set aside and allow to dry.
Step 5
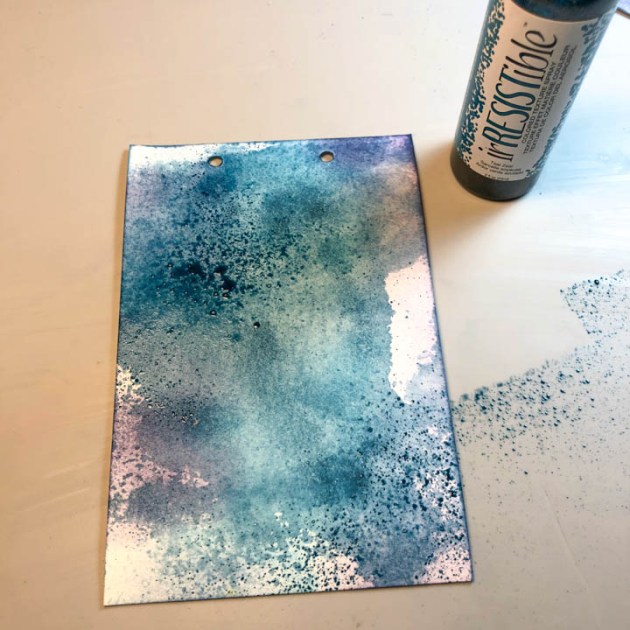
Spray Teal Zeal irRESISTible ink directly onto the panel in a few key areas. Allow to dry.
Step 6
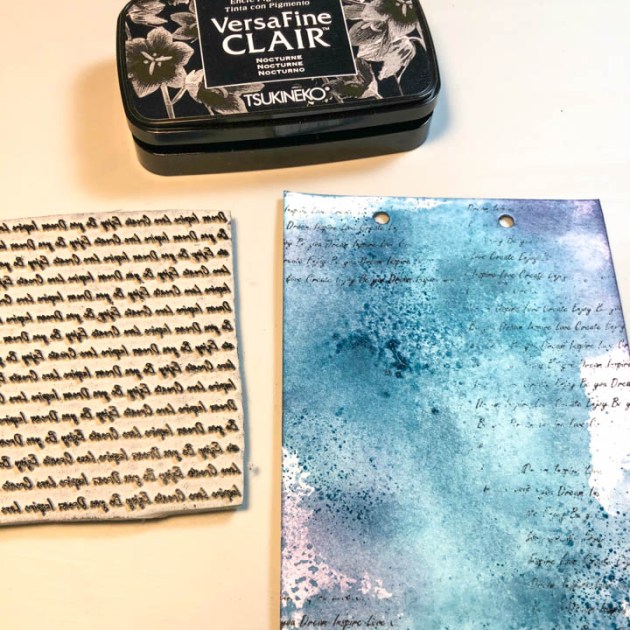
With VersaFine Clair in Nocturne, randomly stamp script across the panel.
Step 7
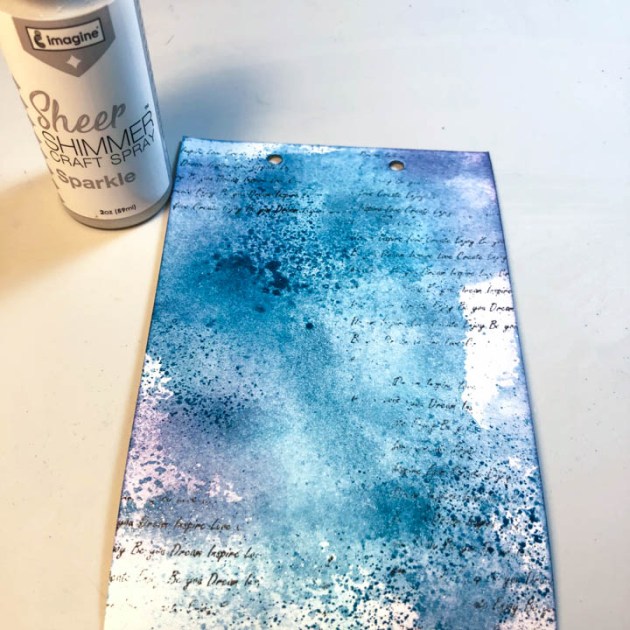
Spray Art Journal Panel with Sheer SHIMMER Craft Spray in Sparkle. Allow to dry.
Step 8
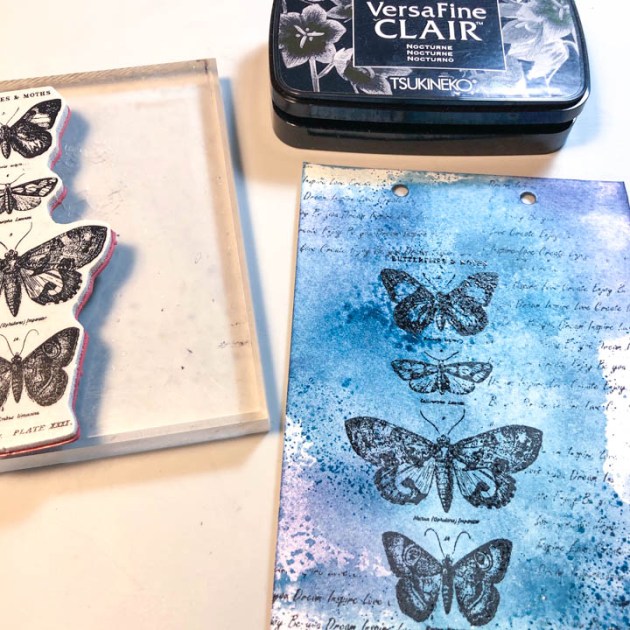
Stamp the four-butterfly image (from the Tim Holtz Alterations French Flight stamp/die set) on to the panel with VersaFine Clair in Nocturne. Stamp the image just off center and then to the left of the panel.
Step 9
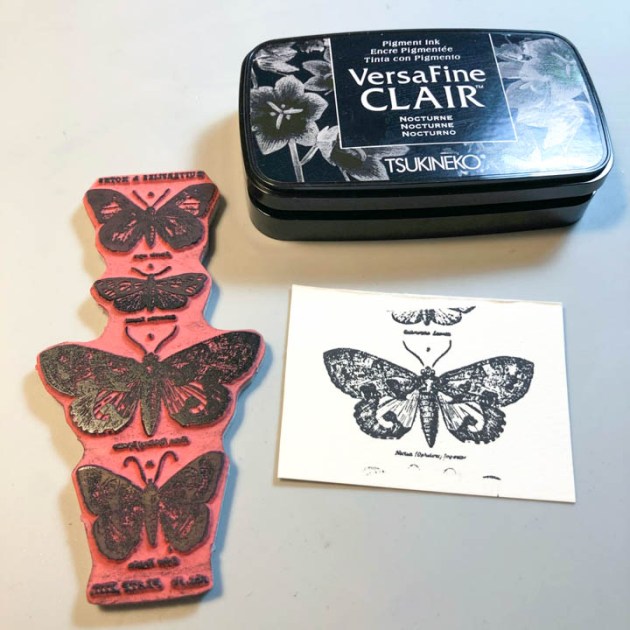
From the same Butterfly stamp set, stamp the large butterfly image into a piece of white cardstock with VersaFine Clair in Nocturne.
Step 10
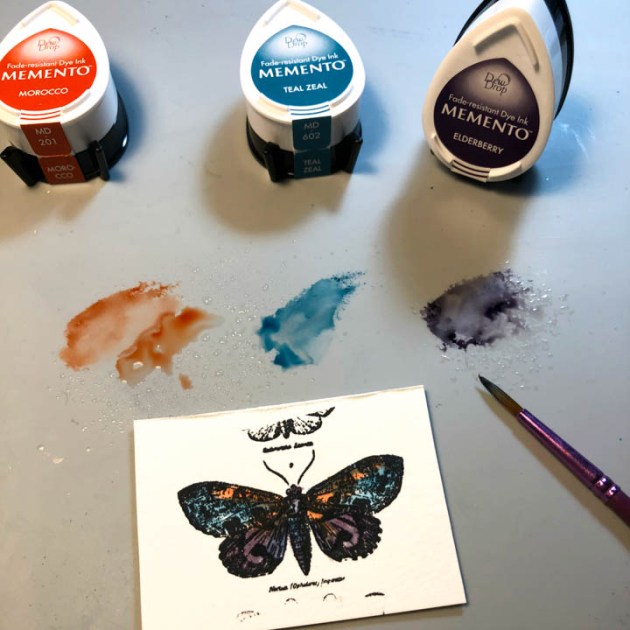
Apply three colors of Memento (Morocco, Teal Zeal, Elderberry) directly onto your Craft Mat and then add water; use like you would watercolors to paint the butterfly image. Allow to dry.
Step 11
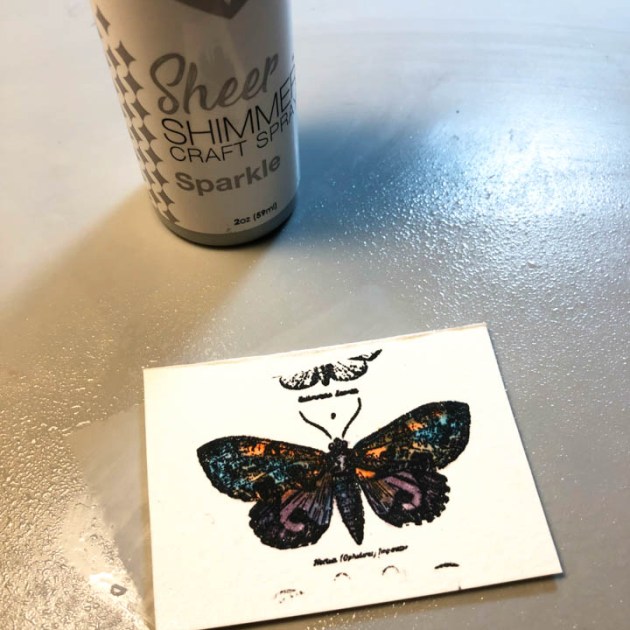
Spray the butterfly image with Sheer SHIMMER Spray in Sparkle. Allow to dry.
Step 12
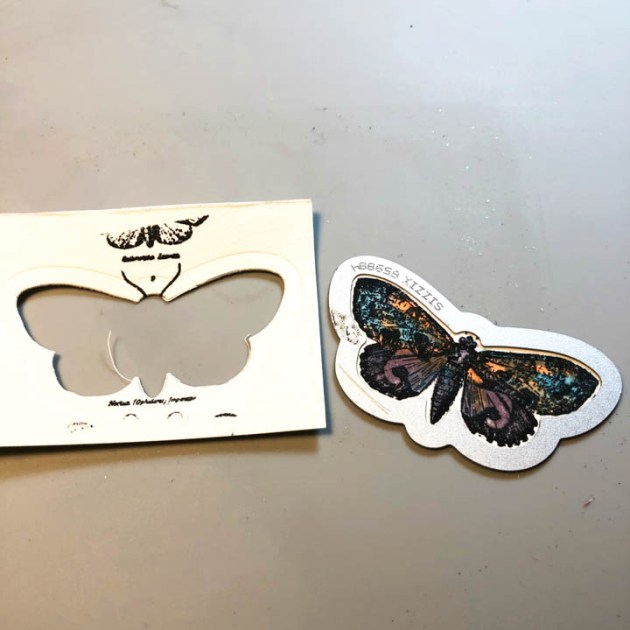
With the coordinating die from the stamp set, die cut the butterfly image.
Step 13
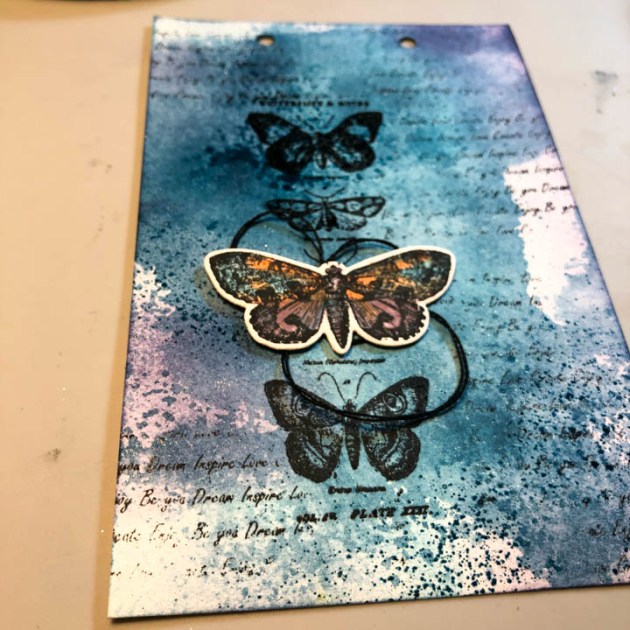
Adhere black thread, in a circle pattern, underneath the butterfly and then mount to panel with double-sided foam tape (directly over the previously stamped image).
Step 14
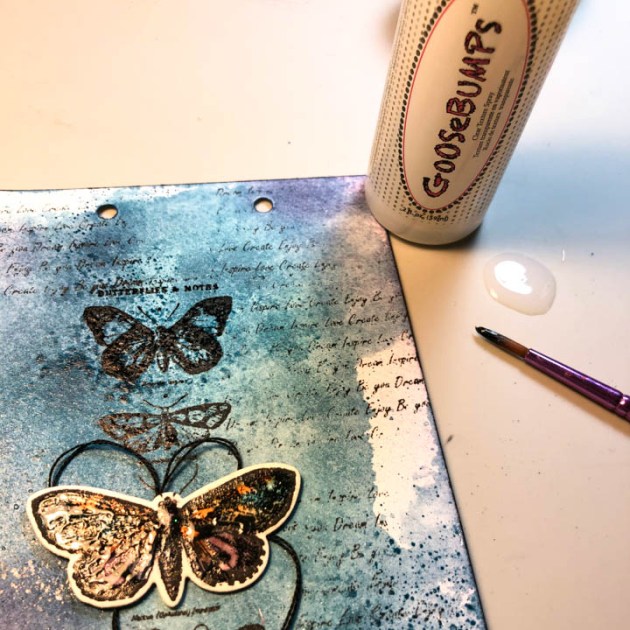
With a paintbrush, apply GooseBumps Clear Texture Spray to butterfly. Allow to dry.
Step 15
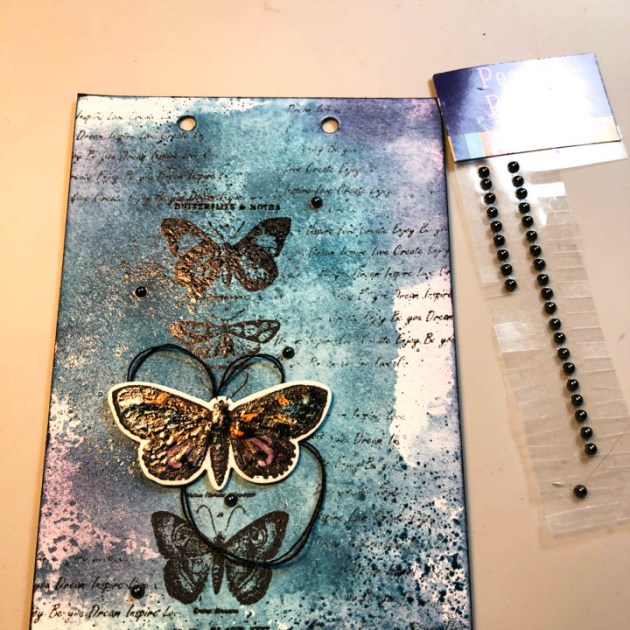
Edge panel with VersaFine Clair in Nocturne and then embellish with adhesive pearls.
Step 16
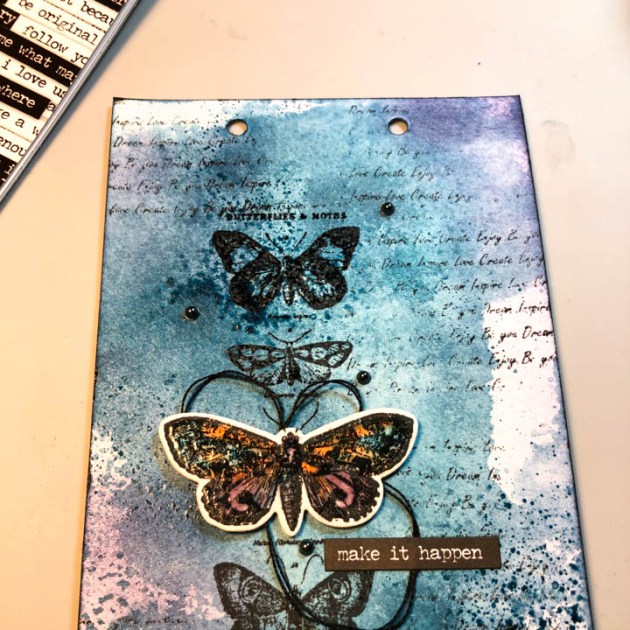
Add sticker sentiment “Make It Happen” below the colored butterfly.
Step 17
Add the pages, back panel and metal rings to transform this project into an art journal.
Create a Valentines’ day card with a mixed media feel and matching washi tape that you make yourself in a few easy steps using your Imagine Craft Mat. Add interest with inks and textures layered to create interest.
Skill: Intermediate Time: 1 hour
Directions
Step 1
Spray a piece of white cardstock with Fireworks Shimmery Craft Spray in Lady Bug and leave to dry.
Step 2
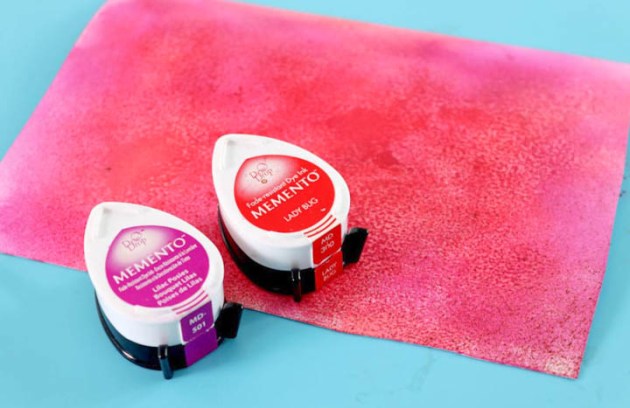
Use the direct-to-paper method and ink the remainder of the pane using Lady Bug and Lilac Posies Memento DewDrop inkpads.
Step 3
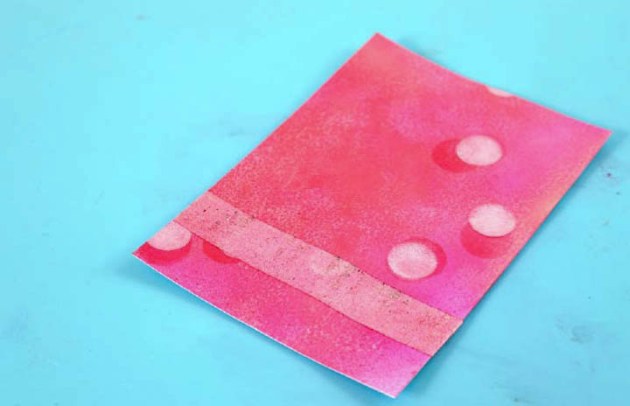
Use sponge daubers with ink to create a bokeh effect to the background. First, add red inked circles using Memento Luxe in Love Letter and then add white Brilliance circles over the top and slightly off-set for a fun effect.
Step 4
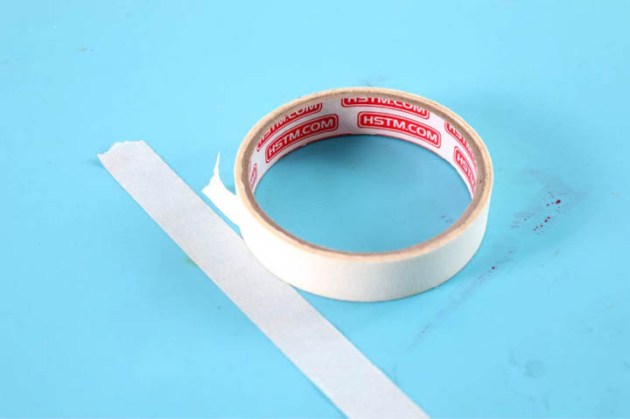
To create your own matching washi tape, adhere a strip of masking tape to your Craft Mat.
Step 5
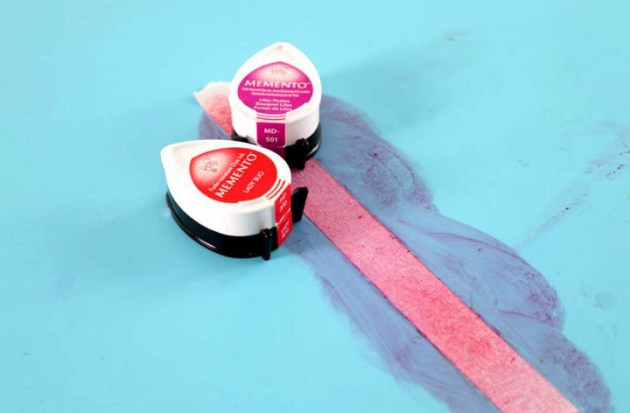
Use Memento DewDrop ink pads to add color to the masking tape strip.
Step 6
Use VersaFine Clair in Morning Mist and a texture stamp to add script stamping to the tape. Leave the ink to dry before adhering the tape to your card.
Step 7
Carefully peel the masking tape off of your Craft Mat and adhere the washi tape to your card panel.
Step 8
Emboss the panel using a love-themed or Valentine’s Day themed embossing folder. Add a layered die-cut heart with a silver leafed heart on top. Finish off your card with ink splats and diamanté for a mixed media look and feel.
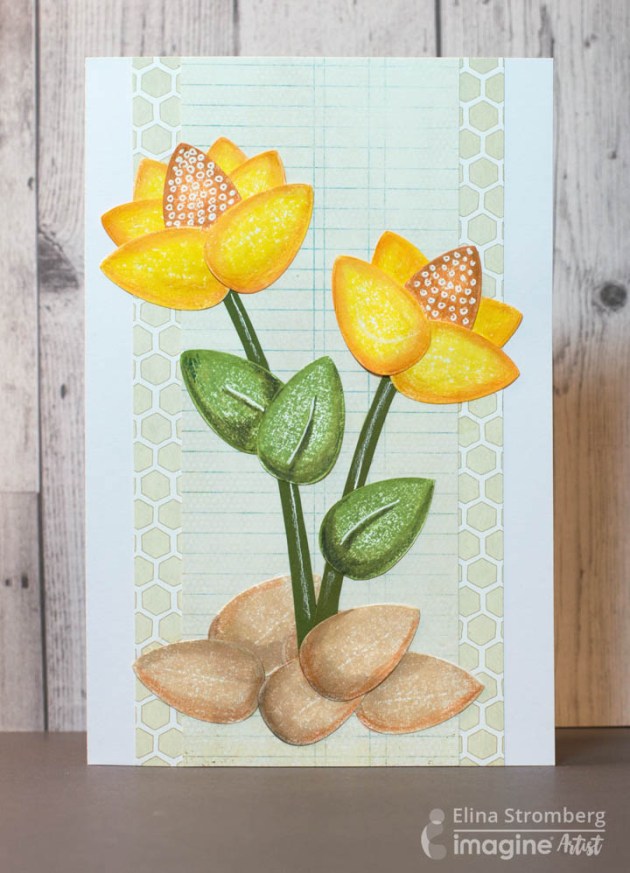
Have you had a chance to try out the new Dewlets? Those little metal dies match perfectly with the size and shape of Dew Drops ink pads, providing you new possibilities for creative use of your favorite ink pads. Just stamp and die-cut a pile of drops in your favorite colors, and let the fun begin: You’ll be surprised how many different shapes you can make out of them! In this project, I created a spring theme flower card.
Skill: Beginner Time: 1 hour
Directions
Step 1
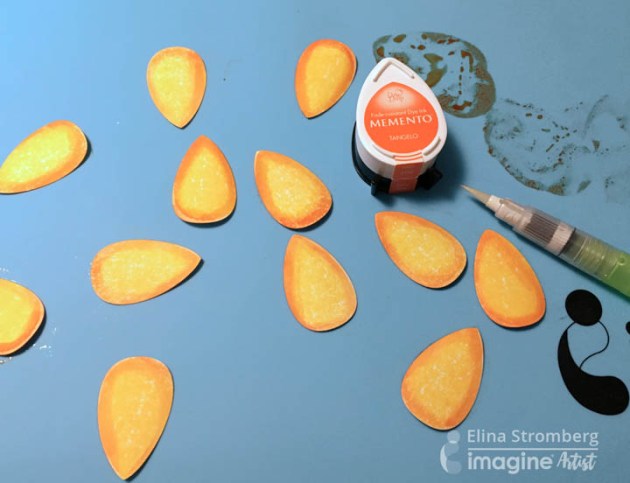
Press the DewDrop ink pad on paper to create a drop shaped stamped image. The white paper will replicate the ink color as it is, but you can create exciting variations by using colored and/or patterned papers. Die-cut the drop images with a die-cutting machine, using Dewlets dies.
Step 2
Highlight the drop edges by painting them with a darker ink and a water brush. Let dry.
Step 3
Layer background paper(s) on a white card base using two-sided tape or glue.
Step 4
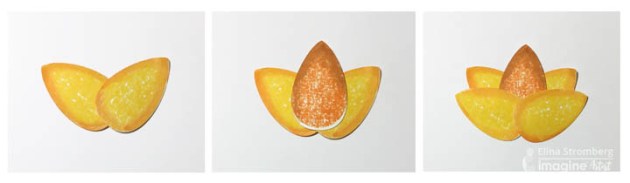
Assemble flowers. Cut flower stems from green paper. Glue on paper together with the flowers. Finish the project by decorating the flowers and leaves with a white gel pen. Optional: Add more contrast and shadowing with coloring pencils. Do not color the entire die-cut drop, but only add a hint of a darker shade on the edges.
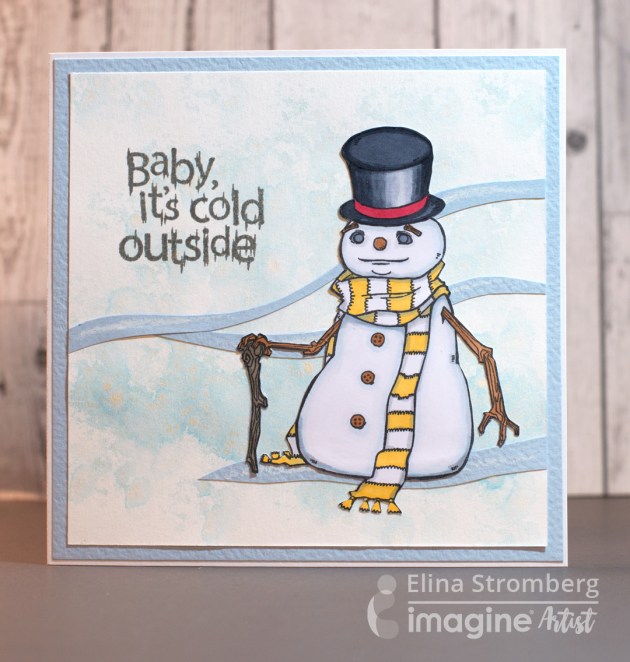
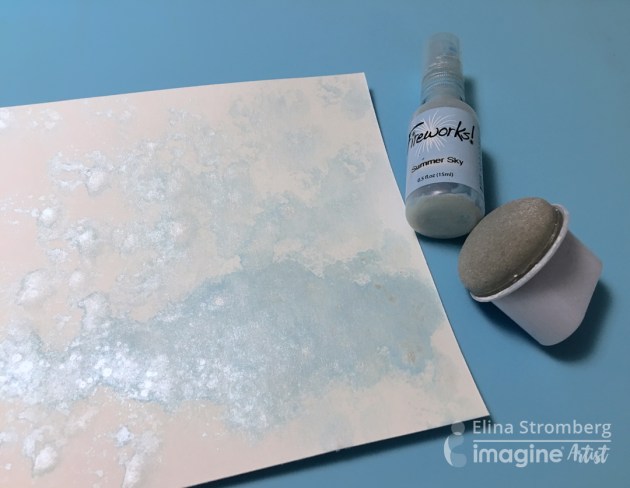
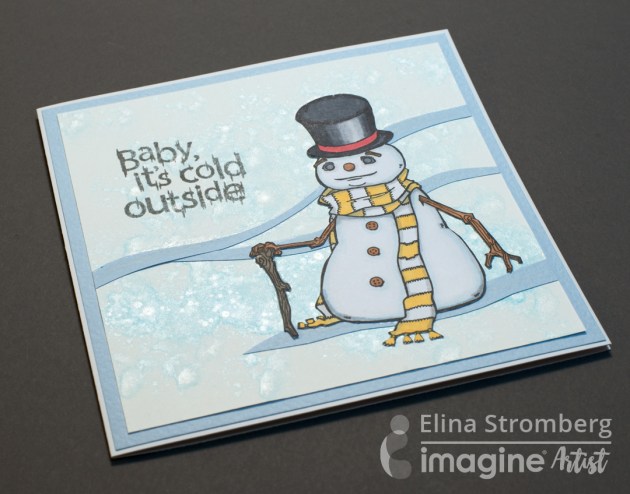
Our color of the month is ‘Frosted Blue’. Imagine provides several product options for playing with this cool color. I decided to use ‘Summer Sky’ Fireworks Spray for creating a light blue background for my winter-themed card. In addition to the beautiful soft blue color, Fireworks adds a lovely shimmer to your project that is just perfect for a frosty, icy blue winter themed card!
Skill: Intermediate Time: 1 hour
Directions
Step 1
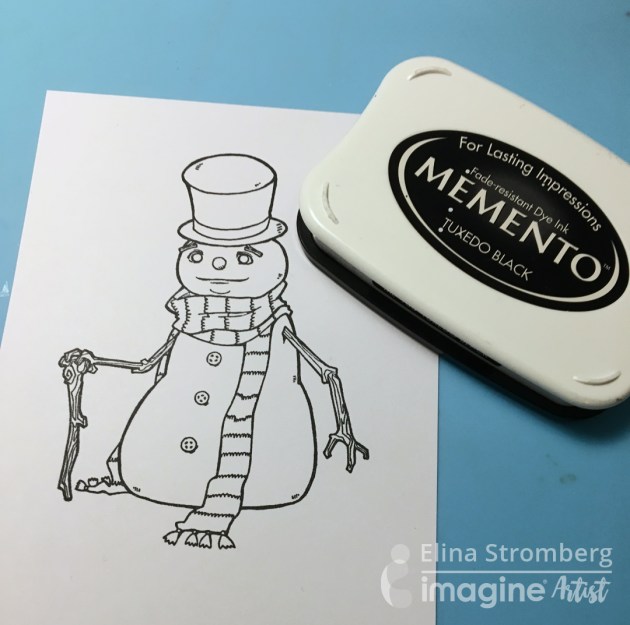
Stamp and color the snowman image on white paper. When coloring with alcohol markers (like Promarkers, Copics), use water-based ink for stamping. Memento Tuxedo Black is my No. #1 choice for the task!
Step 2
Pour a small drop of Fireworks Shimmery Craft Spray on the Craft Mat. Dab the color on the card front panel with a Jumbo Dauber. Don’t cover the entire card front with the color but leave some areas blank. Let dry.
Step 3
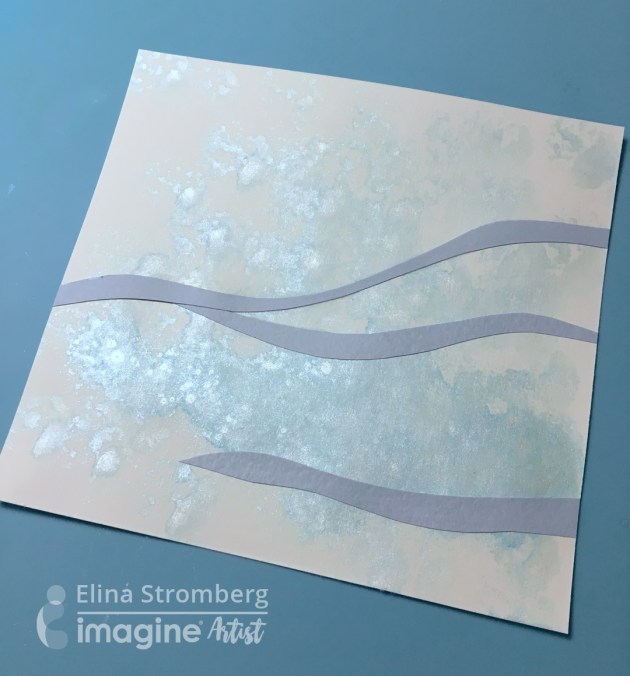
Create a hill scenery on the card background. Cut wavy strips of light blue paper and glue them on card front panel. Mat card front on light blue paper, and attach card front to card base.
Step 4
Stamp the sentiment and paste the snowman figure to the front of the card.
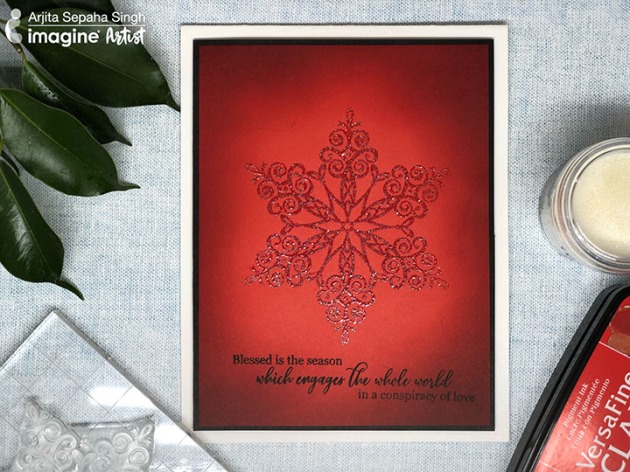
For today’s card, I used the Sparkle Embossing Powder to create the beautiful snowflake on a bright red cardstock. I used VersaMark Embossing Ink to stamp the snowflake. Once the embossing powder was melted I blended some red inks with a sponge dauber around the edges of the card. This adds a beautiful glow to the card and I finished the card with a sentiment in black. This is a perfect project to be mass-produced for your Christmas cards.