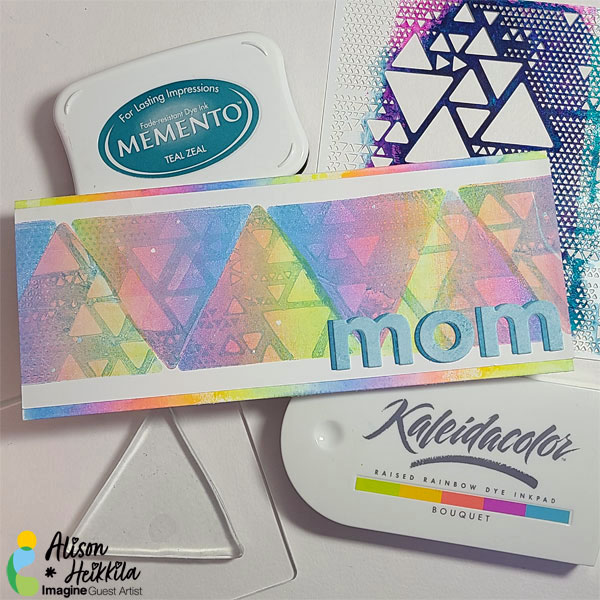
Hello! I don’t know about your mom, but my mom is not really into your typical Mother’s Day card. She’s not really into super flowery, extra sentimental cards. She prefers bolder, more graphic things. So I decided to think “outside of the box” and use triangles! This is a fun and simple way to get a unique looking card with dye based inks from Imagine.
Skill Level: Beginner to Intermediate
Time: Approx. 20 minutes.
Directions:
Step 1
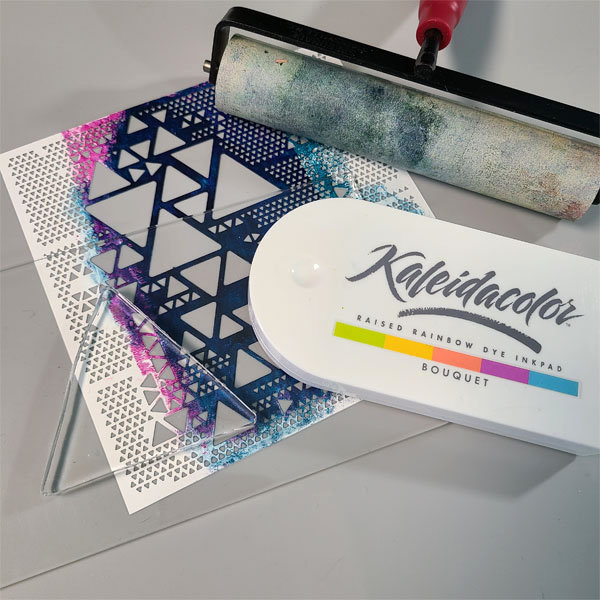
Let’s gather our supplies! Grab a Gel Press Petite (I went with a triangle so that I could rotate them 180 degrees each time to get a cool pattern), your favorite Kaleidacolor inkpad, an additional Memento ink pad, and a stencil. For tools, you’ll want an acrylic block or handle, plus a brayer.

Step 2
Apply the Gel Press Petite to your block. Click together the Kaleidacolor inkpad. Roll the color on to your brayer. It will not look like there is much color on the surface of the Gel Plate, but don’t worry, it’s there.

Step 3
Pick up the inked Petite (while it’s on the block) and apply it facedown to your cardstock. I left a 1/4″ border below the triangle. Press the triangle into your paper as you would a clear stamp, then peel it away from the cardstock.
Step 4
Apply Teal Zeal to the Triangle Gel Press and roll the color out with your brayer.

Step 5
Place a stencil on top of the inked triangle and gently press it into the Plate. The Plate will hold the stencil in place.

Step 6
Flip the Plate (with the stencil still attached) on to a piece of scrap paper. I use copy paper. Press into the scrap to remove the ink from the negative areas. You can see in my photo above how it will look.
Step 7
Peel the paper away from the Plate, then remove the Stencil.
Step 8
Place the Plate directly on top of the first Kaleidacolor inked triangle you created. The left over Teal Zeal ink on the Plate that was trapped under the stencil will transfer to the paper.

Step 9
Repeat applying the Kalediacolor Ink to the Triangle, flip it around and place onto your cardstock, making sure it’s going in the opposite direction of your first triangle.
Step 10
To make things go faster, I opted to ink and stamp all of my Kaleidacolor triangles before I finished my stenciled layers. I worked my way across the entire piece of cardstock, from end to end.
Step 11
Repeat the process of applying the Teal Zeal to the triangle, applying the stencil, taking off the excess ink, and then applying to the Kaleidacolor layers. Do this until all of the triangles have a stenciled image on them. Then trim the piece, leaving a 1/4″ at the top.

Step 12
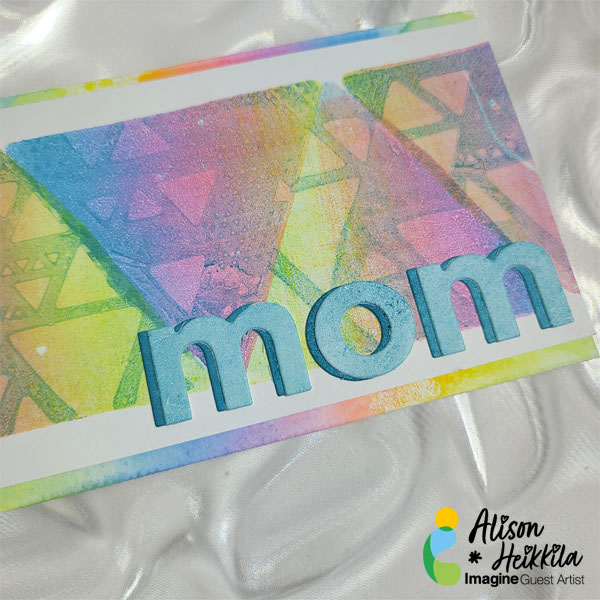
For my “mom” sentiment, I applied more Teal Zeal to my triangle (you can use any Gel Press Plate for this, but since the triangle was already out, I just used that). I placed a strip of paper on it to pull the color off. I repeated this step until I had enough of the strip covered for my dies to fit the “mom.” I could have just inked the paper. But I wanted the paper to have the same look as the rest of the card. Gel Press printing looks very different than applying ink directly to paper, or using some sort of applicator. This kept everything cohesive.
Step 13
I wanted a shadow layer to my “mom” so I repeated the last step, but I reapplied ink to my strip 3 times to get a darker tone. It’s still Teal Zeal, but at a richer strength because I layered the color several times. I adhered these layers together with On Point Glue.
Step 14
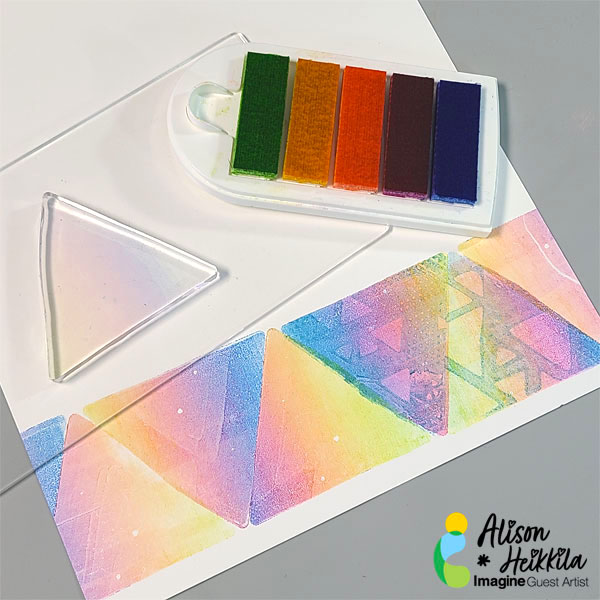
I created my card base from white cardstock, cut to 8 1/2″ x 7.” I applied my Kaleidacolor ink directly to my brayer, sprayed it with Ink Potion No. 9 to help it flow, and rolled it on to the top and bottom of my card base.
Step 15
Adhere the mono-printed layer and the sentiment to the card.

This was a really fun card to make, and since you can get a huge range of Kaleidacolor inkpads (including a dry one so that you can create your own combination!), you can change up the look of this card easily. Thanks so much for stopping by. Have an inspiring day!
Art Supplies
Imagine
Kaleidacolor Inkpad in Bouquet
Memento Ink in Teal Zeal
On Point Glue
Other
• Gel Press: Petites Set A- Triangle
• AALL & Create: Lotza Trianglez
• Simon Says Stamp: CZ Design- Everett Alphabet Die Cuts
• Brayer
• Acrylic Block/Handle
• Dry Adhesive