Stenciled Ornament Card with Memento Inks

By Alison Heikkila

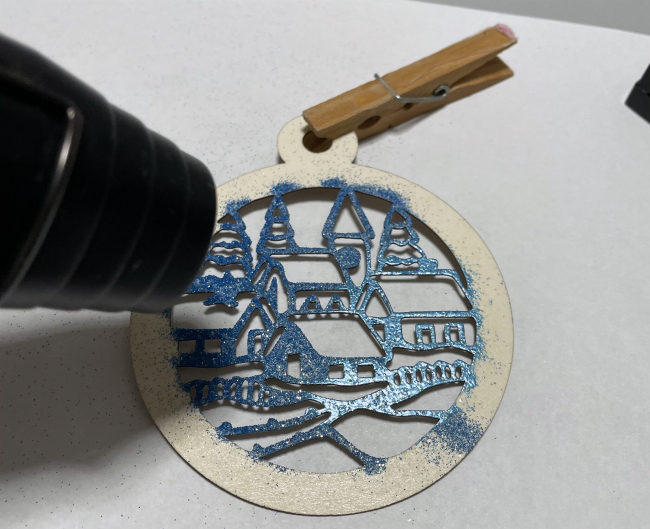
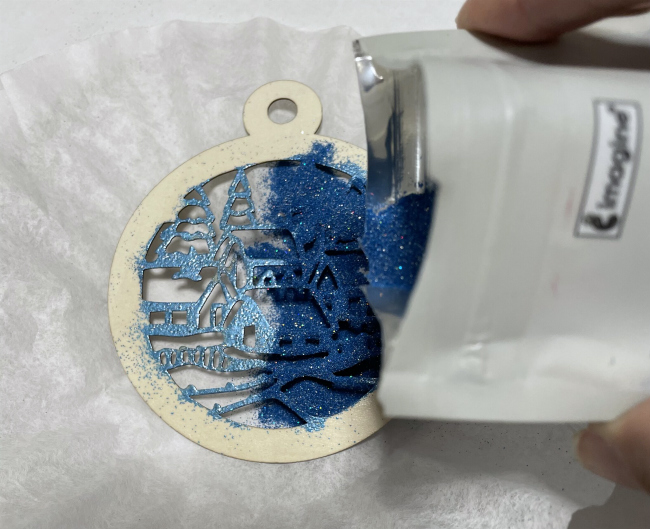
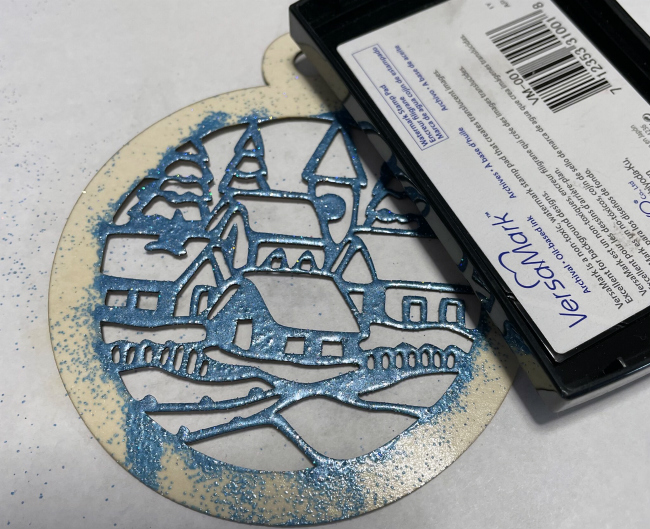
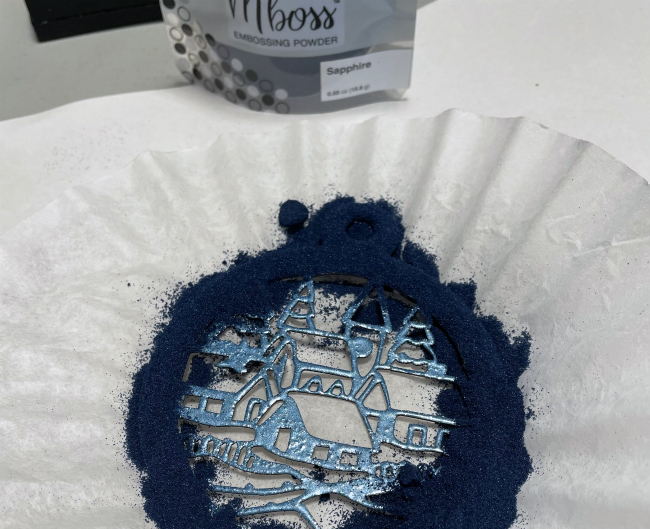
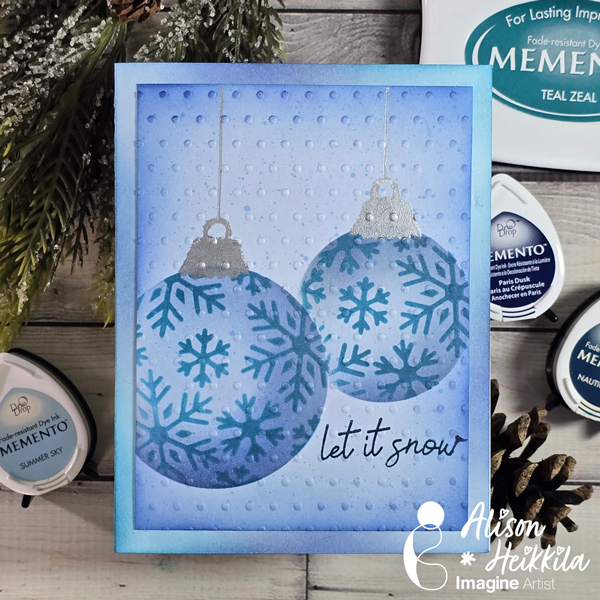
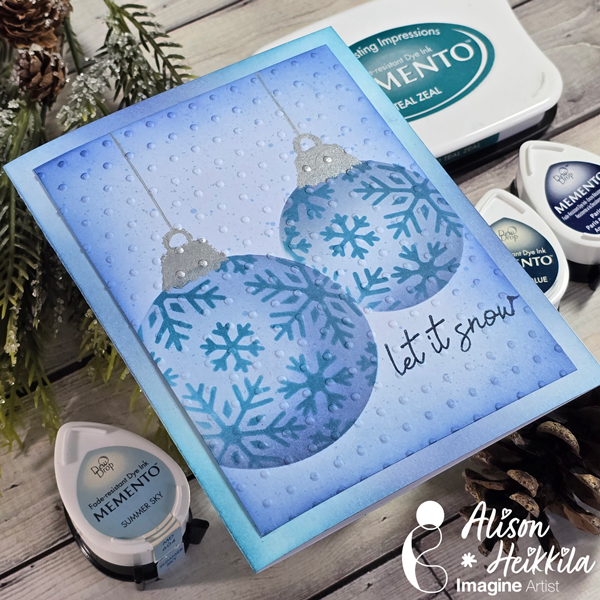
Hello! Alison Heikkila here. For my latest video for Imagine, we’re making a holiday card with snowflake ornaments. This is a great card for beginners, or for someone who likes to batch many cards. You can feel free to change up the colors as you like, but I love making cards with a limited palette from time to time.

Skill Level: Beginner
Time to Complete: 15-20 Minutes

*Some affiliate links are used in this post. That means that if you shop through these links, I may receive a small compensation, at no cost to you.

Here is the YouTube video. If it doesn’t play properly, please click HERE.

Supplies:
Imagine:
Memento Inks in Summer Sky, Paris Dusk, Teal Zeal, and Nautical Blue
Delicata Ink in Silvery Shimmer
VersaFine Clair Ink in Twilight

Other:
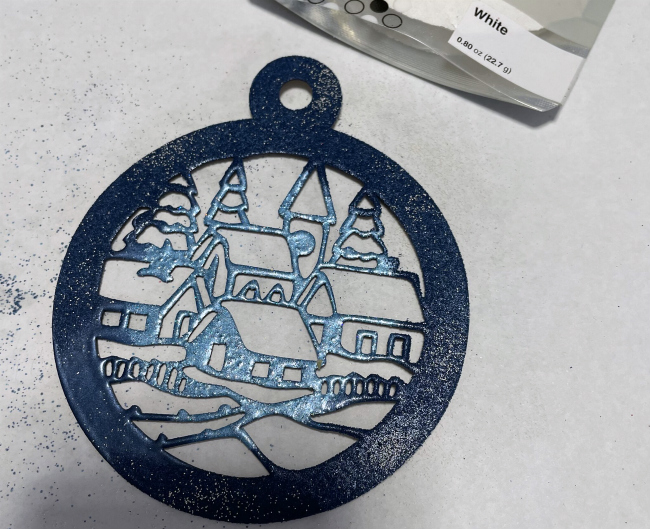
Spellbinders: Snowflake Ornaments Stencils
Spellbinders: Tiny Dots 3D Embossing Folder
Spellbinders: All Seasons Sentiments
Lawn Fawn: Spiffy Speckles Paper Pad
Copic: B39 (to fix my error)
Silver Gel Pen
Gel Press Plate (optional)

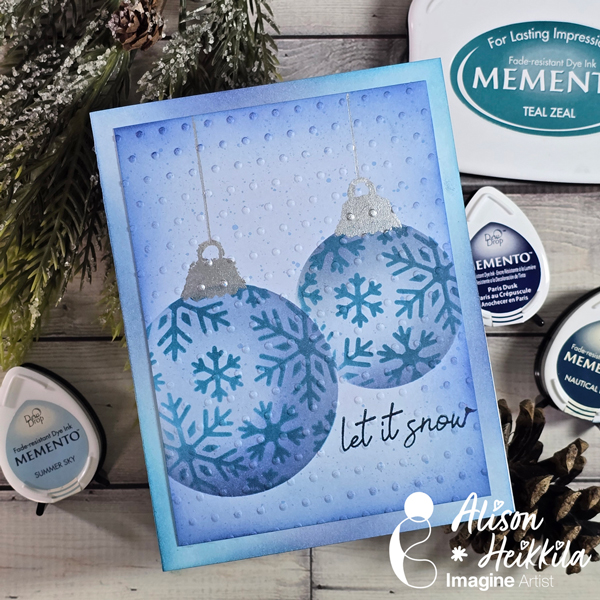
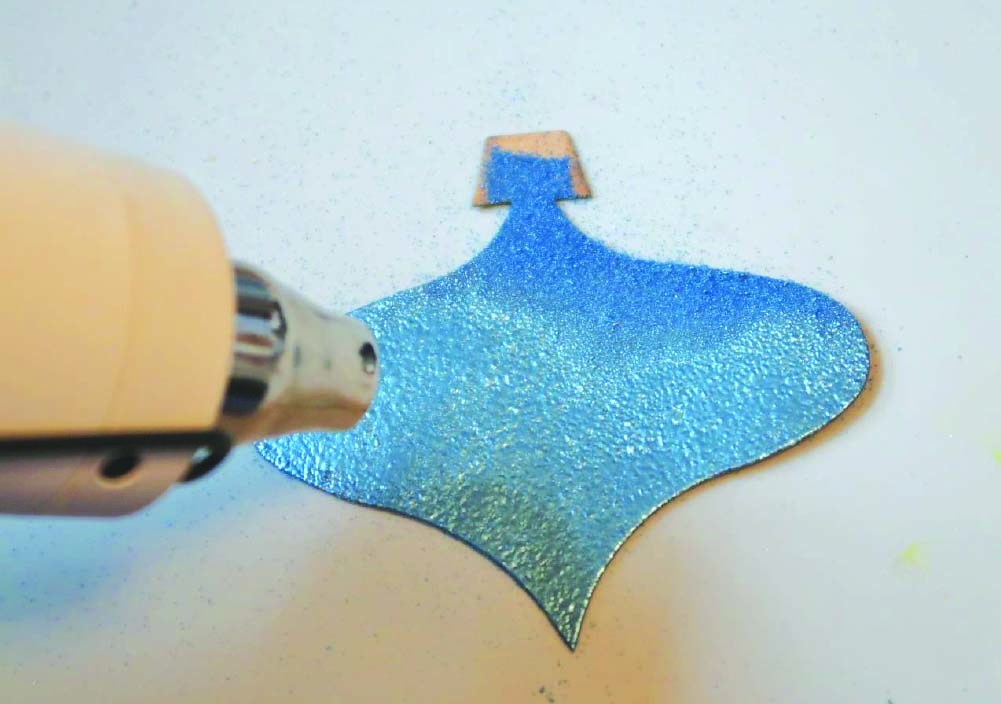
I love the dimension we created by ink blending our colors a certain way. This is a really fun stencil set, and you can really play with different colors as much as you like. I’ll have another video for Imagine soon. Thanks so much for stopping by. Have an inspiring day!

Create A Holiday Tree Ornament Using Creative Medium, Memento and Brilliance Inks 

By Katy Ingram

Hello Friends! Katy here and for todays project I thought I would used a variety of products with some die cuts to create an ornament for the Christmas tree. 

In todays video tutorial I explain each layer of the ornament starting with the snowy background which uses the Creative Medium with a snowflake stencil, once dried I applied the Brilliance Ink in Pearlescent Orchid, Pearlescent Purple, Pearlescent Lavender and Pearlescent Sky Blue and was blown away. Check out the video for all the details on how this ornament came together. 

I hope you enjoy and thanks for stopping by. 

Skill Level: Beginner, Intermediate, Advanced

Time: 10 minutes 

Art Supplies

Imagine Products

Poinsettia

– Memento Ink Angel Pink, Love Letter, Lady Bug, Rhubarb Stalk

– Delicata Ruby Red

– Pico Embellisher-Shimmer

Greenery

– Memento Ink Bamboo Leaves, Northern Pine

– Pico Embellisher-Shimmer

Woodland Wreath

– Memento Ink Toffee Crunch, Rich Cocoa, Espresso Truffle

Back Panel

– Delicata Ruby Red

– VersaFine Clair Nocturne

Snowflake Background

– Brilliance Inks

– Creative Medium-Shimmer

On Point Glue

Tear It! Tape

Multi-Purpose Squeegee

Other Products:

Spellbinders Poinsettia Die

Spellbinders Woodland Wreath with Feathered Friends Die

Spellbinders Blizzard Stencil

The Greetery Botanicuts Pine Bough Die

Simon Says Stamp The Magic of Christmas Stamp Set

Kat Scrappiness Holiday Village Slimline Border Die

Honey Bee Stamps Simple Alpha Stamp Set

Lawn Fawn Acetate

Let’s Make a Shaker Ornament

By Martha Lucia Gomez

Hello there! Today’s tutorial is a shaker ornament created with embossing powders and using different colors in a single piece. To make this, I used the MBoss in Blue Icicle, Sapphire and White. To create this type of embellishments or ornaments for your cards, gifts or Christmas Trees, you can also use our traditional Embossing Powders in any color.  

Skill Level: Medium

Time to Complete: 45 minutes

Directions:

Step 1:

Apply a layer of ink to your Shaker Base or Chipboard piece directly with the ink pad of VersaMark. You can also use the small size or cube of VersaMark Ink if you are using a small piece of shaker card or chipboard. Make the emphasis on the center if it has the designed part. 

Step 2:

Cover the center of your ornament with the light color of MBoss or embossing powder. In my sample, I am using the Blue Icicle.

Step 3:

Melt the MBoss or Embossing Powder with the heat tool. Don’t worry if the powder covered some parts of the border.

Step 4:

Repeat steps 2 and 3 if you want a thick effect or want better coverage.

Step 5:

Ink the border or the chipboard ornament or shaker piece with the VersaMark Ink Pad, taking care not to cover the center of the piece. 

Step 6:

Cover the inked area with the dark color of MBoss. I am using the Sapphire.

Step 7:

Melt the powder with the heat tool. Then, add some touches of MBoss White to create more dimension over it. Melt the MBoss White or White Embossing Powder with the heat tool. 

Step 8:

Assemble your shaker card or finish the ornament by adding some sprinkles or small sequins and adding a piece of ribbon to tie it.

Voila! Our ornament is finished and can be used to decorate a card, a gift or to be handled on a Christmas Tree.

Remember that you can use this idea for any type of chipboard piece or for any occasion, not only for Christmas. 

Art Supplies:

Imagine:

• Mboss Sapphire, Blue Icicle and White

• Tear it! Tape

• Craft Mat

• VersaMark

Other:

• Shaker Dimension Set or Chipboard Piece. 

• Heat Tool

• Sequins

Double Emboss a set of Ornaments for a Unique Holiday Craft

by Roni Johnson

It’s that time of the year to kick making into full gear. It is easier to create when you narrow your focus and choose a color scheme to work with. This year I have chosen Berry, Blue and Silver. I knew I wanted to make some “Mail-able Ornaments” for my far away friends. MBoss embossing powders are just the ticket!

Skill: Intermediate
Time: 15 minutes per ornament

Directions


Step 1

Die-cut or hand cut desired ornament shapes from a medium weight chipboard. I used the ornament die from Sizzix.


Step 2

Pounce the ornament on a VersaMark pad until the entire ornament has been covered with the ink.


Step 3

Pour desired color of Mboss embossing powder over the ornament, shake off and reserve excess powder for future use.


Step 4

Use a heat tool to melt the embossing powder and let cool.


Step 5

Repeat steps 2 – 4 one or two more times creating a thick molten layer of embossing powder over the ornament.


Step 6

Immediately after the final melting cycle press a stamp into the molten embossing powder and let the embossing powder cool. Note: the molten embossing powder will not damage the stamp.


Step 7

After the embossing powder has cooled, peel the ornament from the stamp.


Step 8

Embellish the ornaments as desired.


Step 9

Add a length of stretch cord for a hanger.

Supplies

Imagine
Other
  • Chipboard
  • Sizzix Ornament Die
  • Unity Stamp Co – Burst of Snowflakes, Trees
  • Silver Stretch Cord