Hello crafty friends! Today, I wanna share this easy and quick card idea for you. You can use stamps to create a fun background and focal point using small image stamps. Let’s make it together.
Skill: Beginner Time: 15 minutes
Direction:
Step 1 Cut out a piece of 8.5 x 11 inch white heavyweight cardstock and make them your card bases.
Stamp the cloud image (or any small image stamp) directly on the front of the card base to create your background using Memento Ink (Summer Sky)
Step 2 It is easier to use a stamping tool when you use several stamps to build up an image. This stamping tool can help you to line up your image stamp perfectly.
For my rainbow, I used several small stamps to build it. I stamped each image one by one using VersaFine Clair ink pads (Tulip Red, Summertime, Cheerful, Verdant, Paradise, Fantasia)
Set aside for the inks to dry when you are done stamping, or you can use a craft heat gun to speed up the drying process.
Step 3 On another piece of white cardstock, stamp the cloud image outline and dots with VersaFine Clair (Warm Breeze)
Dry the stamped image with a craft heat gun and then fussy cut it with scissors.
Step 4 Trim the focal image into 3.5 inch x 3.5 inch.
Cut out a piece of dark blue cardstock slightly bigger than the focal image panel. I cut mine into 3 ¾ inch square mat.
Use the Tear It! Tape to add them to the front of the card.
Add some of the Teart It! Tape on a small piece of white fun foam to make your own 3D foam tape. I use it to add the cloud image on the card.
Isn’t that quick and easy to make this fun rainbow kindness card? I hope you will give it a try and send it out to encourage others with your handmade kindness card.
Thank you for stopping by our blog today. Have a fabulous day!
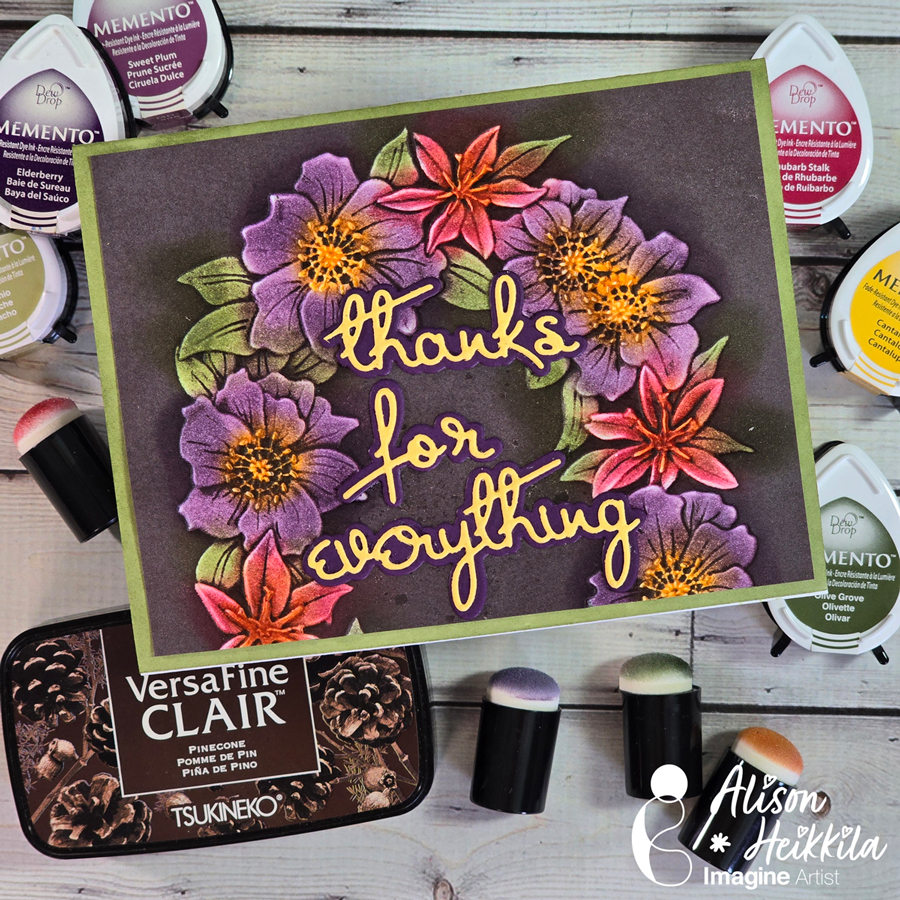
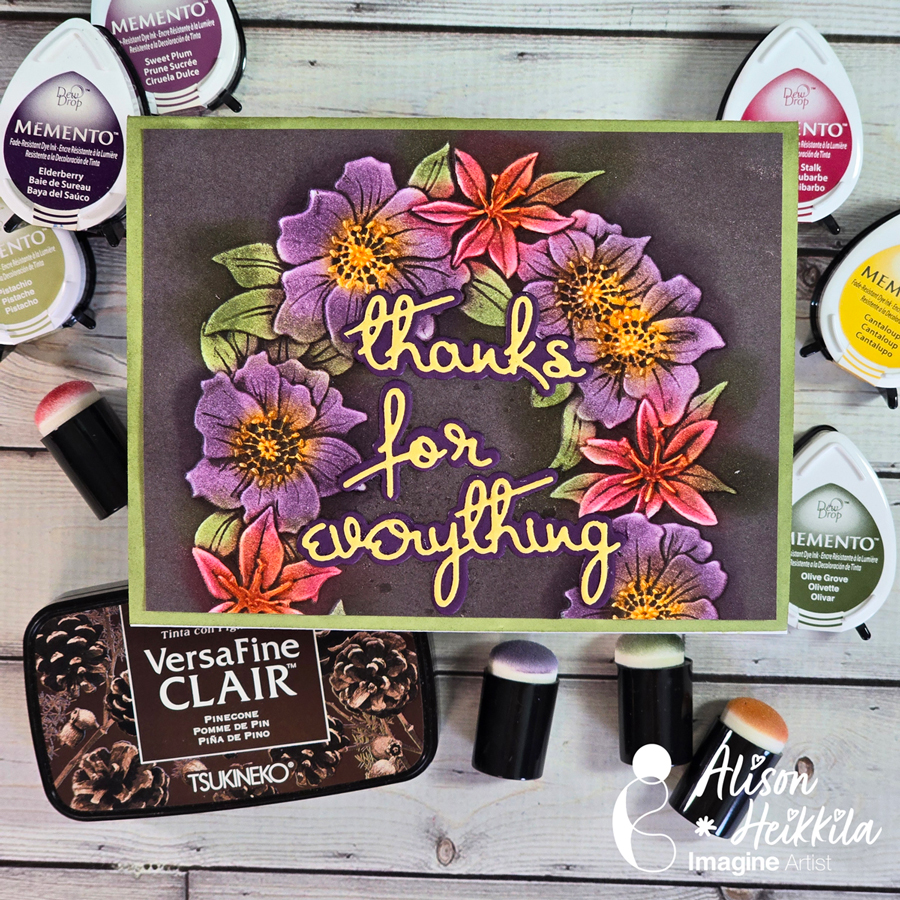
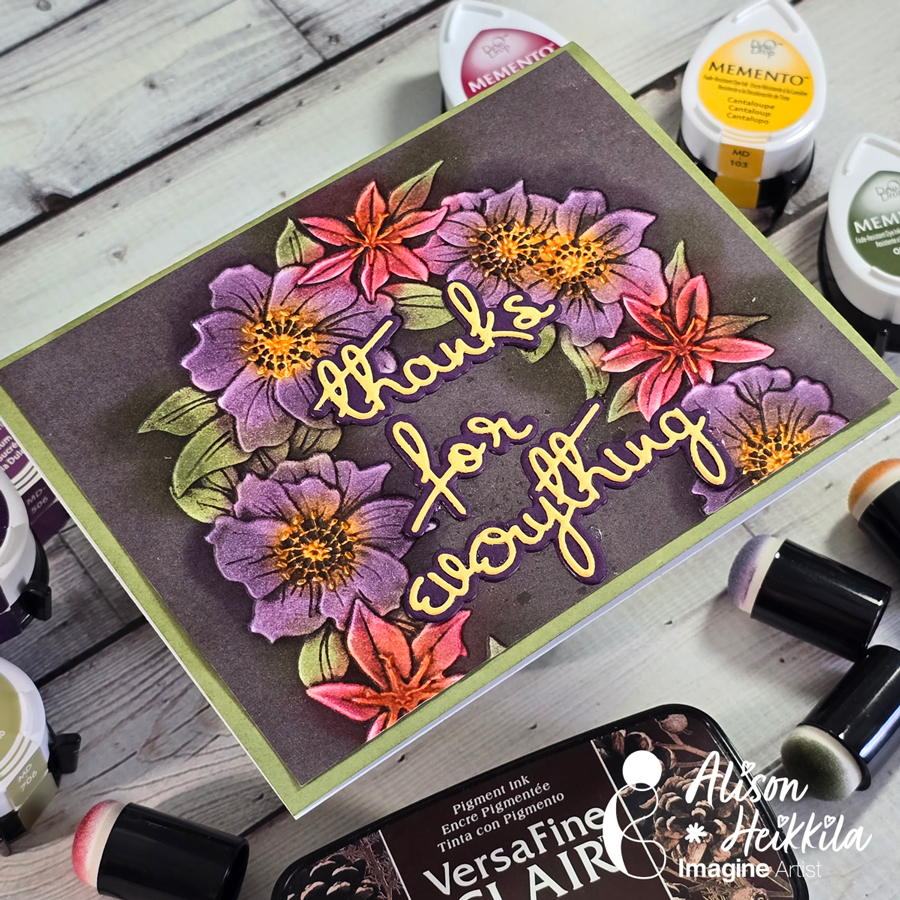
Hello! I’m Alison Heikkila. Embossing folders are so popular right now, not just because of the dimension they create so easily, but because of all the techniques you ca do with them. Today, we’ll be doing a Blackout technique with Memento and VersaFine Clair Inks for Imagine, which is so much fun to do.
*Some affiliate links are used in this post. That means that if you shop through these links, I may receive a small compensation, at no cost to you. For more information, please see my Affiliates page, where I also have some coupon codes.
Skill Level: Intermediate Time to Complete: 20-30 minutes
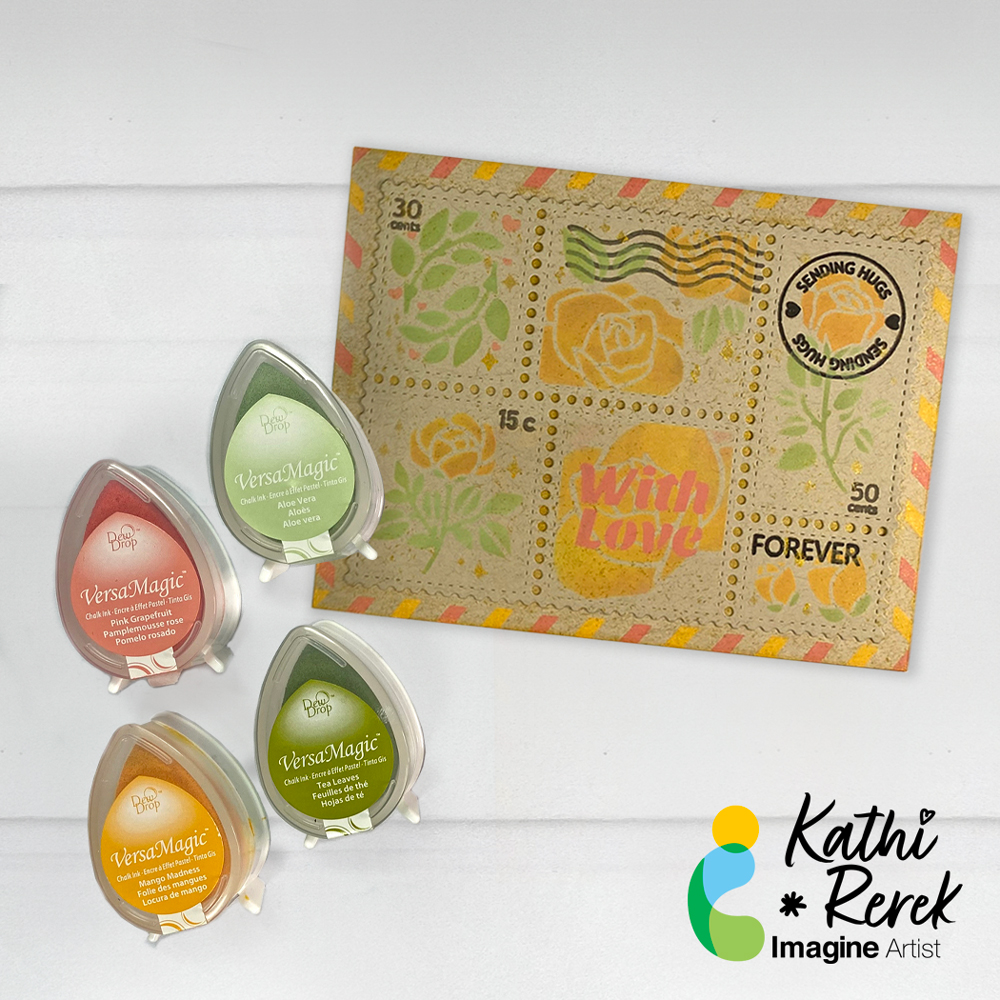
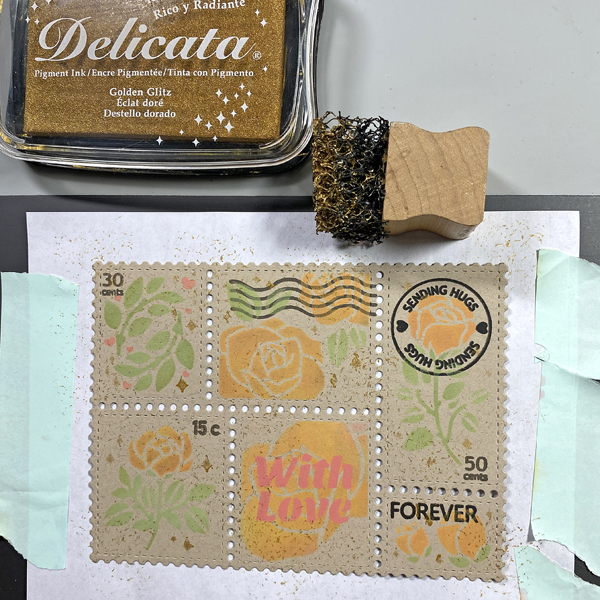
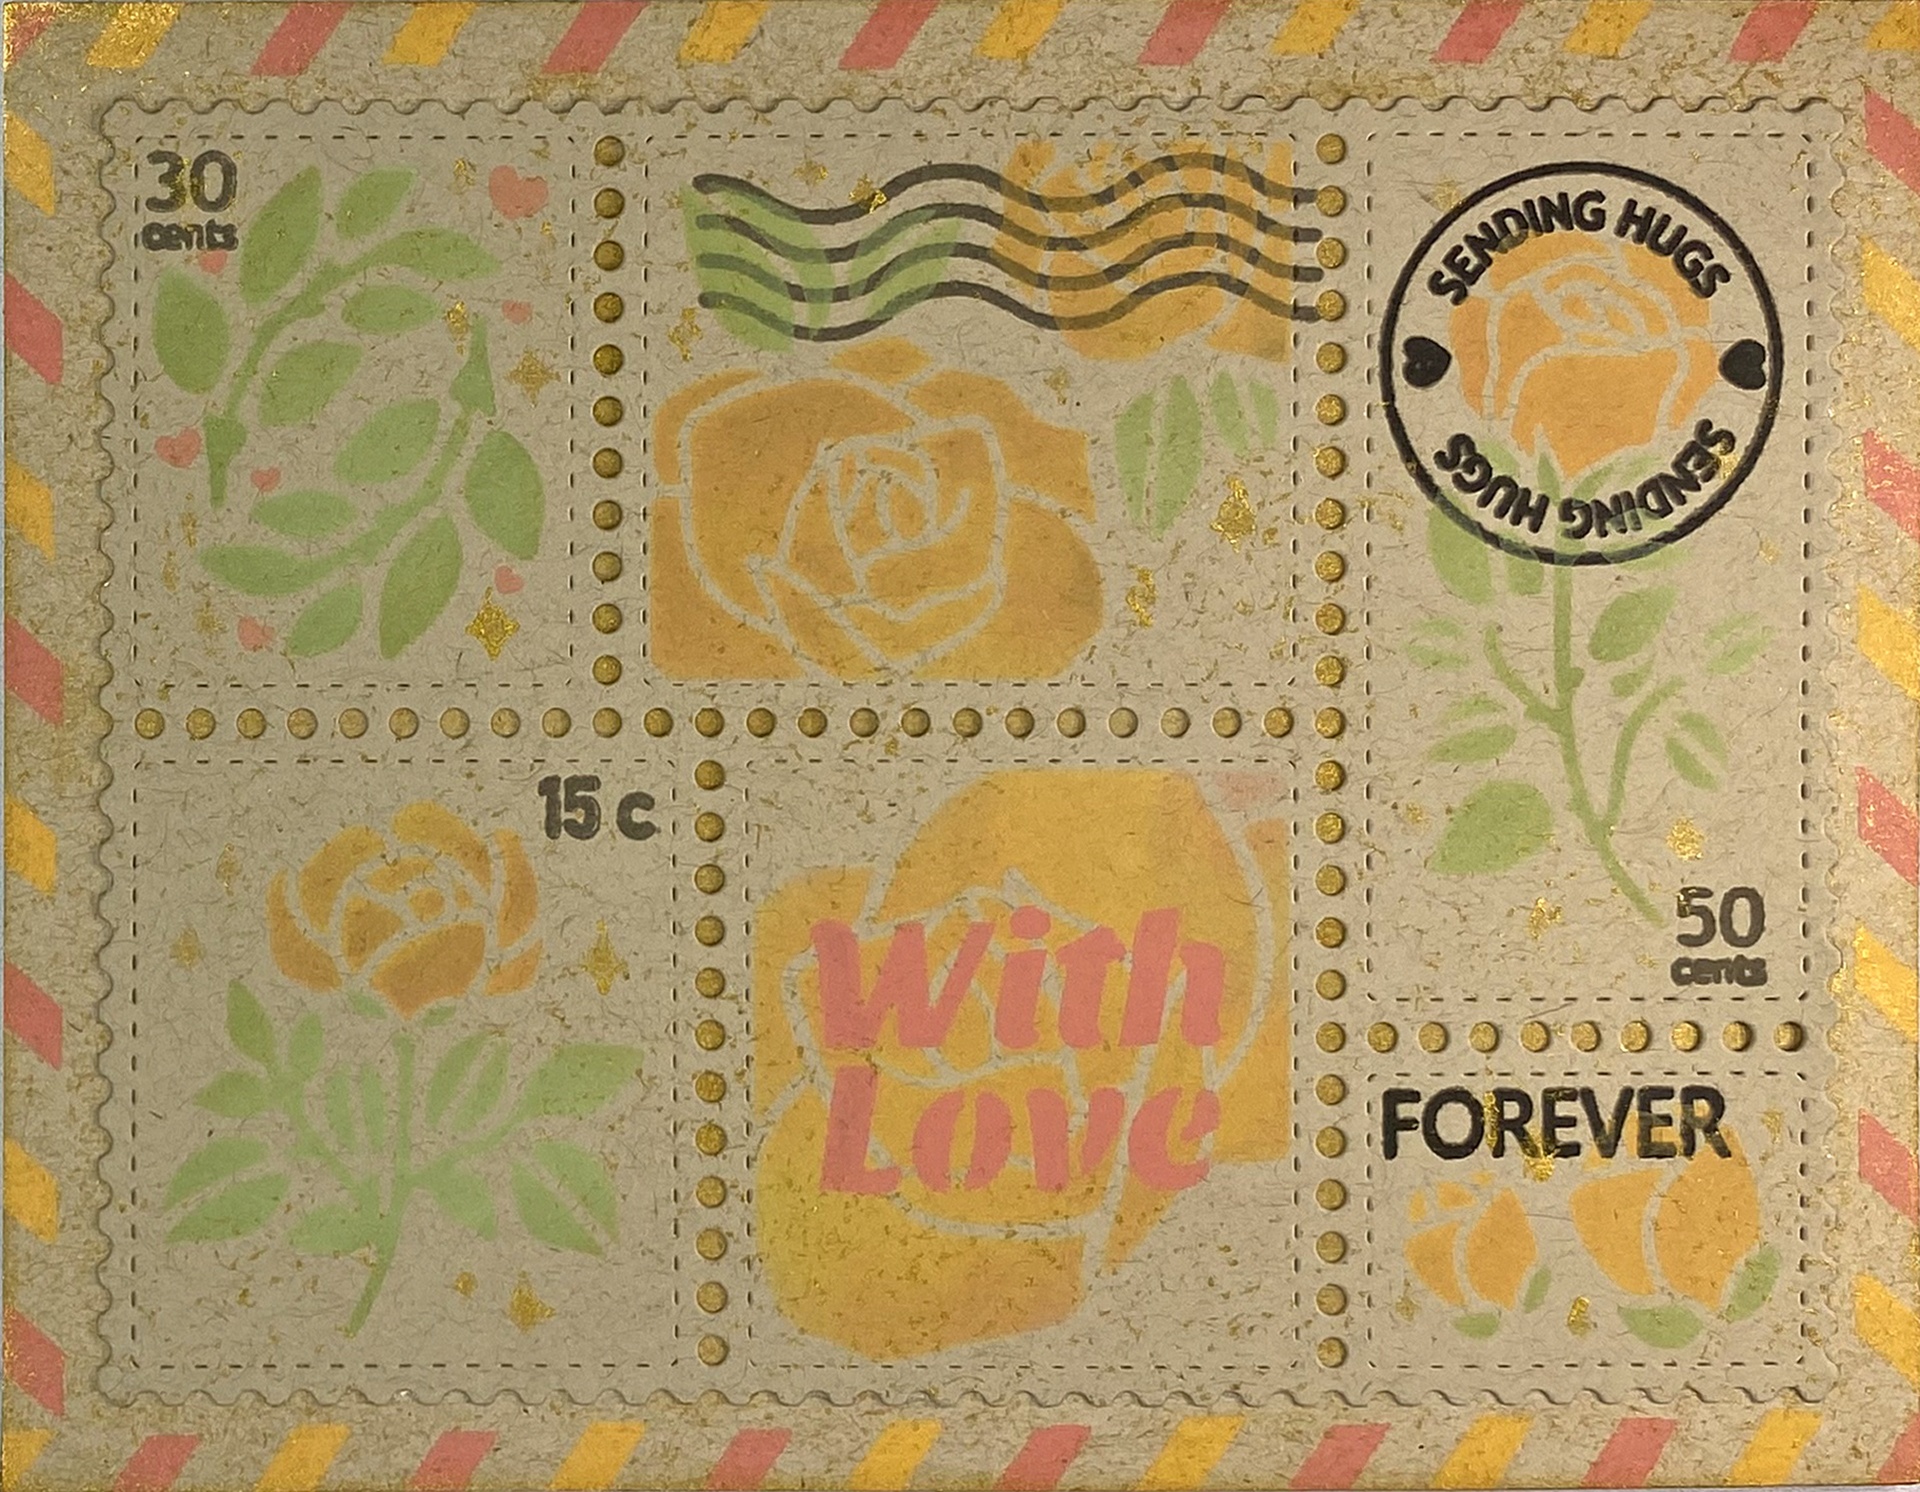
It’s summer and the roses are in full bloom. Let’s make a Rose Postage Card with VersaMagic and Delicata Inks!
Skill Level: Intermediate Time: 1.5 hours
Directions:
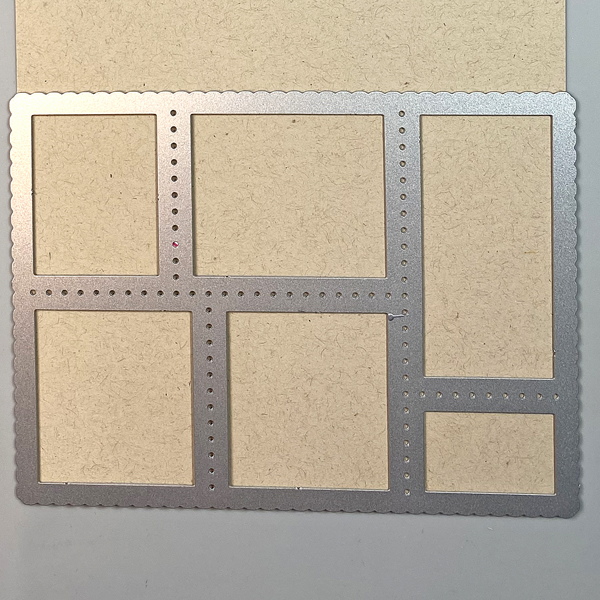
Step 1: Use the Postage Collage die to cut Desert Storm cardstock.
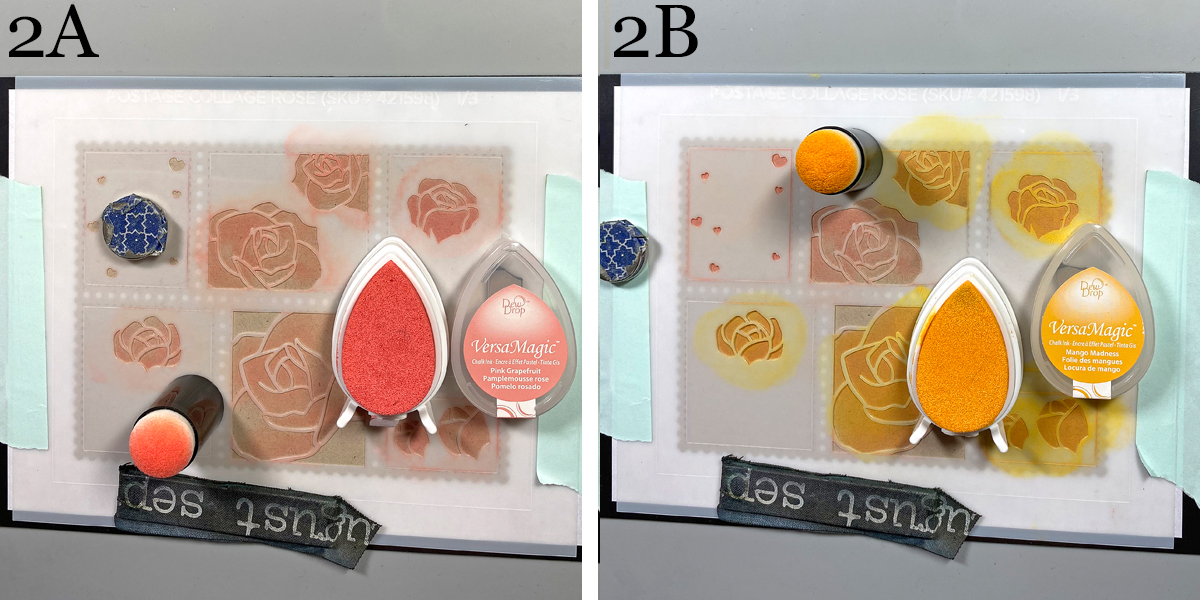
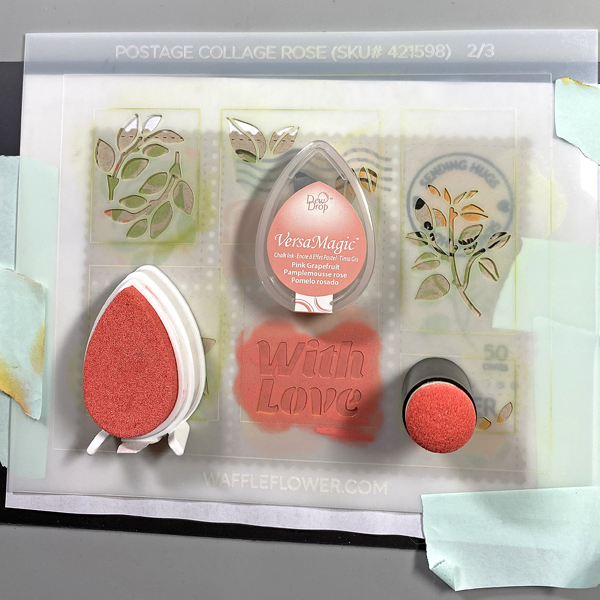
Steps 2A and 2B: Place a magnetic panel onto the cardstock panel. Use temporary adhesive to secure the Rose Postage Collage die-cut to a piece of scrap paper. Use magnets and low-tack tape to secure the first Rose Postage Collage Stencil to the die-cut. Use a Sponge Dauber to apply Pink Grapefruit VersaMagic Ink over the stencil onto the die-cut (2A). Use another Sponge Dauber to apply Mango Madness VersaMagic Ink over the stencil onto the die-cut, blending the ink as you go (2B).
Keep the Postage-Collage Die-cut panel in place. Remove the stencil and clean. Heat set the collage panel.
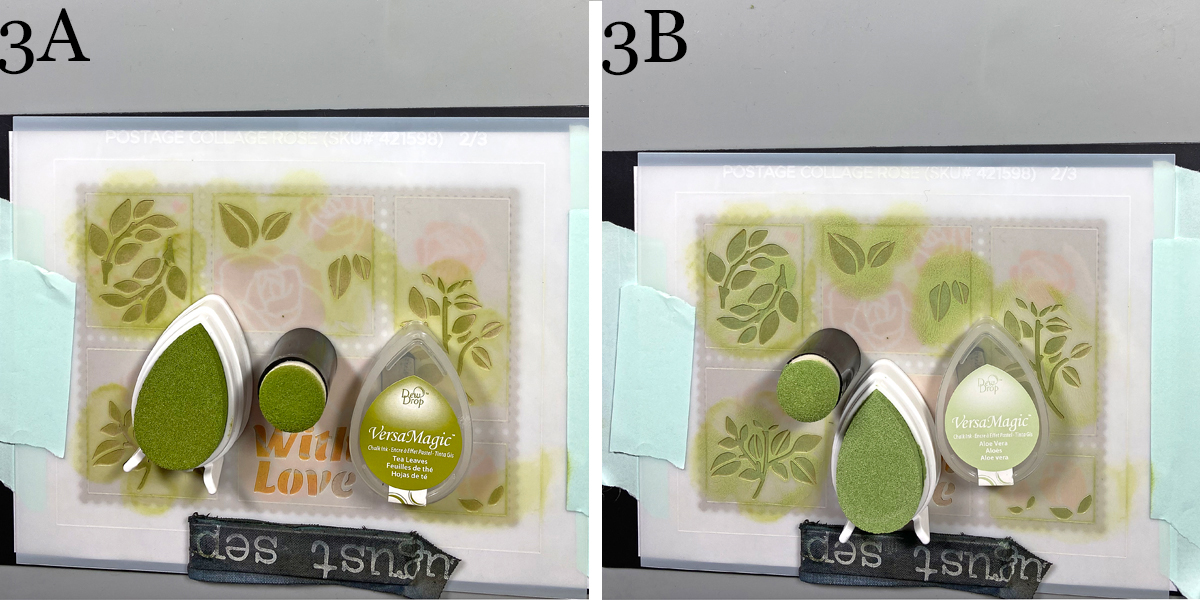
Steps 3A and 3B: Use magnets and low-tack tape to secure the second Rose Postage Collage Stencil to the Postage Collage die-cut. Use a Sponge Dauber to apply Tea Leaves VersaMagic Ink over the stencil onto the die-cut (3A). Use another Sponge Dauber to apply Aloe Vera VersaMagic Ink over the stencil onto the die-cut, blending the ink as you go (3B). Keep the Postage-Collage Die-cut panel in place. Remove the stencil and clean. Heat set the collage panel.
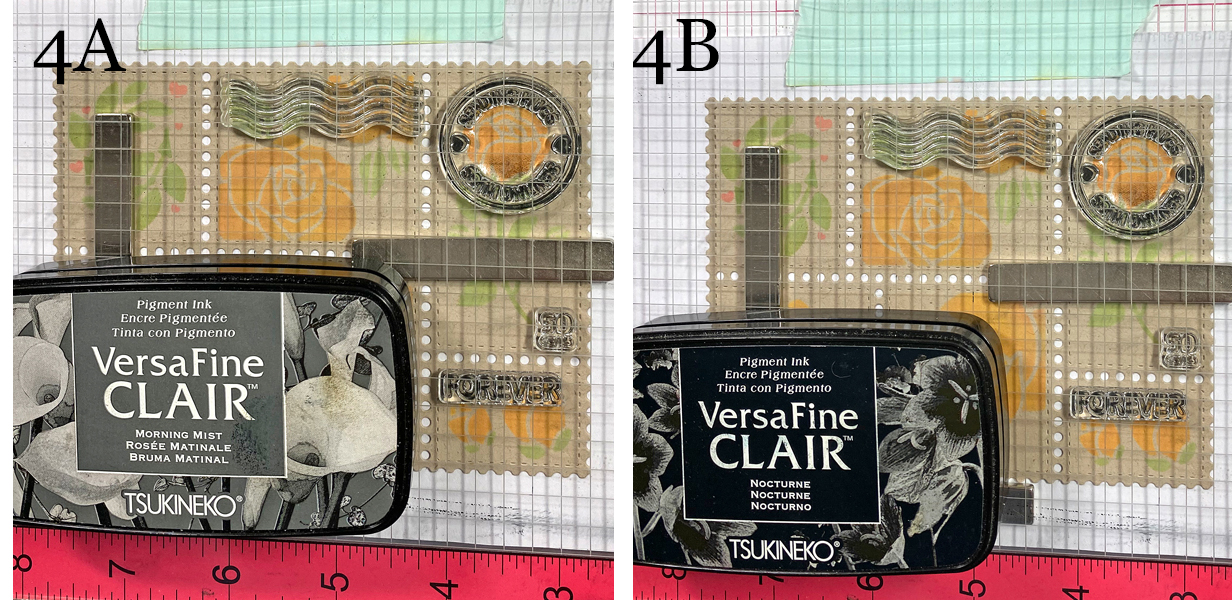
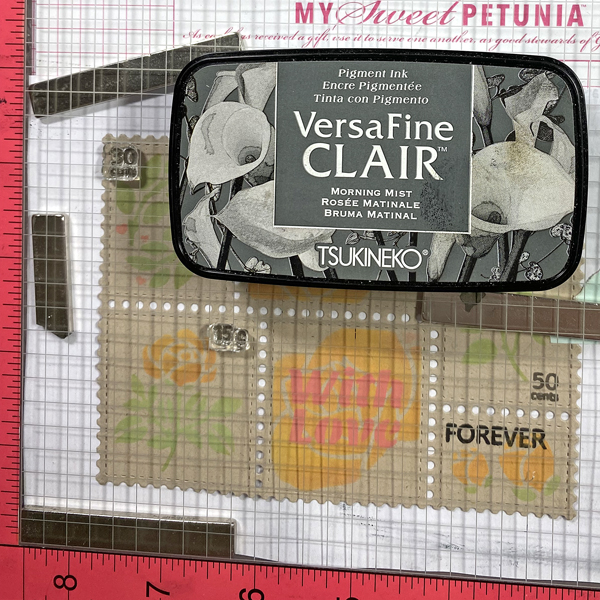
Steps 4A & 4B: Move the Postage Collage Die-cut panel to the base of a stamping platform. Secure with magnets. Position the postmark, cancellation, cost, and “forever” stamps from the Postage Collage Stamp Set facedown on the panel. Press the platform’s lid onto the back of the stamp, lift, ink the stamps with Morning Mist VersaFine Clair Ink, and stamp (4A). I re-inked and stamped some of the stamps with Nocturne VersaFine Clair Ink to add visual weight.
I decided that I wanted to add the words “With Love” from the second Postage Collage Stencil and that I wanted to add more stamped postage items to the collage.
Step 5: Move the Rose Postage Collage Die-cut back onto the magnet panel and secure the second Postage Collage Stencil with magnets and low-tack tape overtop. Re-use the Sponge Dauber from Step 2A to apply Pink Grapefruit VersaMagic Ink over the “With Love” words on the stencil onto the Postage Collage Die-cut panel. When done, lift the stencil, clean it, then heat set the Postage Collage Die-cut panel.
Step 6: Place the Postage Collage Die-cut Panel again onto the base of a stamping platform and secure it with magnets. Place additional postage stamps from Postage Collage Stamp set facedown on the image panel. Press the platform’s lid onto the back of the stamp, lift, ink the stamps with Morning Mist VersaFine Clair Ink, and stamp. When done, remove the Postage Collage Die-cut Panel and heat set.
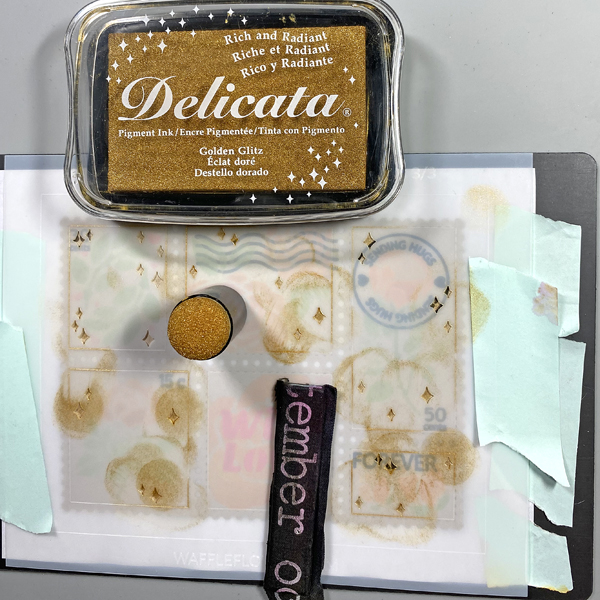
Step 7: Move the Rose Postage Collage Die-cut panel back to the large magnet panel. Use magnets and low-tack tape to secure the third Postage Collage Stencil to the Postage Collage Die-cut panel. Use a Sponge Dauber to apply Golden Glitz Delicata Ink over the stencil onto the Postage Collage Die-cut panel.
Step 8: Use the pouncy tool to apply Golden Glitz Delicata Ink randomly over the Postage Collage Die-cut panel. Heat set the panel and set it aside.
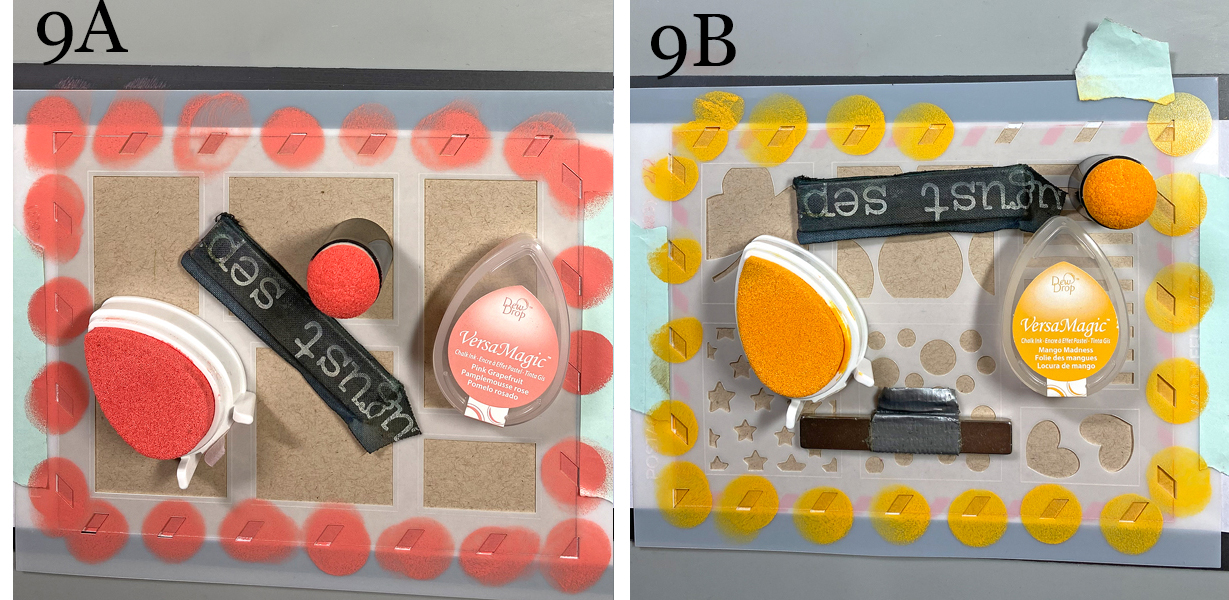
Steps 9A and 9B: Cut a piece of Desert Storm cardstock to 5.5” x 4.25”. Use temporary adhesive to secure this panel to a piece of scrap paper. Use magnets and low-tack tape to secure the first Postage Collage Stencil to the die-cut. Use a Sponge Dauber to apply Pink Grapefruit VersaMagic Ink over the stencil onto the die-cut (9A). Remove the first stencil and heat set the panel.
Use magnets and low-tack tape to secure the second Postage Collage Stencil to the panel. Use a Sponge Dauber to apply Mango Madness VersaMagic Ink over the stencil onto the die-cut (9B). Remove the stencil and heat set the panel.
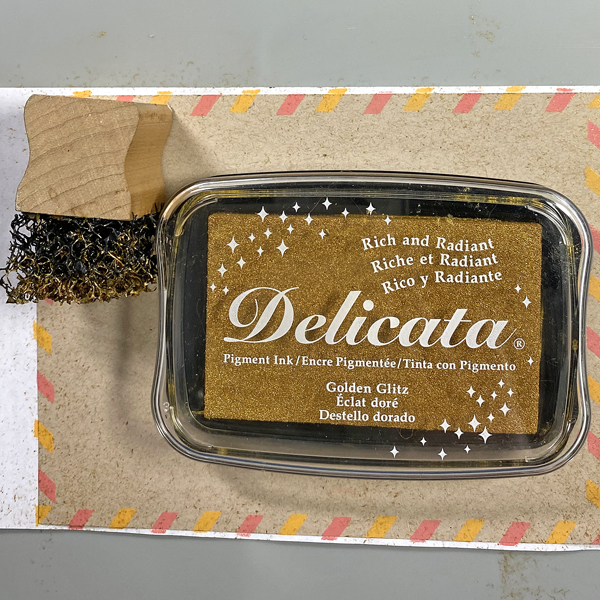
Step 10: Use the pouncy tool to apply Golden Glitz Delicata Ink all over the panel. Heat set.
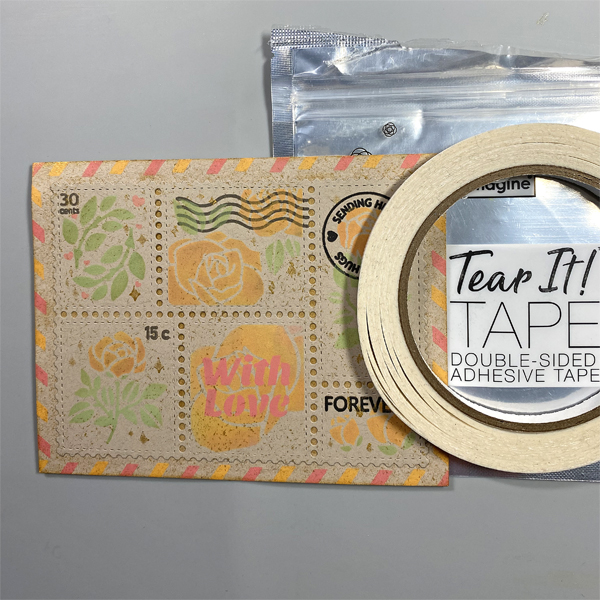
Step 11: Use Tear-It! Tape to adhere the Postage Collage Die-cut panel to the 5.5” x 4.25” panel, then use to adhere the panel to an A2 card cut from the same cardstock.
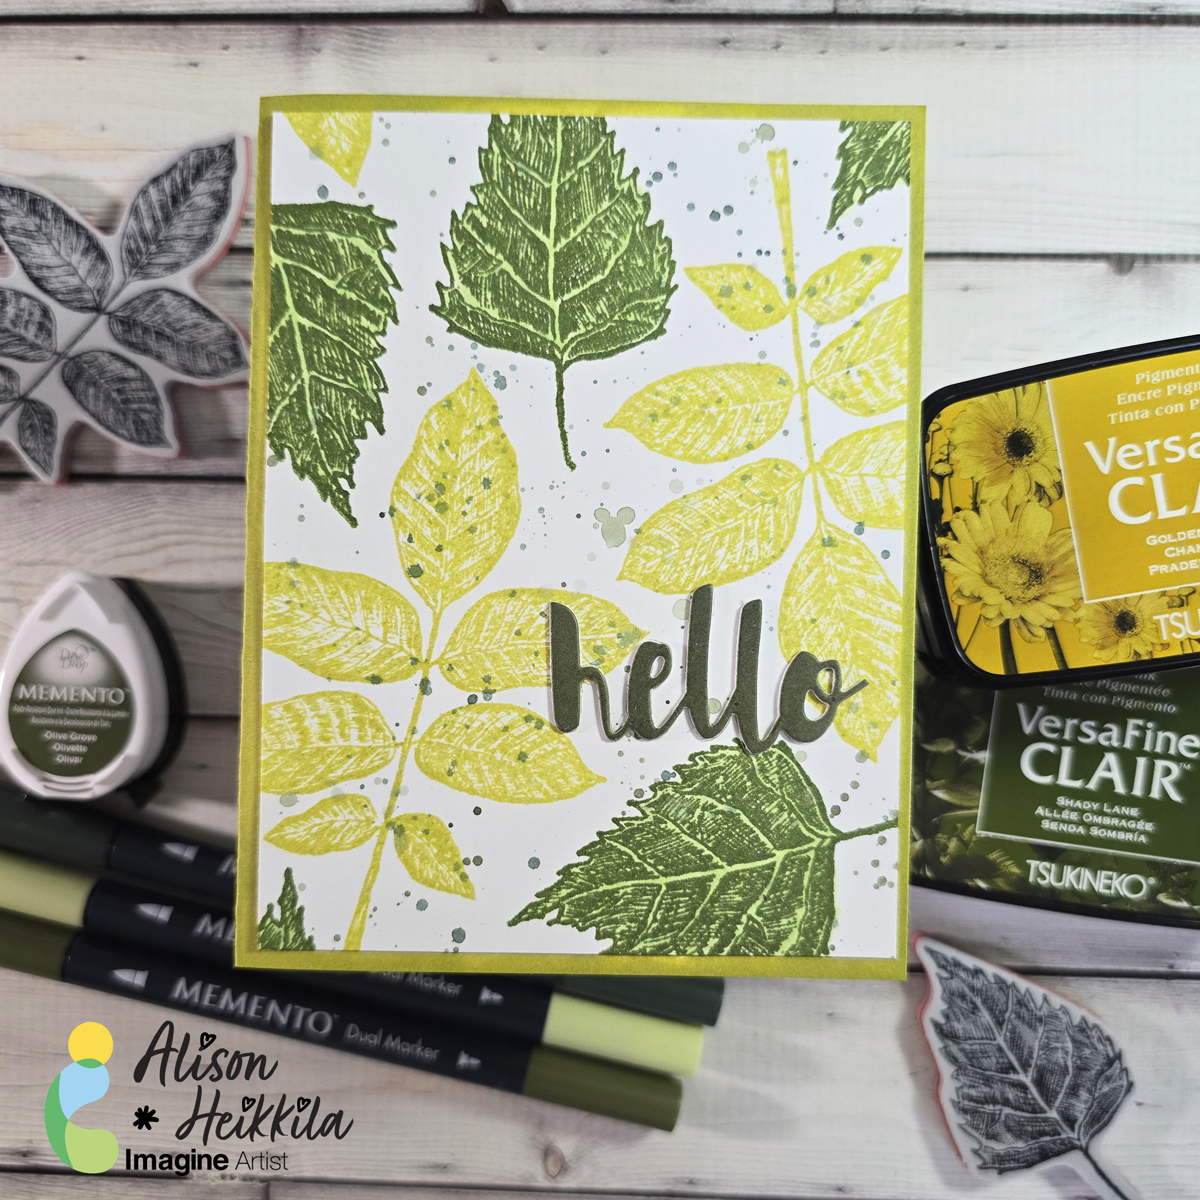
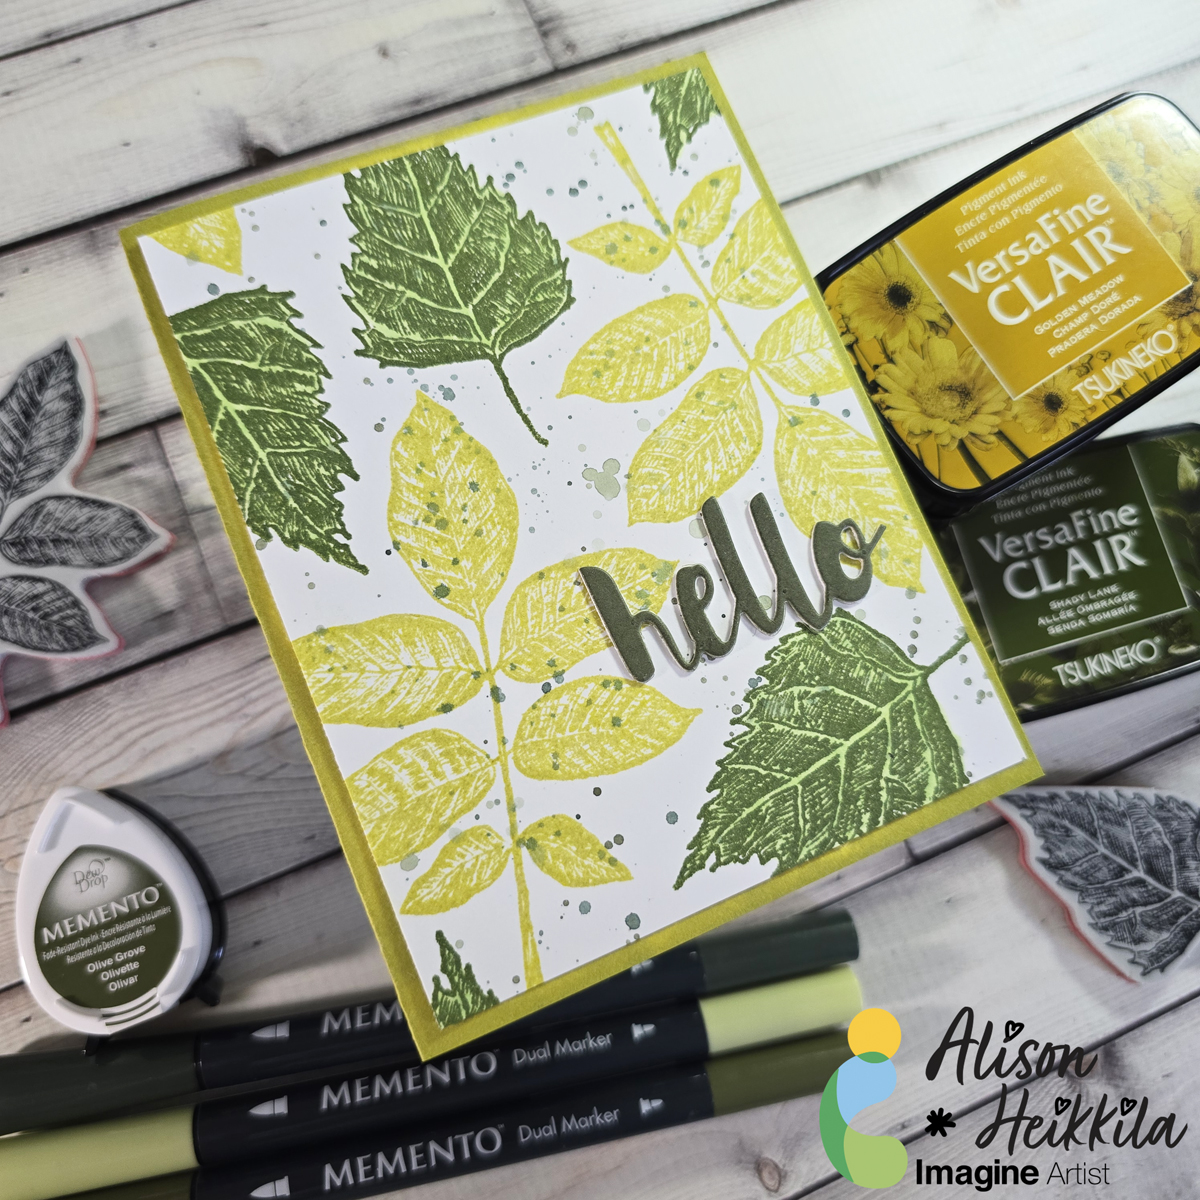
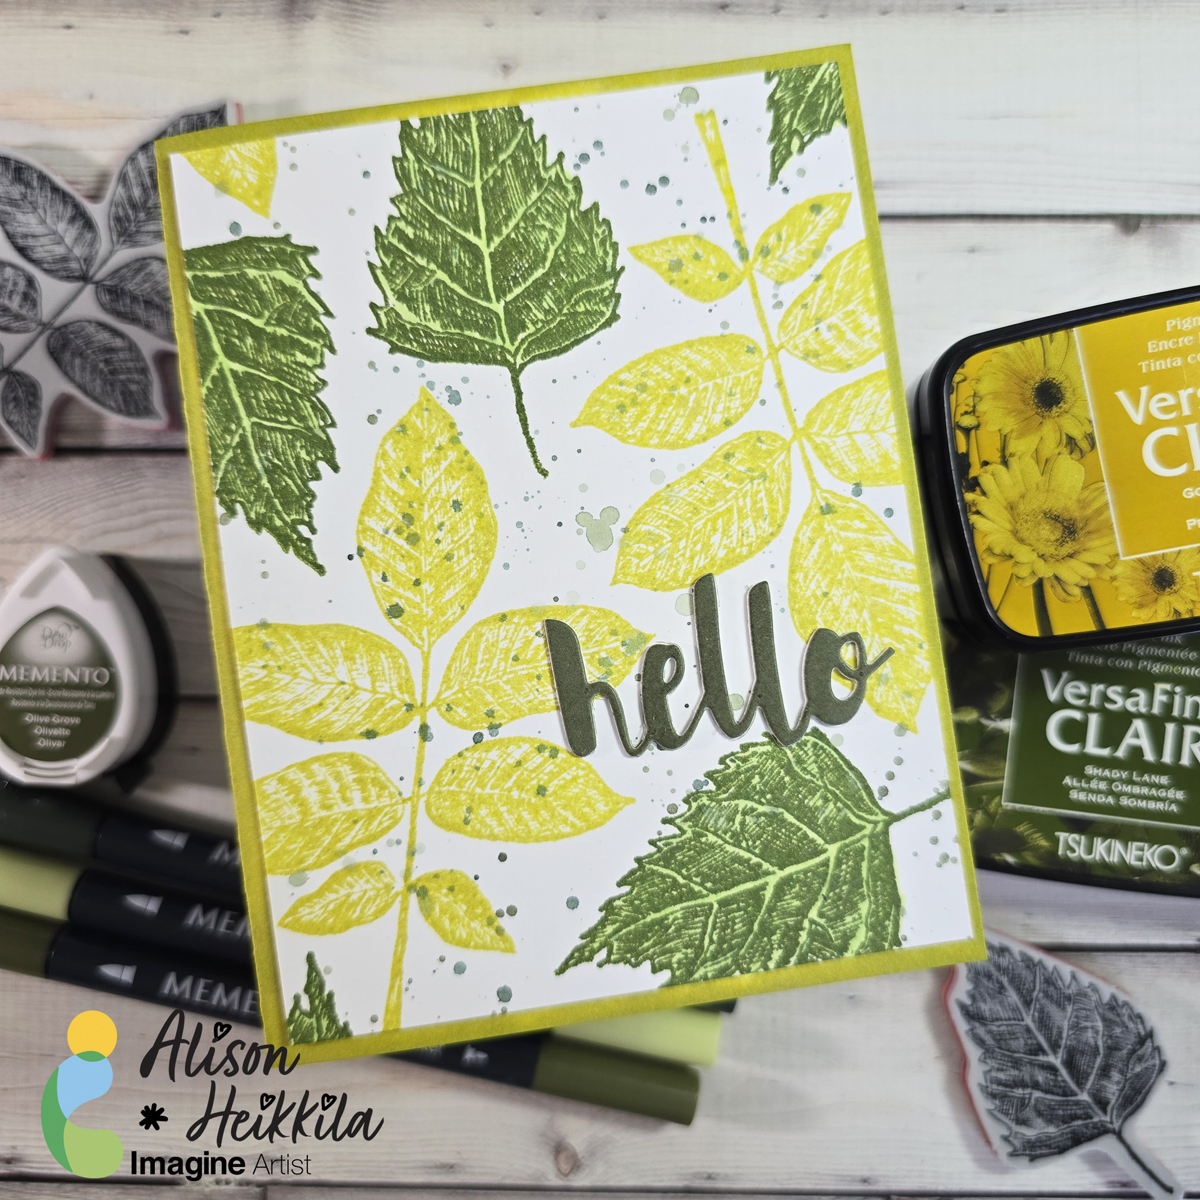
Hello! I’m Alison Heikkila and today I have a fun card with a foliage theme today that you can use for pretty much anyone, and almost any occasion. We’re going to use a variety of greens and a couple of fun tricks.
*Some affiliate links are used in this post. That means that if you shop through these links, I may receive a small compensation, at no cost to you. For more information, please see my Affiliates page, where I also have some coupon codes.
Skill Level: Beginner Time to Complete: 20 minutes
I love how this came out, and it was so fast to make. Wouldn’t it be fun to try it with different colors….even like pinks and purples? That’s it for me today. Thanks so much for stopping by. Have an inspiring day!
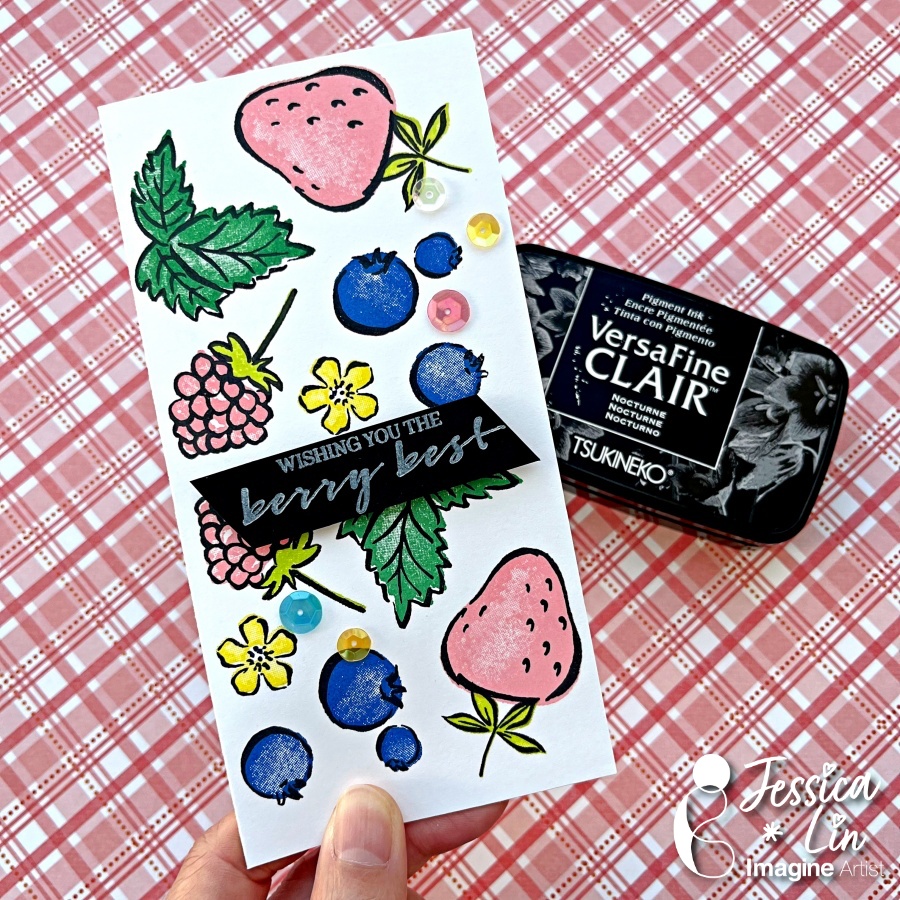
Hi everyone! Summer is finally here and I’m so excited for the sunny weather! What reminds you of summer? I think of pools, ice cream and acai bowls, which is the inspiration for today’s card. Most of my creations are more advanced with lots of tools and techniques, but I thought today I would do a simple card with just stamps and inks.
Skill: Beginner Time: 30 minutes
Directions:
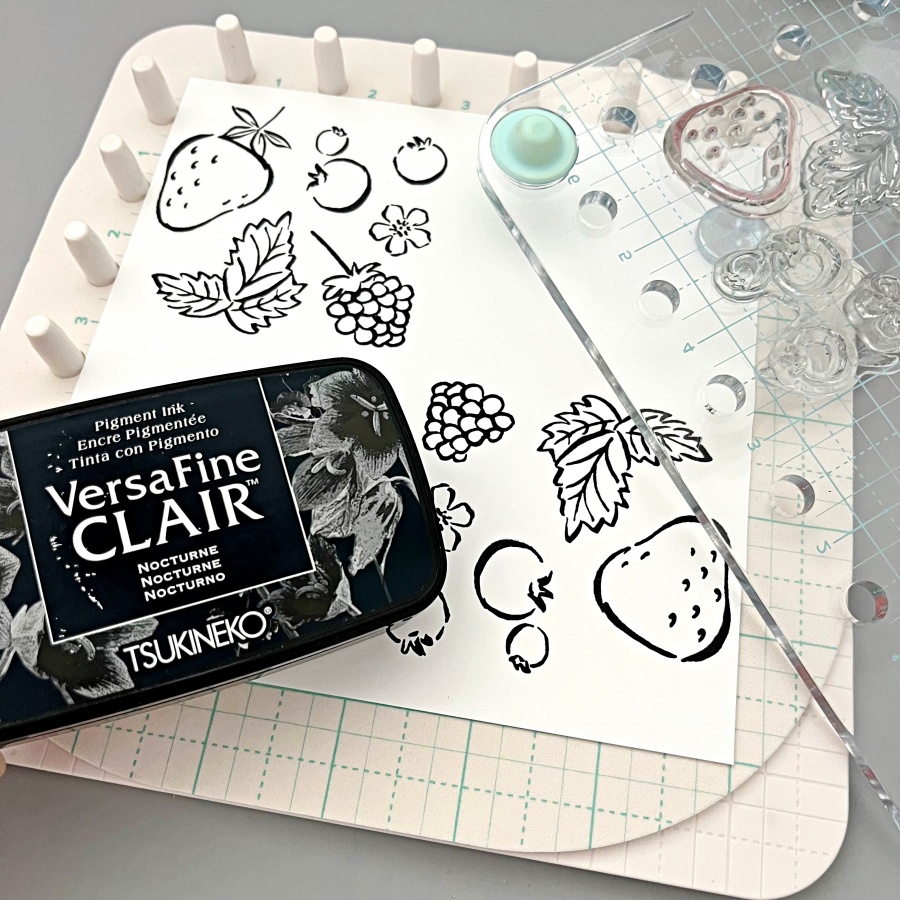
Step 1: I’m using two stamp sets today: Sweet Strawberry and Berry Blessings. I stamped the fruit outline images with VersaFine Clair ink in Nocturne. This is my favorite black ink! Today’s card is a smaller notecard style so I’m stamping on a 6’’ x 6’’ square piece cardstock. I am also trying out a new rotating stamping technique on the We R stamp platform. This is such a fun tool to use to create your own patterned backgrounds. I placed the stamps within the 3’’ x 3’’ grid and rotated the plate 4 times with 90 degrees each time. If you don’t have this particular stamping tool, you could stamp the outlines freehand as well.
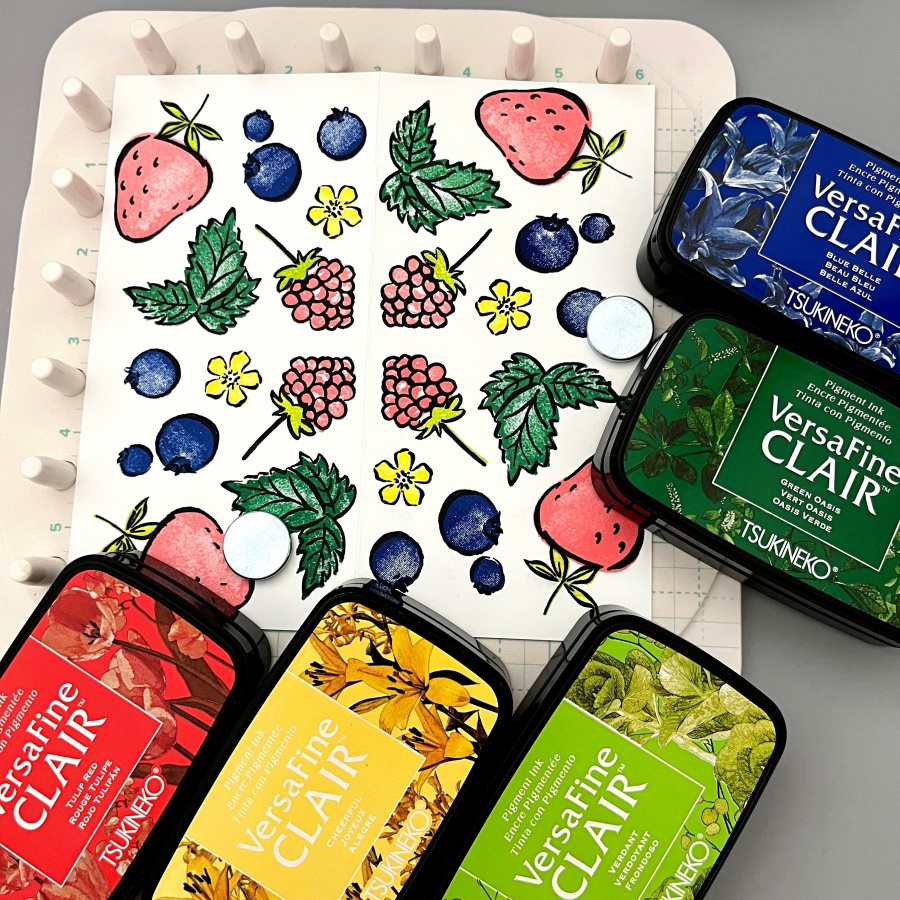
Step 2: I then stamped the layering images with these VersaFine Clair inks. I love the bright, bold colors, especially for a summertime themed card.
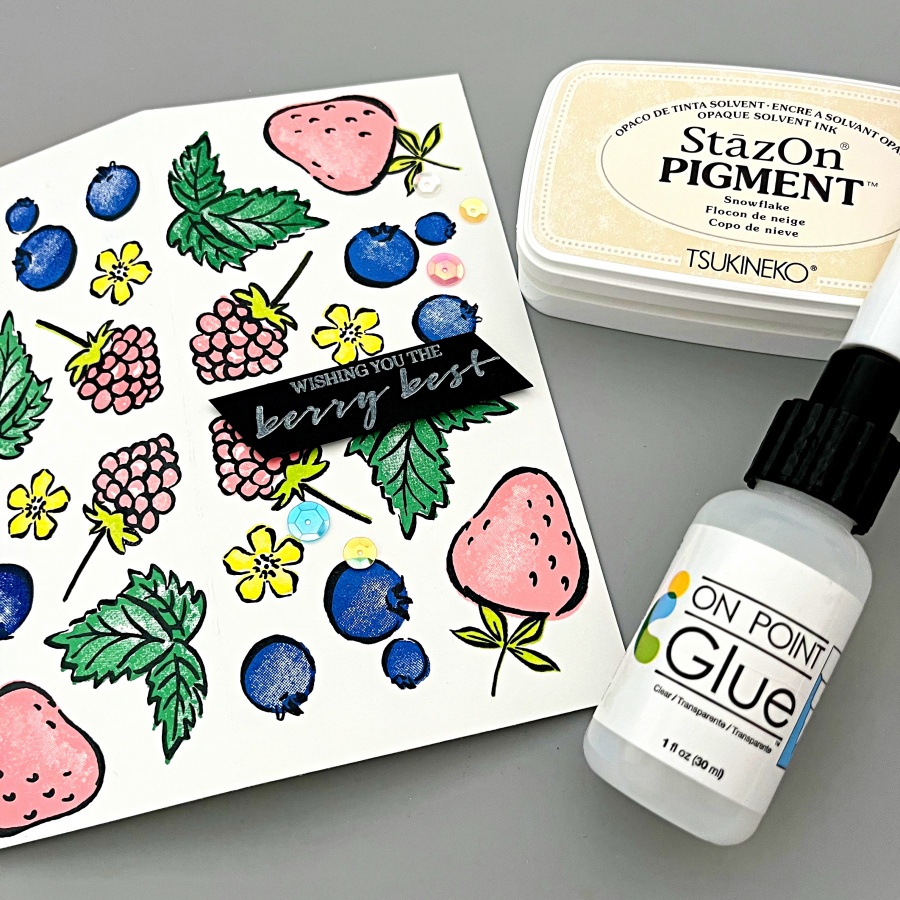
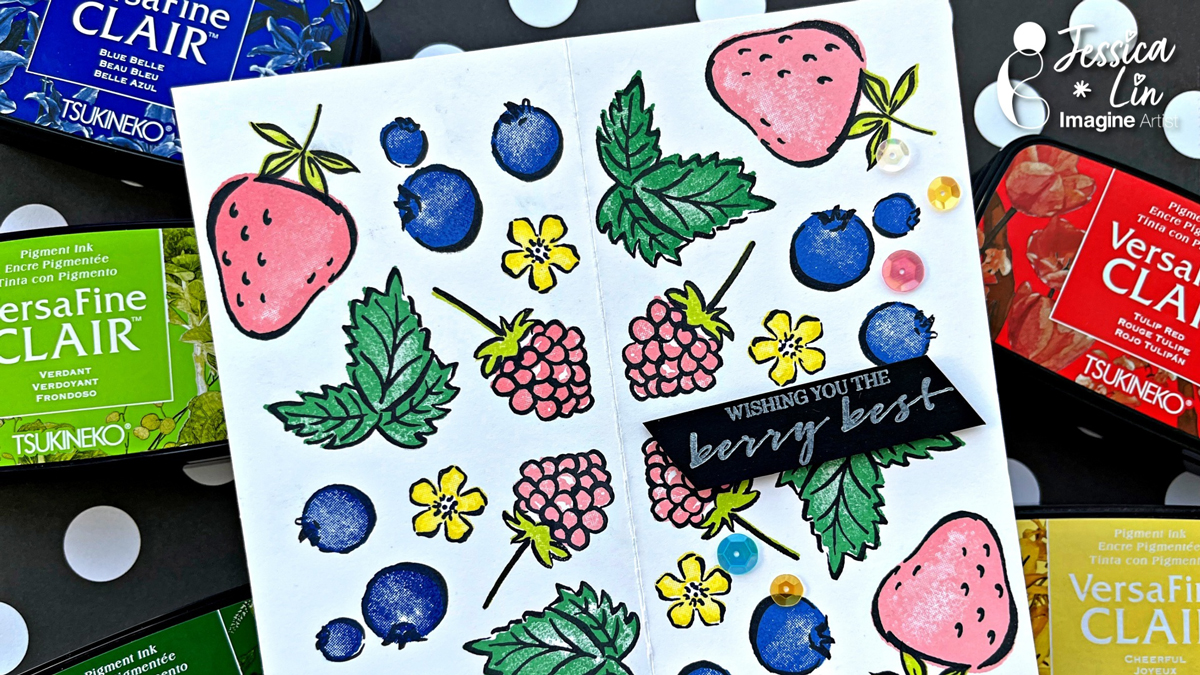
Step 3: To keep the sentiment simple, I used StazOn Pigment ink in Snowflake and stamped it on black cardstock. For a more vibrant look, you could heat emboss with white embossing powder. But the StazOn Pigment ink is a great alternative for beginners with just inks and stamps in their stash. I adhered some sequins with On Point glue as some finishing touches, and a simple summer notecard is complete! Thanks so much for stopping by and I hope you enjoyed this quick project.
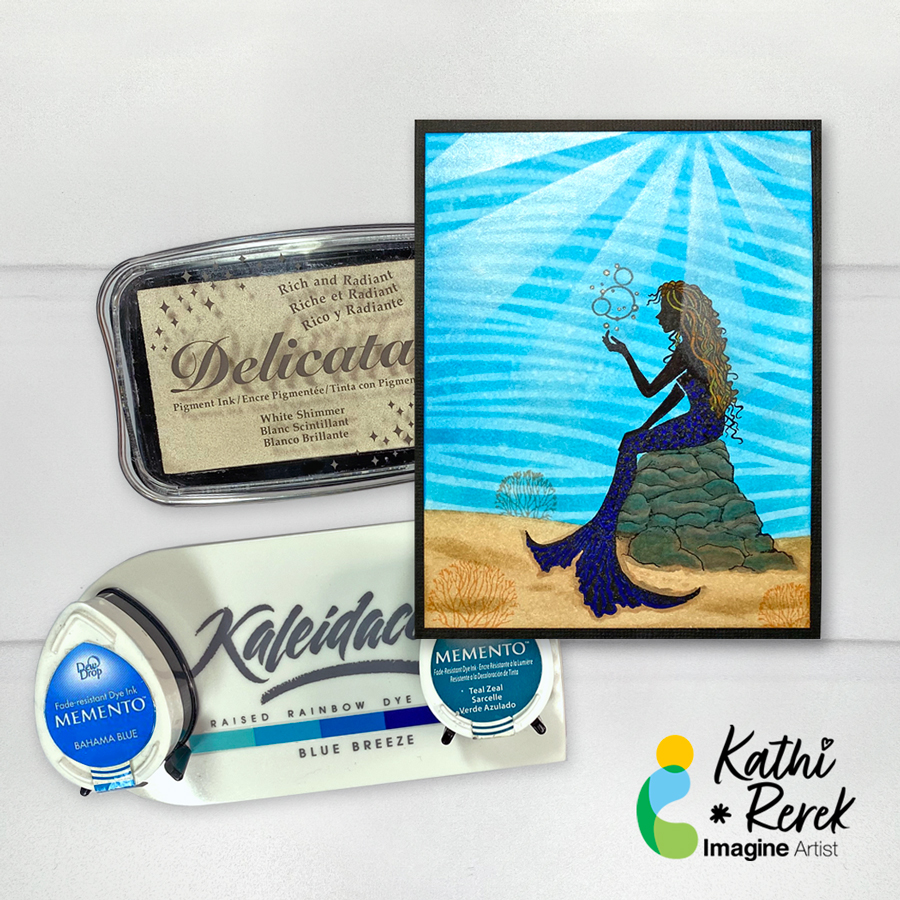
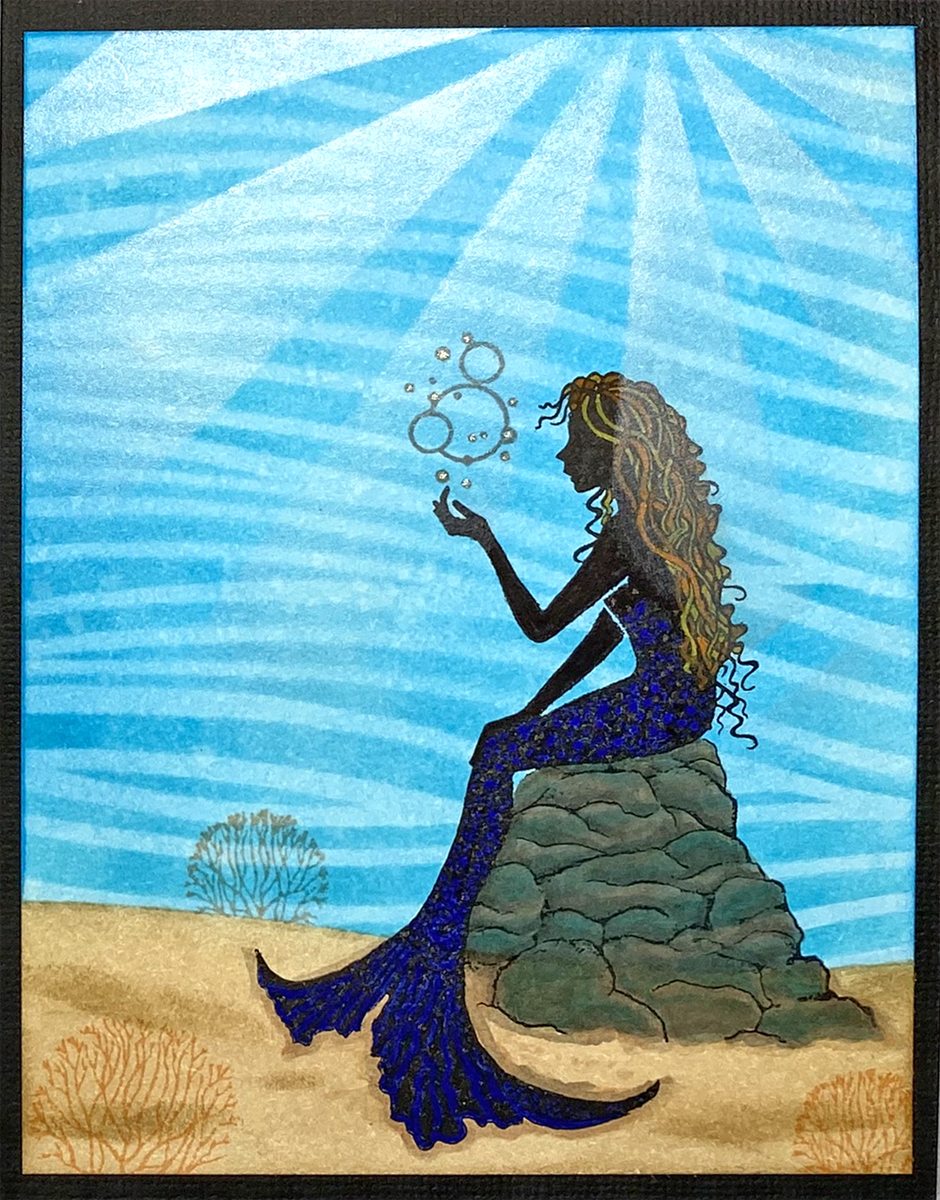
It’s summer, which makes me want to go to the beach to cool off in the ocean and pretend I’m a mermaid. Let’s make a card that fulfills those dreams using inks, stencils, and stamps!
Skill Level: Intermediate Time: 1.5 hours
Instructions:
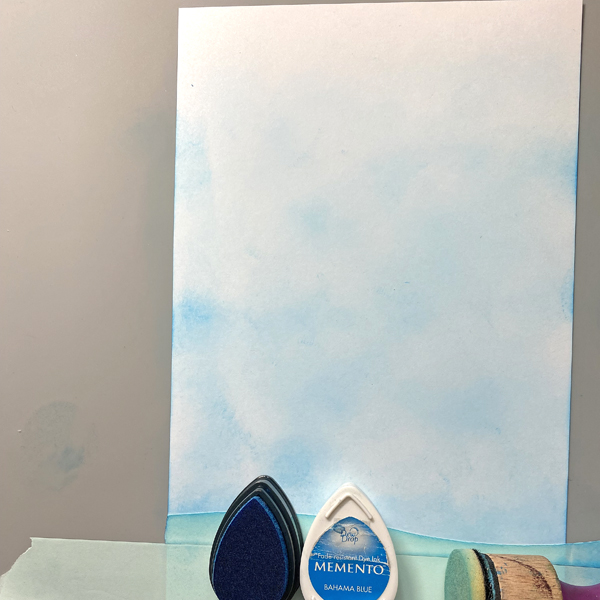
Step 1: Use a craft knife to cut a piece of Low-tack tape in a curved pattern. Place the tape at the bottom of a 5.5” x 8.5” piece of white cardstock (no photo).
Lightly apply Bahama Blue Memento Ink to the white area of the cardstock.
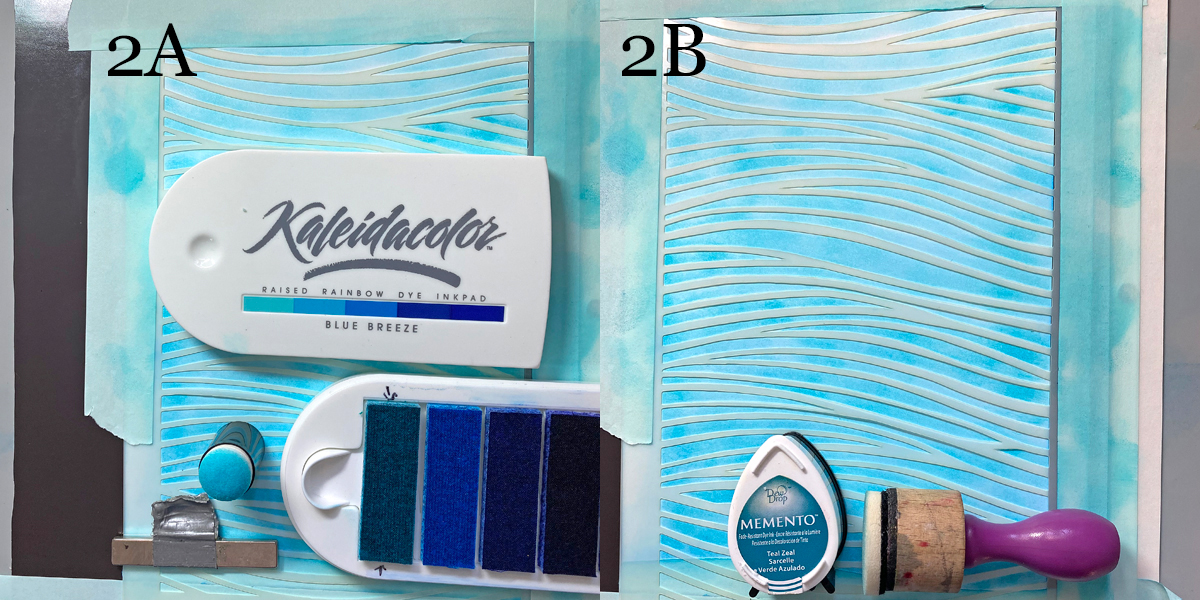
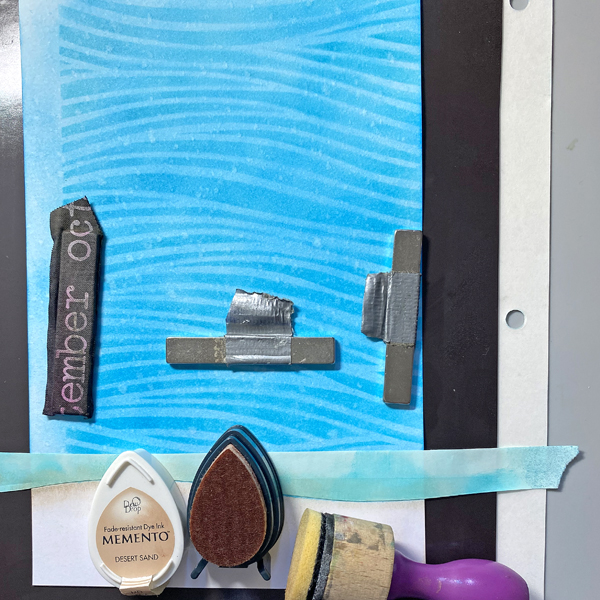
Steps 2A & B: Place a magnetic page onto the craft mat. Use low-tack tape to secure the cardstock panel to the magnetic page. Use magnets and low-tack tape to secure the Currents Stencil to the cardstock panel. Use a Sponge Dauber to apply the lightest blue ink from the Kaleidacolor Blue Breeze Ink pad over the stencil onto the cardstock panel (2A). Randomly apply Teal Zeal Memento Ink over the stencil onto the cardstock to deepen the colors.
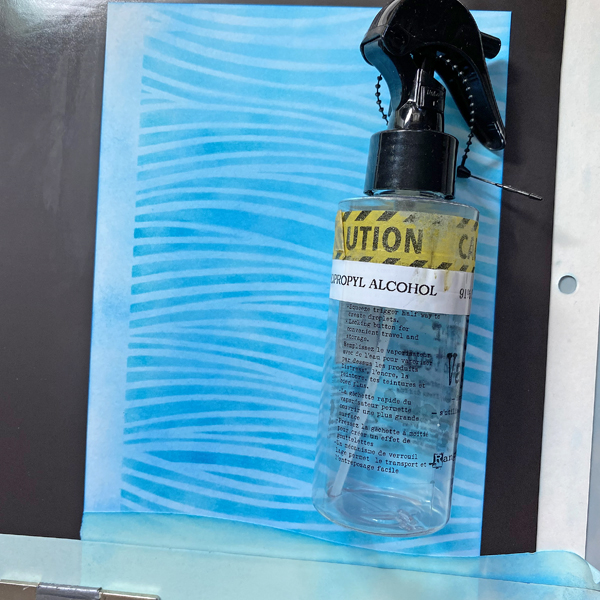
Step 3: Remove the stencil, then spritz the panel with 91% Isopropyl Alcohol to blend the inks and add white splatters and splotches.
Step 4: Remove the low-tack tape and replace with the negative part of the tape cut in Step 1. Sponge Desert Sand Memento Ink over the tape onto the image panel to create the sea floor. Remove the tape.
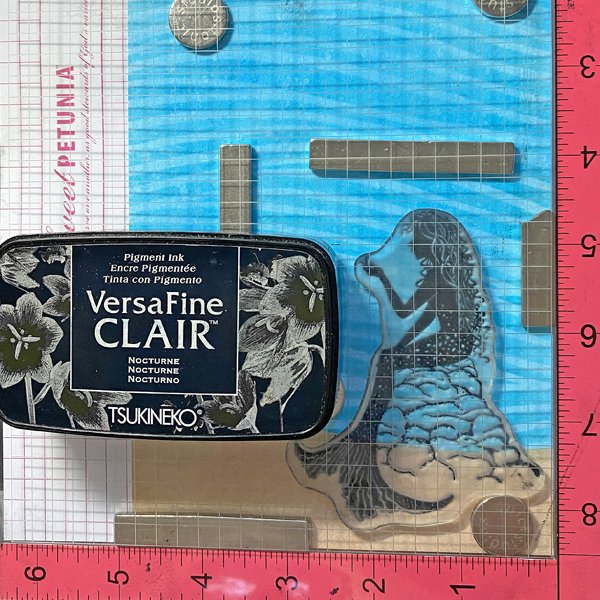
Step 5: Place the panel onto the base of a stamping platform and secure with magnets. Position the mermaid stamp from the Guinevere Clear Polymer Stamp Set so that it’s face down along the lower right side of the image panel. Press the platform’s lid onto the back of the stamp, lift, and ink the stamp with Nocturne VersaFine Clair Ink. Stamp. Re-ink and stamp again if necessary to attain a good impression.
Remove the panel and thoroughly heat set the ink.
Step 6: Use Copic markers to color the mermaid’s rocky throne. Usually I don’t use Copic markers with any ink other than Memento, but since I had duplicate markers, I gave it a shot and it worked! Sorry! No photos!
Step 7: Use Triplus pens to color the mermaid’s hair. Use Marine and Black Stardust Glitter Gel Pens to add detail the mermaid’s scales. The ink of both pens work well with most inks. Sorry! No photos again!
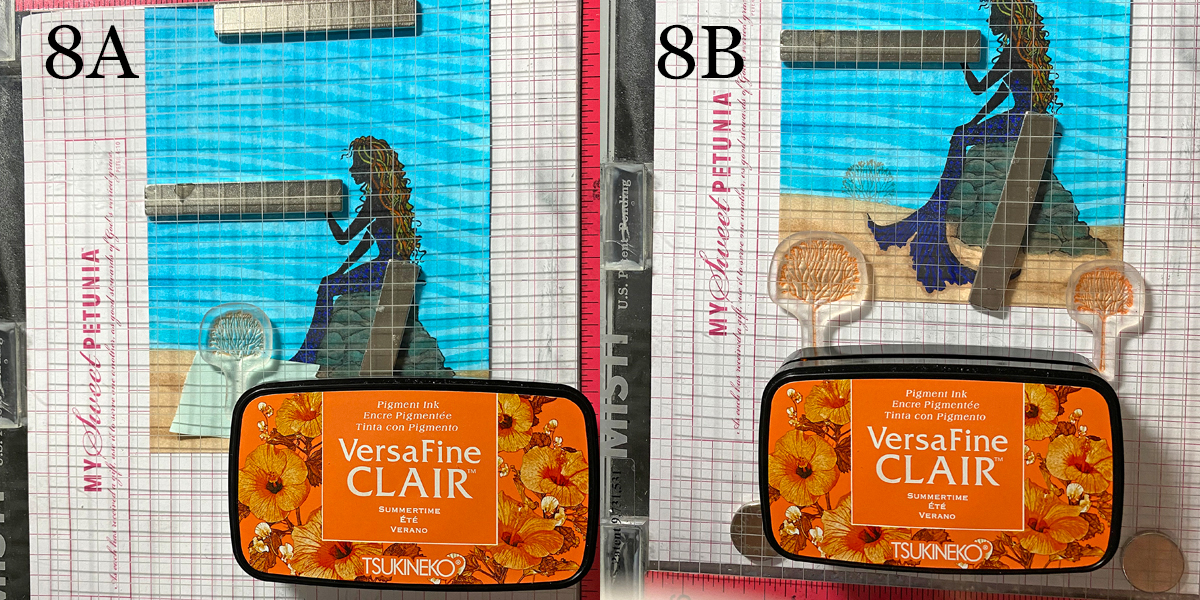
Steps 8A & B: Place the image panel back onto the base of the stamping platform and secure with magnets. Use low-tack tape to cover the top of the ocean floor to the left of the mermaid.
Position the mid-sized Skeleton Tree stamp from the Skeleton Tree Clear Stamp Set facedown on the top left. Press the lid of the platform onto the back of the stamp and lift. Ink the stamp with Summertime VersaFine Clair Ink and stamp (8A). Remove the tape.
Remove, clean and dry the stamp. Reposition the mid-sized Skeleton Tree stamp so that it’s facedown on the bottom left of the image panel. Position the smallest Skeleton Tree Stamp from the facedown on the bottom right of the image panel
Press the lid into the back of the stamps and lift. Ink both stamps with Summertime VersaFine Clair Ink and stamp (8B). Remove the stamps from the platform.
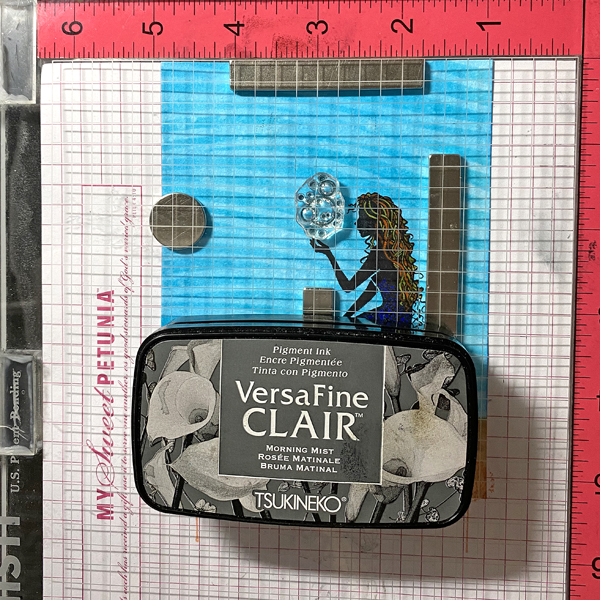
Step 9: Position the bubbles stamp from the Faerie Clear Polymer Stamp Set facedown on the image panel slightly above the mermaid’s outstretched hand. Press the lid into the back of the stamps and lift. Ink the stamp with Morning Mist VersaFine Clair Ink and stamp. Remove the panel from the platform. Heat set the panel.
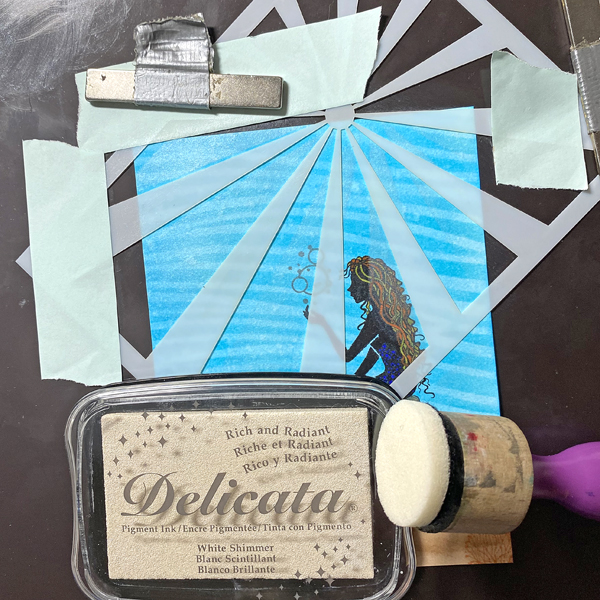
Step 10: Place the image panel back onto the magnetic page. Use magnets and low-tack tape to secure the Sunshine Small Stencil over the image panel as shown. Sponge White Shimmer Delicata Ink over the stencil onto the image panel. Remove the panel and heat set.
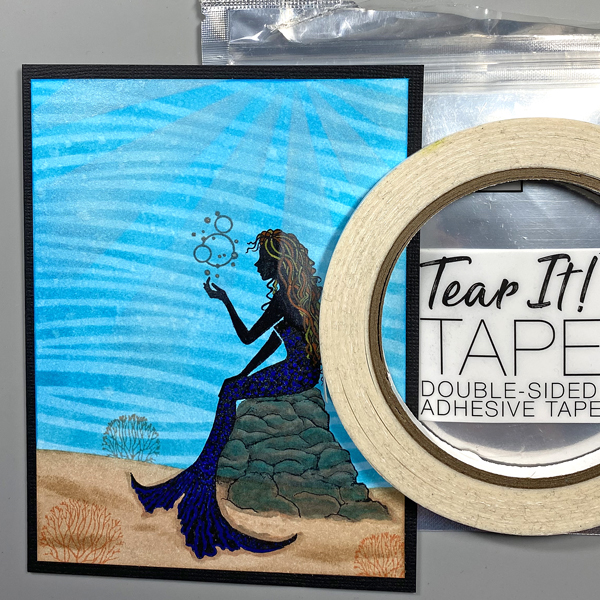
Step 11: Use Tear-It! Tape to adhere the image panel to a black A2 card.