Let’s Make an Elegant Snowflakes Card

By Katy Ingram

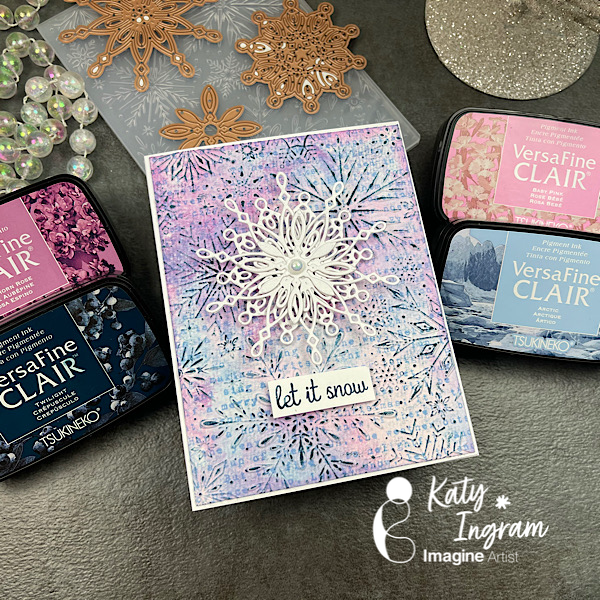
Hello Friends! Katy here with another holiday video using VersaFine Clair inks to create a beautiful mixed media looking snowflake card. Video has all the details. Thanks for watching.

Skill: Beginner, Intermediate
Time: 15 minutes

Art Supplies

Imagine Products
VersaFine Clair https://www.imaginecrafts.com/versafine-clair
Baby Pink, Hawthorn Rose, Arctic and Twilight
On Point Glue 
Double Sided Adhesive

Other Products Used
Hero Arts Stacking Snowflakes
White Cardstock
Hot Pressed Watercolor paper
Stamp positioner tool
Foam Tape
Snowflake Dies

Simon Says Stamp White Christmas Background Stamp

Celebrate Gift Bag Tutorial

By Katy Ingram

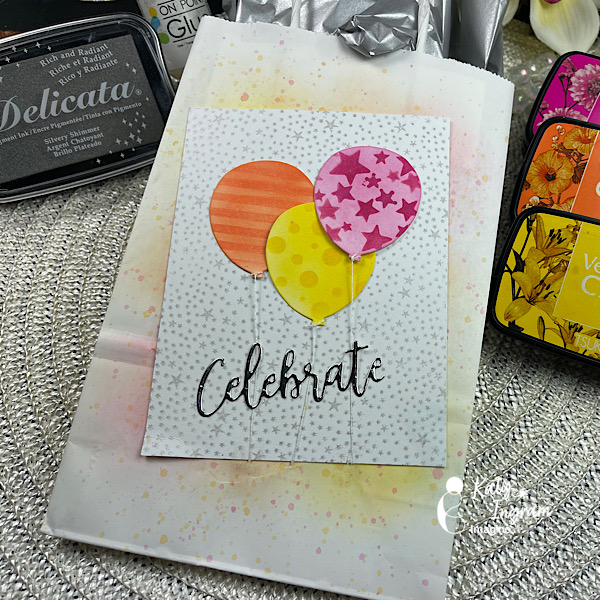
Hello Friends! Katy here with another quick project. In today’s video we are going to take a plain white gift bag and use our inks and some die cuts to decorate it. Great for treat bags, gift bags and any little party bag you may need.

Video has all the details. Thanks for watching.

Skill: Beginner, Intermediate
Time: 15 minutes

Art Supplies

Imagine Products

VersaFine Clair
Charming Pink, Cheerful, Summertime
• Delicata Shimmery Silver 
• On Point Glue  

Other Products Used
Gift bag (made with scoreboard or purchased)
Blending Brushes
White Cardstock
Stencils- Stars, Stripes, Dots, Hearts…anything you like
Balloon Die Cut
String
Stars Background Stamp

Summertime Vibes-Greetings from my Happy Place Card

By Katy Ingram

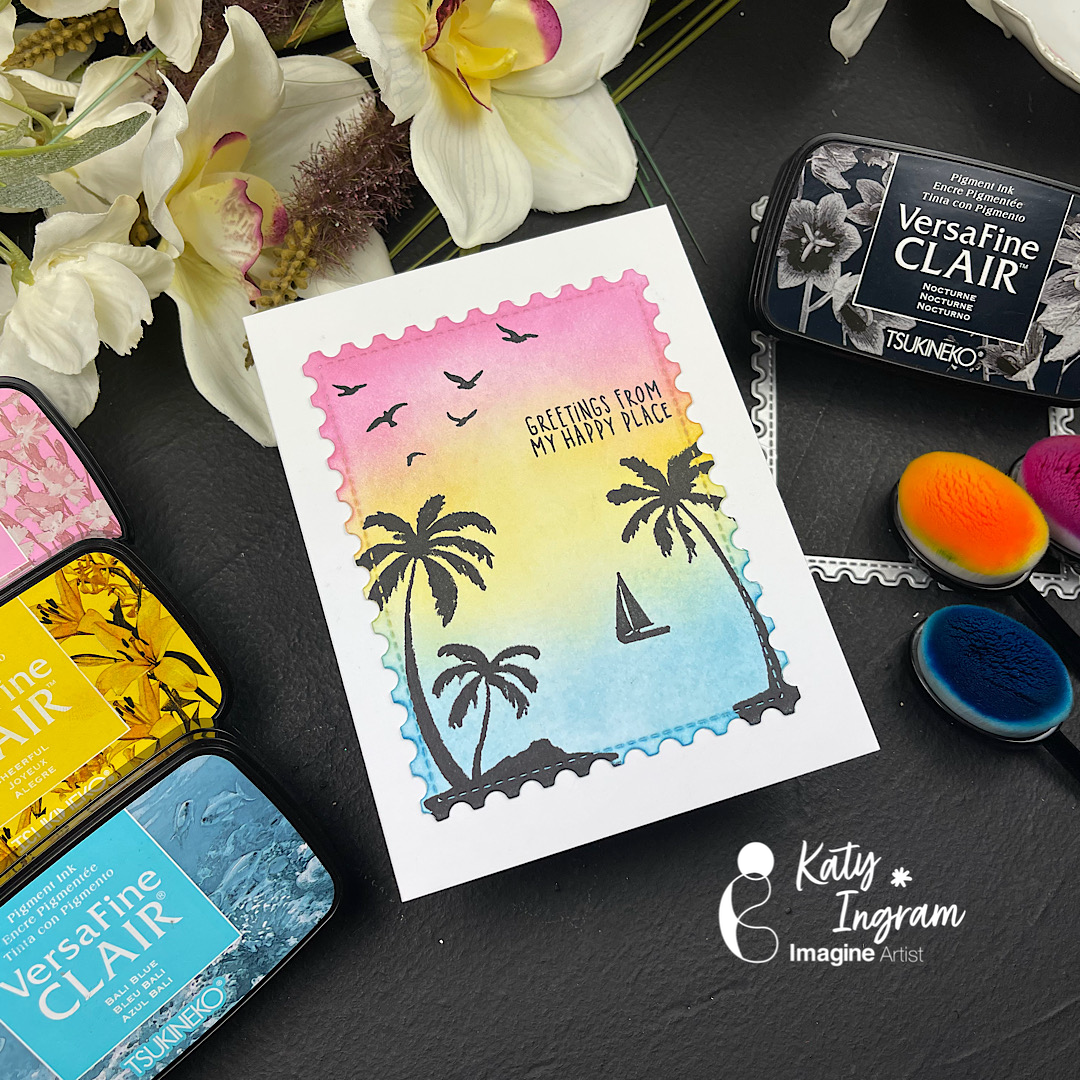
Hello Friends! Katy here with another quick project for you. Today’s card is a fun summertime vibes card, but as always you can use this design for what ever you need!

I did a little ink blending to create my background and used some silhouette stamps to create my scene. Check out the video below for all the details.

Skill: Beginner
Time: 15 minutes

Art Supplies

Imagine Products
• VersaFine Clair – Bali Blue
• VersaFine Clair – Cheerful
• VersaFine Clair – Baby Pink
VersaFine Clair – Nocturne
• Tear It! Tape

Other Products Used

• Affiiate links used at no additional cost to you. Thank you for your support
• White Card Stock https://ldli.co/e/5y69gpx
• Kat Scrappiness Postage Die https://ldli.co/e/5y69gpx
• Blending Brush https://ldli.co/e/5y69gpx
• Palm Tree Stamps https://ldli.co/e/5y69gpx
• Hero Arts Beach Stamps https://ldli.co/e/5y69gpx

Quick and Easy Gilded Stamping Technique

By Katy Ingram

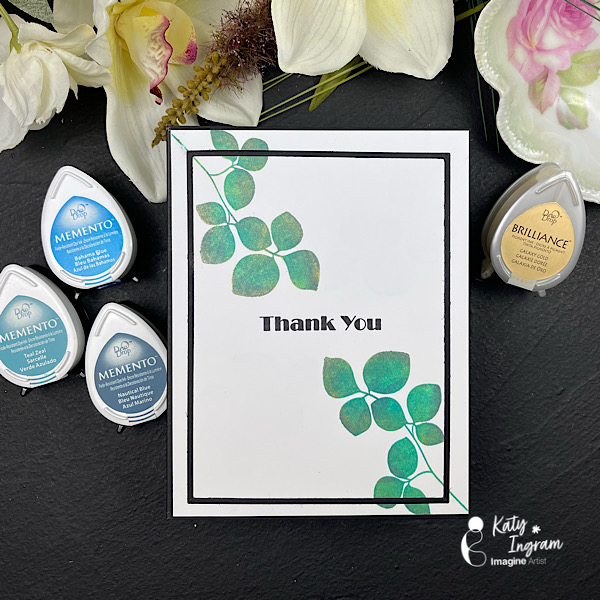
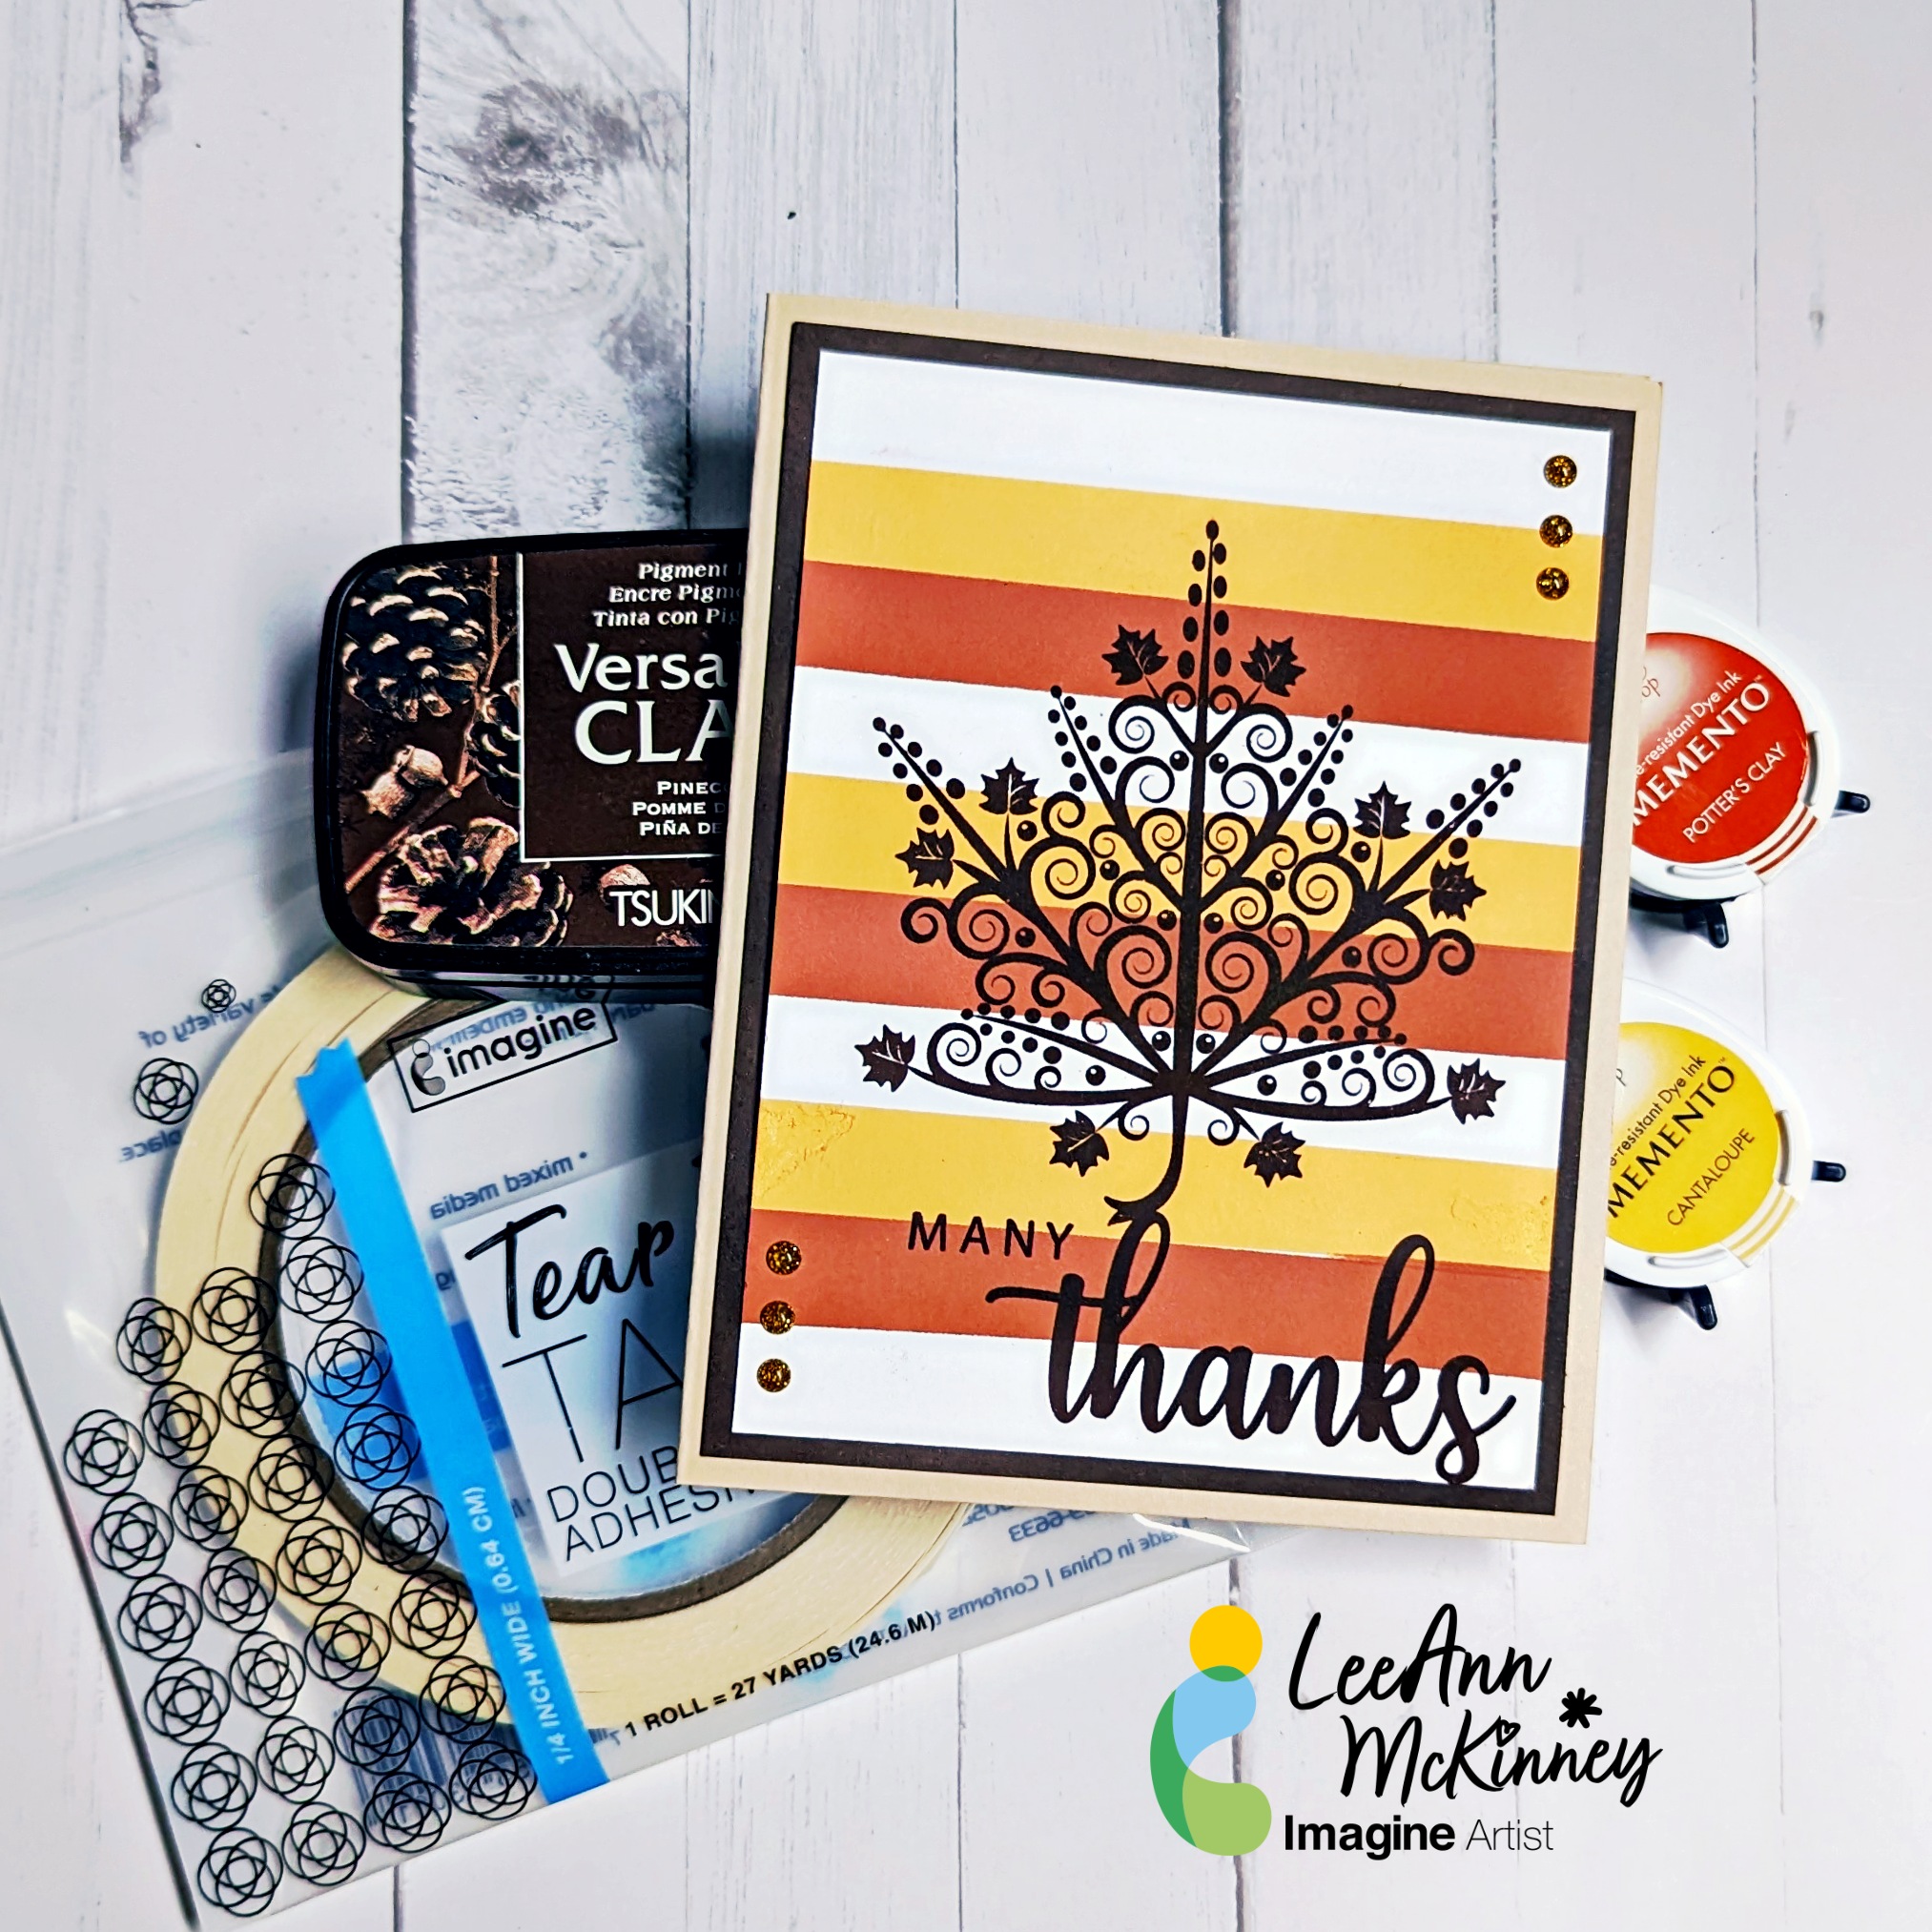
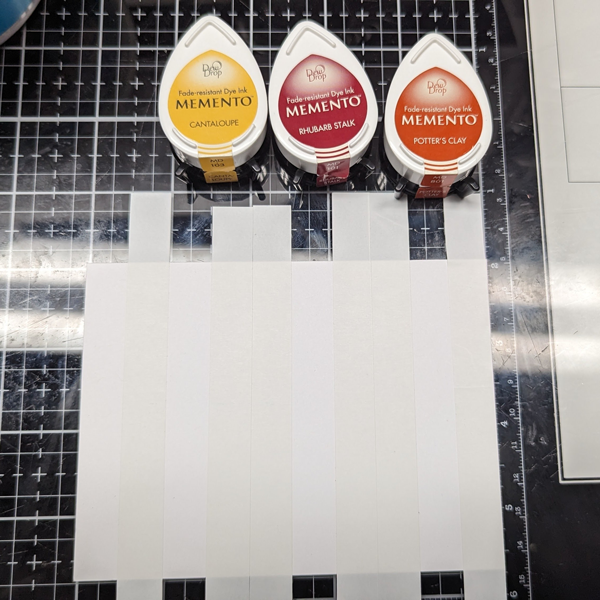
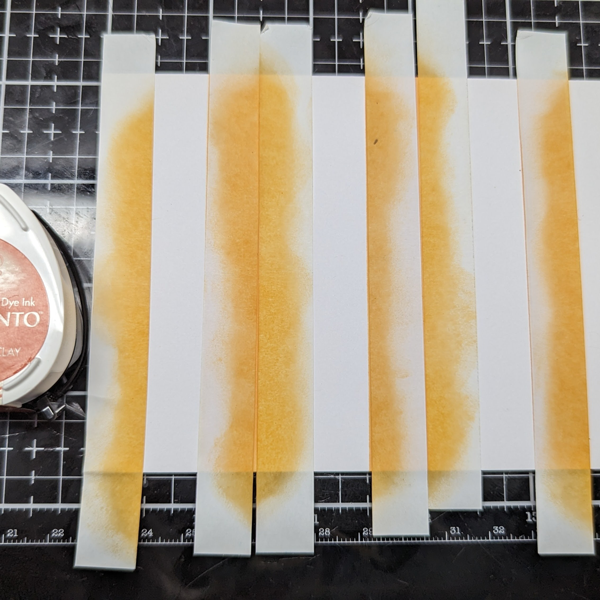
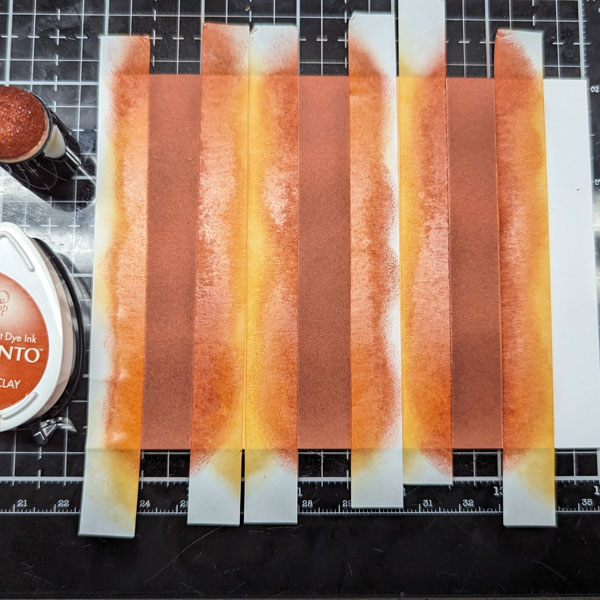
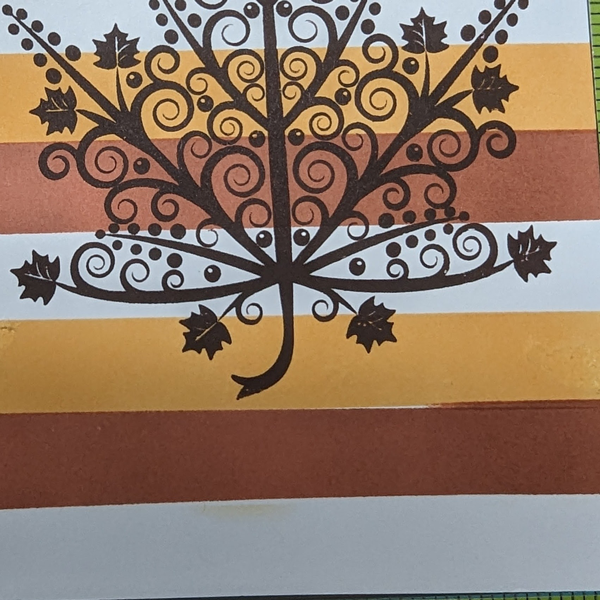
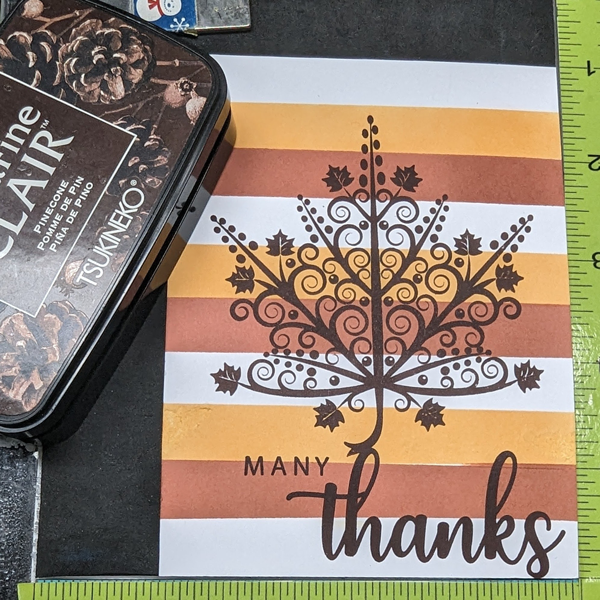
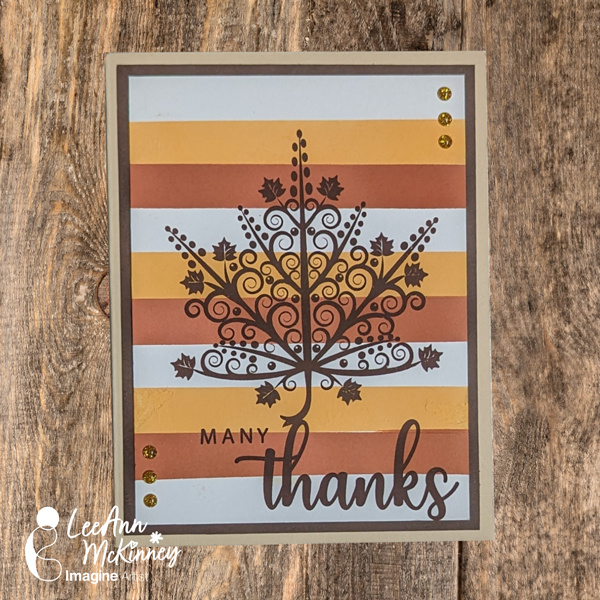
Hello friends, Katy here and in today’s video tutorial, I’m going to show you how to add some gilding to your stamped images as well as how to add some texture to your silhouette stamps using a swiping technique. I will be using Memento inks and Brilliance Galaxy Gold for the gilding. This technique is so quick and I think you will like the end result. I created a thank you card for today, but as always you could put any sentiment you like on this design. Listed below are products I used in todays video including some Affiliate links at no additional cost to you. l thank you for using those links and supporting my work.

Skill: Beginner
Time: 20 minutes

Art Supplies

Imagine

Other

  • Altenew – Leaf Canopy
  • Hammermill – 100 lb cardstock
  • Ellen Hutson – Essentials Rectangles
  • Black 100 lb Cardstock
  • 1/2 inch double sided adhesive
  • 6 inch double sided adhesive
  • MISTI Creative Corners
  • MISTI Stamping Tool

Easy Christmas Card Set Using VersaColor and Delicata inks

By LeeAnn McKinney

Skill Level: Beginner
Time: 45 minutes

Directions:

Step 1
Cut Cardstock to 8” x 10.5”

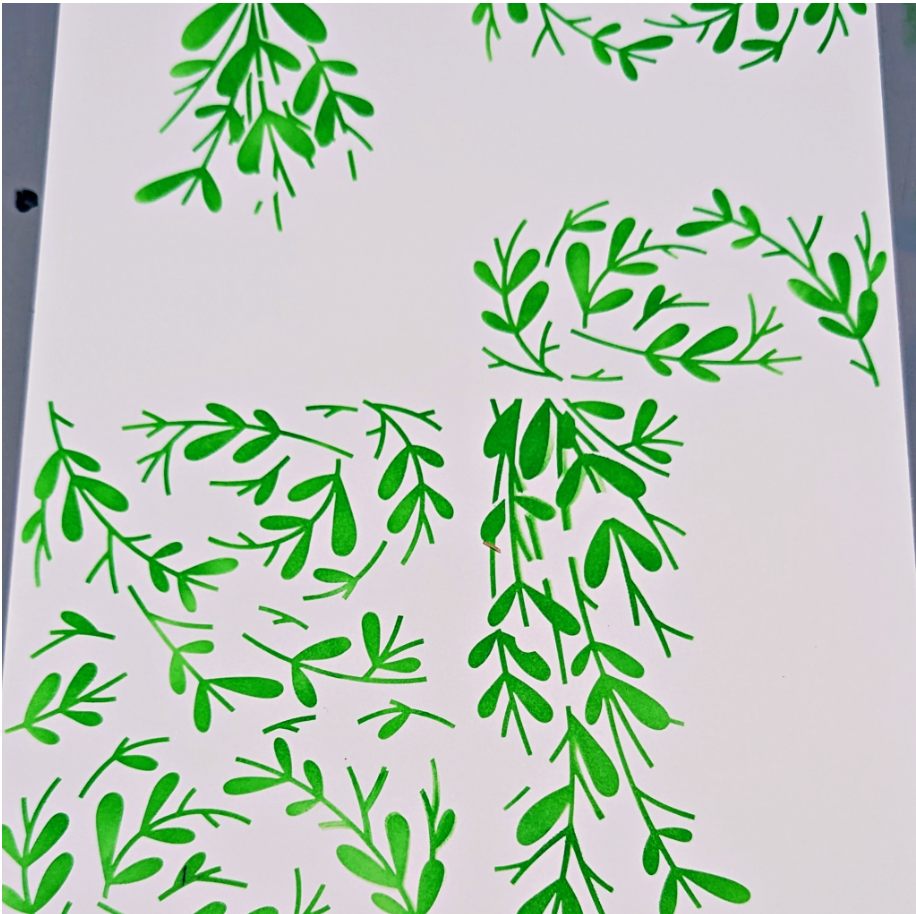
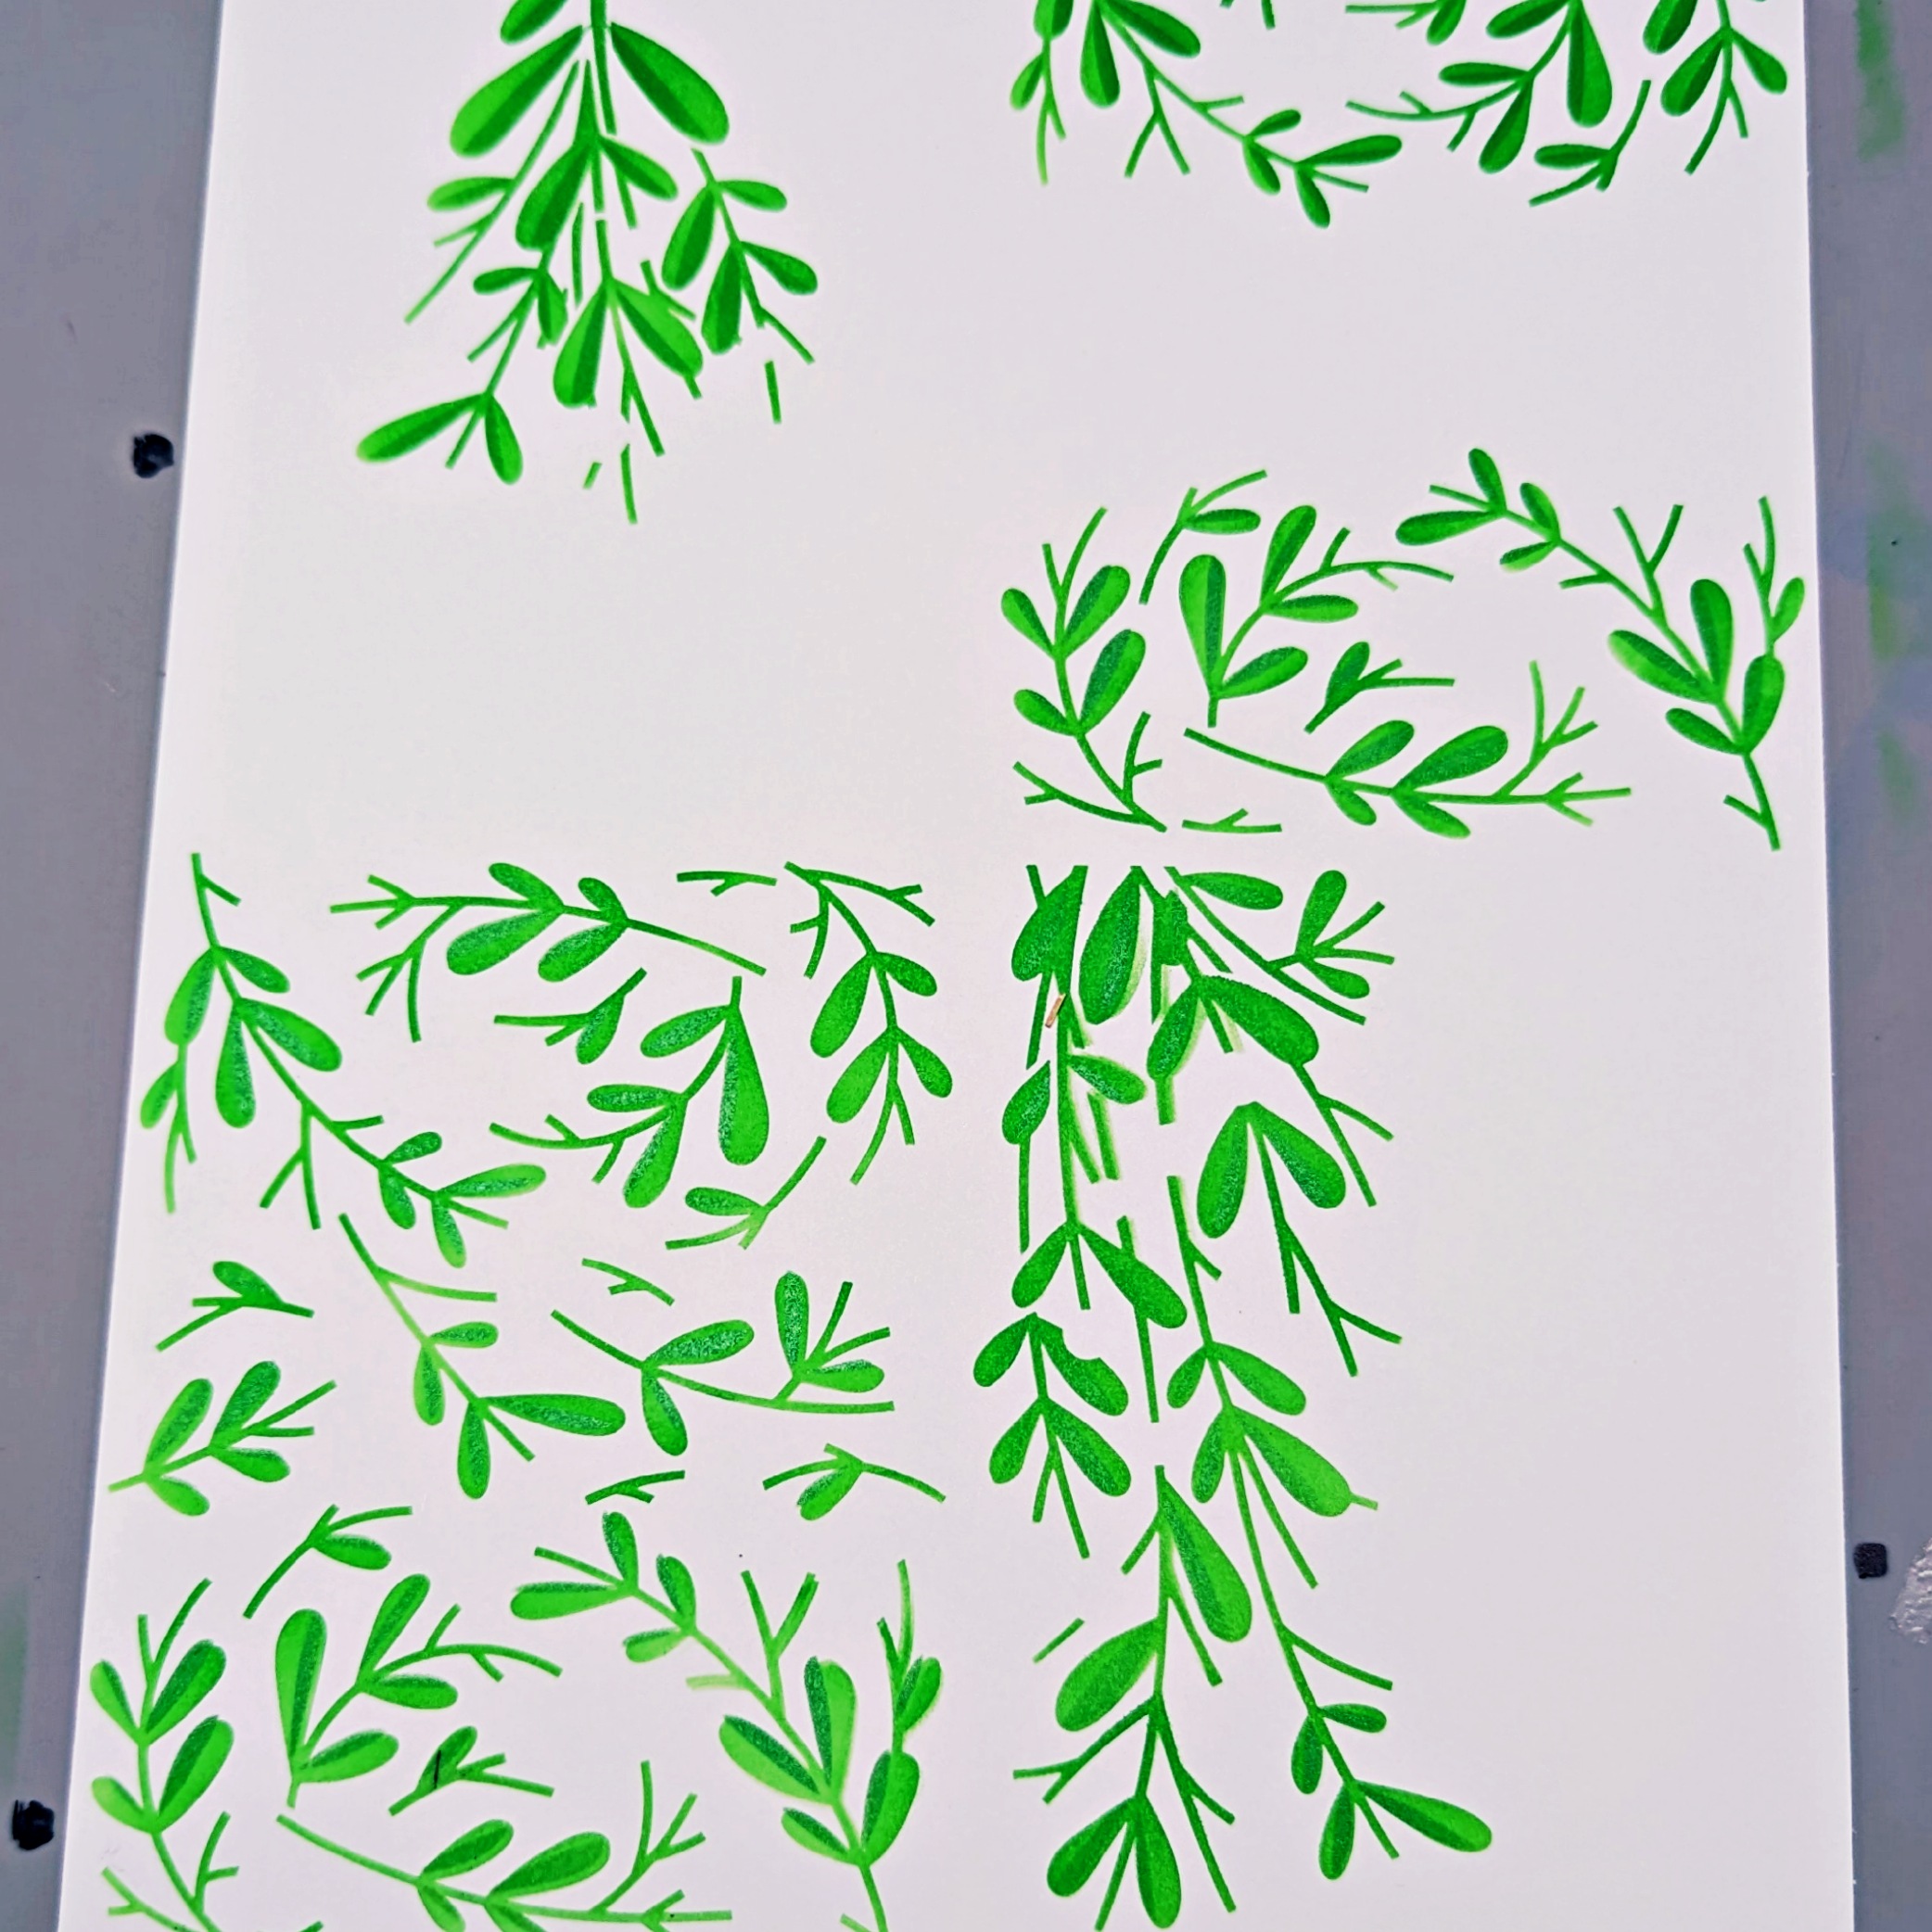
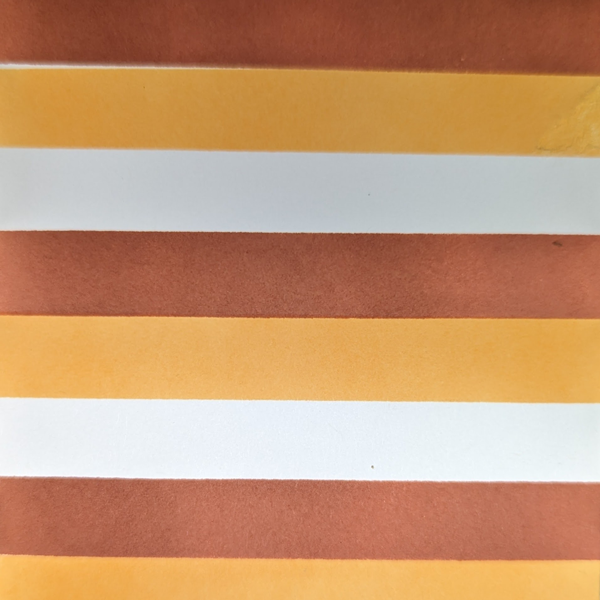
Step 2
Line Stencil 1 with the paper using the guides on the stencil.

Step 3.
Using a blender tool of your choice (sponge daubers was my choice) blend VersaColor Fresh Green onto the cardstock.

Step 4.
Line Stencil 2 with the paper using the guides and blend with Delicata Emerald Green

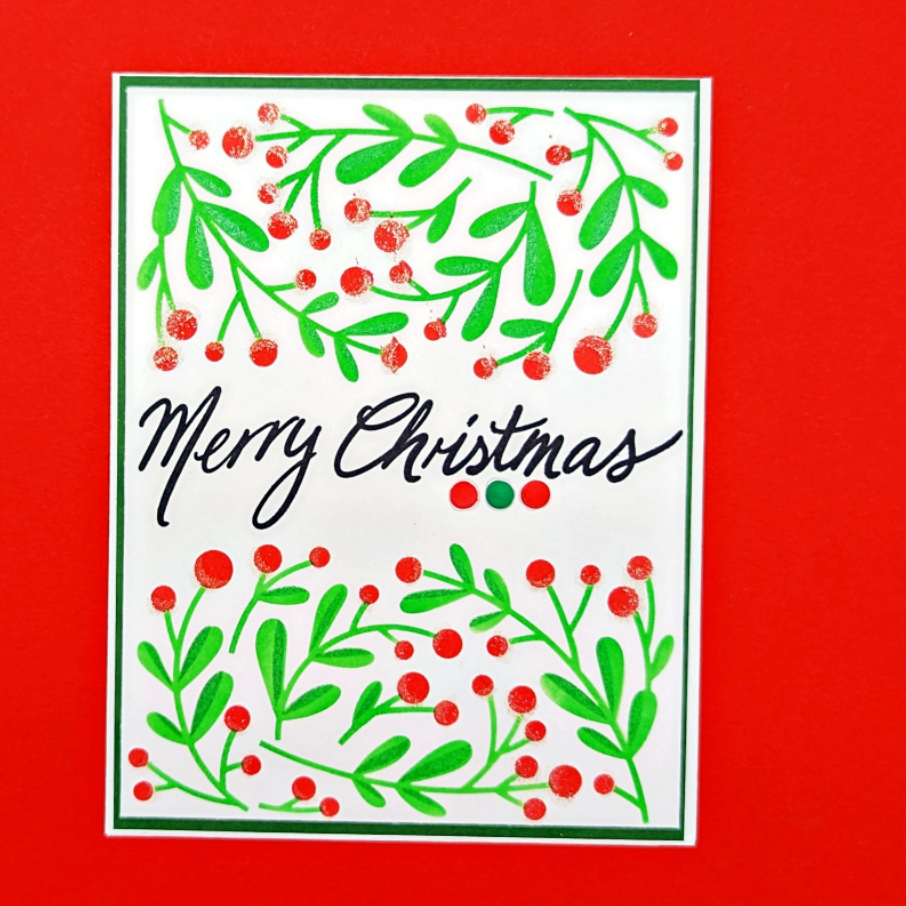
Step 5.
Line Stencil 3 with the paper using the guids and blend with VersaColor Scarlet

Step 6,
Line Stencil 4 with the stencil and this one we are going to use twice, First blend with Delicata Ruby Red

Step 7.
Once completely dry, (just takes a couple minutes) line back up and go over stencil 4 again this time with Shimmer Stix Dauber in Sparkle. This will add just a little sparkle to accent the berries on this wonderful Mistletoe.

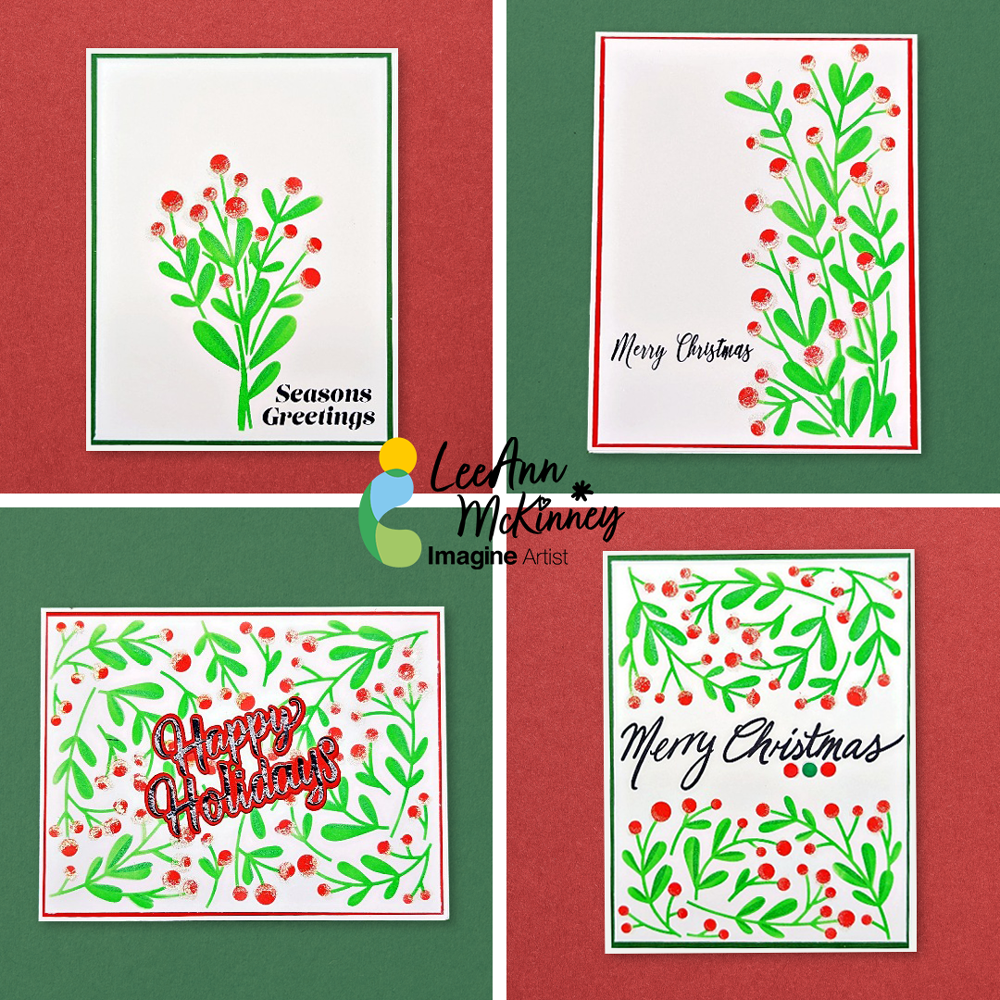
Step 8.
Set aside to dry and cut your card bases, I have 4 card bases measuring 4.25” x 5.5”, standard A2, I also cut green and red cardstock to use as a layering panel, they are each 4 ⅛ x 5 ⅜.

Step 9.
Now that my stenciled panel as completely dry, I cut it in half each way, this gave me 4 card panels to make my cards. I stamped the sentiments from various stamp sets on the panels, adhered them all together using Tear It! Tape and my cards were complete.

Sentiment from Scrappy Tails Crafts Christmas Postcards


Sentiment from Scrappy Tails Crafts Christmas Postcards

Sentiment from Scrappy Tails Crafts Christmas Market Stamp Set

Sentiment from Sunny Studios Holiday Greetings Stamp/Die set

Imagine Supplies Used:

Other Supplies:

Autumn Card Made Easy Using Memento and VersaFine CLAIR Inks 

By LeeAnn McKinney

Skill Level: Beginner to Intermediate
Time: 20-30 minutes

Directions:

Step 1
Cut masking paper to ½” x 5” strips

Step 2
Stagger the strips to leave ½” sections to ink up. 

Step 3
Ink blend the Dandelion Ink in the open spaces, leaving the far left end open. 


Step 4
Move the masking strips to cover up the Dandelion and leave ink up with Potter’s Clay, leaving the far right white.

Step 5
Peel off all making strips and let dry (or dry with heat tool). 

Step 6
Stamp the flourished Leaf using VersaFine CLAIR in Pinecone

Step 7
Stamp the sentiment also using VersaFine CLAIR Pinecone. 

Step 8
Cut a panel of Dark Brown cardstock to 4” x 5 ¼” to be layering panel

Step 9
Cut the Ink blended/Stamped panel to 3 ¾” x 5”.

Step 10
Layer both panels on a Barely There color Card base measuring 4 ¼” x 5 ½” using Tear It! Tape

Craft Supplies Used:
Imagine

Other Supplies Used

Gina K Designs Stamps- Doodled Autumn
Gina K Designs Dark Chocolate Cardstock
Gina K Designs White Cardstock
Gina K Designs Barely There Cardstock
Gina K Designs Masking Strips