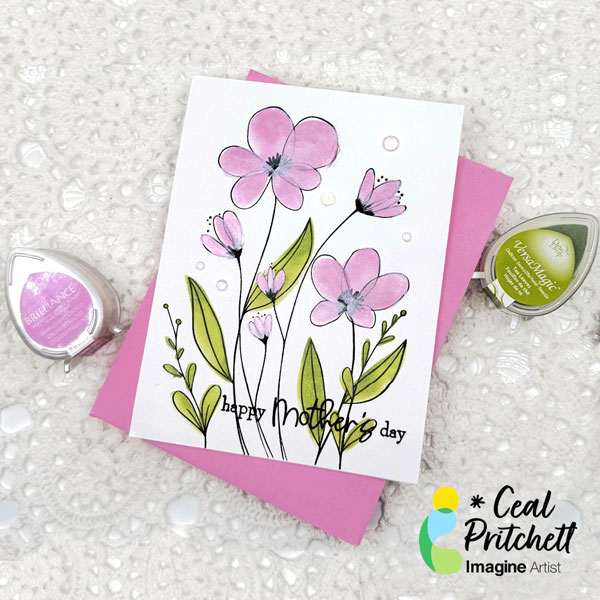
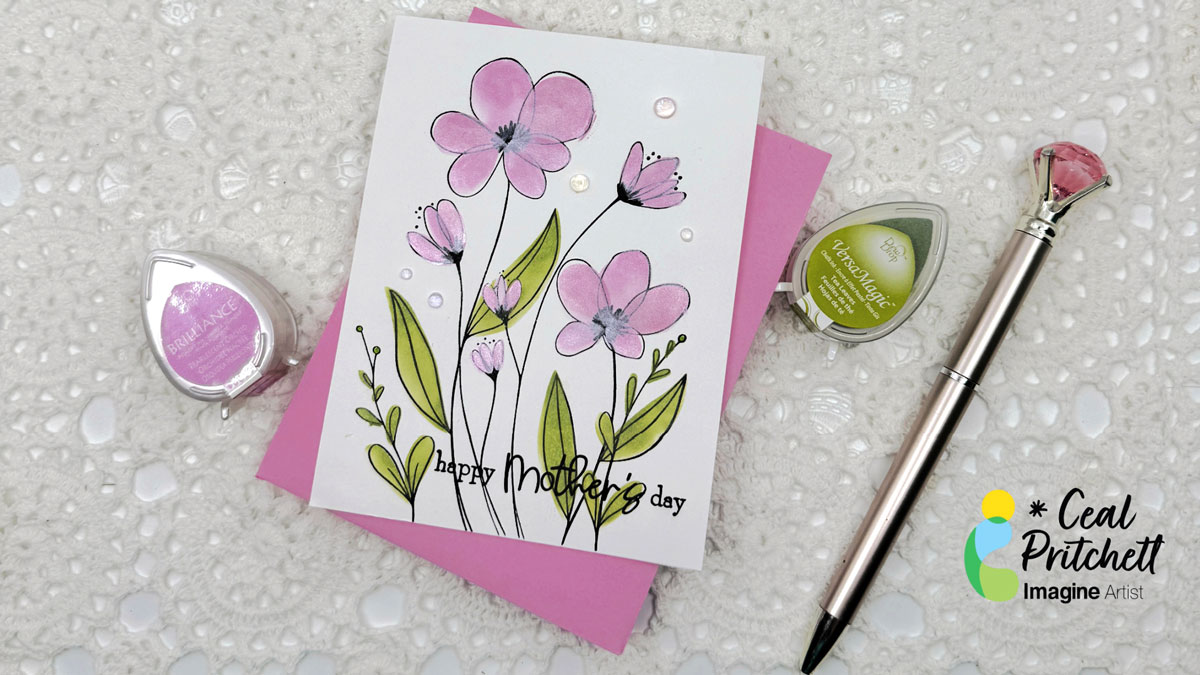
It’s Ceal, here. Today I am sharing how to make this Clean and simple Mother’s Day card using the Brilliance for shimmer and VersaMagic dew drops.
Skill: Beginner to intermediate Time: 30 mins
Directions:
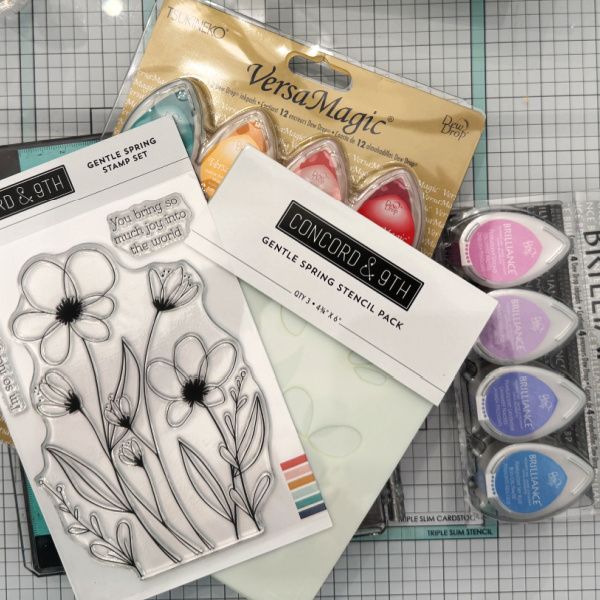
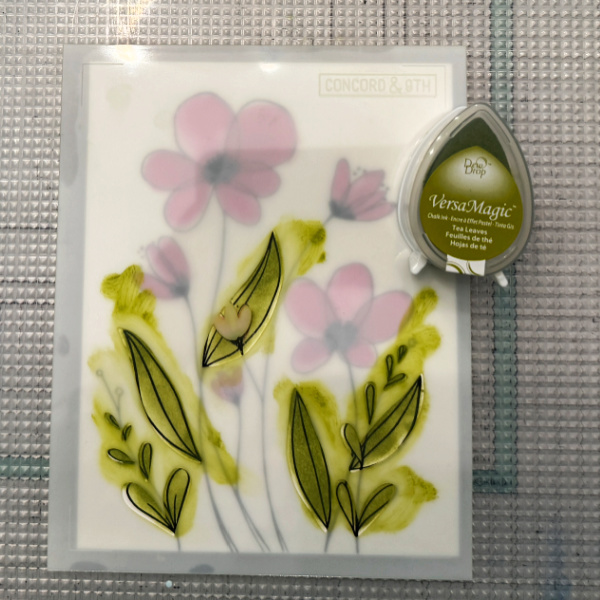
Gather your supplies. You will need a Mother’s Day stamp set or floral set as I have used here and a Mother’s Day sentiment. For inks I used a Brilliance Dew Drop and a VersaMagic Dew Drop
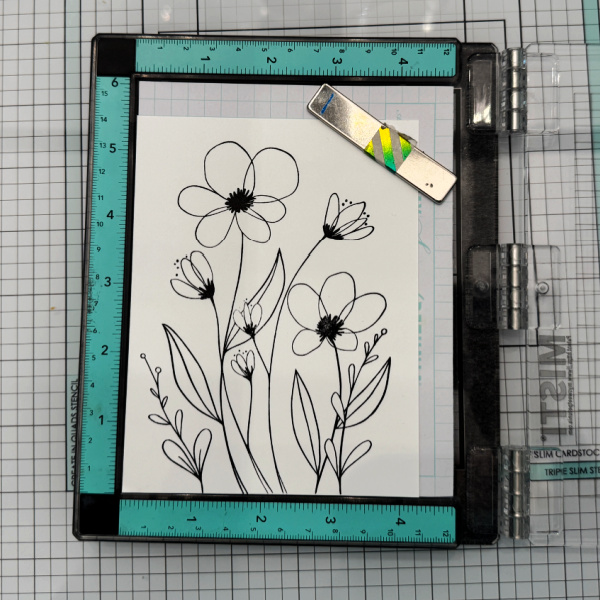
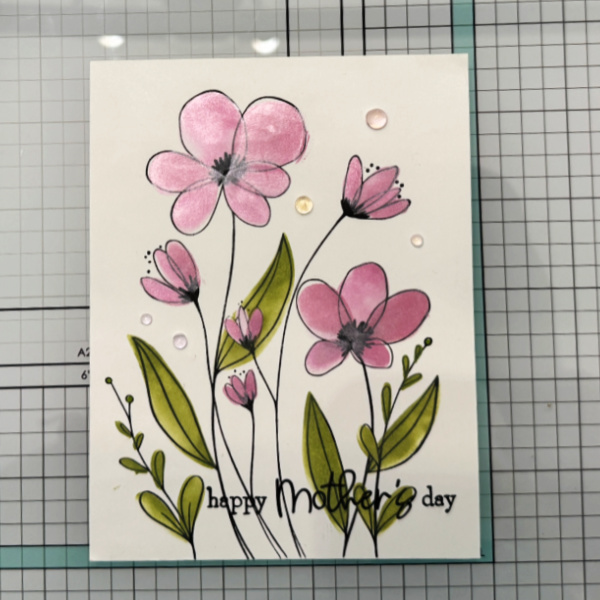
Step 1: Ink your stamp with a black ink
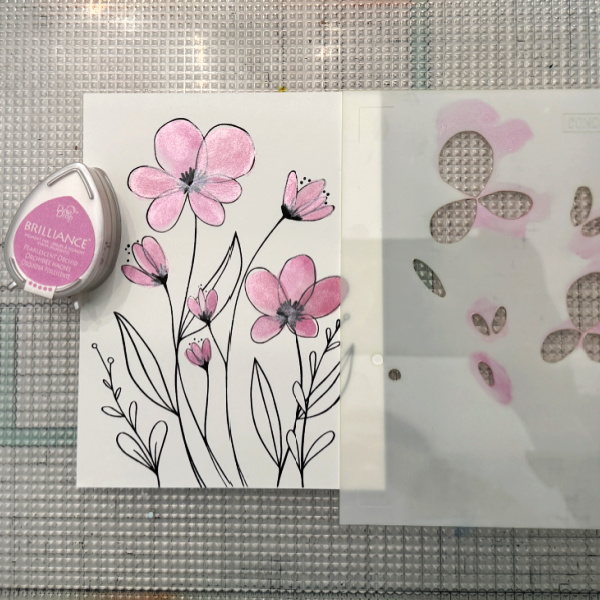
Step 2: Using the coordinating stencil and a blending brush or sponge dauber, ink blend a pearlescent pink on the flowers.
Step 3: Using the coordinating stencil and a sponge dauber or blending brus, ink blend green chalk ink on the leaves.
Step 4: Add embellishments of choice. I used some dew drops.
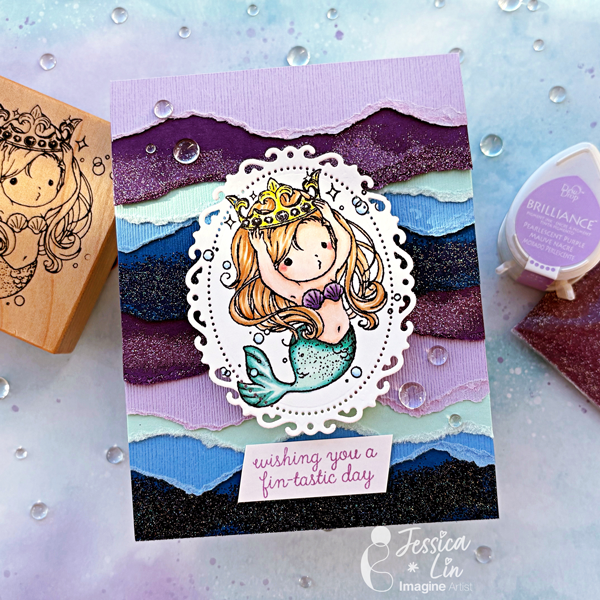
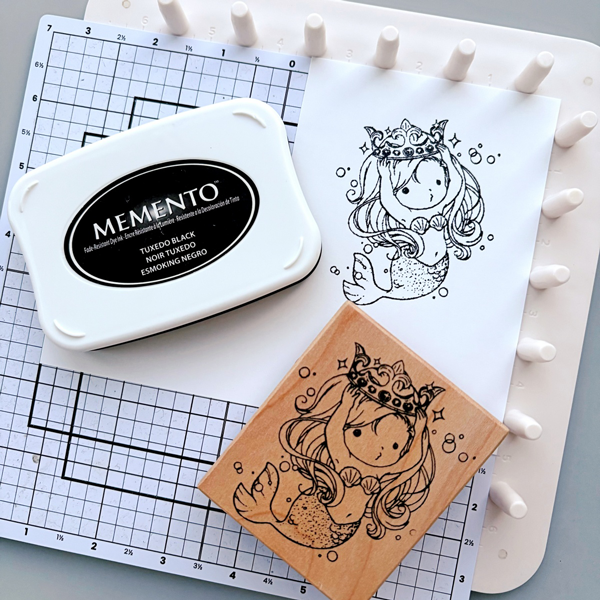
Hi everyone! It’s Jessica here. Do you like collecting certain stamp images? I am fond of mermaids and have a rather big collection. Today, I thought I would use this cute mermaid wooden stamp to create a card.
Step 1: When was the last time you used a wooden stamp? If I’m being honest, I bought this stamp around 10 years ago so it was nice to see that it still inked up nicely with Memento Tuxedo Black ink. I stamped it on Classic Crest Solar White cardstock since I will be coloring with Copic markers today.
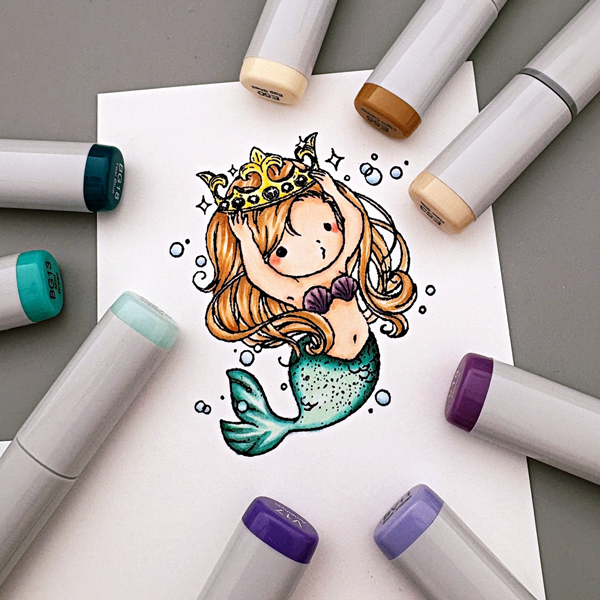
Step 2: This mermaid image is darling and easy to color. I started by drawing strands in her hair with E50 / E53 / E55. Then I colored her skin with E000 / E00 / E11. I also added blush with R20 / R24. For the seashells, I blended BV11 / V15 / V17. I used one of my favorite color combos on her tail: BG10 / BG13 / BG18. Lastly, I color her crown with Y00 / Y11 / Y06.
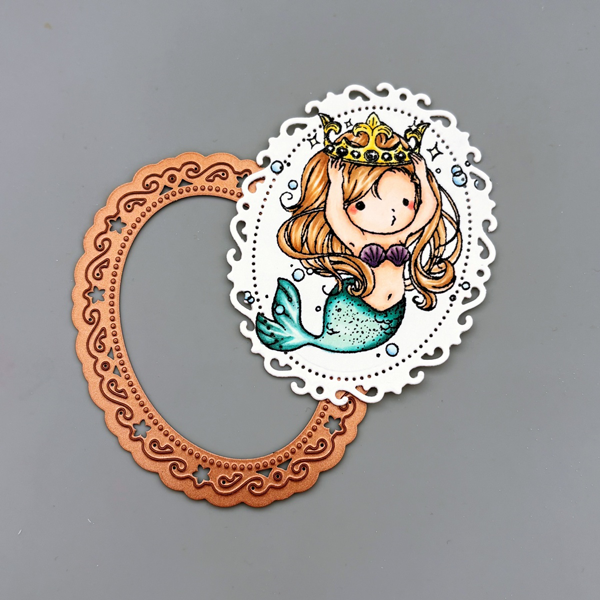
Step 3: Once I finished my coloring, I die cut the image with Spellbinders Nestabilities Floral Ovals die.
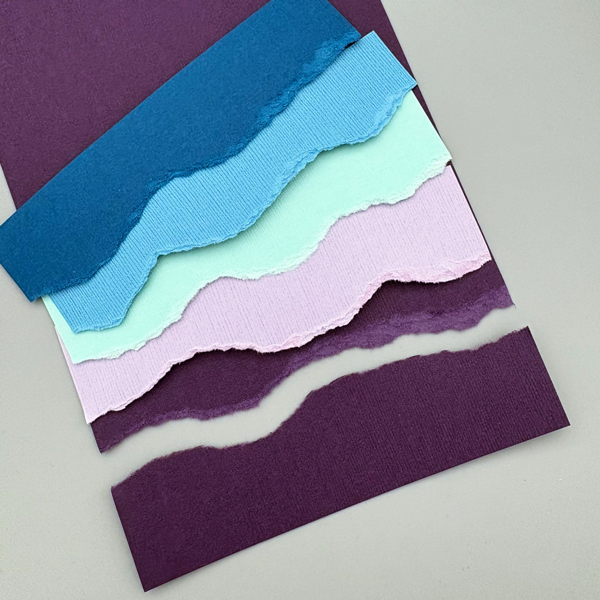
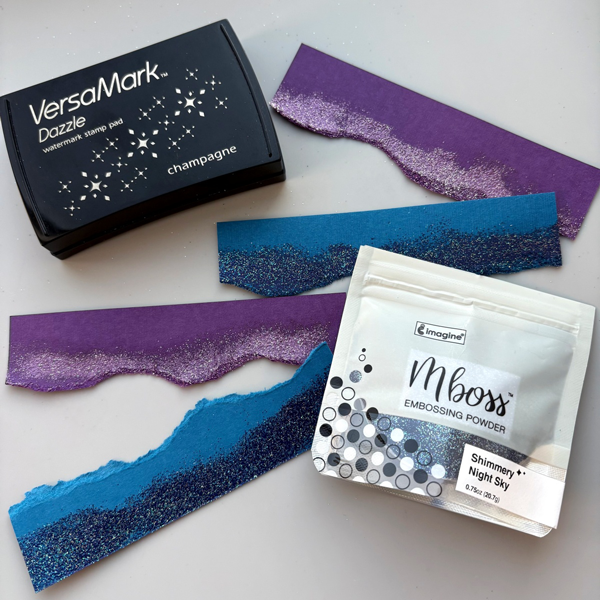
Step 4: I wanted to create a wavy background for today’s card. I picked out DCS Hydrangea Purple, Plum Purple, Seafoam Green, Blue Calico, and Indigo Blue to create an oceanic gradient that reminds me of an underwater palace. I hand-torn them to create wavy patterns; I just love the organic feel you get with the paper fiber edges. These cardstock pieces have texture on one side, and are smooth on the other. I like the variety of textures and ended up using both the smooth and textured sides.
Step 5: To add even more texture to the background, I heat embossed Plum Purple strips with Mboss Princess Party embossing powder, and Indigo Blue strips with Mboss Shimmery Night Sky embossing powder. I swiped VersaMagic ink directly onto the cardstock and the embossing looks great without having to heat emboss a second round.
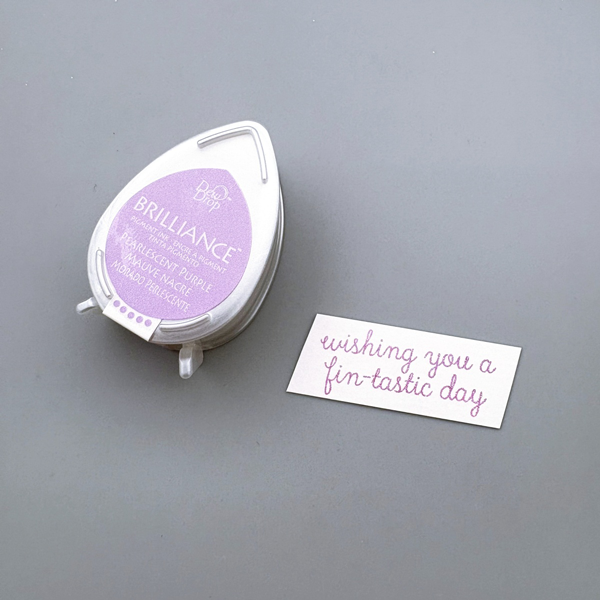
Step 6: Then, stamp the sentiment with Brilliance Pearlescent Purple ink pad.
Step 7: Now it is time to put the background pieces together. I applied Tear-It Tape to the straight edge of each cardstock strip, and adhered them to the cardbase from the bottom to the top. Once you are done, cut any overhang pieces on the sides. Finally, adhere the mermaid die cut piece and the sentiment to the wavy background, and the card is complete!
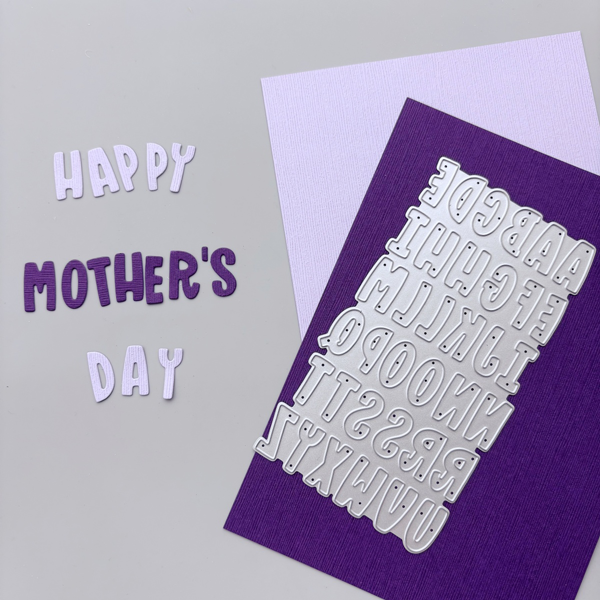
Hi everyone! It’s Jessica here. Are you planning on making a Mother’s Day card this year? I want to share a simple sketch that you can use with any layering stencils you may have.
Let’s begin crafting!
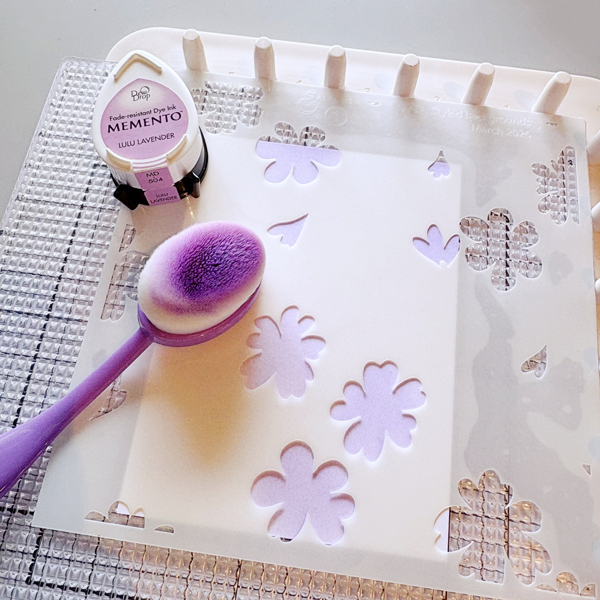
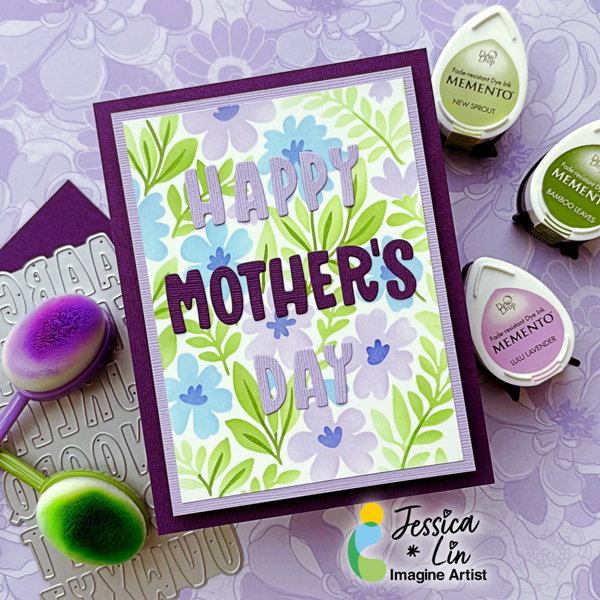
Step 1: I am using Altenew’s Styled Background layering stencil set for today’s card. Let’s start by trimming a piece of Classic Crest Solar White to 3 ½’’ x 4 ¾’’. After that, we can start ink blending stencil 1 with Memento Lulu Lavender ink.
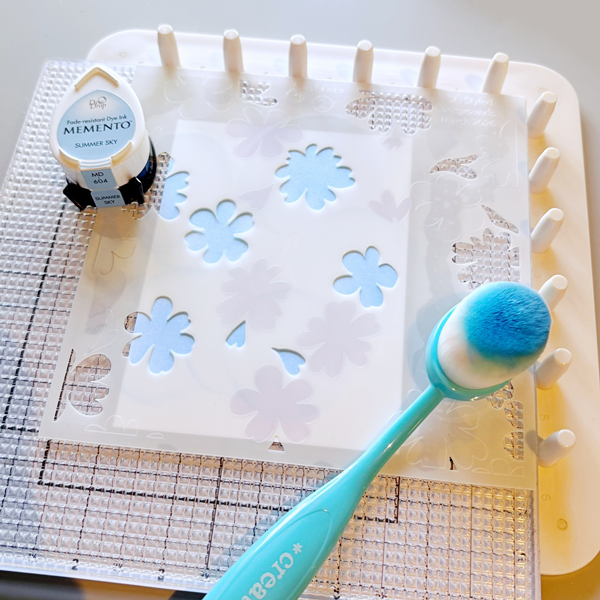
Step 2: Next, ink blend Memento Summer Sky ink with stencil 2. I really like the idea of separating the floral images into two layers; it gives us so much creative freedom and the color combination is endless!
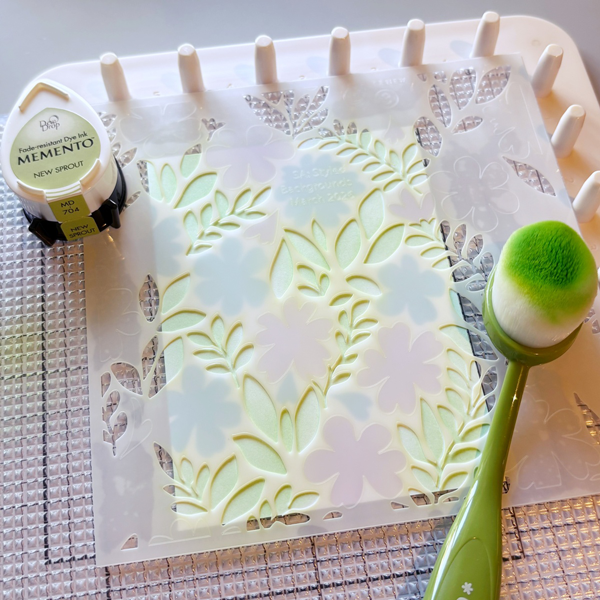
Step 3: Stencil 3 is the base layer for leaves. I used Memento New Sprout ink. It may be difficult to spot in this photo, but I created a color gradient by blending more ink in some areas and having a lighter hand for others.
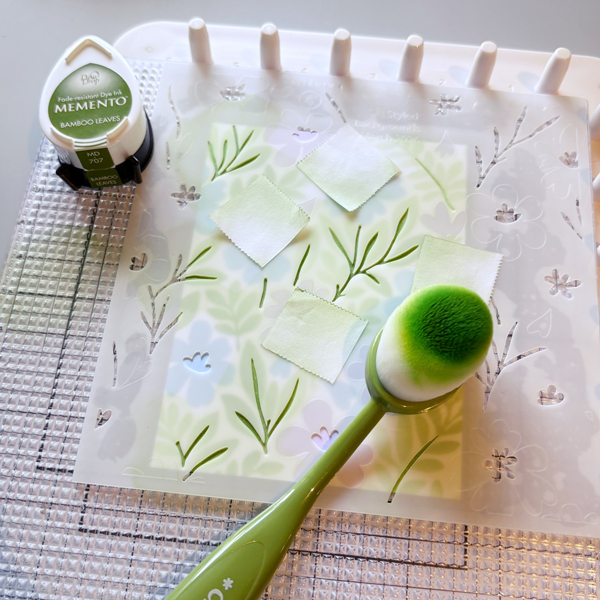
Step 4: Now that the base images are ink blended, we can start with the layering. Stencil 4 includes leaf stems, and I used Memento Bamboo Leaves ink. This stencil also contains floral centers. Since the stems and floral centers are quite close to each other, I had to mask some areas while ink blending. If you have smaller blending brushes, you could skip the masking step.
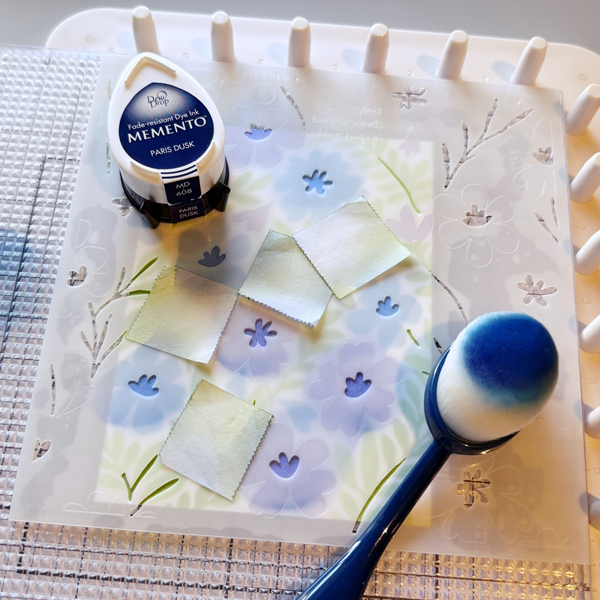
Step 5: I used Memento Paris Dusk ink to ink blend the floral centers.
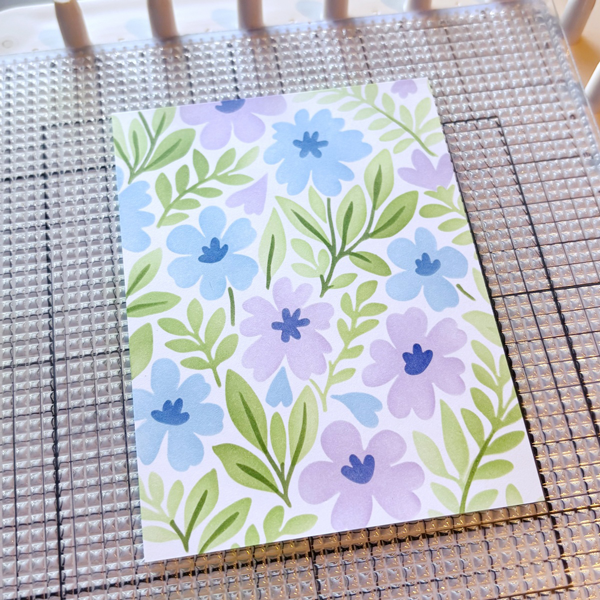
Step 6: This is what the background panel looks like after ink blending all 4 layers. I love the look of soft, pastel colors and am so pleased with the final result.
Step 7: After ink blending, we are ready to add the sentiment of the card. I chose Stampin’ Up’s Mini Alphabet die to spell out “Happy Mother’s Day”, but you could use any sentiment die you may have. I decided to die cut with CutCardStock DCS Hydrangea Purple and Plum Purple for some added contrast. These cardstock have a smooth side and a textured side; I opted for the textured side today.
Step 8: Next, trim a piece of CutCardStock DCS Hydrangea Purple to 3 ¾’’ x 5’’ and mount the ink blended panel on top. Then adhere it to a CutCardStock DCS Plum Purple card base. Finally, apply On-Point Glue to the back of the letter die cuts and adhere them to the card panel to complete the card!
I am a big fantasy nerd, and was so excited when we were given the option to share a fairy tale project with you this month.
Skill: Intermediate Time: 1.5 hours
Directions:
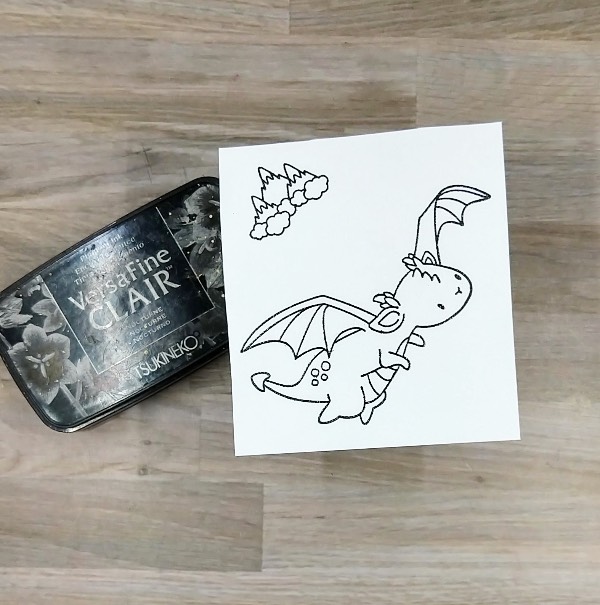
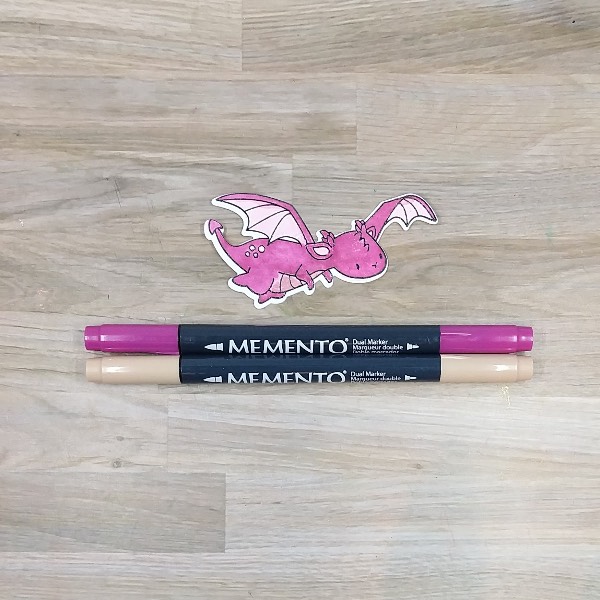
Step 1: Stamp a dragon and a small mountain range on watercolor paper with Nocturne VersaFine Clair Ink and heat emboss them with clear ink. Then die cut both images with their corresponding dies.
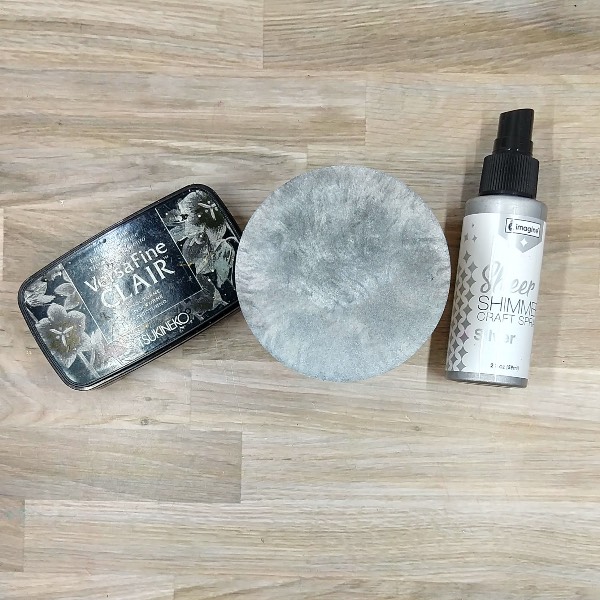
Step 2: Die cut a piece of watercolor paper with an A2-sized background die. Take the circular die cut element from the die cut watercolor paper and using an old sponge dauber–which has some parts of the sponge missing due to heavy use–to rub more Nocturne VersaFine Clair ink across it. Then spray the die cut circle with Silver Sheer Shimmer Craft Spray. Set aside to dry.
Step 3: Color the die cut dragon with Desert Sand and Lilac Posies Memento Dual Markers.
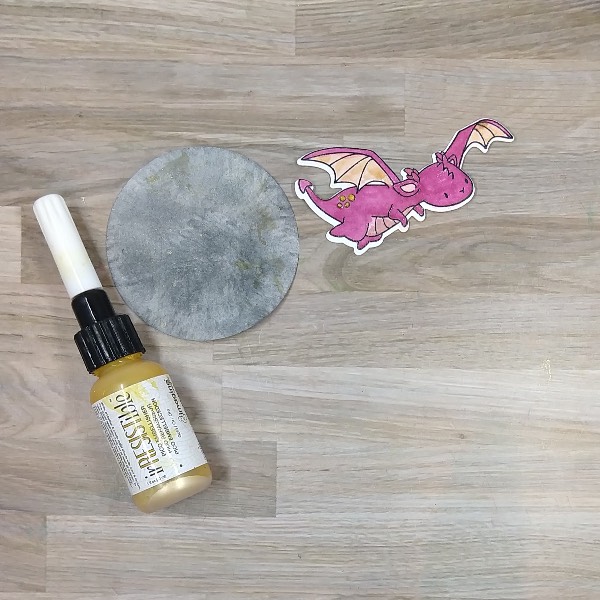
Step 4: Add Gold irRESTible medium onto the 4 freckles on the dragon’s hip using the Pico Embellisher. Then mix some of the Gold irRESTible medium with water and splatter the black die cut circle.
With the remaining irRESTible medium mixed with water, paint the wings and belly of the dragon to add some shine. Set aside to dry.
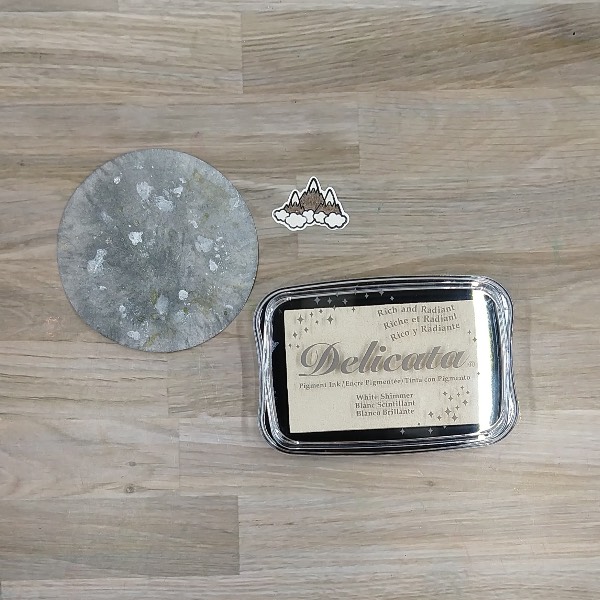
Step 5: Color the mountains with Rich Cocoa Memento Dual Marker. Then press a White Shimmer Delicata Ink pad onto some acetate packaging and spay with water. Use this shiny watercolor to paint the clouds and snowy tips of the mountains. (While you can’t see this in the picture, the Delicata ink added some subtle shine to the image.) Watercolor smoosh the remaining watercolor onto the circular die cut and allow everything to dry.
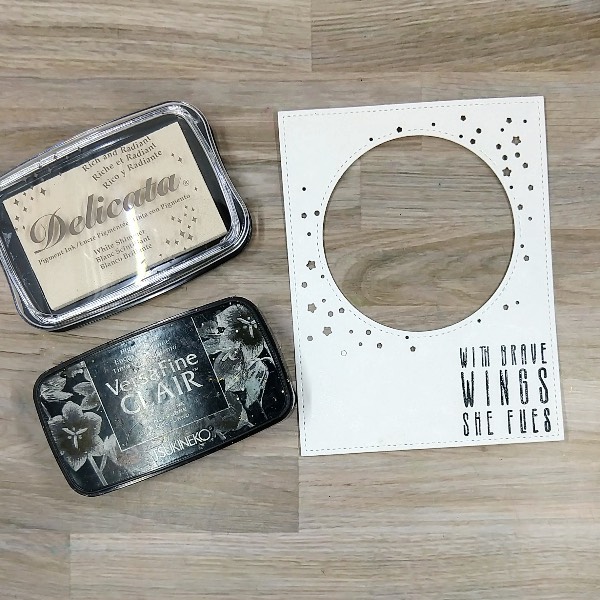
Step 6: Returning to the die cut watercolor panel from step 2, stamp a sentiment on the lower right corner of the panel with Nocturne VersaFine Clair Ink and heat emboss with clear embossing powder. Then press more of the White Shimmer Delicata ink mixed with water onto the panel to add some sparkle. Allow to dry.
Step 7: Assemble the card. Glue both parts of the watercolor panel onto an A2-sized white card base. Glue the mountain range as well as gold stars and rhinestones onto the panel. Then attach the dragon with foam tape to give her some dimension to finish the card.
Other • Altenew – foam tape -Instant Dimension Foam Tape • Altenew – stamp set – Block Sentiments (retired) • Mama Elephant – die set – Midnight Cover • Mama Elephant – die set – Me and My Dragon • Mama Elephant – stamp set – Me and My Dragon • Scrappy Tails Crafts – embellishments – Starry Christmas Night mix • Clear Embossing Powder • Heat tool Glue • Watercolor paper
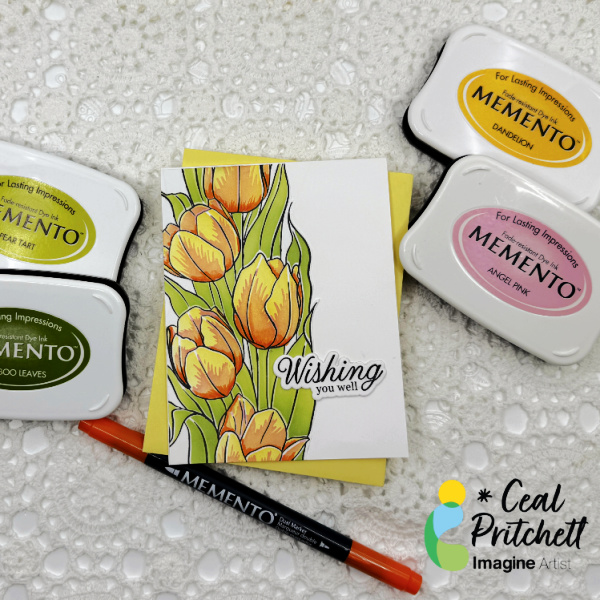
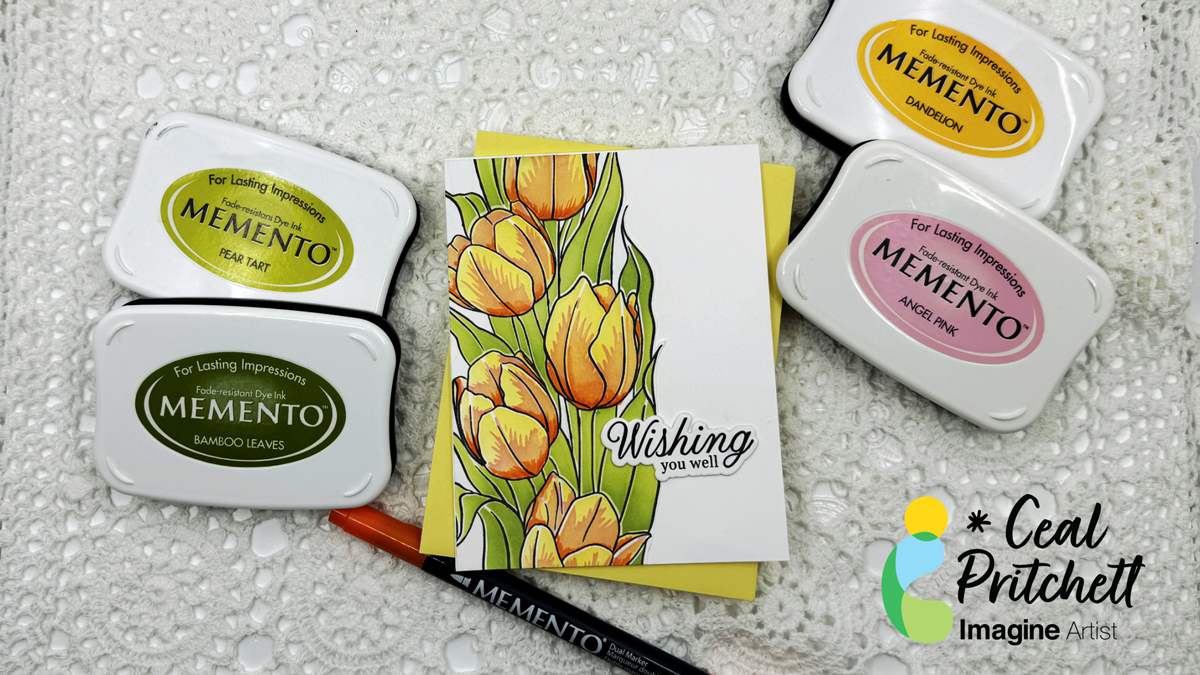
Hello everyone! It’s Ceal, here. Today I am sharing a spring get well card (you could make yours for any occasion) using a stamp and stencil combo. Stencils make it so easy to color.
Skill: Beginner to Intermediate Time: 30 Mins
Directions:
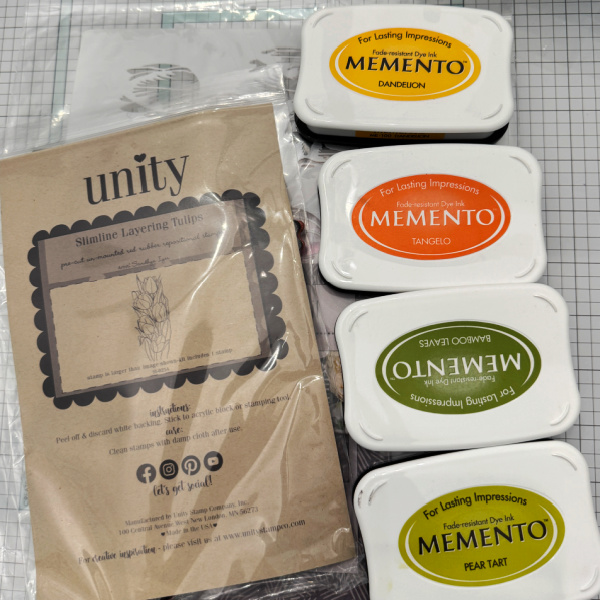
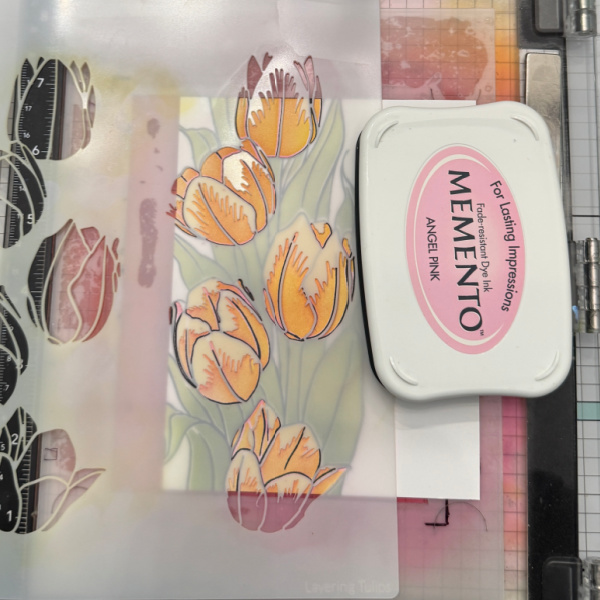
Gather your supplies. You will need a stamp/stencil combo, several colors of ink and a marker for details. In the photo I have an orange ink but I actually used a pink.
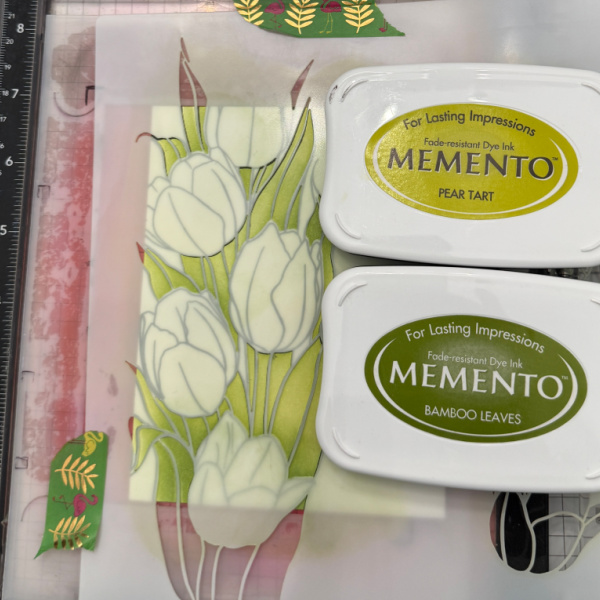
Step 1: Using a black ink stamp the floral image. I used Memento Tuxedo Black.
Step 2: Using the leaves portion of the stencil and two colors of green, color the leaves. I used Memento Pear Tart and Bamboo Leaves
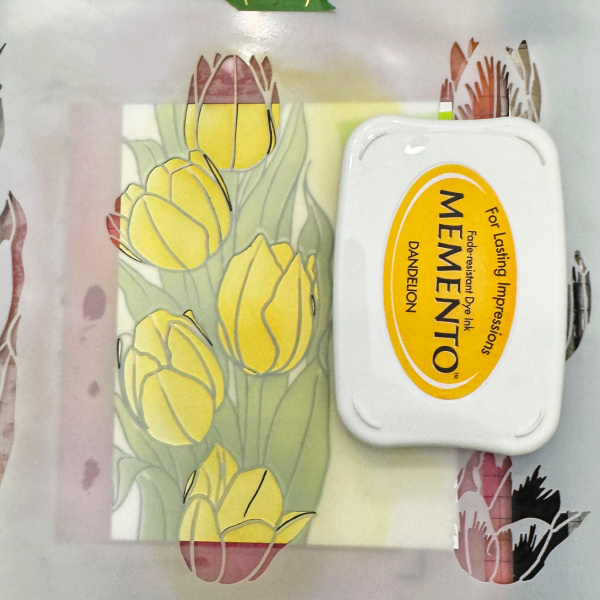
Step 3: Using the floral portion of the stencil, color the flowers yellow. I used Memento Dandelion.
Step 4: Using the detailed portion of the stencil color the area pink (which turns into a pretty peach) I used Memento Angel Pink.
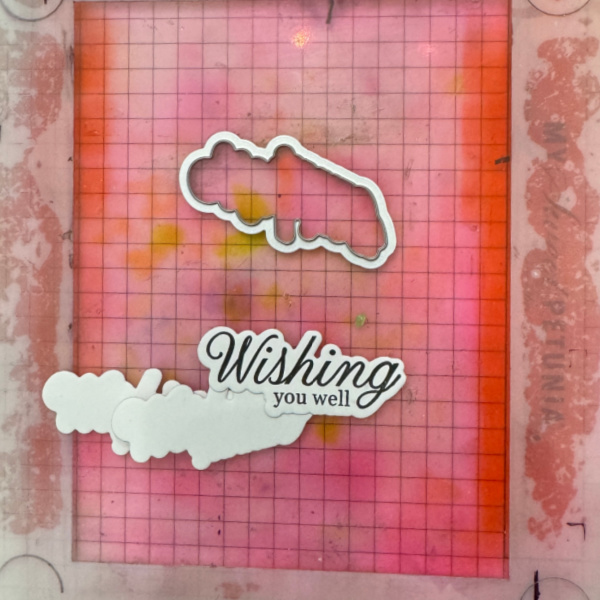
Step 5: Stamp and cut out the greeting and cut a couple extra pieces for dimension. Adhere the panel with the flowers to the card base and then adhere the greeting anywhere you’d like on the card front.
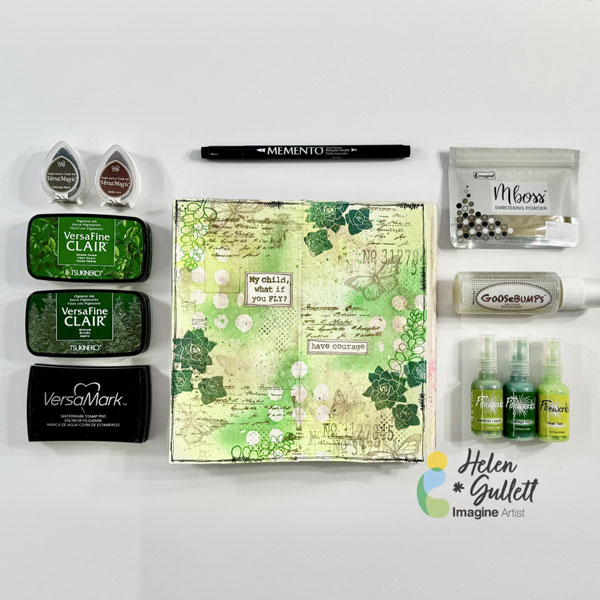
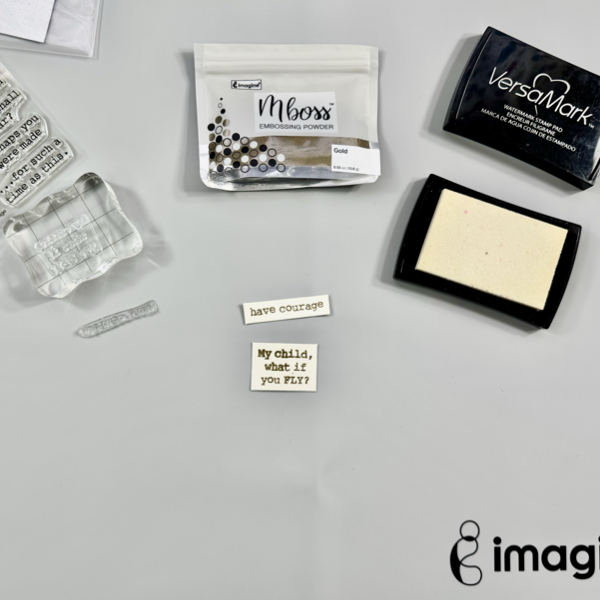
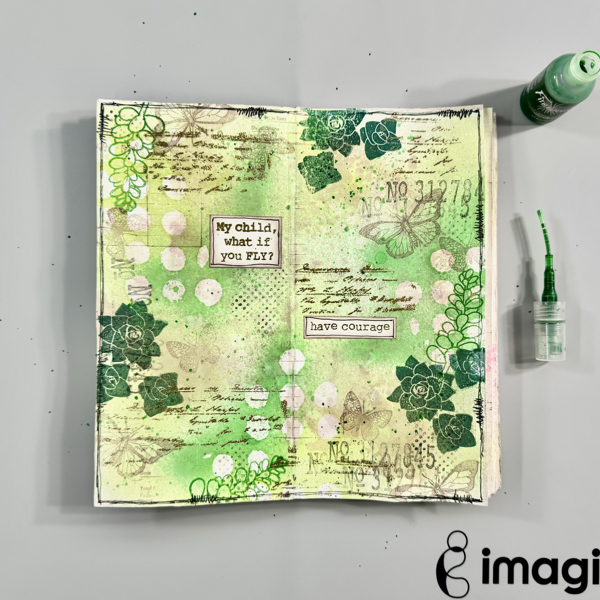
Hello crafty friends! Today, I would like to share how to make this mixed media art journal using some inks, craft sprays, embossing powder, and GooseBumps.Let’s get crafting!
Skill: Intermediate Time: 30-60 minutes
Direction:
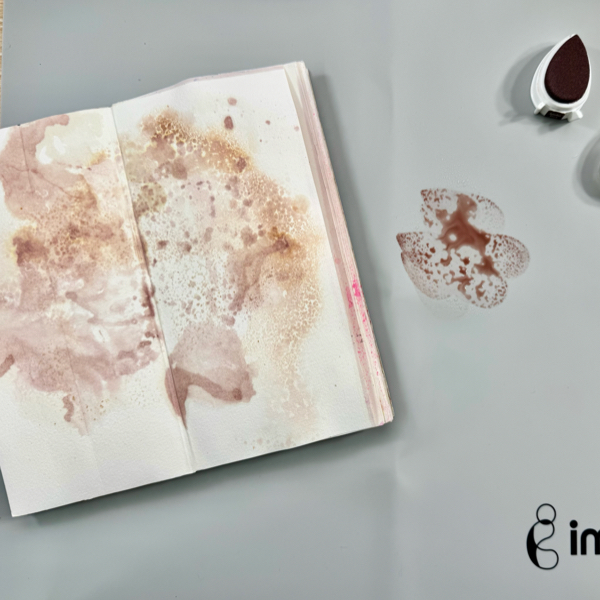
Step 1 I used my handmade traveler journal using watercolor papers and mixed media papers. You can use any mixed media journal you have.
Dab some of the VersaMagic Jumbo Java ink on the craft mat and spray with some water.
Smoosh the page (or paper) to the ink and dry it with a craft heat gun. Repeat this step to create the watercolor background.
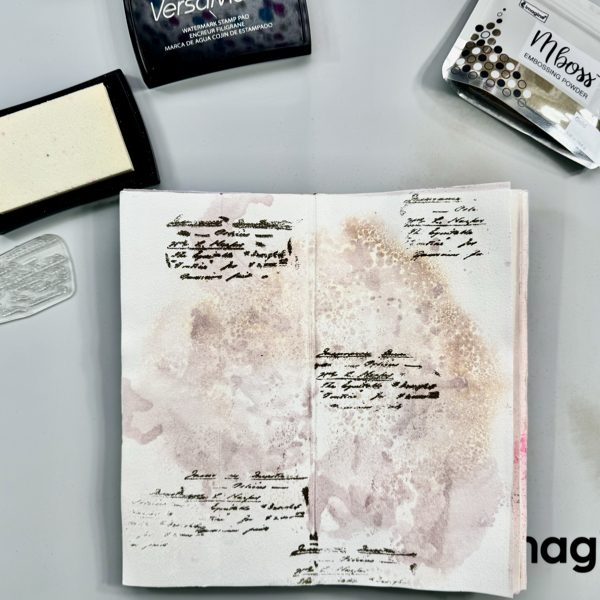
Step 2 Once the watercolored background dried well, add some of the anti-static powder to the page.
Stamp the script stamp on the page randomly with VersaMark ink and then add some of the Gold Mboss Embossing Powder to the page. Heat set the embossing powder with a craft heat gun.
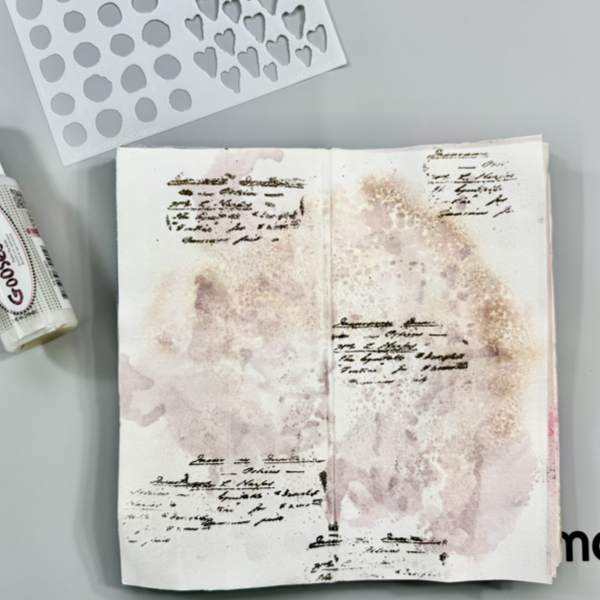
Step 3 Add the stencil to the page.
Add some of the GooseBumps Original (Dauber Top Bottle) to the page on the stencil randomly all over the page.
The best result is to let the GooseBumps texture spray dry naturally (about 2 hours) but I use a handheld fan to speed up the drying process to a few minutes. My suggestion is not to use a craft heat gun.
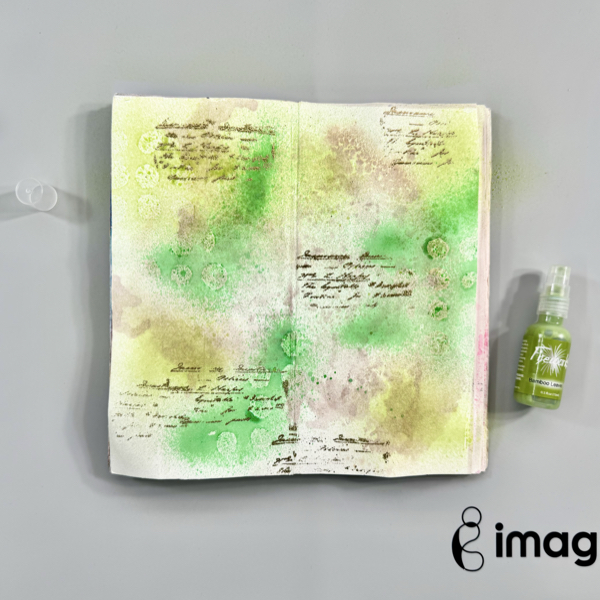
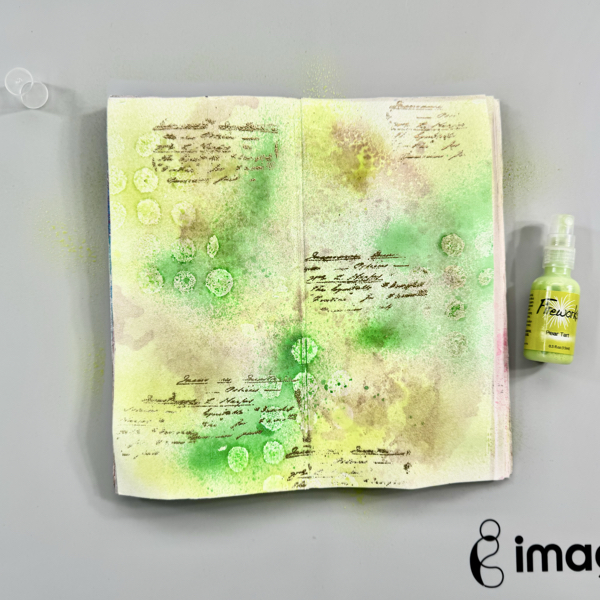
Step 4 Once the GooseBumps texture spray dry well, spray the Cottage Ivy Fireworks! Shimmery Craft Spray.
Dry the ink with a craft heat gun. Make sure to move the heat gun around, not stay too long at one spot to avoid melting the GooseBumps.
Dry the ink with a craft heat gun. Make sure to move the heat gun around, not stay too long at one spot to avoid melting the GooseBumps.
Step 6 And then, spray the Pear Tart Fireworks! Shimmery Craft Spray.
Dry the ink with a craft heat gun. Make sure to move the heat gun around, not stay too long at one spot to avoid melting the GooseBumps.
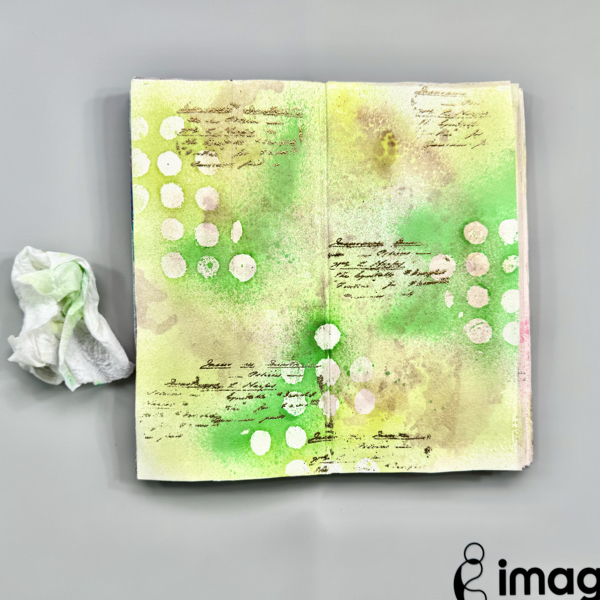
Step 7 Wipe the ink spray off using a clean slightly damp paper towel.
You can see the shapes start to pop out of the page adding fun texture to the background page.
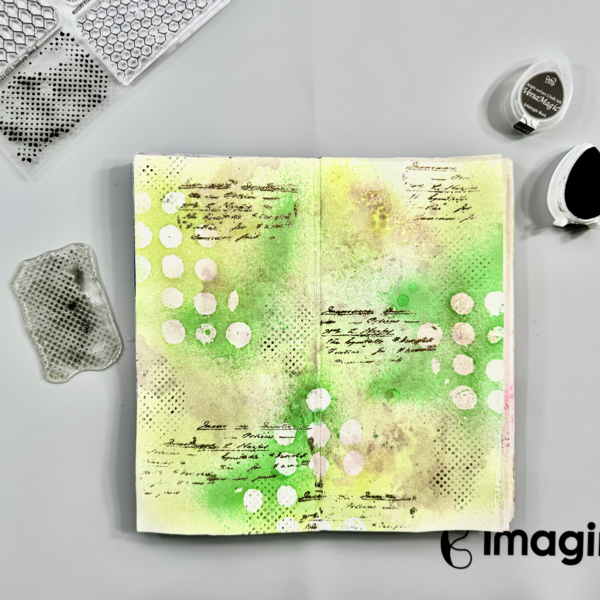
Step 8 Stamp the dots texture stamp randomly on the page with VersaMagic Midnight Black ink using first generation stamping technique.
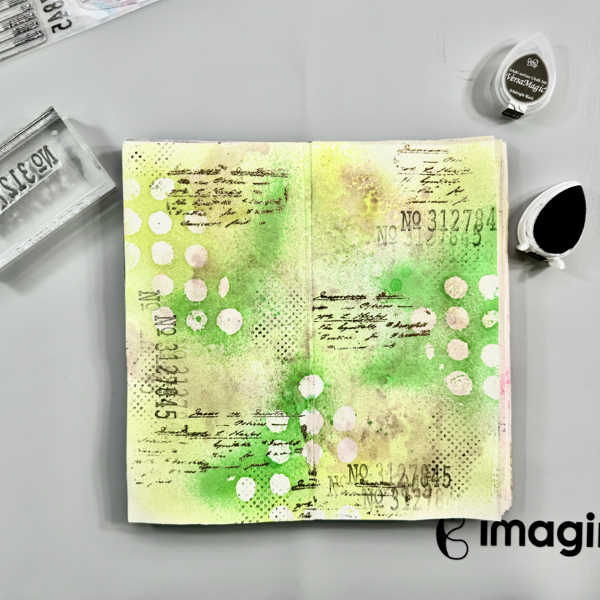
Step 9 Stamp the numbers texture stamp randomly on the page with VersaMagic Midnight Black ink using first and second generation stamping technique.
Step 10 Stamp the old ledger texture stamp randomly on the page with VersaMagic Jumbo Java ink using second and third generation stamping technique.
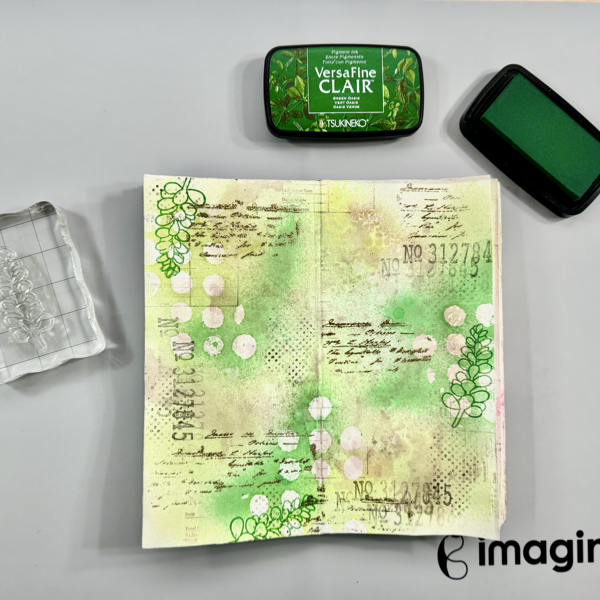
Step 11 Stamp the leaf branch stamp randomly on the page with VersaFine Clair Green Oasis.
Dry the stamped images with a craft heat gun.
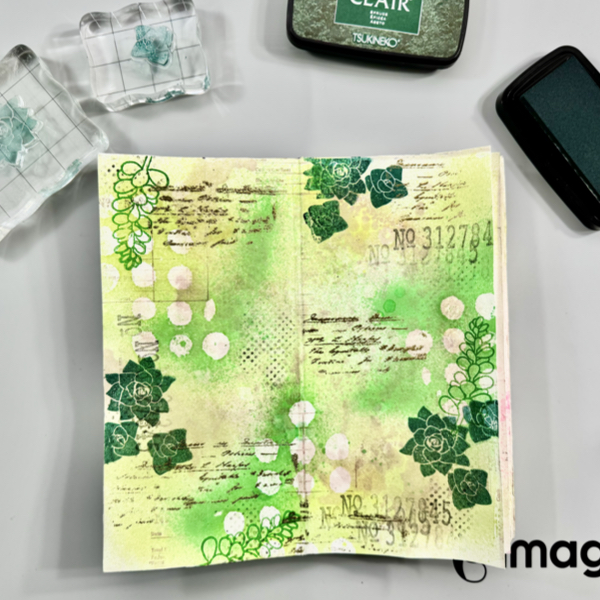
Step 12 Next stamp the cactus stamps randomly on the page with VersaFine Clair Spruce ink.
Dry the stamped images with a craft heat gun.
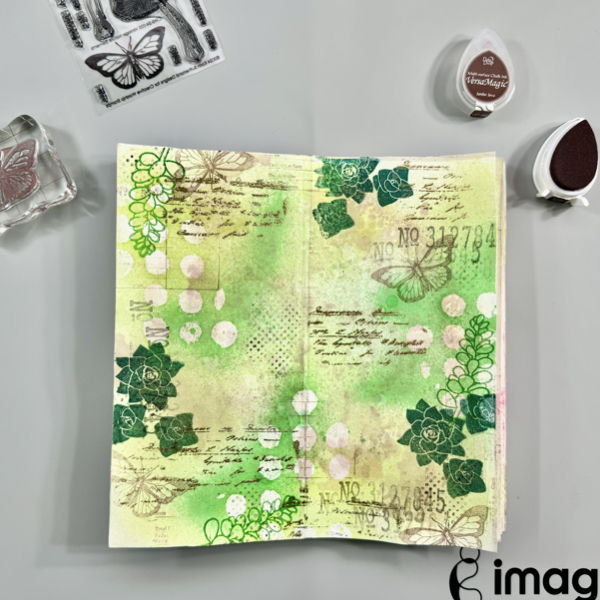
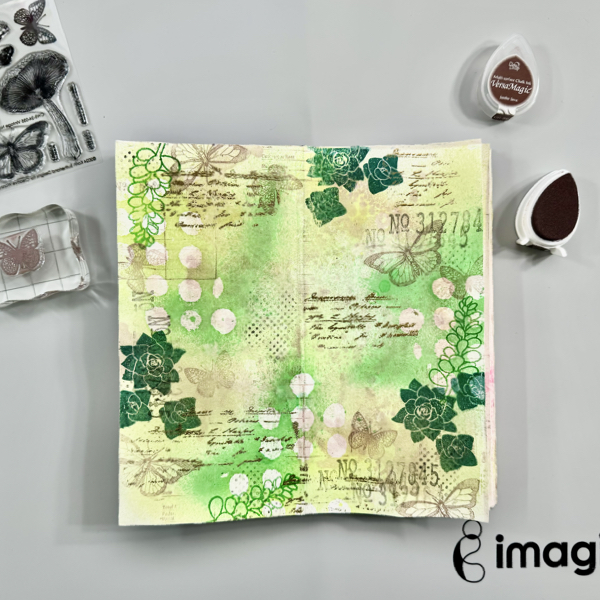
Step 13 Stamp the first butterfly stamp randomly on the page with VersaMagic Jumbo Java ink using second generation stamping technique.
Step 14 Stamp the second butterfly (smaller size) stamp randomly on the page with VersaMagic Jumbo Java ink using second generation stamping technique.
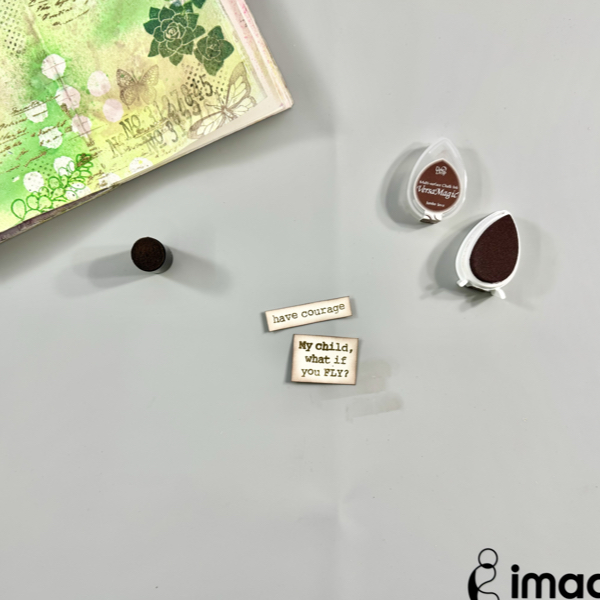
Step 15 On a white cardstock, stamp the sentiments with VersaMark Ink and then add some of the Gold Mboss Embossing Powder. Heat them with a craft heat gun.
Step 16 Trim the embossed sentiments into sentiment stripes with papercutter or scissors.
Add some of the VersaMagic Jumbo Java ink around the edges with finger sponge dauber to give them some shadow.
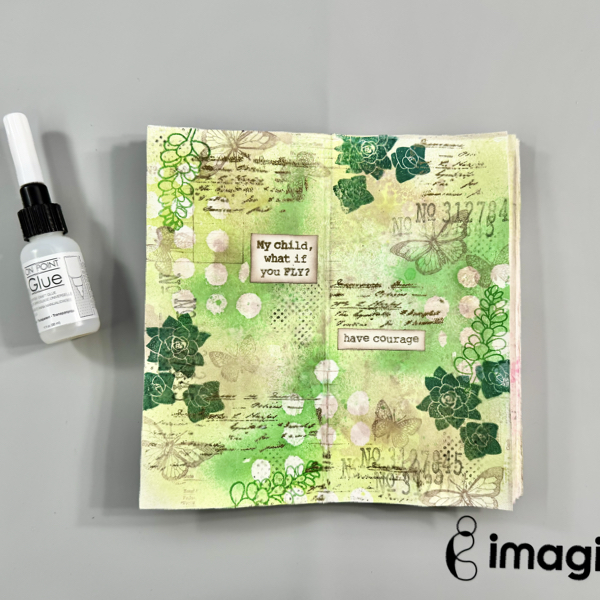
Step 17 Add the sentiments to the page with On Point Glue.
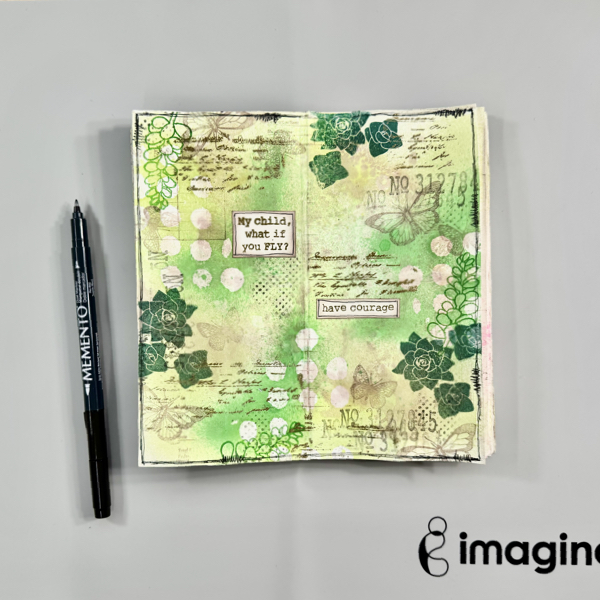
Step 18 Draw some border lines around the page and sentiment strips using the Memento Marker Tuxedo Black.
Step 19 For more texture, add some of the Cottage Ivy Fireworks! Shimmery Craft Spray to the page by tapping the sprayer tube.
Dry the whole page one more time with a craft heat gun.
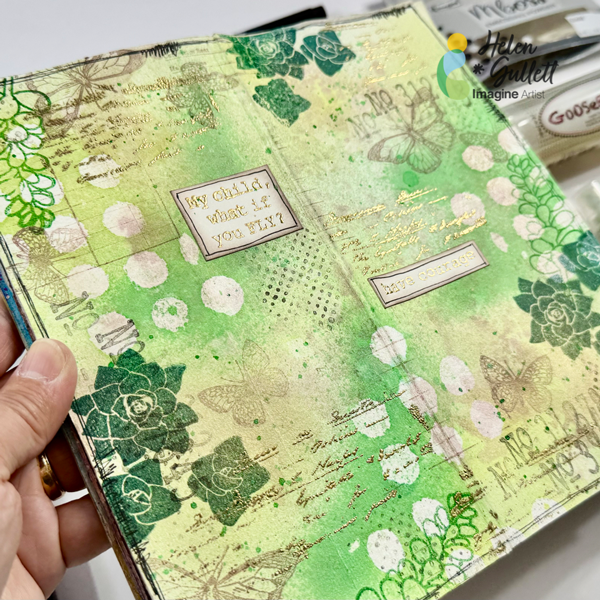
I tried to capture the shiny and shimmery on the page in this picture but it looks even more in real life.
I hope you enjoy today’s mixed media project. Thank you for visiting our blog, have a fabulous day.