By Jessica Lin
Skill: Beginner Time: 30 minutes
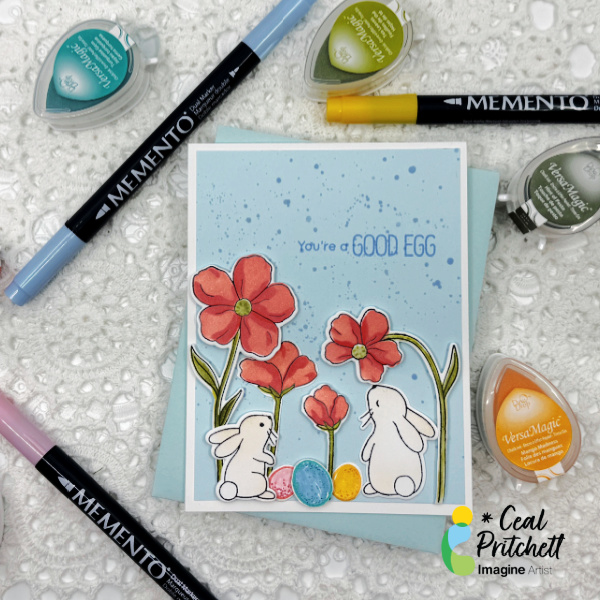
Hi everyone! It’s Jessica here. Are you planning on making a Mother’s Day card this year? I want to share a simple sketch that you can use with any layering stencils you may have.
Let’s begin crafting!
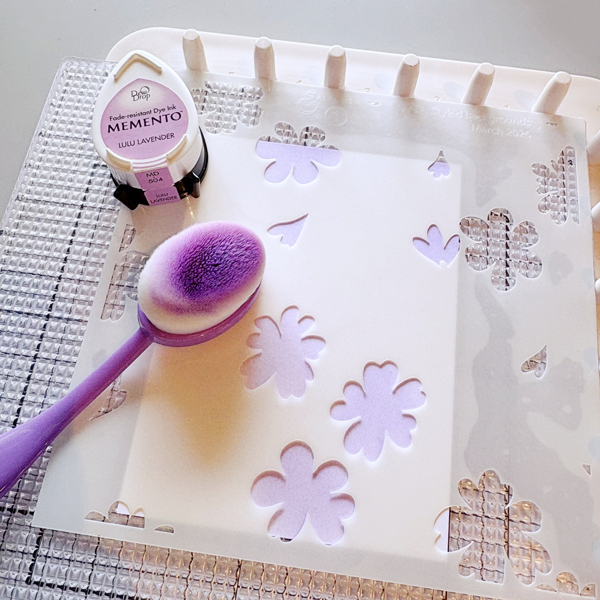
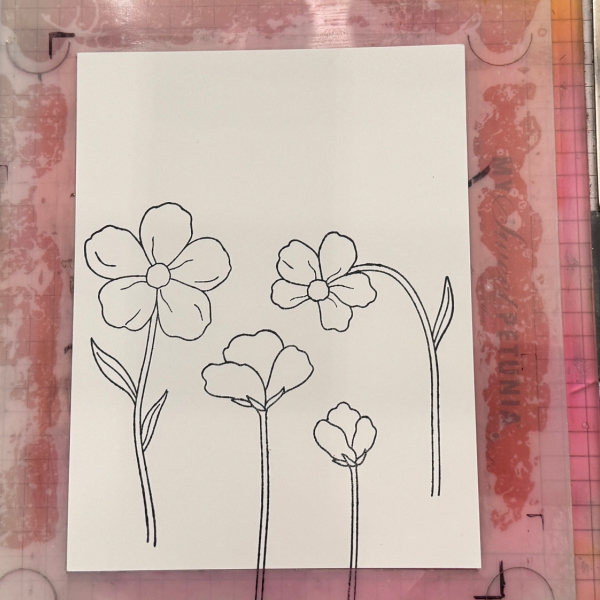
Step 1:
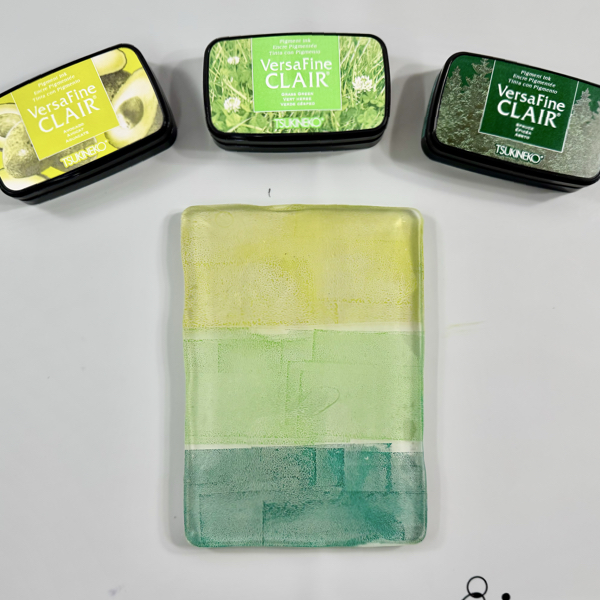
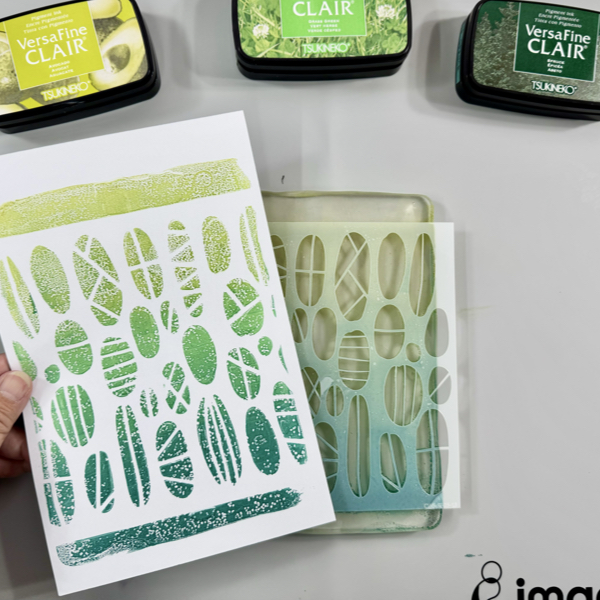
I am using Altenew’s Styled Background layering stencil set for today’s card. Let’s start by trimming a piece of Classic Crest Solar White to 3 ½’’ x 4 ¾’’. After that, we can start ink blending stencil 1 with Memento Lulu Lavender ink.
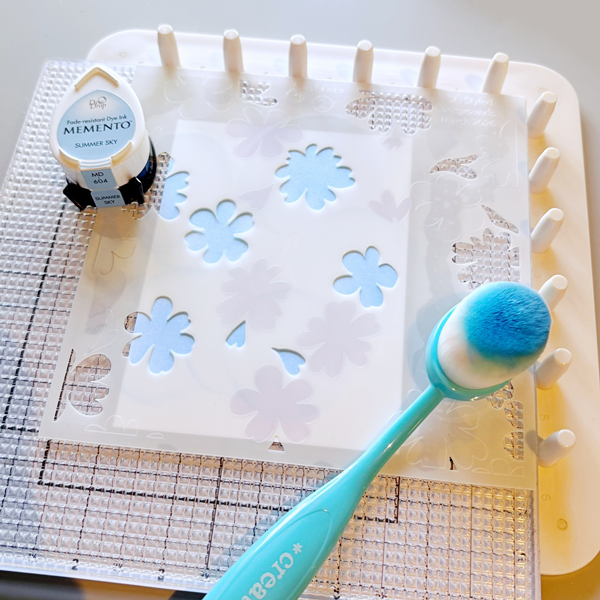
Step 2:
Next, ink blend Memento Summer Sky ink with stencil 2. I really like the idea of separating the floral images into two layers; it gives us so much creative freedom and the color combination is endless!
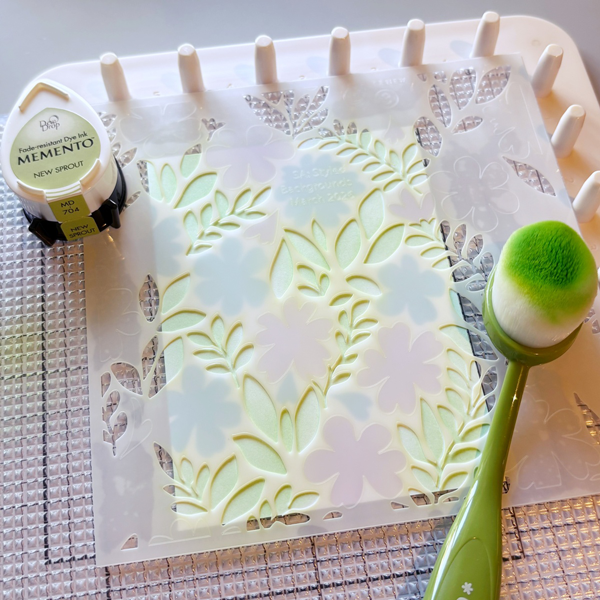
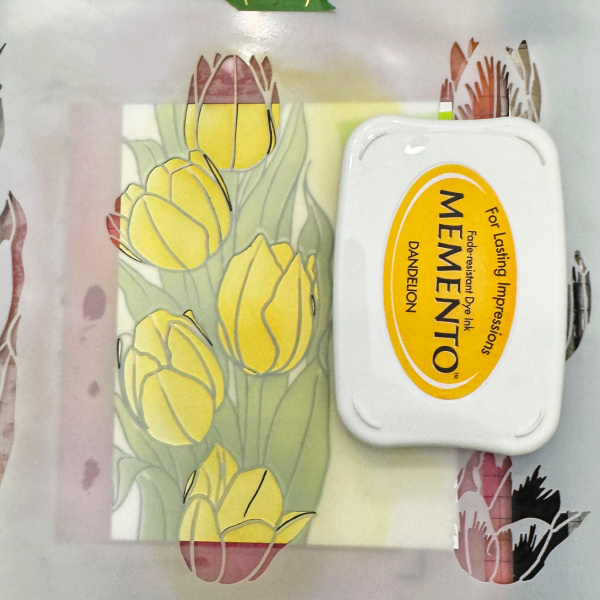
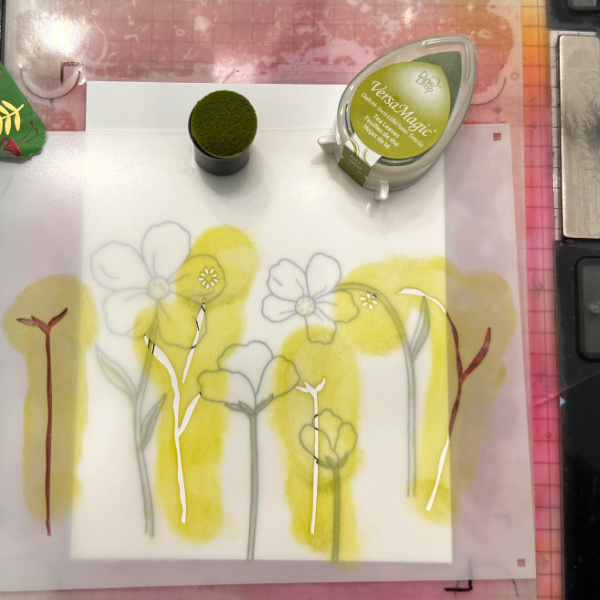
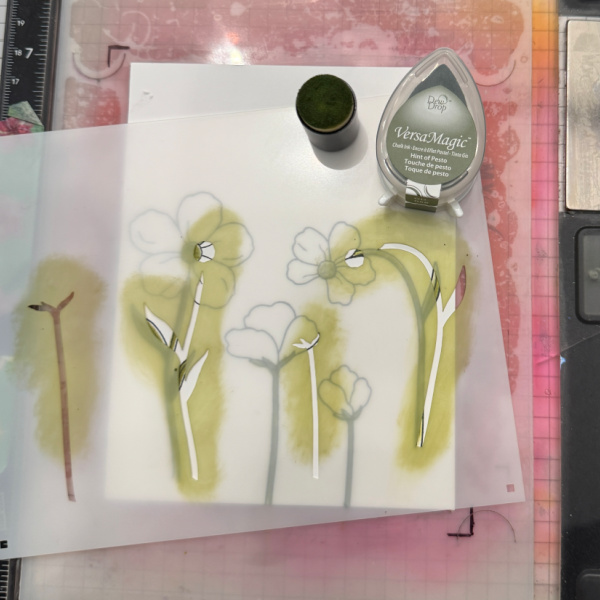
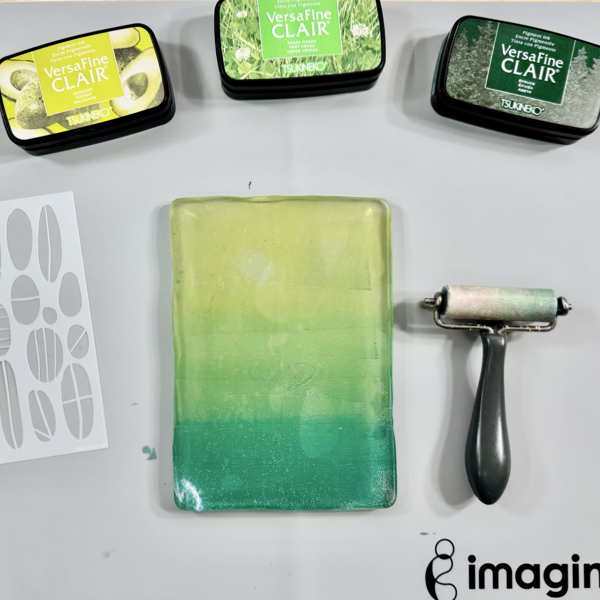
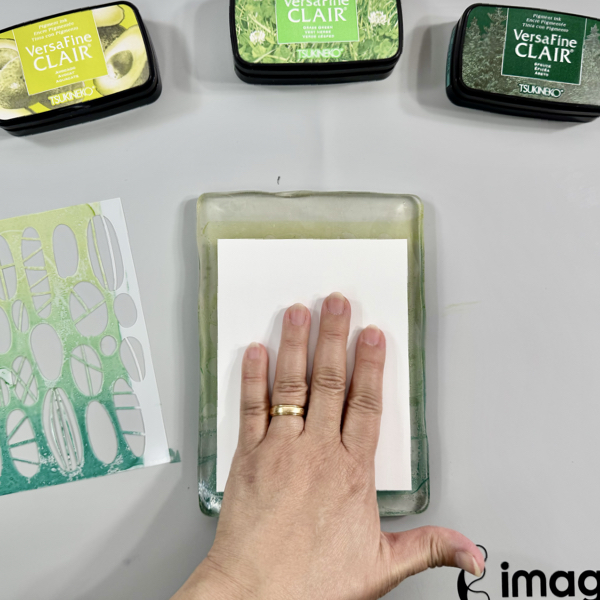
Step 3:
Stencil 3 is the base layer for leaves. I used Memento New Sprout ink. It may be difficult to spot in this photo, but I created a color gradient by blending more ink in some areas and having a lighter hand for others.
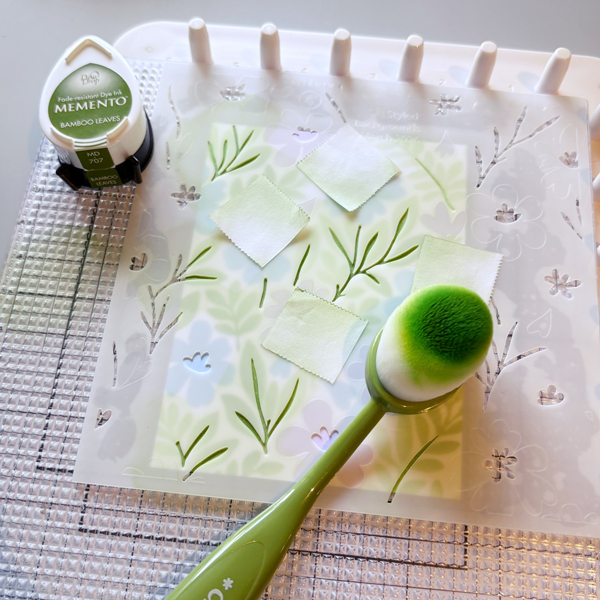
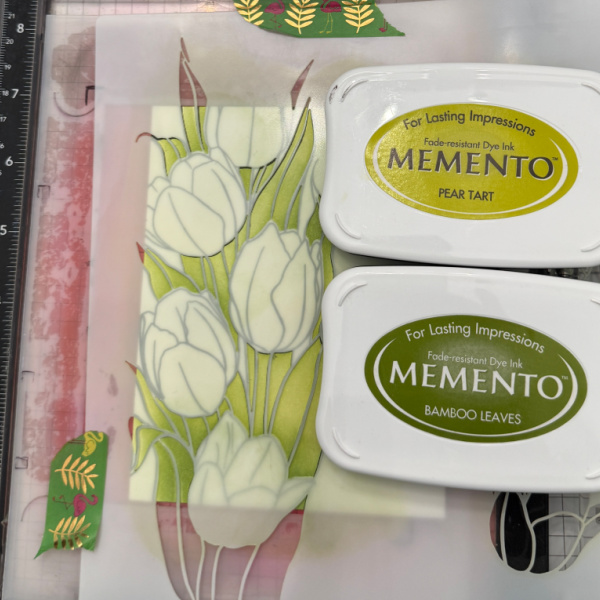
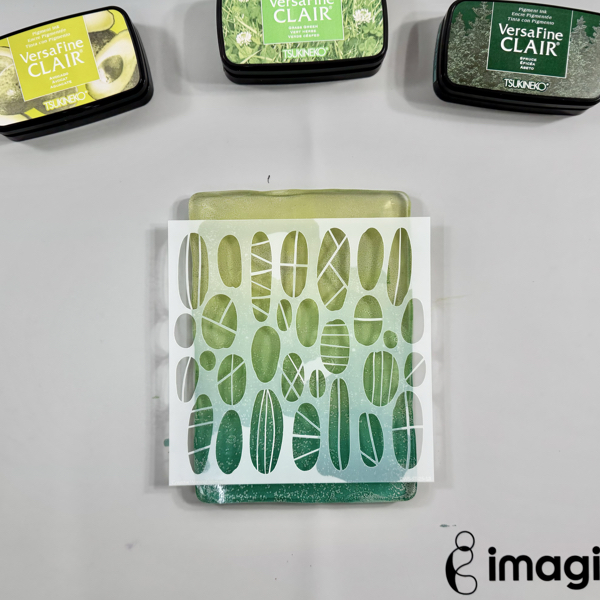
Step 4:
Now that the base images are ink blended, we can start with the layering. Stencil 4 includes leaf stems, and I used Memento Bamboo Leaves ink. This stencil also contains floral centers. Since the stems and floral centers are quite close to each other, I had to mask some areas while ink blending. If you have smaller blending brushes, you could skip the masking step.
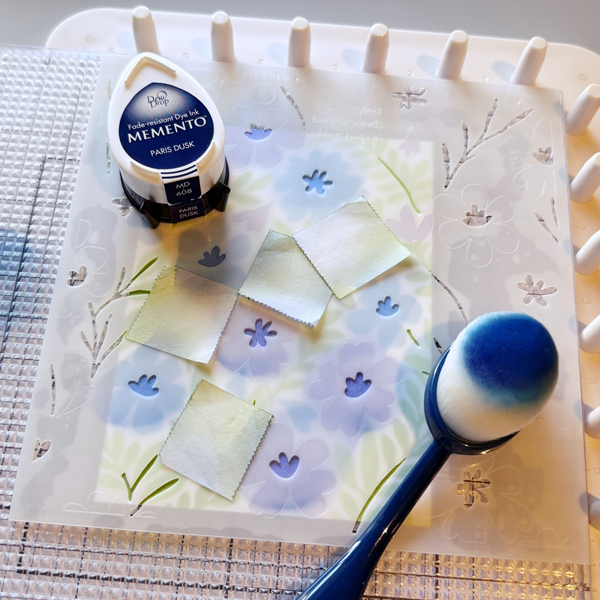
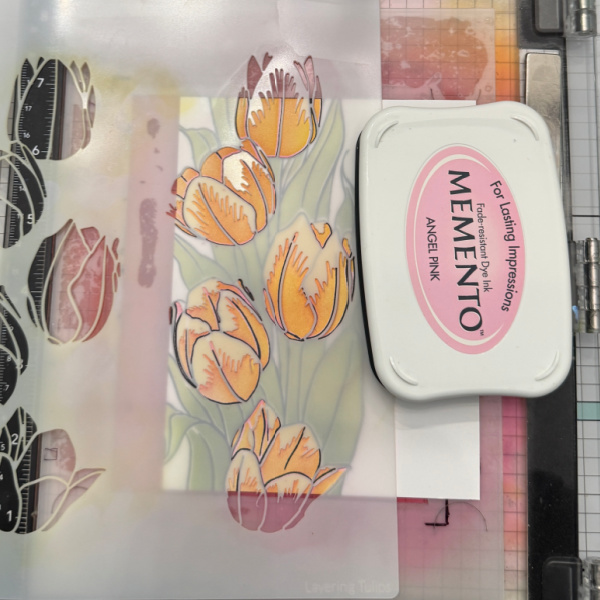
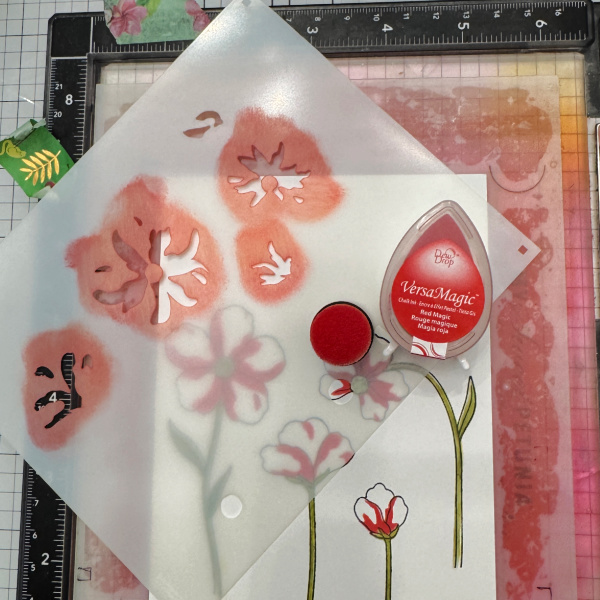
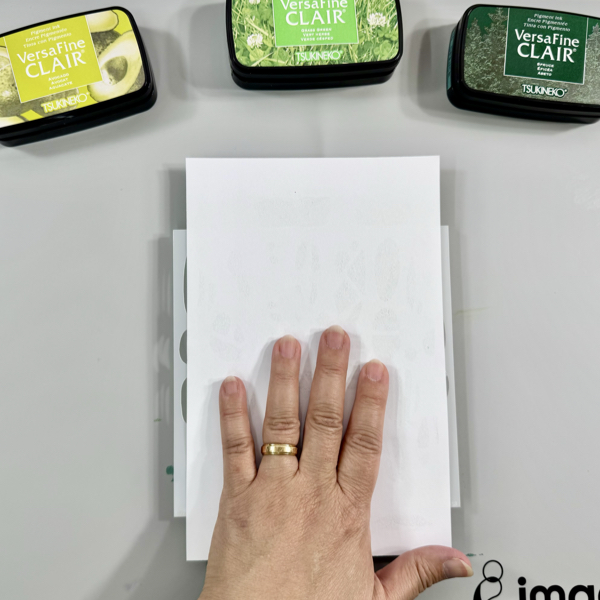
Step 5:
I used Memento Paris Dusk ink to ink blend the floral centers.
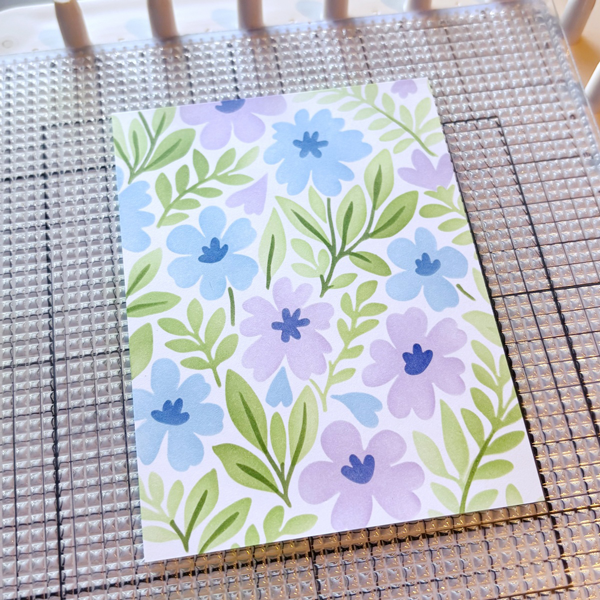
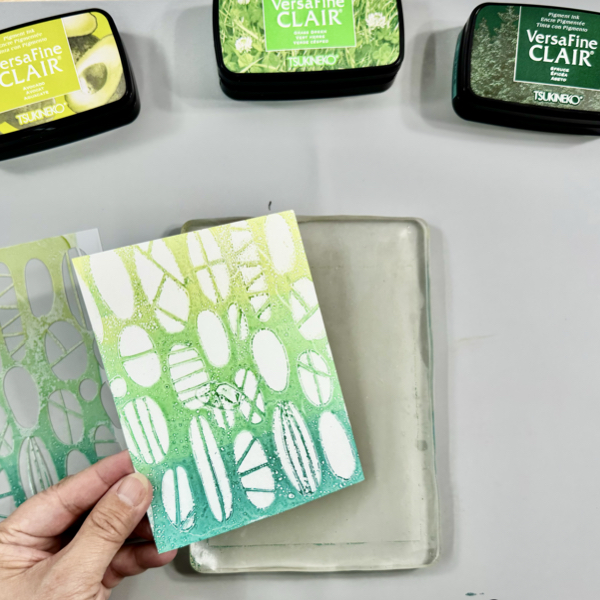
Step 6:
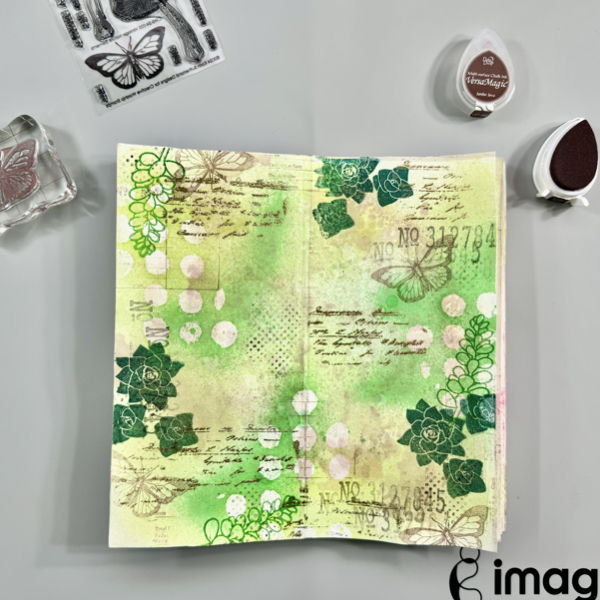
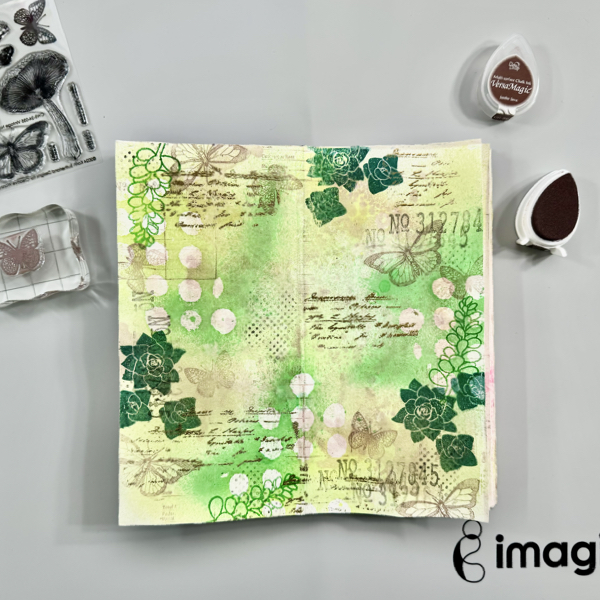
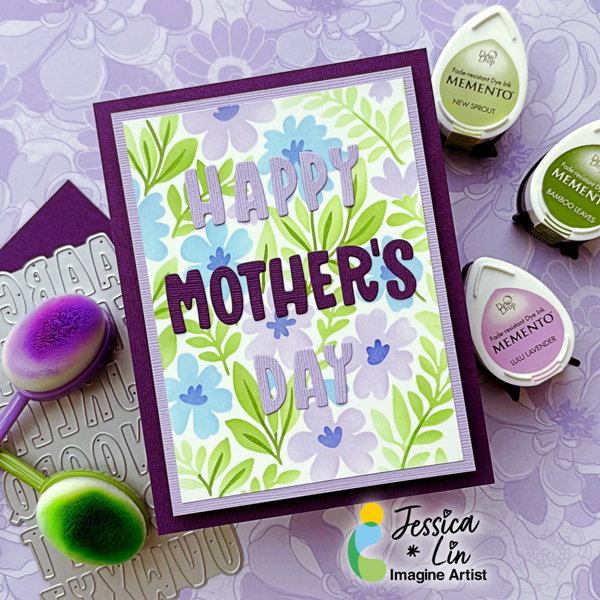
This is what the background panel looks like after ink blending all 4 layers. I love the look of soft, pastel colors and am so pleased with the final result.
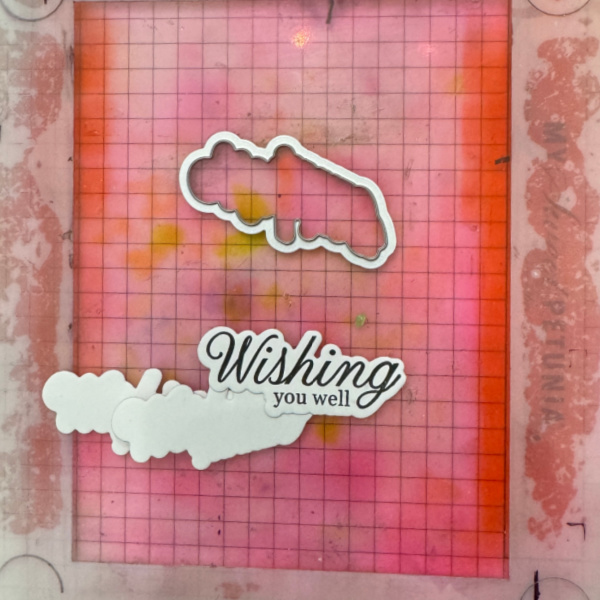
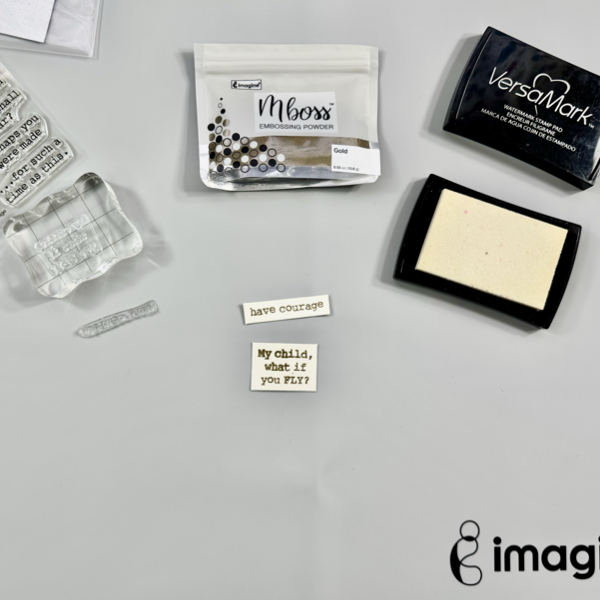
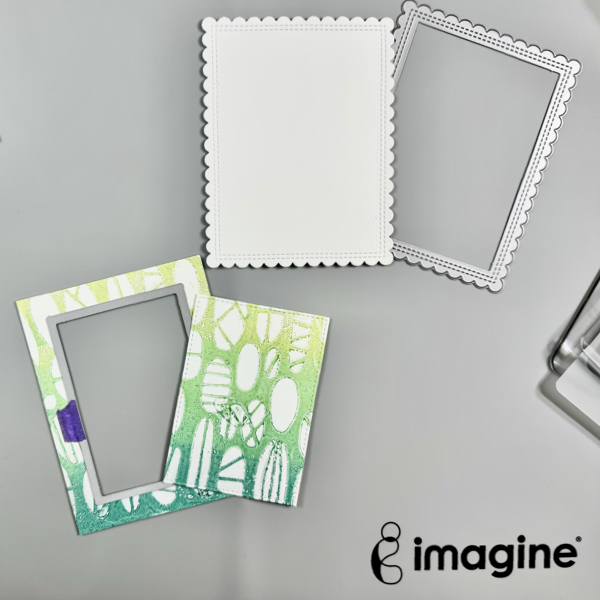
Step 7:
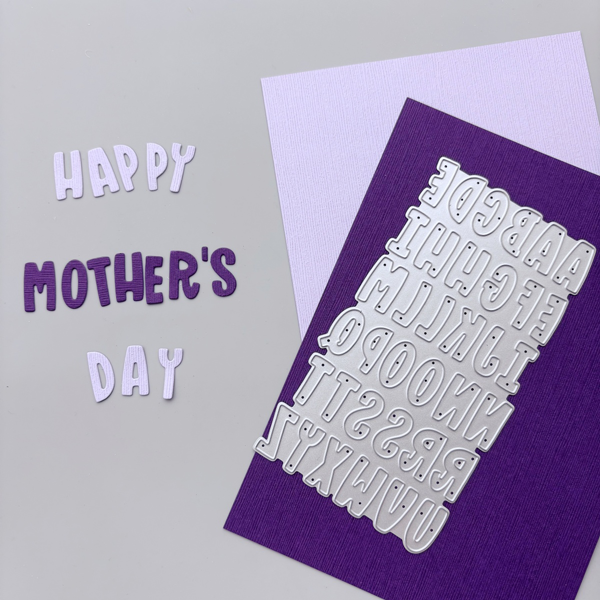
After ink blending, we are ready to add the sentiment of the card. I chose Stampin’ Up’s Mini Alphabet die to spell out “Happy Mother’s Day”, but you could use any sentiment die you may have. I decided to die cut with CutCardStock DCS Hydrangea Purple and Plum Purple for some added contrast. These cardstock have a smooth side and a textured side; I opted for the textured side today.
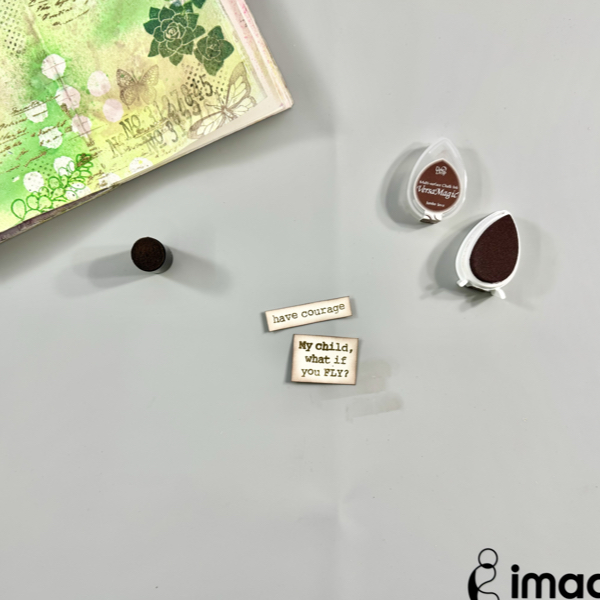
Step 8:
Next, trim a piece of CutCardStock DCS Hydrangea Purple to 3 ¾’’ x 5’’ and mount the ink blended panel on top. Then adhere it to a CutCardStock DCS Plum Purple card base. Finally, apply On-Point Glue to the back of the letter die cuts and adhere them to the card panel to complete the card!
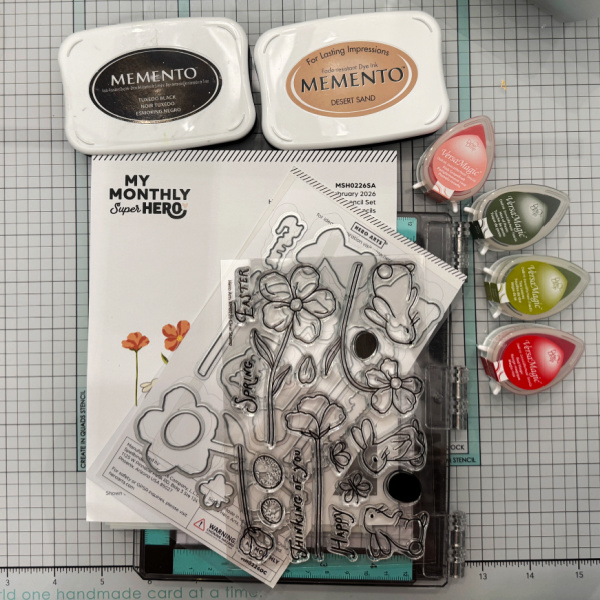
Craft Supplies:
Imagine Supplies:
- Memento – Lulu Lavender, Summer Sky, New Sprout, Bamboo Leaves, Paris Dusk
- On-Point Glue
- StazOn Cleaner
- Tear-It! Tape
- Craft Mat
Other Supplies:
- Altenew – Layering Stencil – Styled Backgrounds
- Stampin’ Up! – Dies – Mini Alphabet
- Ink Blending Brushes
- CutCardStock – Cardstock – Classic Crest Solar White
- CutCardStock – Cardstock – Hydrangea Purple, Plum Purple