by Roni Johnson

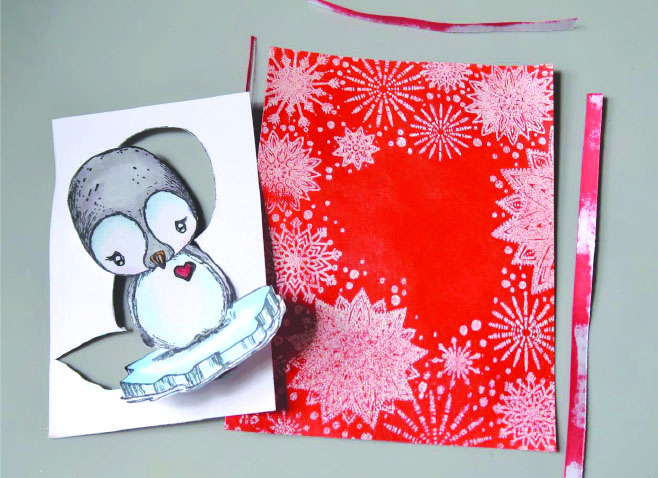
It’s that time of the year to kick making into full gear. It is easier to create when you narrow your focus and choose a color scheme to work with. This year I have chosen Berry, Blue and Silver. I knew I wanted to make some “Mail-able Ornaments” for my far away friends. MBoss embossing powders are just the ticket!
Skill: Intermediate
Time: 15 minutes per ornament
Directions

Step 1
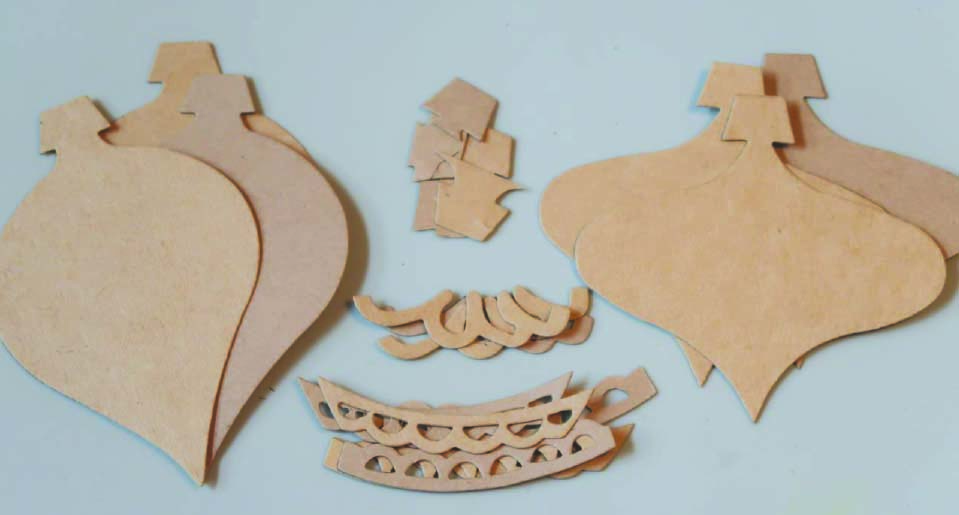
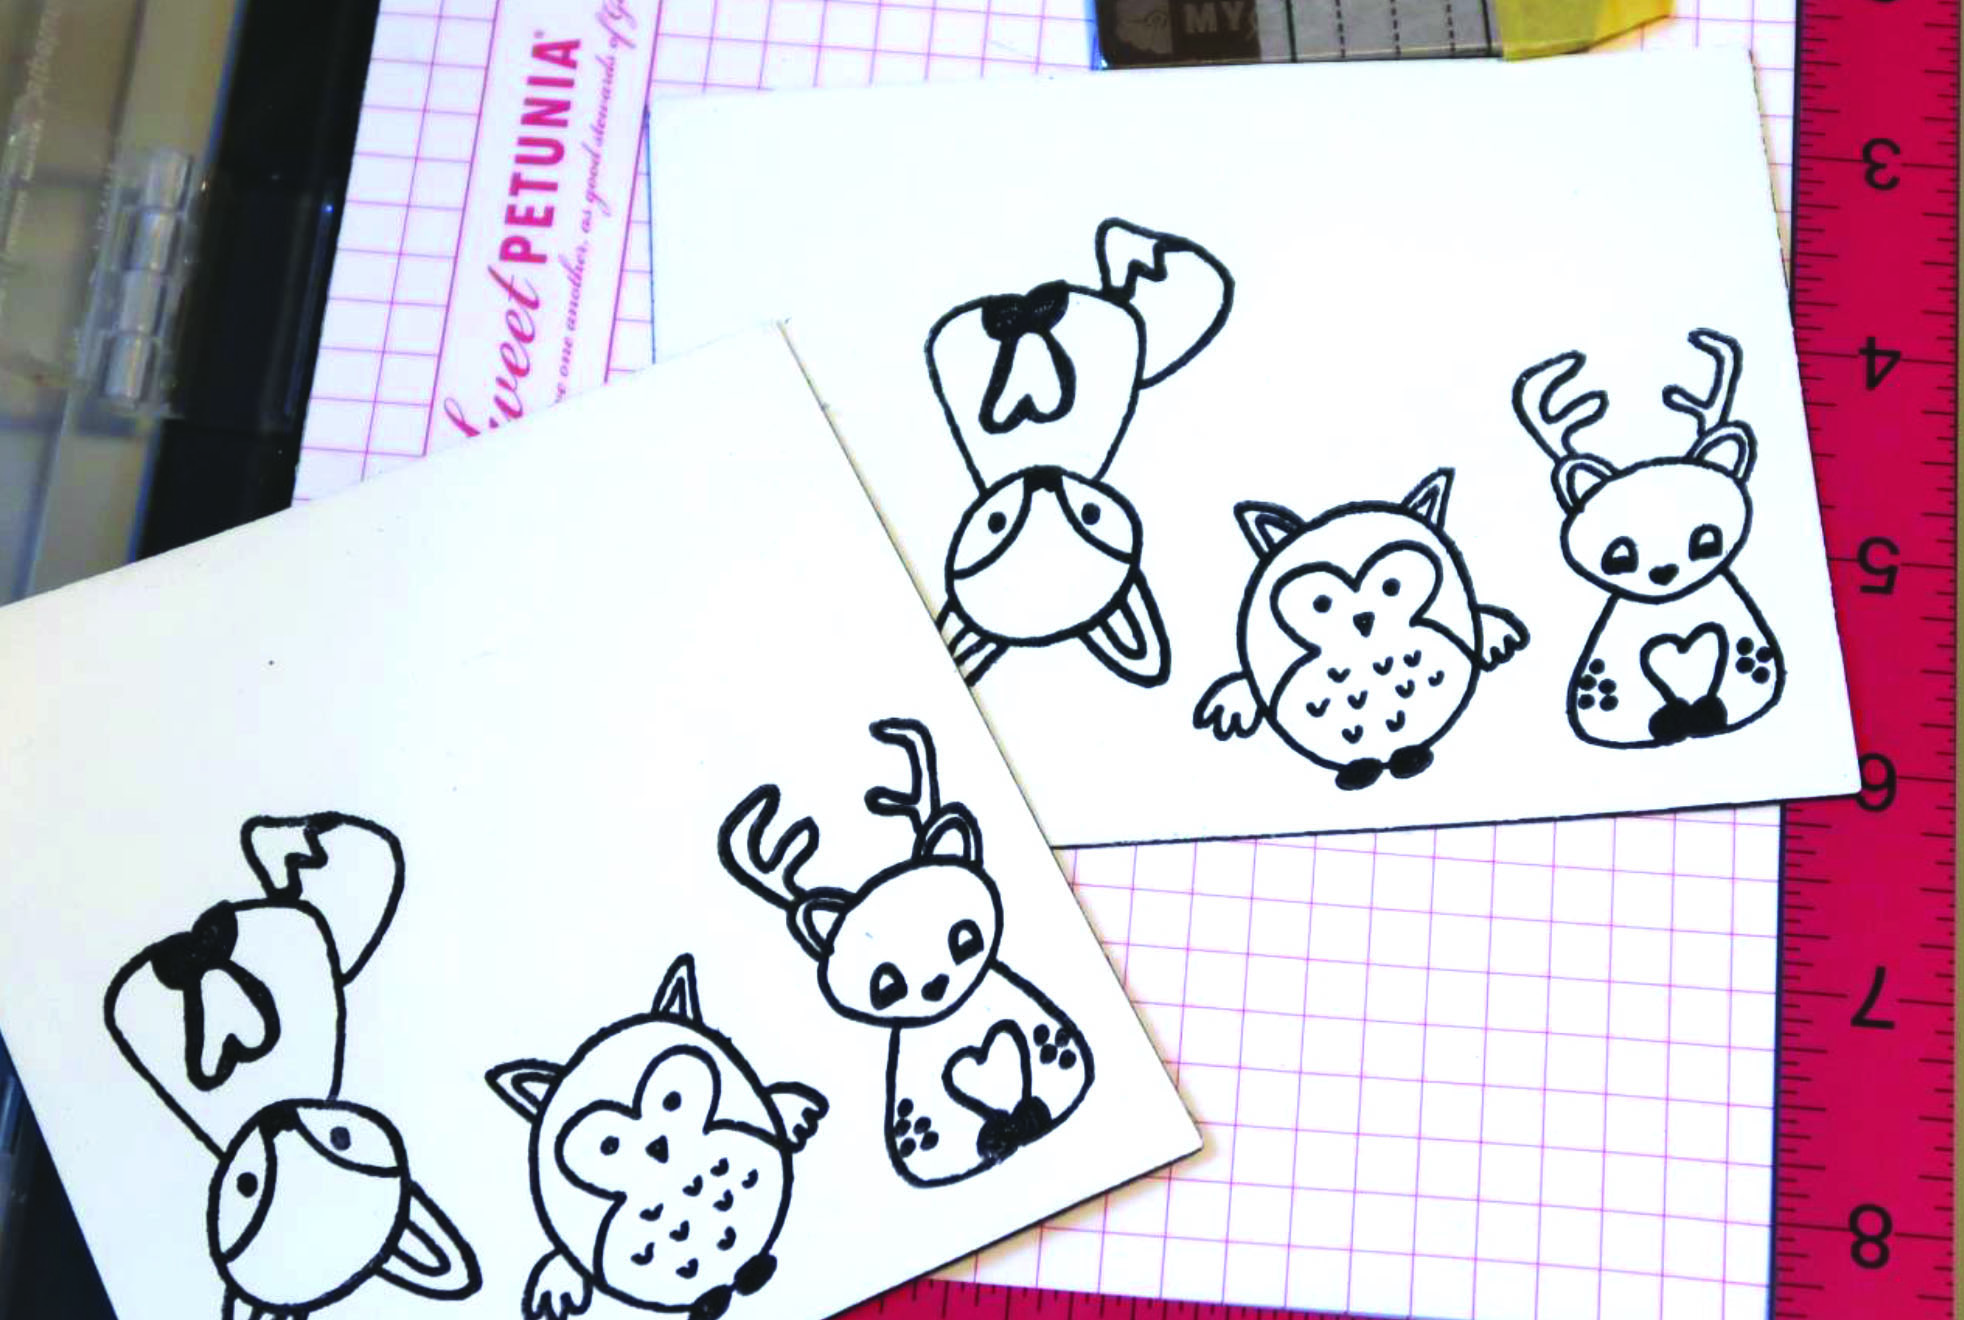
Die-cut or hand cut desired ornament shapes from a medium weight chipboard. I used the ornament die from Sizzix.

Step 2

Pounce the ornament on a VersaMark pad until the entire ornament has been covered with the ink.

Step 3

Pour desired color of Mboss embossing powder over the ornament, shake off and reserve excess powder for future use.

Step 4
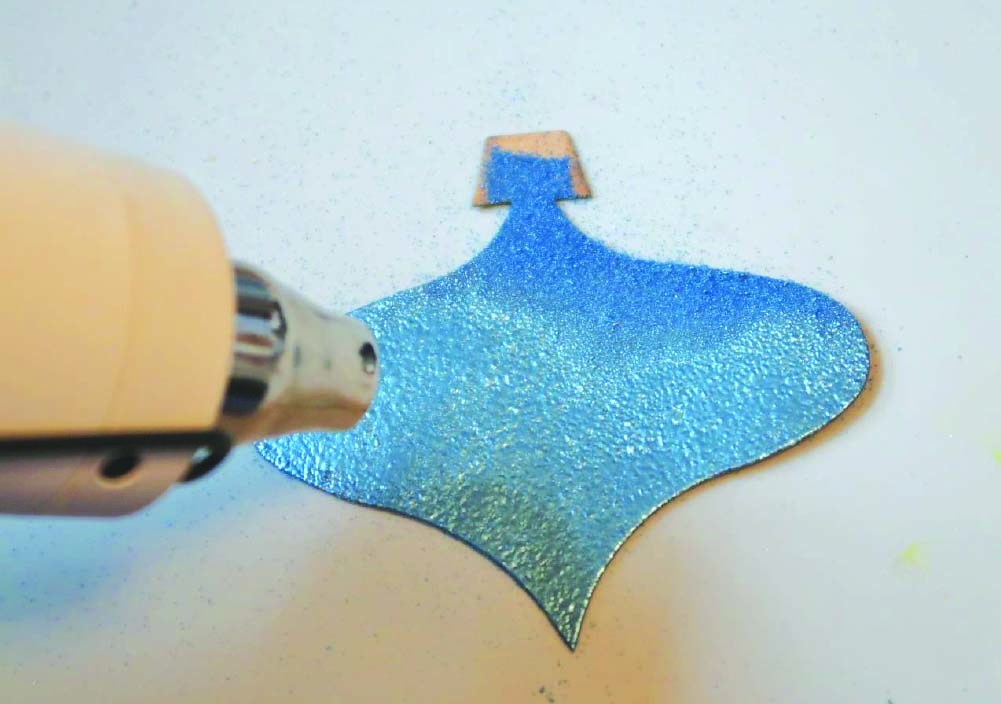
Use a heat tool to melt the embossing powder and let cool.

Step 5

Repeat steps 2 – 4 one or two more times creating a thick molten layer of embossing powder over the ornament.

Step 6
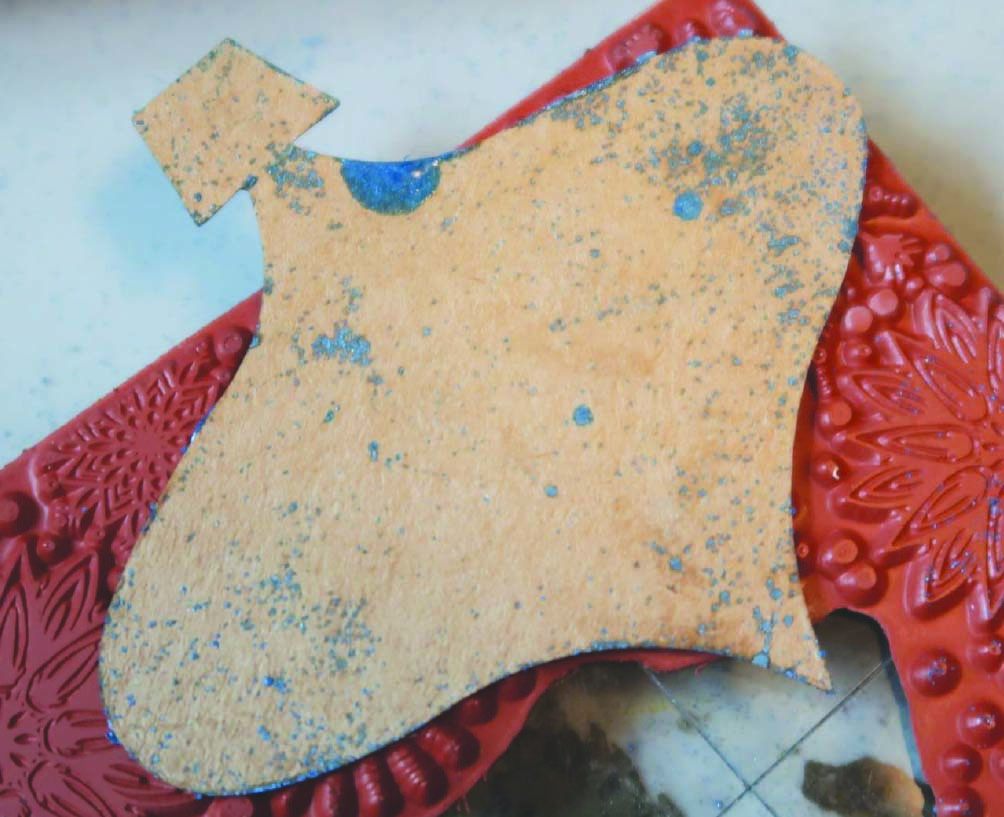
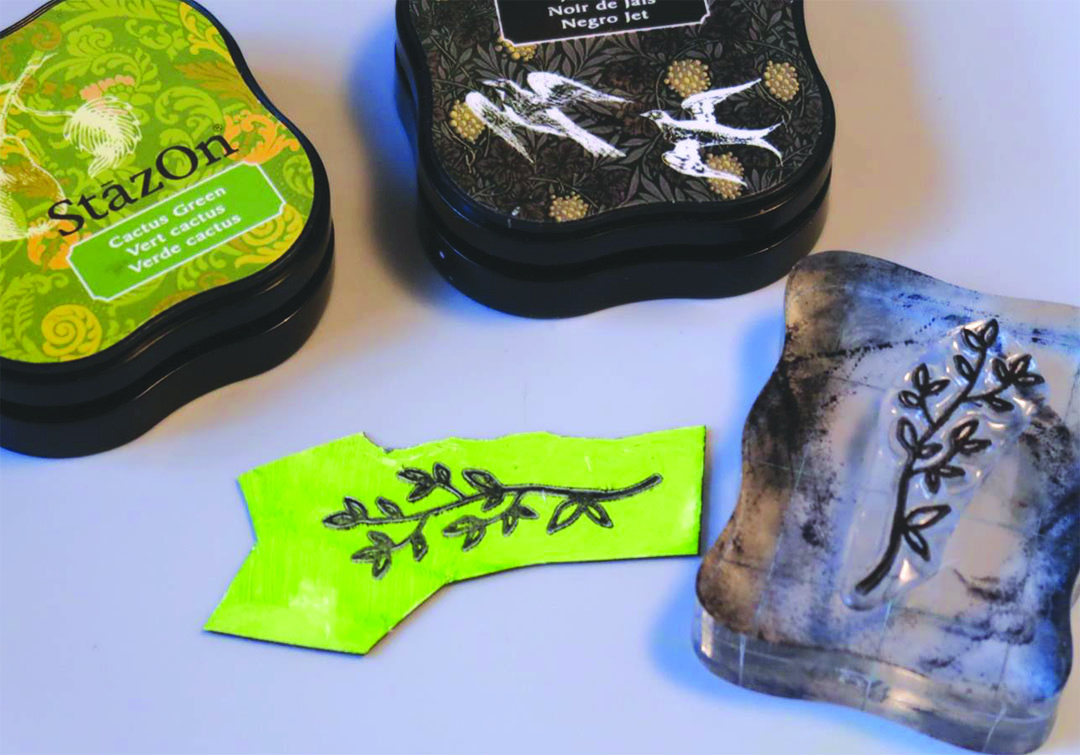
Immediately after the final melting cycle press a stamp into the molten embossing powder and let the embossing powder cool. Note: the molten embossing powder will not damage the stamp.

Step 7

After the embossing powder has cooled, peel the ornament from the stamp.

Step 8
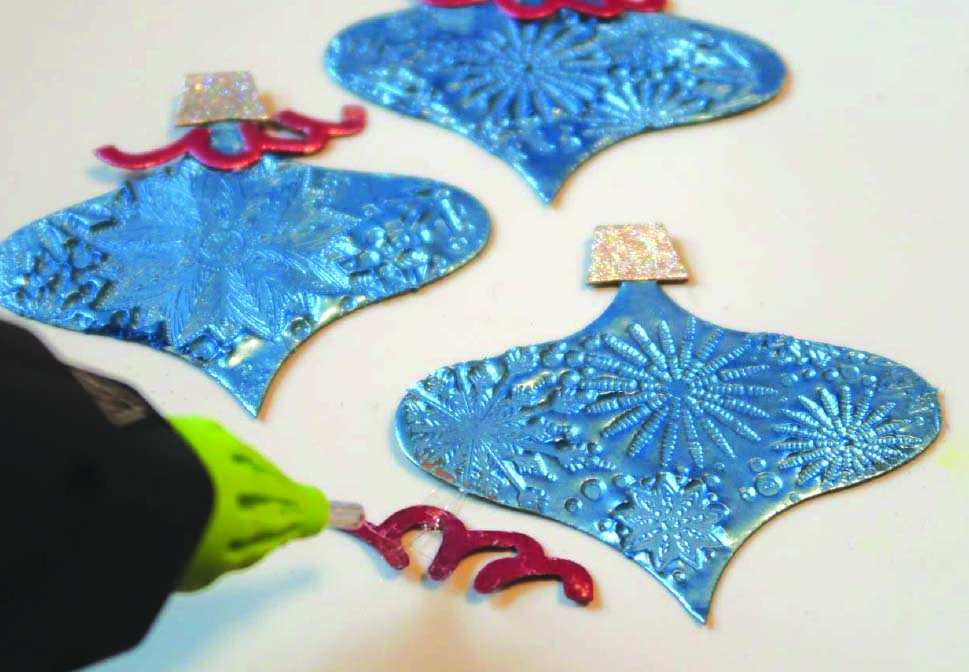
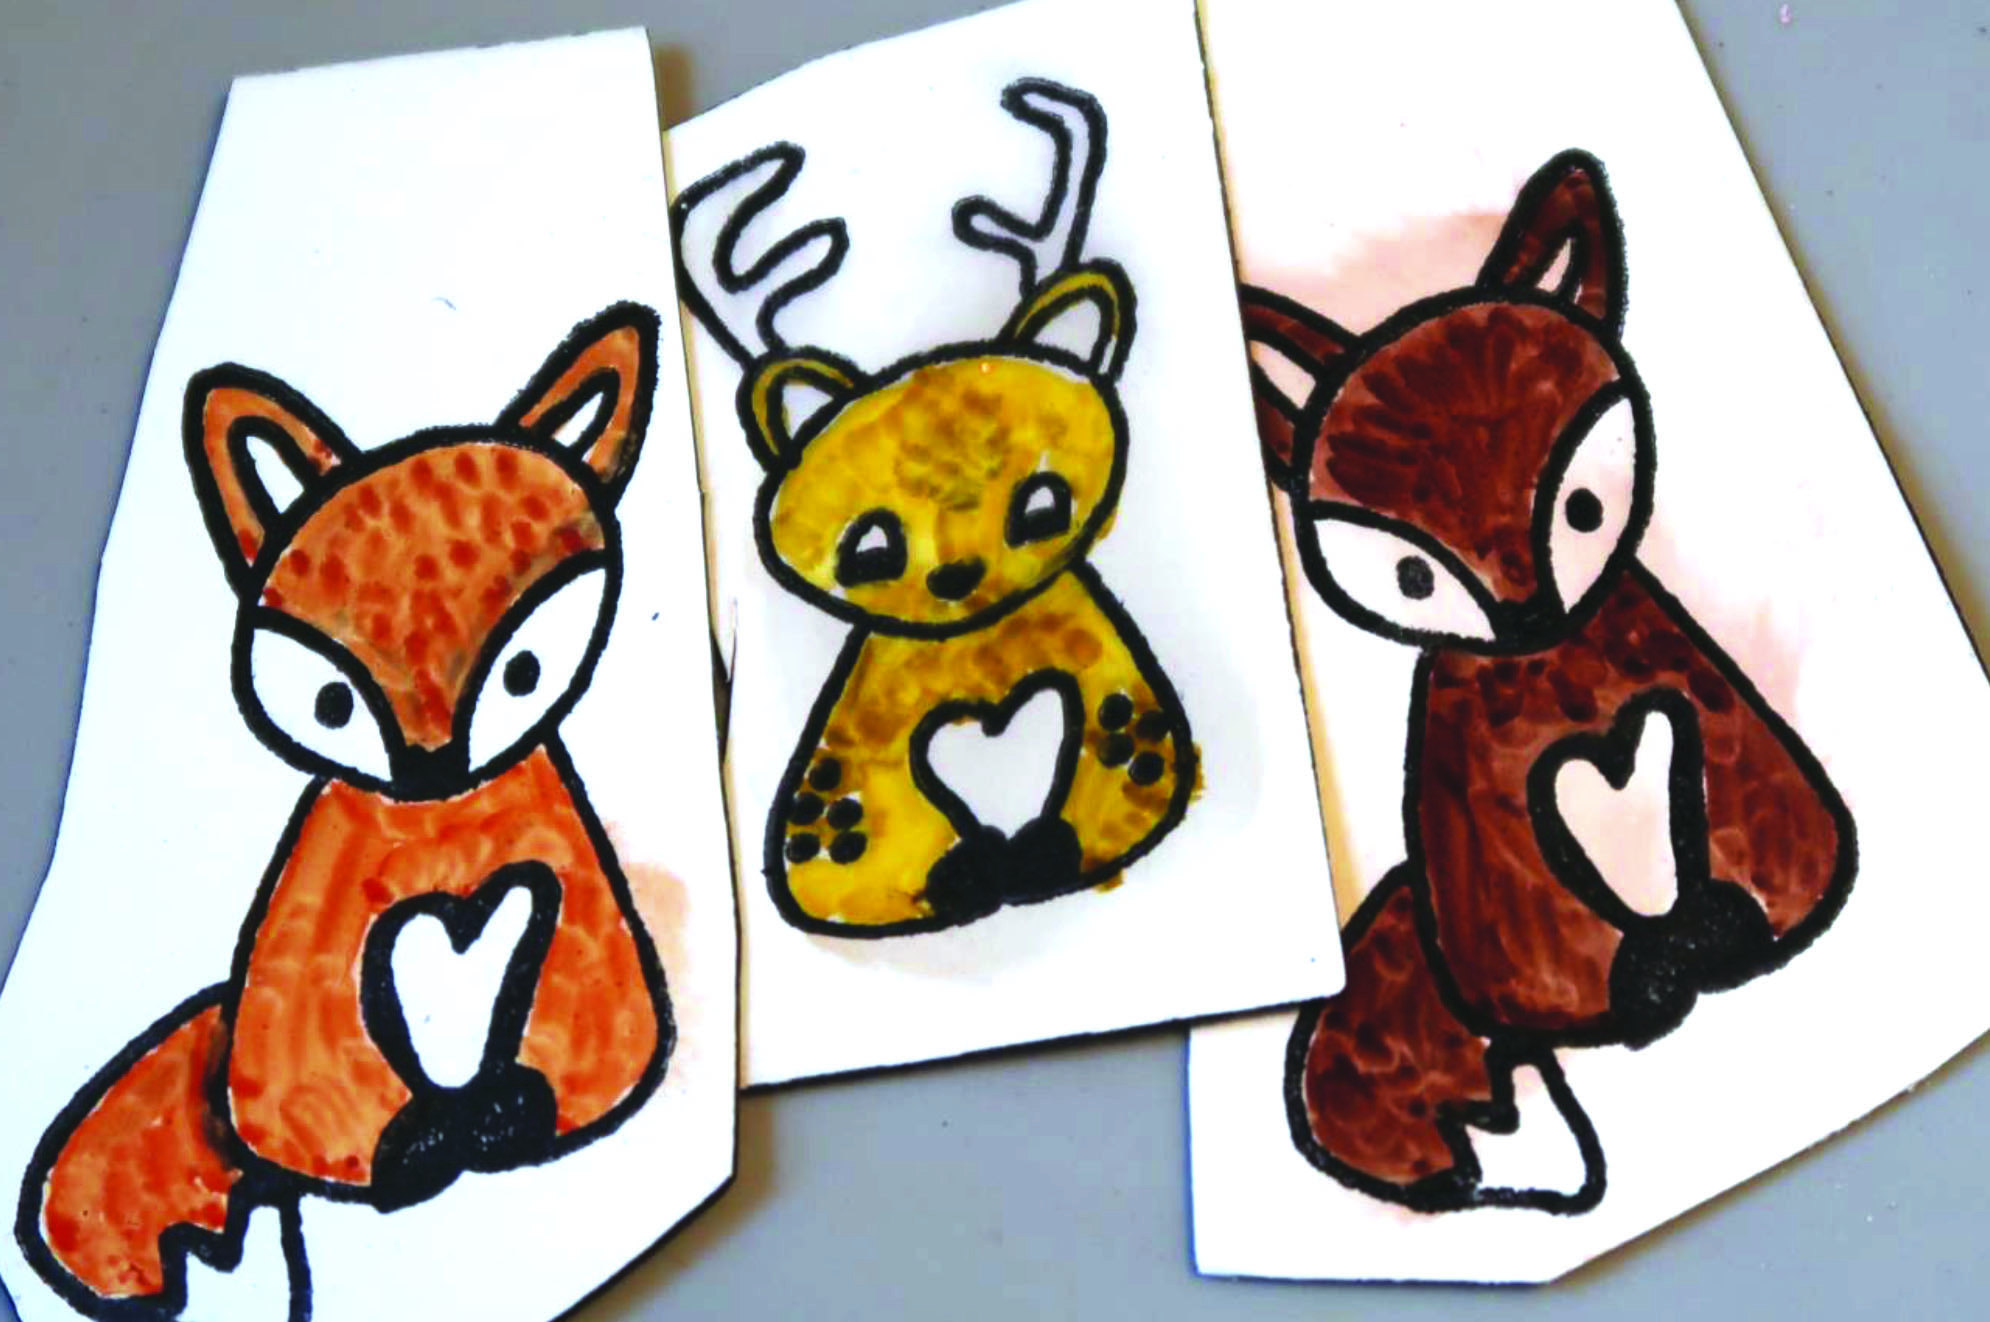
Embellish the ornaments as desired.

Step 9

Add a length of stretch cord for a hanger.

Supplies
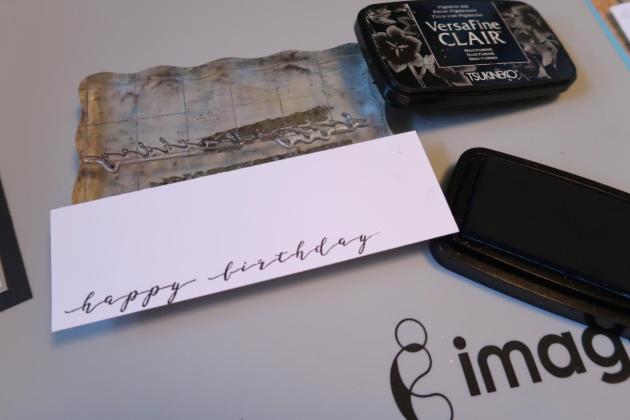
Imagine
- VersaMark Ink
- Mboss – Metallic Berry, Icy Blue, Hologram
Other
- Chipboard
- Sizzix Ornament Die
- Unity Stamp Co – Burst of Snowflakes, Trees
- Silver Stretch Cord