By Alison Heikkila –
Hello! It’s getting close to the end of the school, so I thought it was time to make cards for teachers that have worked so hard this year (and every year!). If you have a stamp set with coordinating dies, I’ve got some fun techniques that you can recreate. We’ll be using 2 types of masks and several colors of Memento inks.
Skill Level: Intermediate to Advanced
Time to Complete: Approx. 20-30 minutes
Directions:

Step 1:
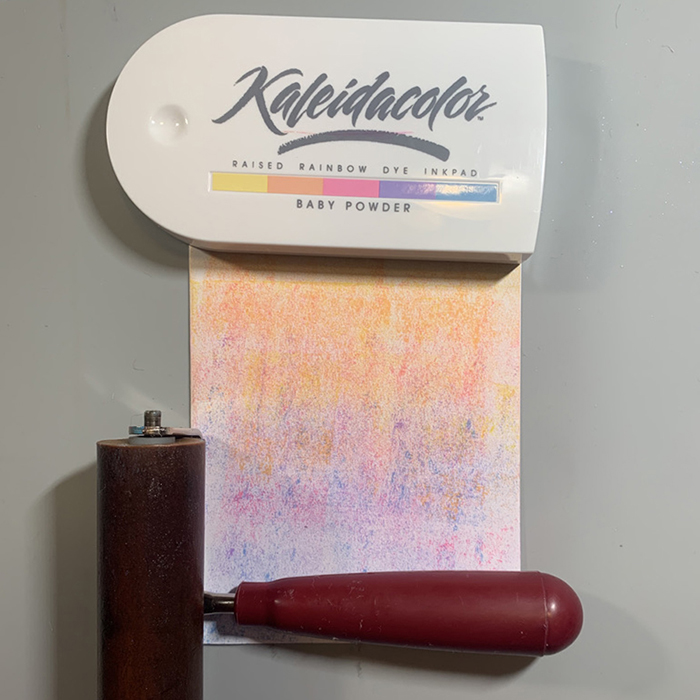
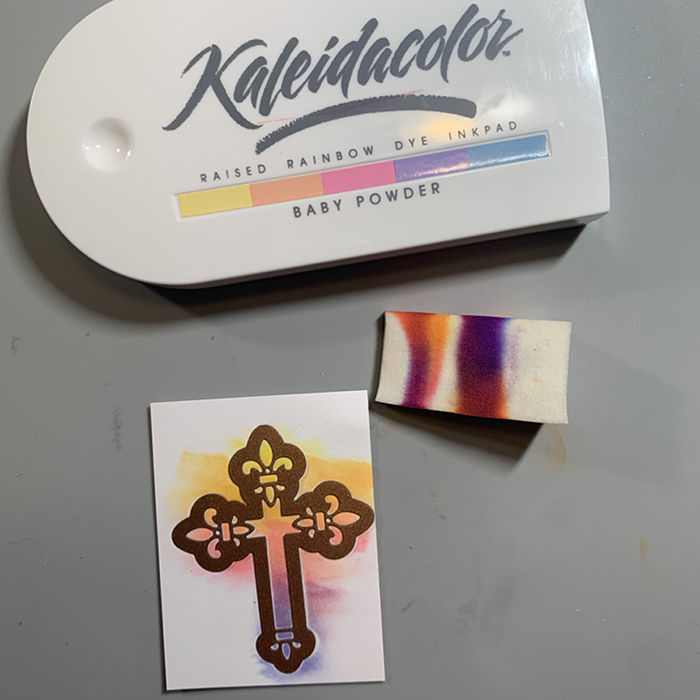
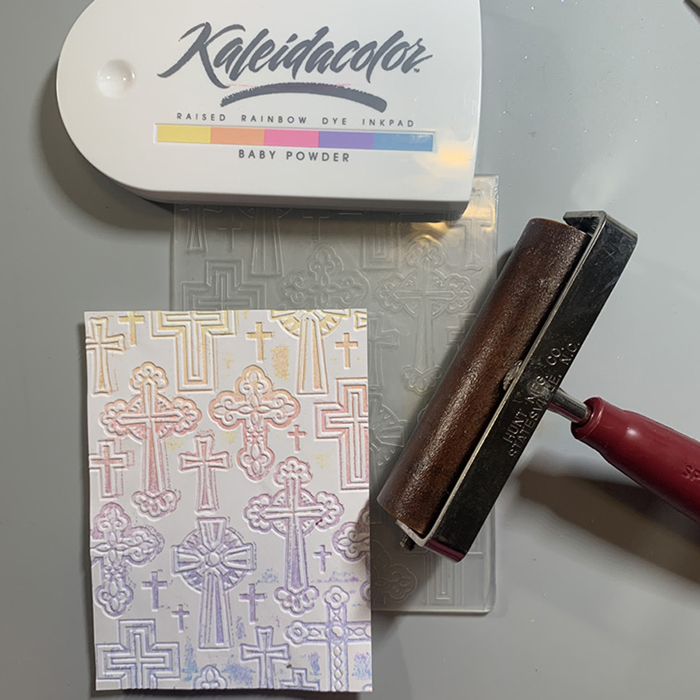
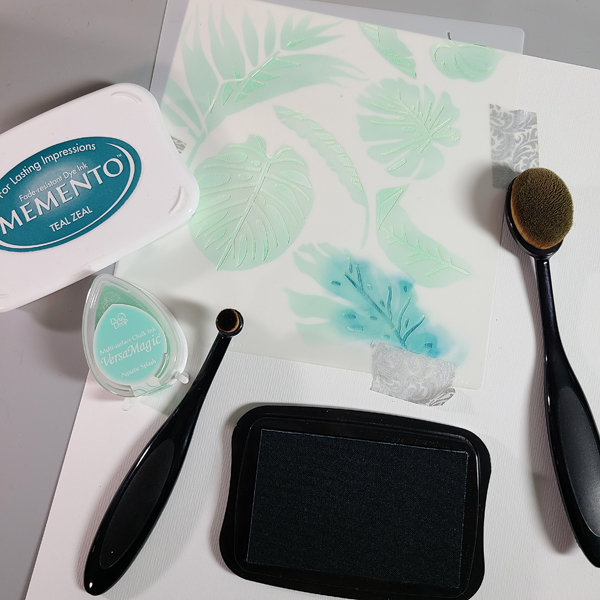
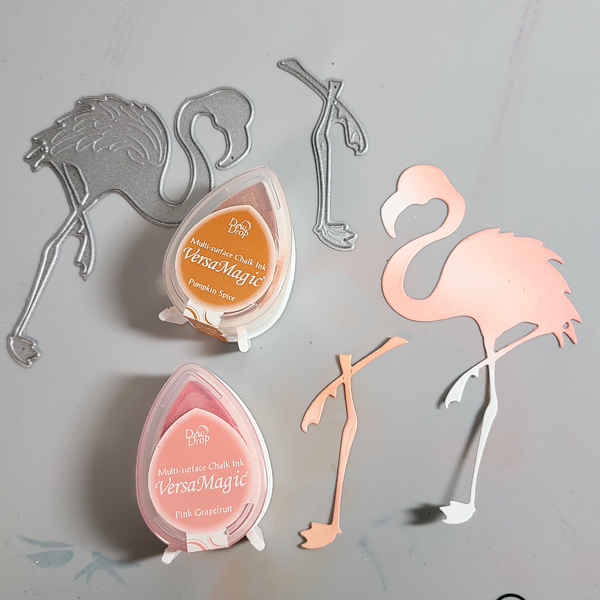
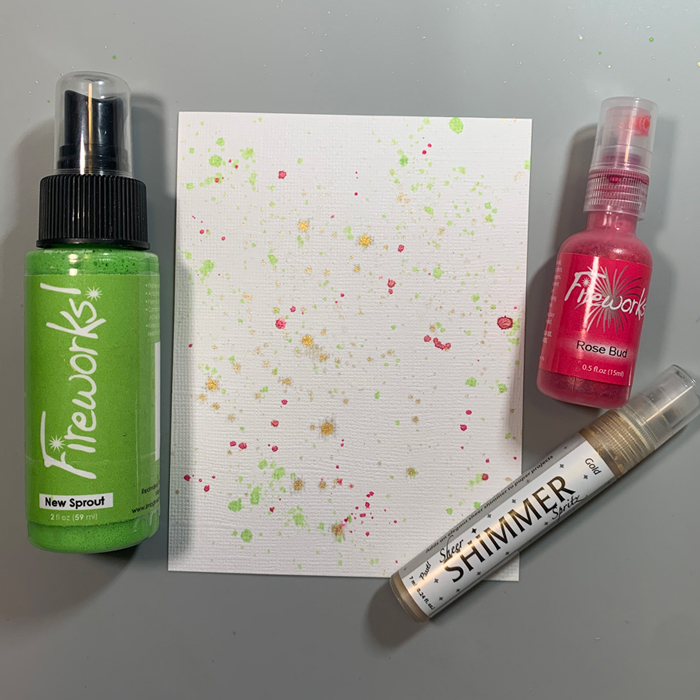
Let’s grab all of our supplies. Be sure to have focal images, a sentiment, the dies, and plenty of ink. We’ll be using Memento Inks because they blend so nicely.
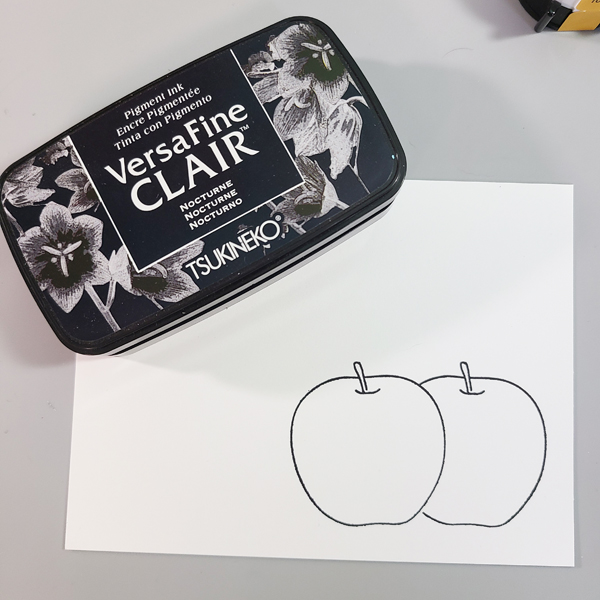
Step 2: On a piece of white cardstock, cut to 4” x 5 1/4,” stamp the apple with Nocturne Ink. This is the apple that will be in the front.
Step 3: Stamp an additional apple on some scrap paper and fussy cut it out. You could use the die for this, but I wanted to get right up to the edge of my apple. This will be our first type of mask.

Step 4:
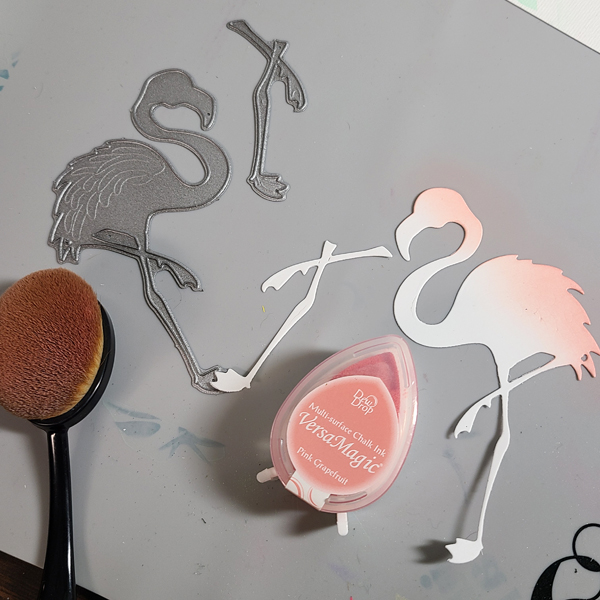
Place the fussy cut apple on to the one you stamped on your card front (you can use some low tack glue to hold it in place if you like). Then stamp your second apple, as shown above. When you remove the mask from the first apple, it will look like the second apple is behind the original.
Here’s what the apples look like after they’re stamped.

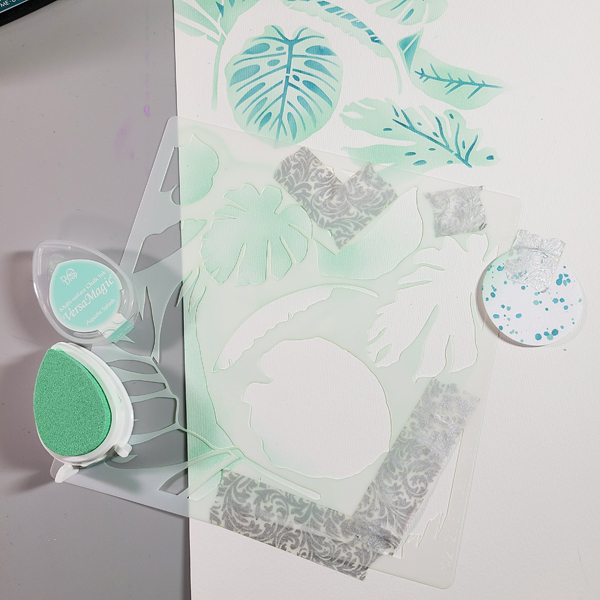
Step 5: Die cut an apple out of scrap paper. Make sure you have plenty of negative space around the die cut. This will be our second type of mask and will be used to protect the card front except for the apple you’re ink blending.

Step 6: Let’s start ink blending! I love coloring apples because there is often so much variation in colors on them. I started with Lady Bug ink, then moved into Cantaloupe, and finished with Pear Tart. The mask we made with the die cut allows us to get a perfect edge around the apple.
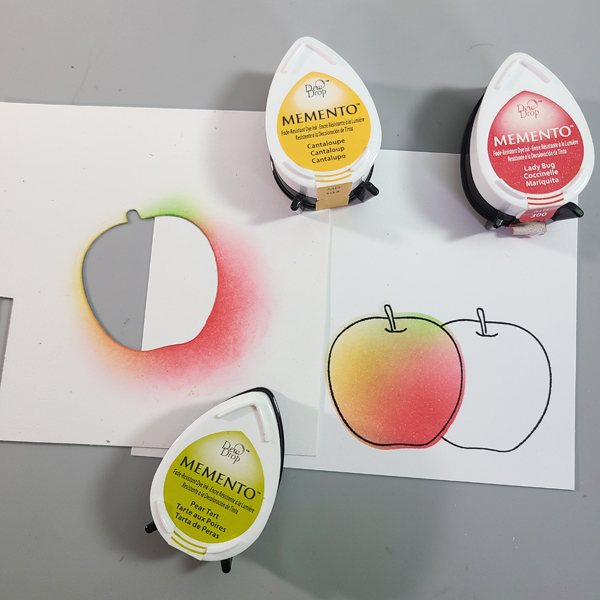
Again, these dies cut slightly larger than the stamped image, but I don’t mind that clean, extra rim of color around the apple.
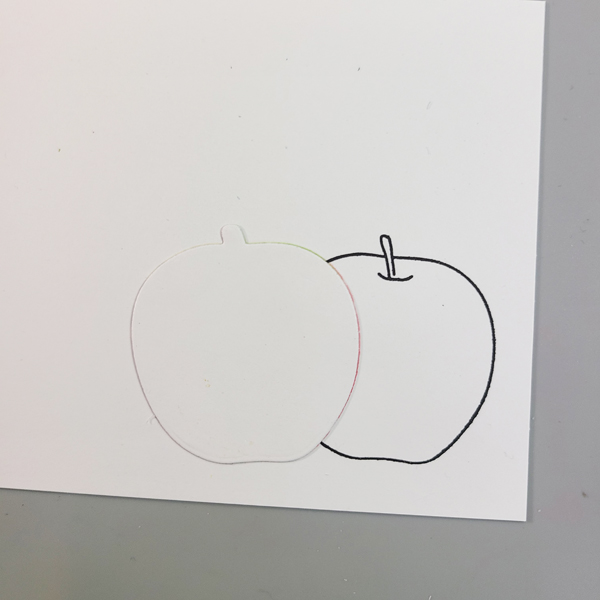
Step 7: Place the fussy cut apple on to the inked apple, then line up your other mask around the uninked apple. Repeat the ink blending on this apple, but try to make it look a little different from the first one.
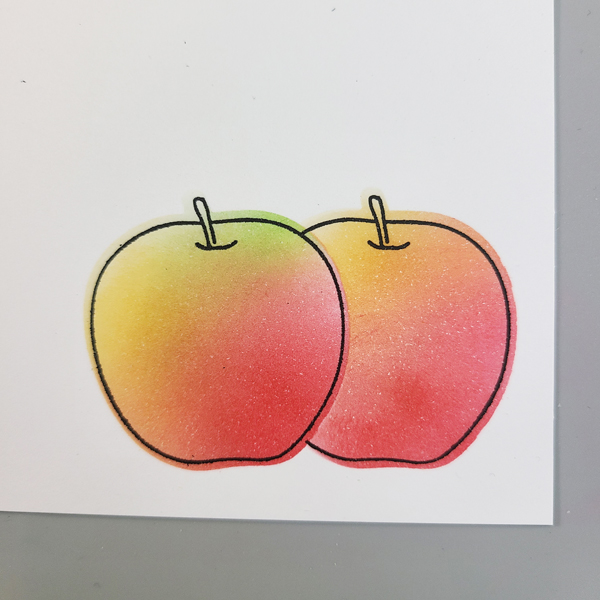
Step 8: Grab one of your brown Memento markers (I used Espresso Truffle) and color in the stems.
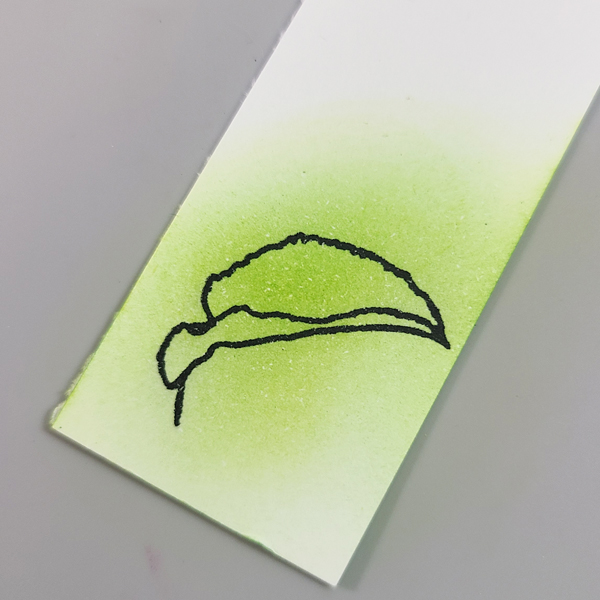
Step 9: Stamp a leaf on a separate piece of cardstock with Nocturne Ink. Ink blend Pear Tart ink on top and die cut it.

Step 10:
Use the same 3 colors you used on the apples to ink blend the edges of your card base.
Step 11:
Stamp the sentiment with Shady Lane ink.
Step 12:
Adhere the card front with your favorite adhesive. Attach the leaf using foam tape.

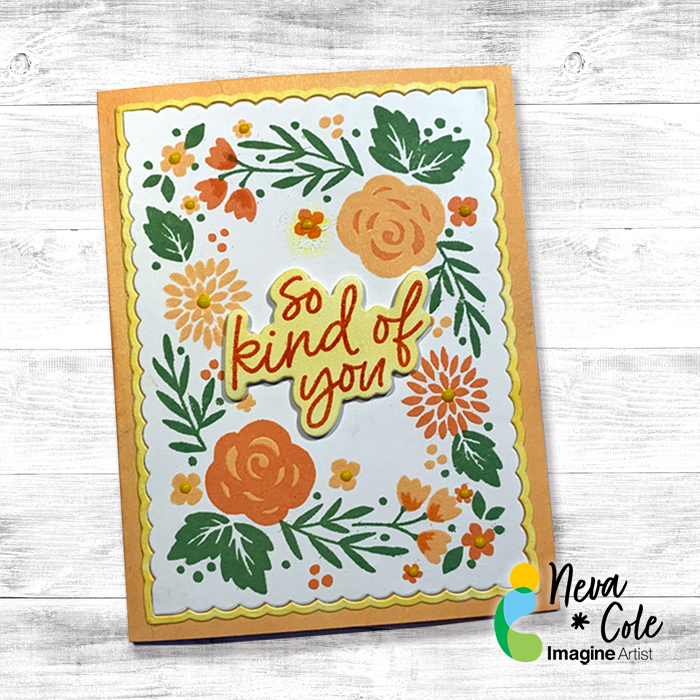
Finished!
Art Supplies:
Imagine:
Memento Inks in Lady Bug, Cantaloupe, and Pear Tart
VersaFine Clair Inks in Nocturne and Shady Lane
Memento Marker in Espresso Truffle
Other:
Mama Elephant: Fresh Fruits Stamps and Dies (discontinued…but there are many other fruit sets out there)
Stamping Bella: Planty Dandy
Blending Brushes
White Cardstock
Adhesive
Foam Tape


 Step 10