Learn How to Create this Dynamic Looking Ruffle Necklace

by Kyriakos Pachadiroglou

Learn How to Create this Dynamic Looking Ruffle Necklace

In today’s tutorial, I crafted this lightweight ruffle necklace with Sheet Metal pieces and irRESISTible in Cottage Ivy. This necklace can be given as a gift or added to your collection of handmade jewelry.

Time: 1 hour
Skill: Beginner to Intermediate

Directions


Step 1
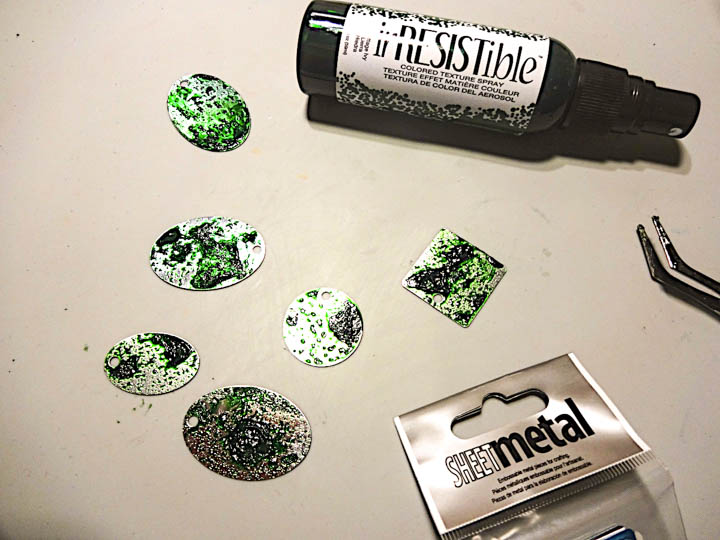
Spray the Sheet Metal pieces with the Irresistible Cottage Ivy color and let them dry. Irresistibles is an acrylic based gel that will adhere to the metal. Allow moderate dry time. Be sure to clean the nozzle after each use.

Step 2
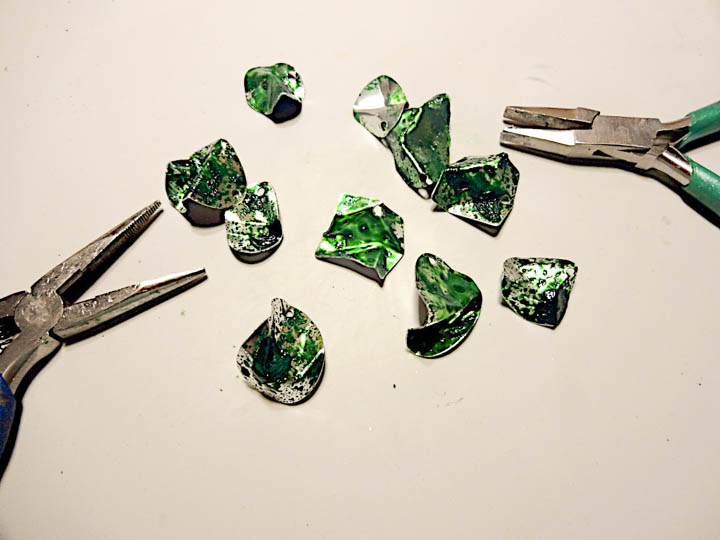
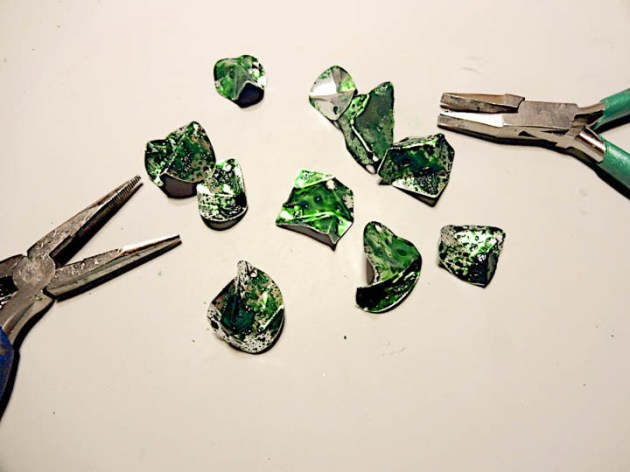
Use pliers to bend and shape the Sheet Metal pieces to any shape avoiding breaking them.


Step 3

Imagine’s Sheet Metal comes with one hole punched at the top. To create the chain, open additional holes to allow jump rings connections. Sheet Metal is durable yet soft enough to punch holes easily.


Step 4

Start connecting the Sheet Metal pieces with jump rings and when you achieve the desired result, add the chain and the ending hooks.

Supplies

Imagine
Other
  • Jewelry chain, jump rings and hooks
  • Pliers
  • Piercing tool (or round hole punch)
See How to Create a Woodland Scene with No Line Watercolor

by Lindsay Adreon

See How to Create a Woodland Scene with No Line Watercolor

Watercolor is a struggle for me, not to mention no-line watercolor. Today, I wanted to share a really easy way to create the look of no-line watercolor with water-based Memento markers and Joy Clair Stamps! Anyone can do this!

Skill: Intermediate
Time: 45 minutes

Directions

Supplies

Imagine
Other

Color of the Month for November is Hunter Green

Color of the Month for November is Hunter Green

Color of the Month for November is Hunter Green. We feel this color is a perfect segway between Thanksgiving and the Christmas holiday season. We love dark rich greens inks and Tsukineko certainly has a great number of inks to choose from in this color hue. For a solid stamping ink try VersaFine in Rain Forest, VersaColor in Evergreen makes a nice blending ink with a sponge dauber and if you need a green with a bit of shine then don’t forget Delicata in Emerald Green.

November is also exciting because we are collaborating with Joy Clair Stamps this month. See the Joy Clair website for more information on their stamp sets.

Here is a peek of what we have coming up this month in cardmaking tutorials and videos!

Lindsay Adreon creates matching Christmas Cards 

Lindsay Adreon creates matching Christmas Cards

Lori Warren uses a cute Moose Stamp for a Holiday card. 

Lori Warren uses a cute Moose Stamp for a Holiday card.

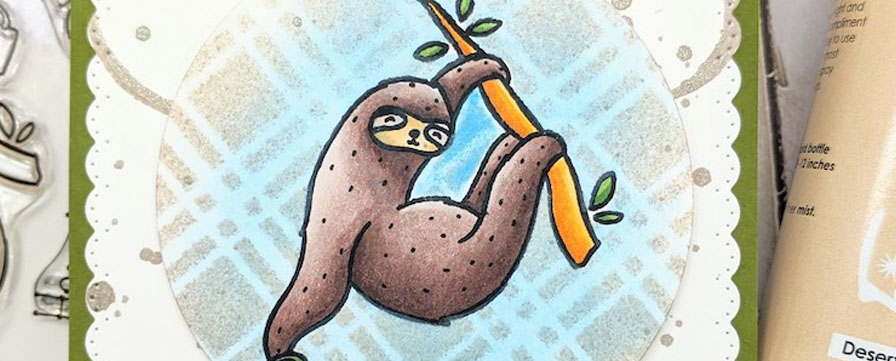
Melissa Andrew uses this super cute sloth as a theme for a card. 

Melissa Andrew uses this super cute sloth as a theme for a card.

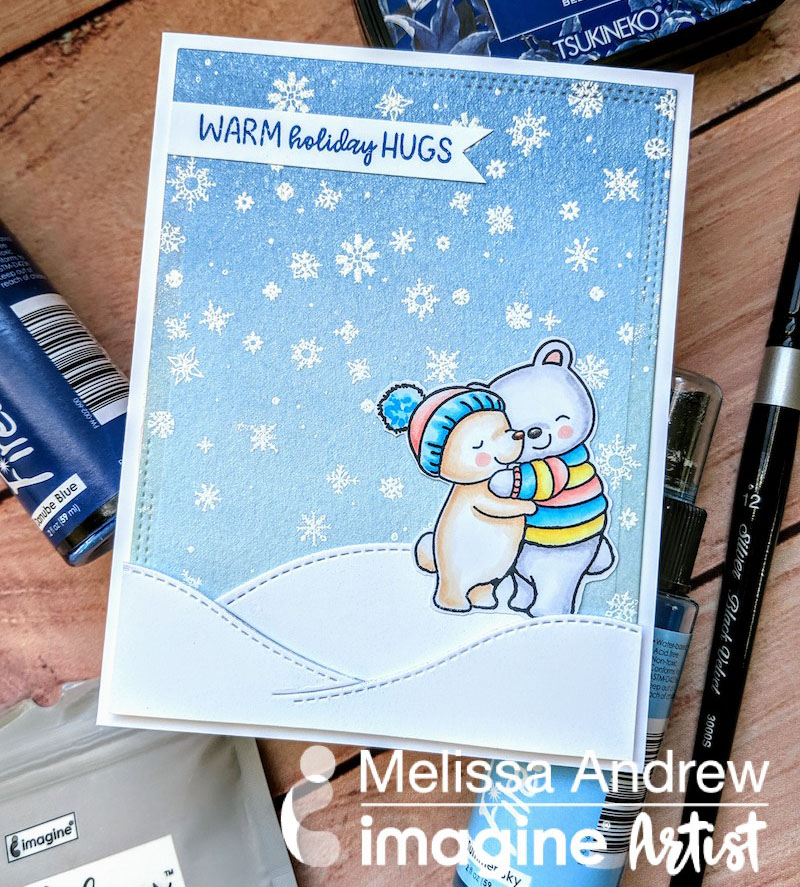
Creating A Winter Sky with Fireworks Sprays

by Melissa Andrew

Today, I am sharing a tutorial on how I use Fireworks Sprays as a watercolor to create a smooth wash background for a snowy sky. The Fireworks Sprays create a sparkly scene that creates a frosty winter sky. In addition, I show you how to use Shimmer Spray to create snowy hills.

Skill: Intermediate/Advanced
Time: 45 minutes

Directions

Supplies

Imagine
Other

Quick & Easy: Make a Thanksgiving Card

Beginner Guide: Make a Thanksgiving Card

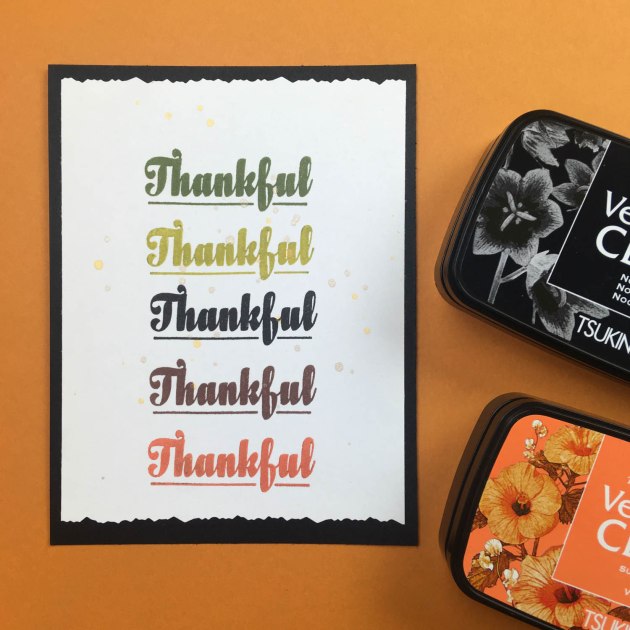
What are you thankful for? Family? Friends? Everything?! We created a quick and easy beginner lesson for those who want to express gratitude. See how we used the same stamp to create a repeating pattern for this a simple Thanksgiving card.


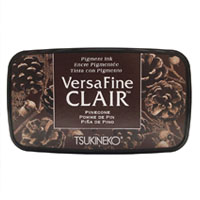
VersaFine Clair in Pinecone

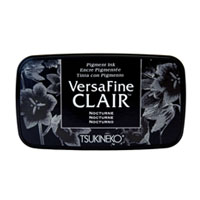
VersaFine Clair in Nocturne

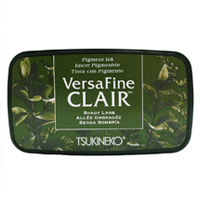
VersaFine Clair in Shady Lane

VersaFine Clair in Summertime

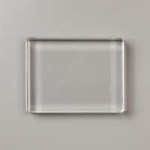
Acrylic Block by Stampin’ Up


Waffle Flower Stamp Set

Stampin Up Cardstock

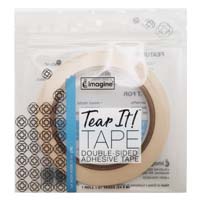
Tear It Tape

Directions

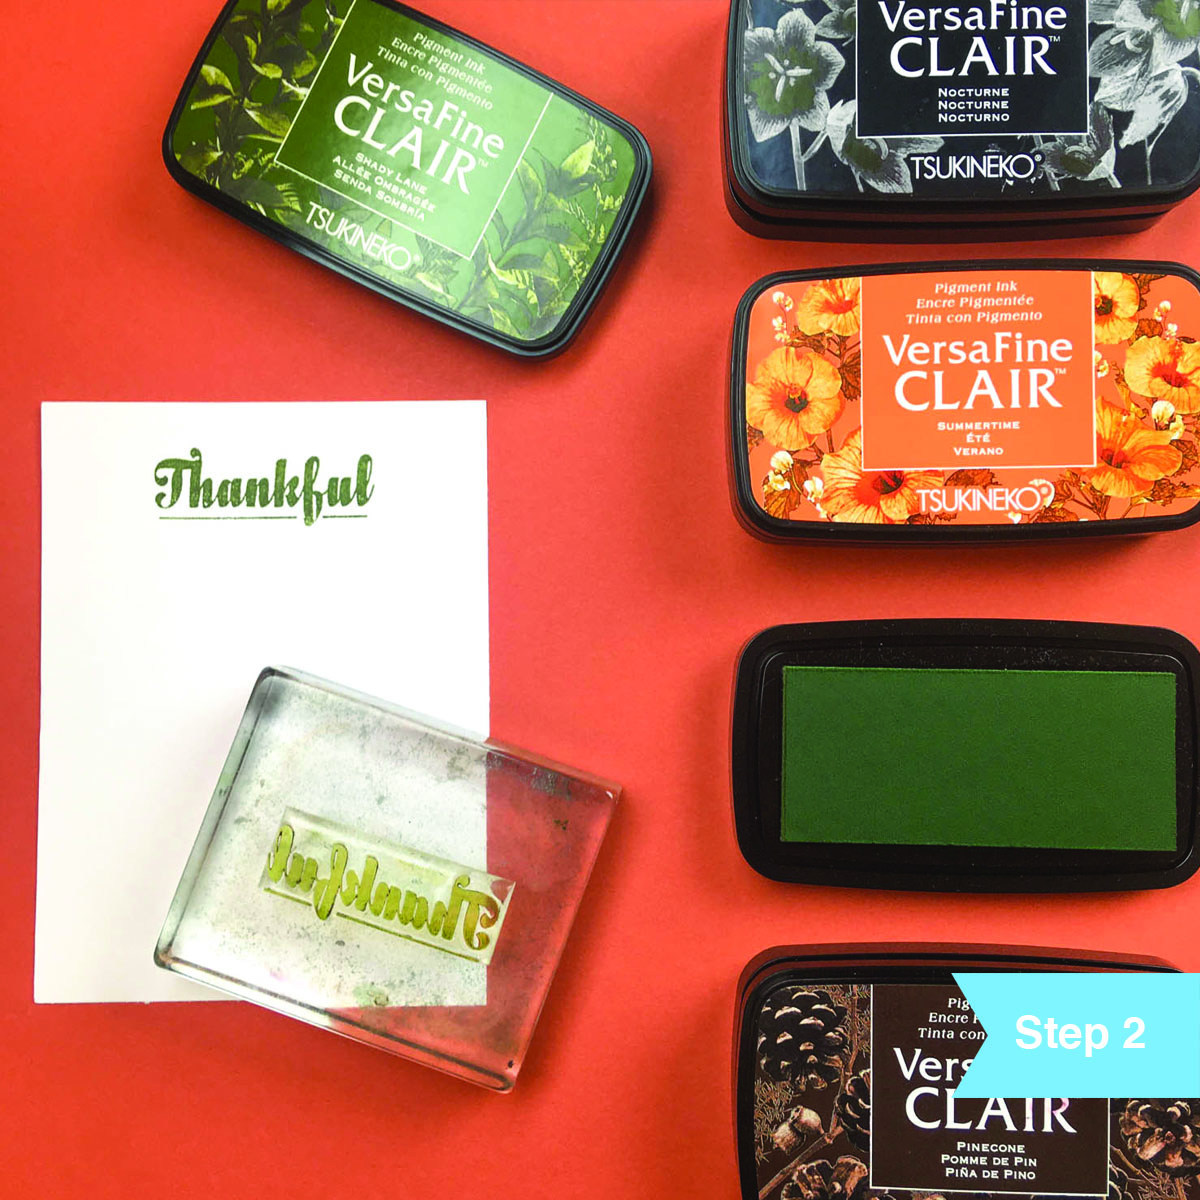
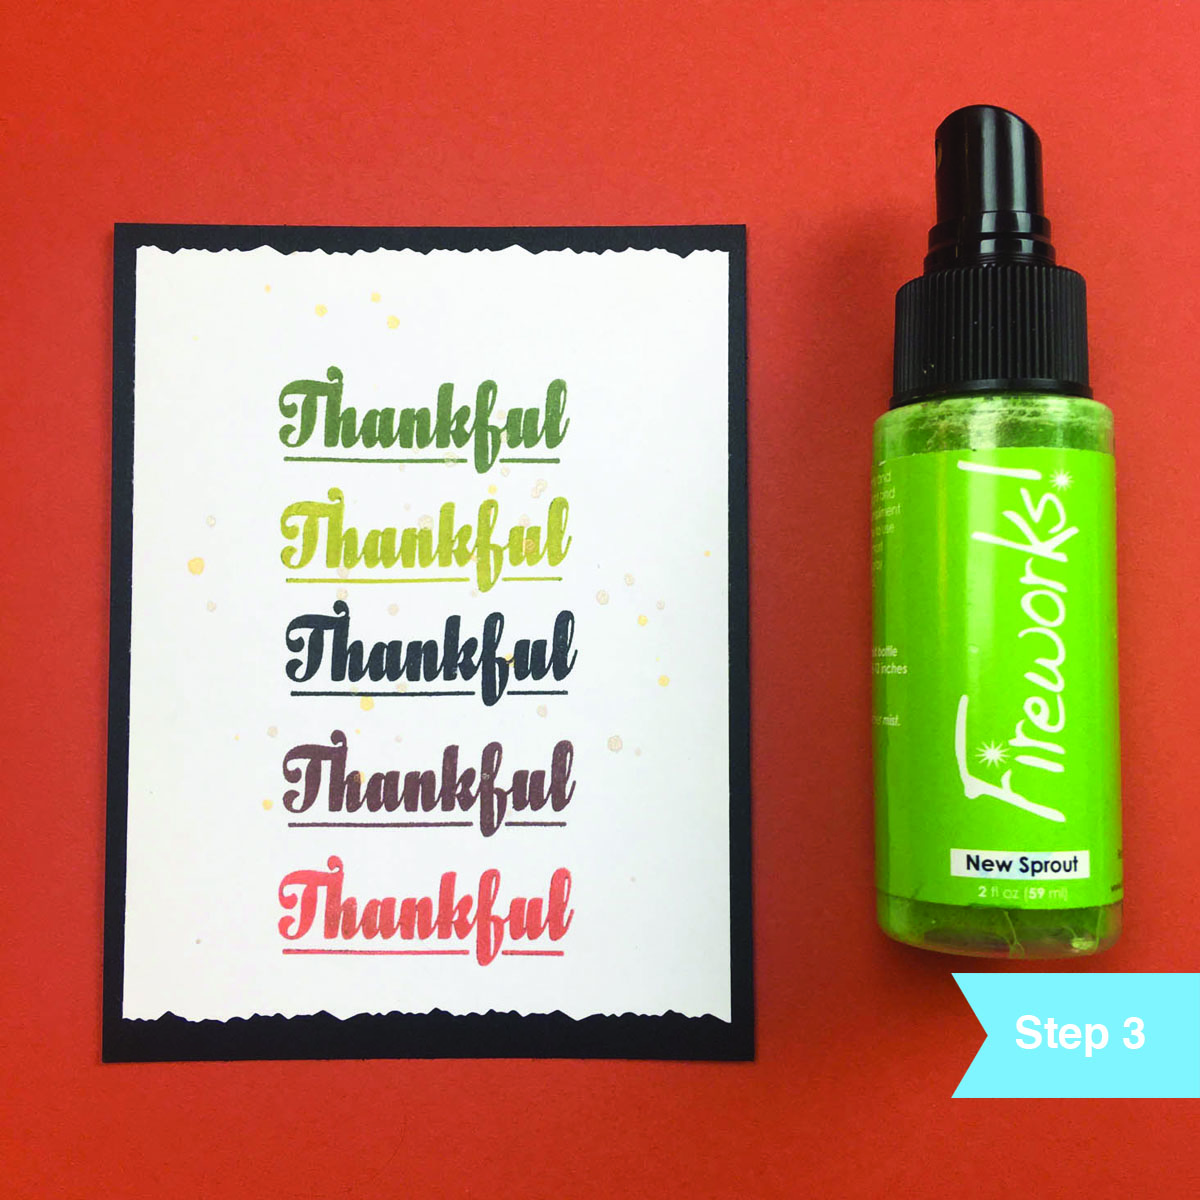
Select an array of ink colors that represent fall. Here I choose VersaFine Clair in Nocturne, Summertime, Shady Lane, and Pinecone. Next, select a stamp set with a phrase or word that has a nice boxy horizontal shape. I enjoyed using the word “Thankful” with an underline from Waffle Flower’s stamp set called Give Thanks. This particular set is a great investment because of all the other projects that you can create with it such as place holders at a dinner table.

Adhere your stamp to the acrylic block and begin stamping in each color being sure to thoroughly clean the stamp before moving on to the next color. The great thing about using clear acrylic stamps is that you can see exactly where you are stamping. If you have a hard time stamping in a straight line then you can lightly mark the card with a pencil as a guide.

Once all your colors are stamped, finish the card by unscrewing the spray nozzle of Fireworks Shimmery Craft Spray in New Sprout and lightly tap the nozzle over the card panel. This should decorate the area with shimmery blots of light green and gold ink. Fireworks is a spray ink. If you use the spray nozzle it will coat the entire panel. Since I only wanted a light touch I decided not to use the spray feature. Hand tear the top and bottom of the white card stock and use Tear It Tape to mount the card panel onto a matching card base. I choose a black card base (brown or green would work great too).

See How to Make a Tattersal Background Pattern for a Card

by Lindsay Adreon 

See How to Make a Tattersal Background Pattern for a Card

One of my favorite things to do is create patterned backgrounds. I have wanted to find a way to create a pattern that I am always seeing on men’s shirts. In my research, I found it had an actual name, Tattersall!! You could use line stamps, but I found using markers made this pattern super quick and easy!

Skill: Intermediate
Time: 1 hour +

Directions

Supplies

Imagine
Other