by Elina Stromberg

Fun stamped characters and bright ink colors are a joyful combination. I placed my cute dog image on a bright yellow background that was inspired by our warm July color of ‘Tuscan Sun’. I inked the background pattern directly on the folded card base: First, I stenciled a large yellow circle on the card and then inked another patterned layer on top. This double stenciling technique is super easy and using just a part of your stencil pattern makes your old stencil look cool and fresh again! If you don’t have a circle stencil you can cut it from paper or a piece of film/plastic sheet. And instead of a circle, you can use any shape you wish: an oval, a heart, a triangle, a hexagon…the possibilities are endless!
Skill: Beginner
Time: 1 hour
Directions

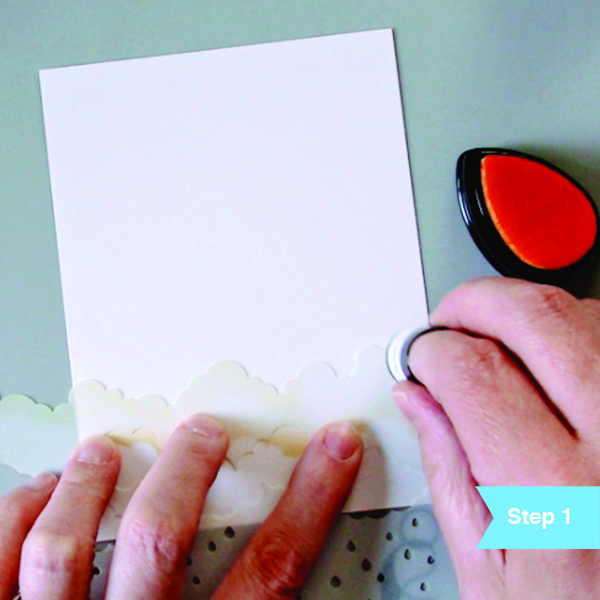
Step 1
Place card base folded on your craft mat. Place a circle stencil on the card, secure with masking tape. Ink the circle with yellow Cantaloupe Memento ink; dab the ink on the card with a Jumbo Dauber. Remove stencil.

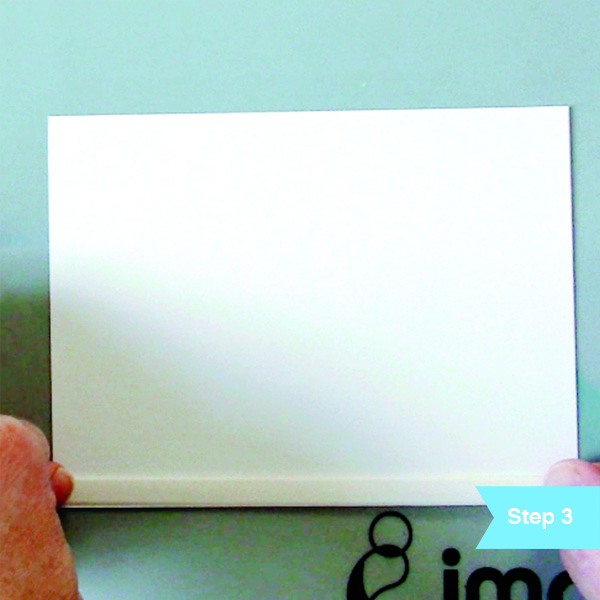
Step 2
Place a pattern stencil on the inked card front and layer the circle stencil on top in its original position. Ink the circle area with orange Tangelo Memento ink. Remove both stencils. TIP: For the second inked layer, any patterned stencil can be used. For catching all the details of the stencil pattern use the smaller Sponge Dauber for inking.

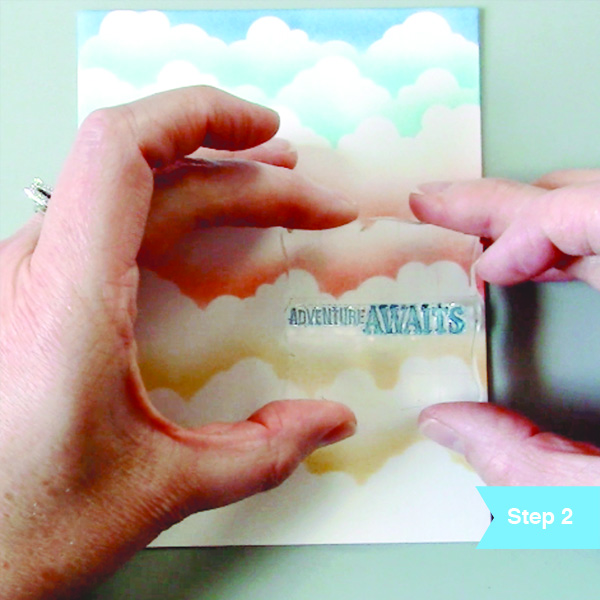
Step 3
Attach a piece of masking tape on the bottom of the card. Cut a paper strip of a matching color and stamp the sentiment on it. Glue strip on the card.

Step 4
Stamp, color and cut out the main image. When coloring with alcohol markers, use Memento ink for stamping. When coloring with watercolors or watercolor pencils, use VersaFine Clair or VersaFine ink.

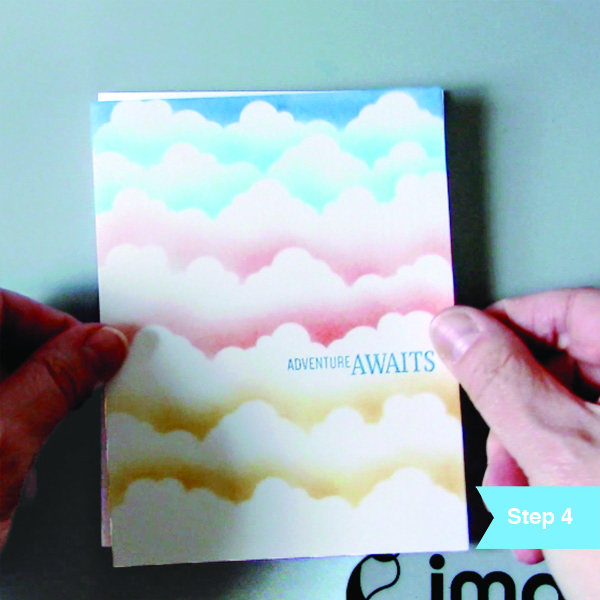
Step 5
Glue the main image on the card front. Decorate sentiment strip with two white gel pen dots (optional). Finished!
Supplies
Imagine
- Memento Inkpad – Cantaloupe, Tangelo, Tuxedo Black
- VersaFine Clair – Nocturne
- Jumbo Dauber
- Sponge Dauber
- Craft Mat
Other
- White folded card base
- Cardstock – Orange
- Stencils: circle, sunray
- Katzelkraft – Holmy
- Ink Blog Shop – Sentiment Label Blocks
- Alcohol markers of choice
- White gel pen (optional)
- Masking tape
- Glue