Quick & Easy: Quick & Easy Stenciling Technique

by Melissa Andrew

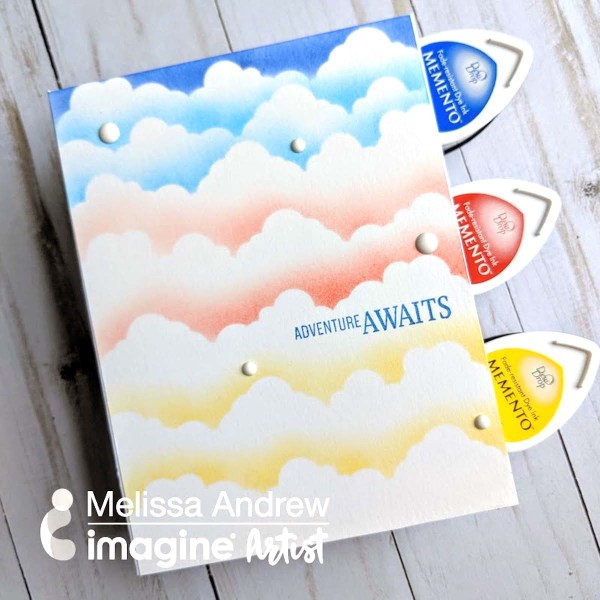
Today, I am sharing a very simple Tuscan Sky using Memento inks and a cloud stencil. Adding different colors of ink, in a repeating pattern gives a lot of interest to your card. The technique is simple, yet the final product looks professional and gorgeous. This is also a popular trend with card makers and having a few simple tools, will allow you to join the fun as a beginning paper crafter.

Memento Inkpad Paris Dusk

Memento Inkpad Morocco

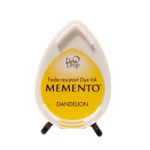
Memento Inkpad Dandelion

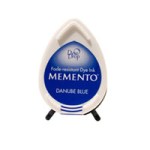
Memento Inkpad Danube Blue


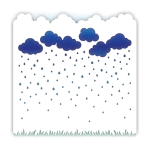
Rainy Day – 6×6 Stencil

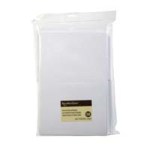
Cardstock

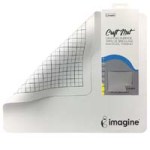
Imagine Craft Mat

Case base – white or black


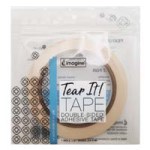
Tear It Tape

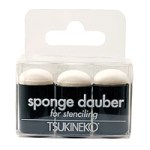
Sponge Daubers


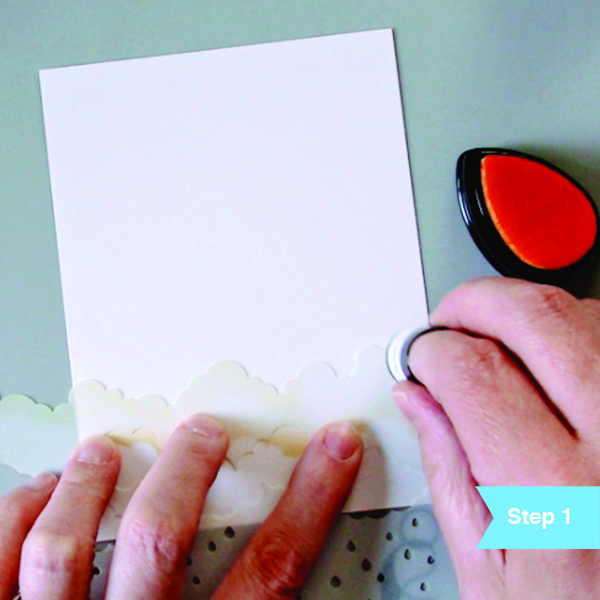
We will be working on a piece of cardstock cut to 4.25 x 5.5 inches, and we will call this our panel. Choose a stencil with a cloud edge. If you do not have a stencil, this is not a problem, simply cut out a piece of thick card stock with bumps like a cloud. Make sure your cut piece is several inches wider than your panel. Next, choose the Dandelion (yellow) Memento Ink and pick up a bit of color with a sponge dauber. Dab a little off onto your craft mat or a scrap piece of paper before inking your panel. Place the stencil edge near the bottom of your panel. Gently add color over the top of the stencil/or cloud cut-out onto the panel. Using a light touch, move the dauber in a circular motion over the edges of the tops of the clouds.
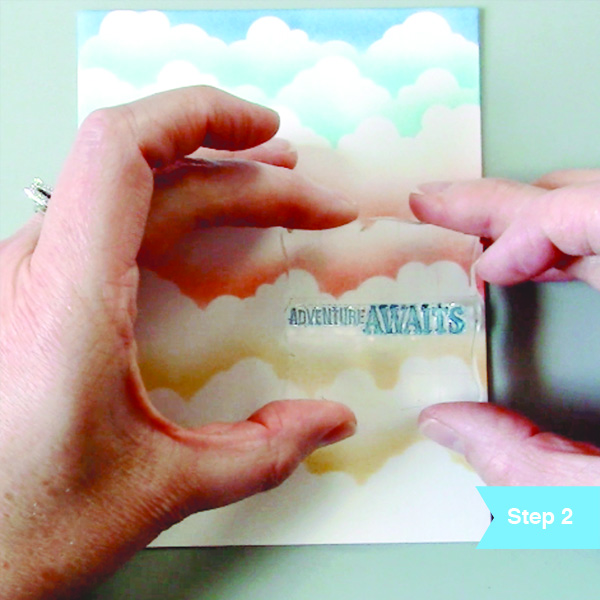
Repeat step one with all four colors of ink. For each layer, move or flip your stencil to get different patterns for each layer. I did two layers each of Dandelion, Morocco, and Danube Blue, and one layer of Paris Dusk at the end to represent the sky behind the clouds. Next, choose a sentiment from any clear stamp set and stamp a sentiment using the Danube Blue Memento Ink on the cloud scene panel.
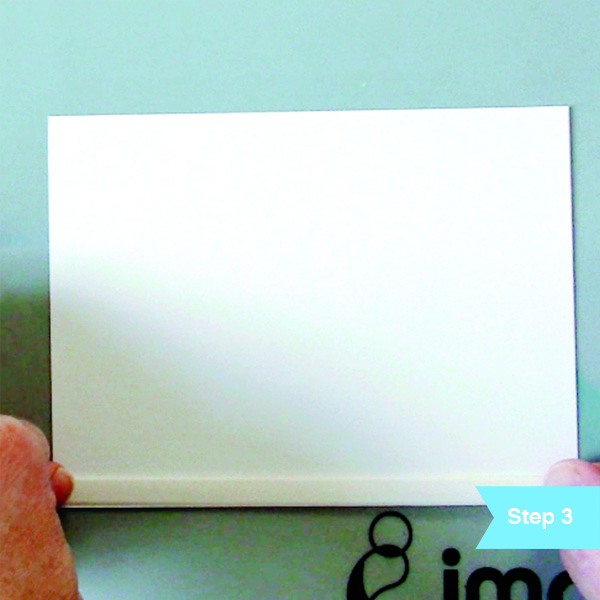
Add Tear It Tape to the backside of the cloud panel and adhere to an A2 sized card base. Make sure you press the tape down firmly so it will be easier to peel the backing off the tape. It is best to use the tape on the edges of the card so the paper does not curl on the card base. Once you peel off the backing, adhere to the front of your card base. Don’t forget to check that the fold of the card base is on the left side.
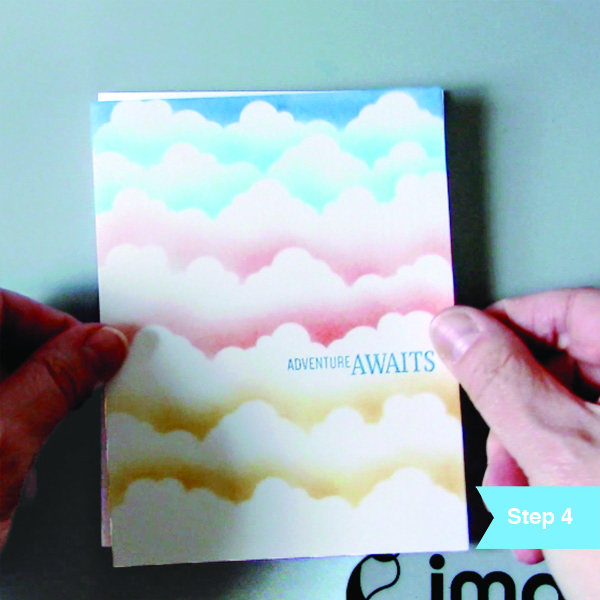
At this point, the card is finished and is ready to gift! You can continue to embellish with extra details such as glitter, decorative dots, or hand-drawn elements, but it is pretty just as it is too.

See More Beginner Guide Lessons

Beginner Guide: Acrylic Block Inking Technique
 

Using Brilliance Ink To Create A Mixed Media Card

by Nadine Carlier

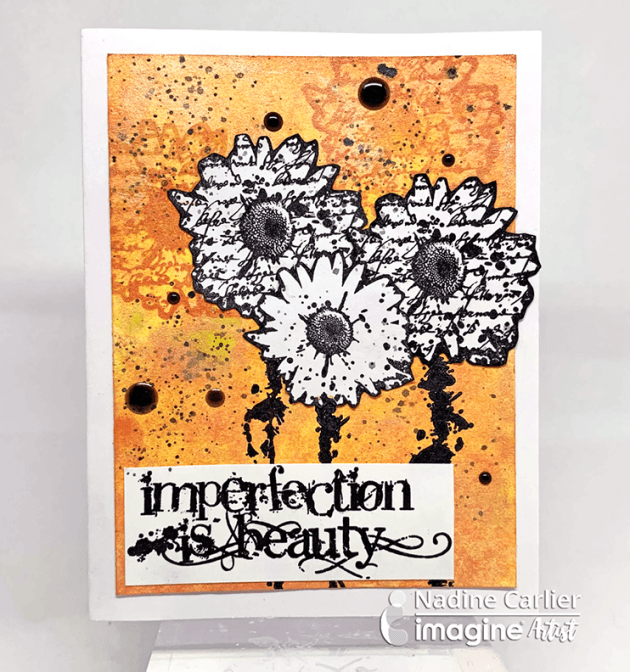
I love the brillance shimmer that Brilliance Ink adds! I created this entire card using different colors of Brilliance Ink.
Watch my video tutorial below to see how I did it. Enjoy!

Skill: Intermediate
Time: 15 minutes

Supplies

Imagine
Other

Visit our YouTube Channel for more inspirational videos and subscribe. Make sure to click the bell to get updates when we post new videos.

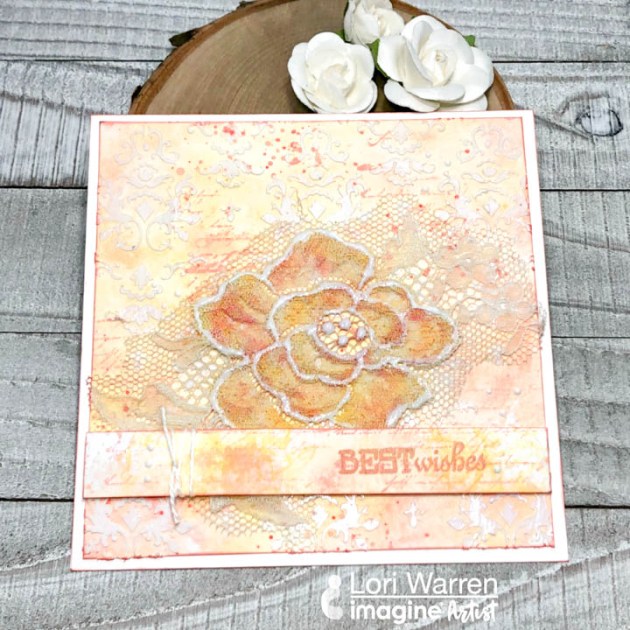
Create a Wonderful Mixed Media Best Wishes Card with Lace Texture

by Lori Warren

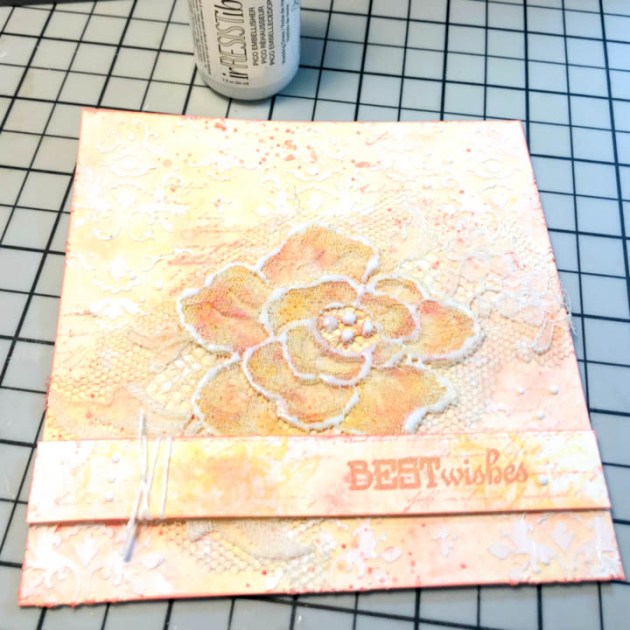
Create a wonderful mixed media “Best Wishes” card that is full of texture, layers, and dimension. Start with a stenciled layer using Creative Medium, add a lace focal point and finish it up with a saying strip mounted with dimensional tape.

Skill: Advanced
Time: 1 hour

Directions


Step 1

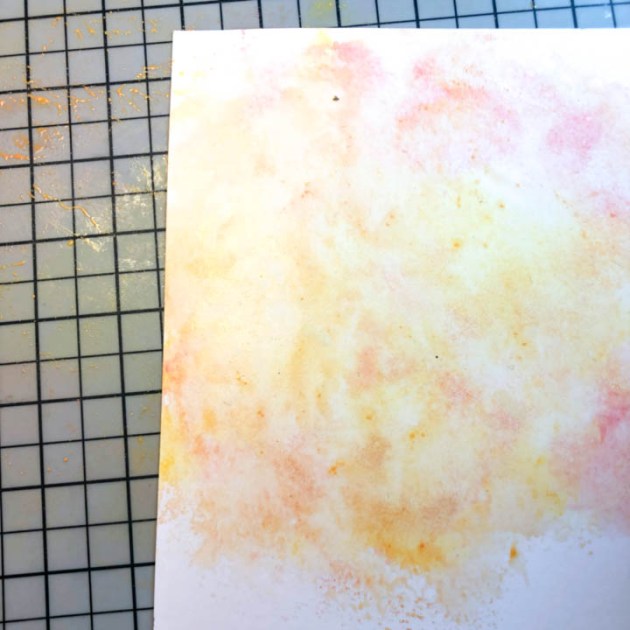
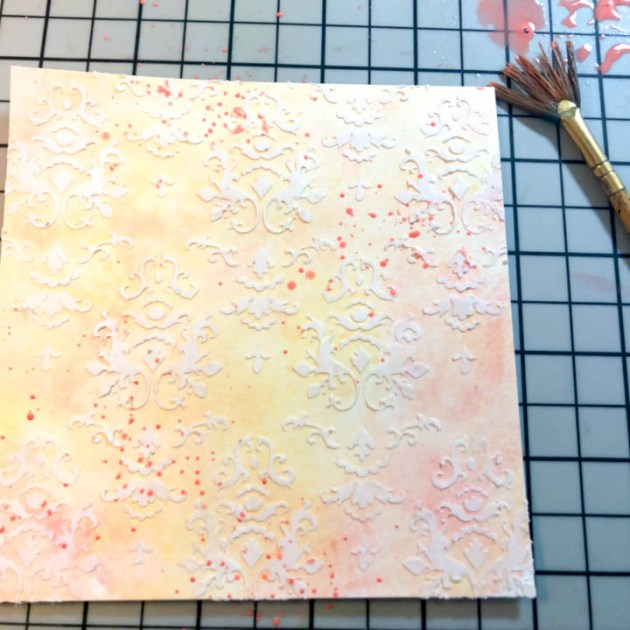
Apply VersaMagic inks to the Craft Mat, spray with water, and lay cardstock into the wet ink. Trim to size.


Step 2

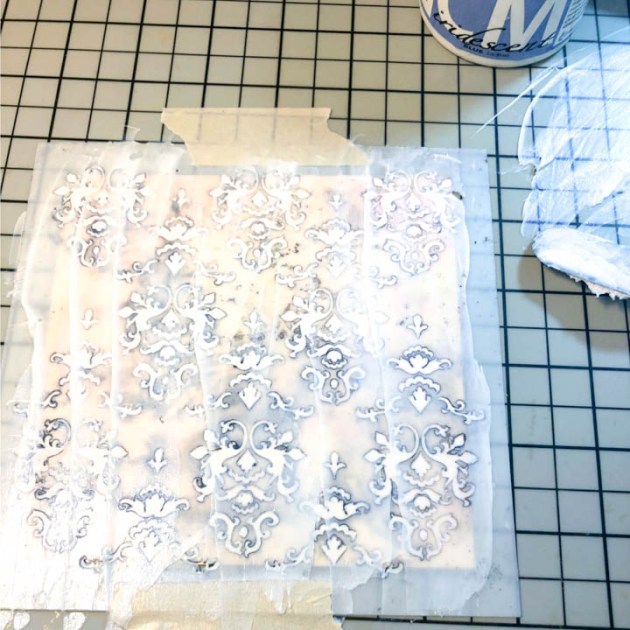
Mix White Neon Amplify with Iridescent Creative Medium and apply over the stencil using a palette knife. Allow to fully dry.


Step 3

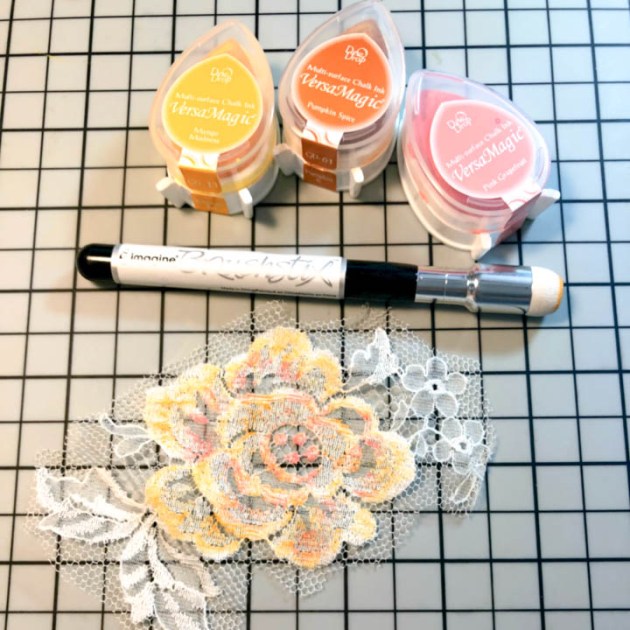
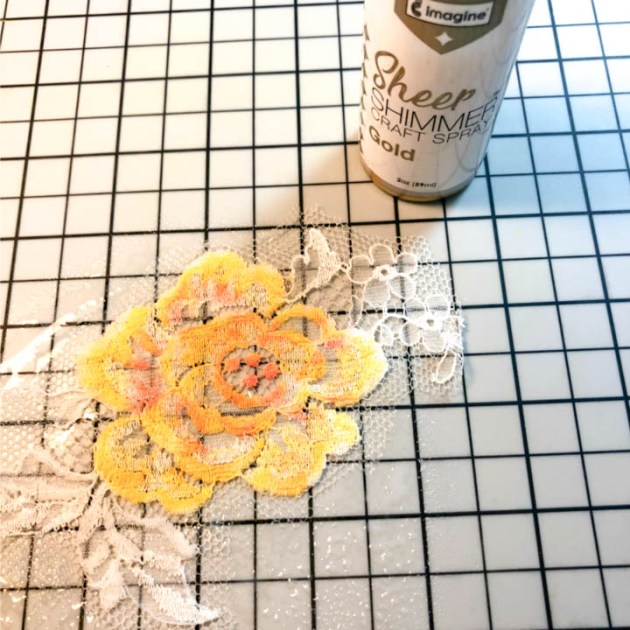
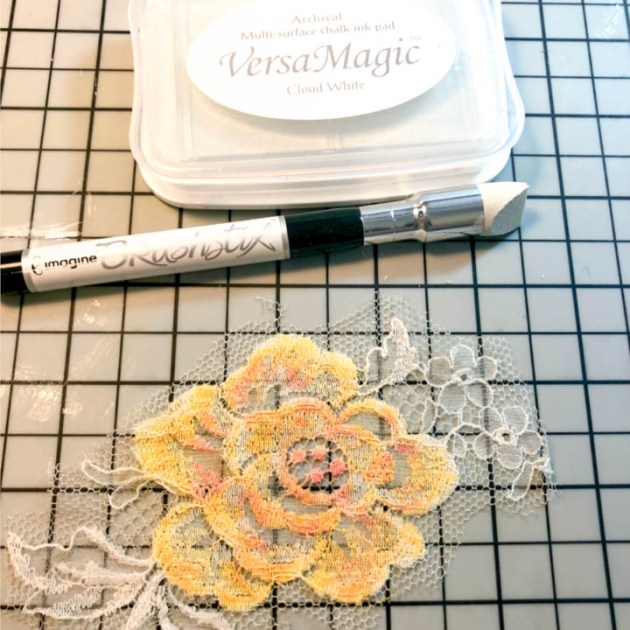
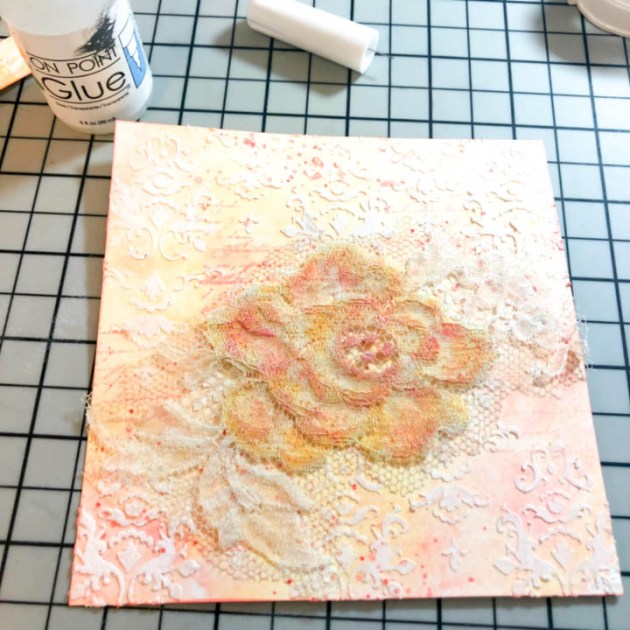
Cut out a rose from a panel of lace and then apply various VersaMagic ink colors to the rose with a Brushstix.


Step 4

Spray lace rose with Shimmer Sheer Craft Spray and allow to dry.


Step 5

Once dry, apply VersaMagic ink in Cloud White to lace rose with Brushstix if you want to soften any of the tones.


Step 6

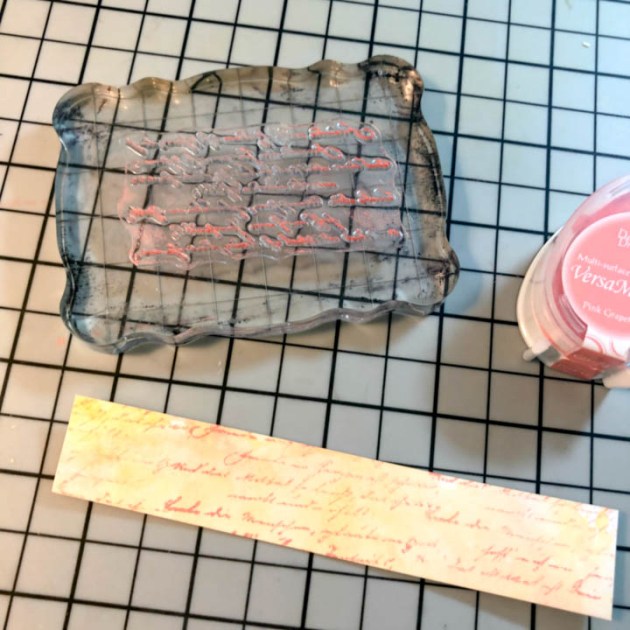
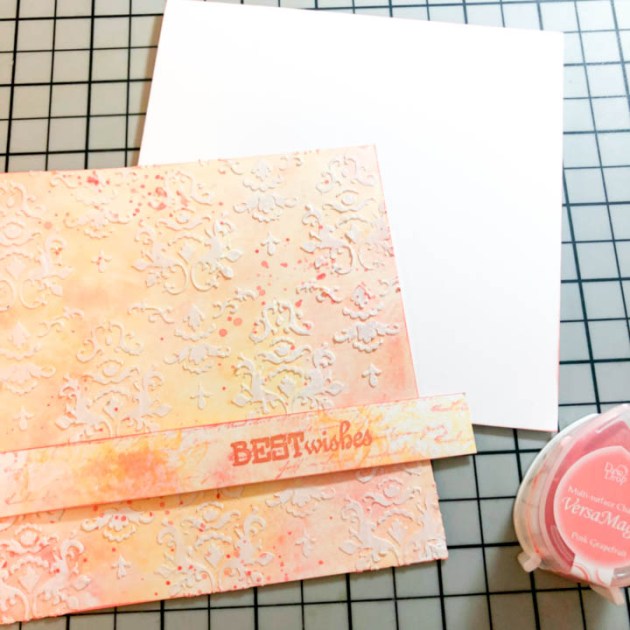
On a scrap strip of paper trimmed from panel in Step 1, stamp with a script stamp.


Step 7

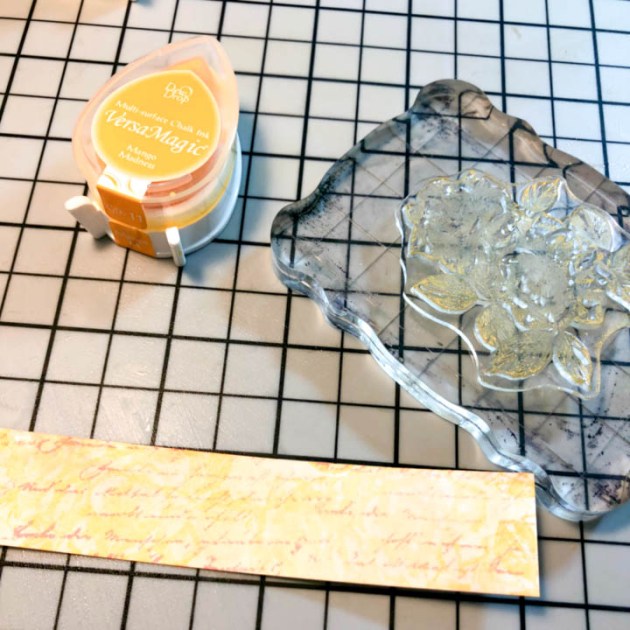
On the same strip of paper, stamp flower image. Here I used VersaMagic in Mango Madness.


Step 8

Add ink splatters from VersaMagic Ink in Pink Grapefruit by rubbing ink directly to the craft mat and spraying with water. Pick up with a brush and flick onto the card.


Step 9

Edge all elements with VersaMagic in Pink Grapefruit.


Step 10

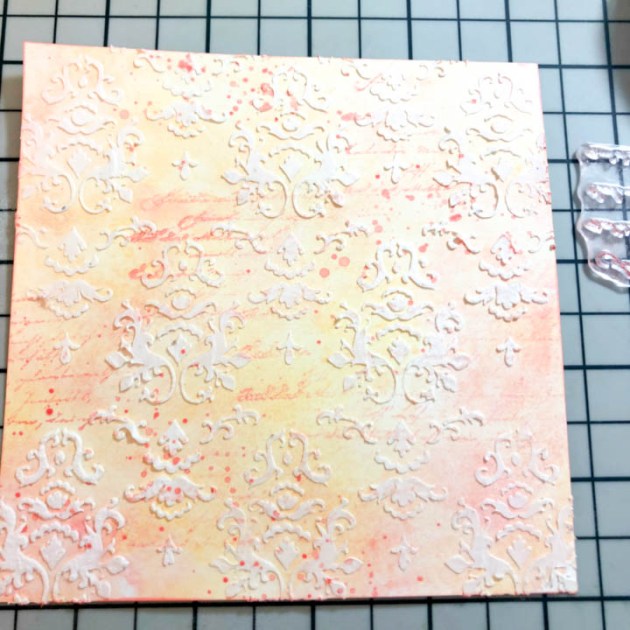
Stamp script pattern randomly onto the panel.


Step 11

Adhere lace rose to stenciled panel with On Point Glue.


Step 12

Adhere paper strip saying onto the card panel and then highlight rose with irRESISTible Pico Embellisher.

Supplies

Imagine
Other
  • White Cardstock
  • Mixed Media Paper
  • Lace
  • TCW Stencil – Damask
  • Hot off the Press Stamps

Learn How to Create a Cute Woodland Creatures Card with Masking and Watercoloring

by Arjita Singh

See how I use a simple masking technique and water coloring to create a cute and simple woodland creatures card. This stamping and coloring tutorial is a perfect activity for a Sunday afternoon of paper crafting and art-making. Enjoy!

Skill: Intermediate/Advanced
Time: 30-45 minutes

Directions

Supplies

Imagine
Other
  • Cardstock – brown
  • Watercolor paper
  • Watercolor brush
  • MISTI Stamping tool (or acrylic block)
  • White Gel Pen
  • Post-It Note
  • Waffle Flower – Be Her Stamp Set

Creating an irRESISTible Background with StazOn Pigment ink for Lavinia Stamps

by Melissa Andrew

Creating an irRESISTible Background with StazOn Pigment ink for Lavinia Stamps

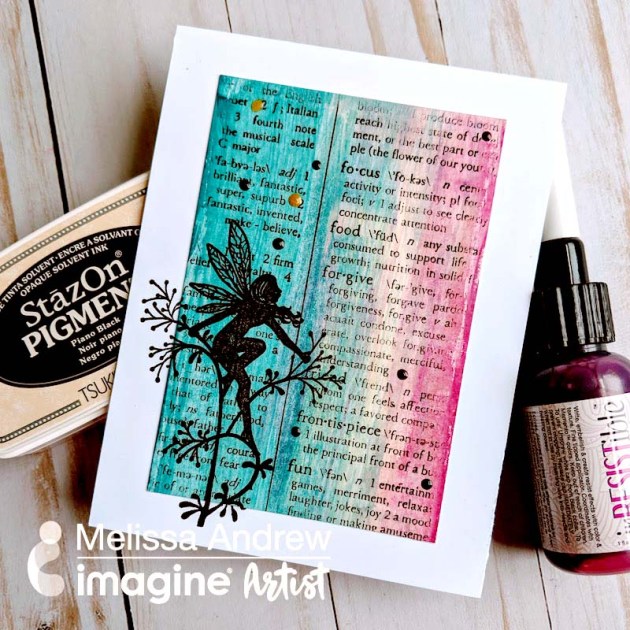
Today, I share a very simple and fun technique using the irRESISTible Pico Embellisher in a new way. Importantly, I show you how to use StazOn Pigment ink over the Pico since StazOn is perfect on slick surfaces. Finally, I use a beautiful fairy stamp as a silhouette to finish our card project.

Skill: Intermediate
Time: 20 minutes

Directions

Supplies

Imagine
Other
  • Lavinia stamp – Flower Fairy
  • White Card Stock
  • Misti Stamping Platform
  • Masking Tape
  • Canson – Watercolor Paper

Learn How To Create A Color Wash Effect On A Card

by Jowilna Nolte

Learn How To Create A Color Wash Effect On A Card with memento luxe inkers

Following in the footsteps of fashions trends we explore the warm yellow that has the world looking all happy and sunshiny. I too have fallen in love with this Tuscan Sun color and who wouldn’t? I show you how easy it is to achieve this warm dark yellow effect by mixing colors, pastes, and watercolor techniques. Take a look at how I created this watercolor wash effect.

Skill: Intermediate
Time: 30 minutes

Directions


Step 1

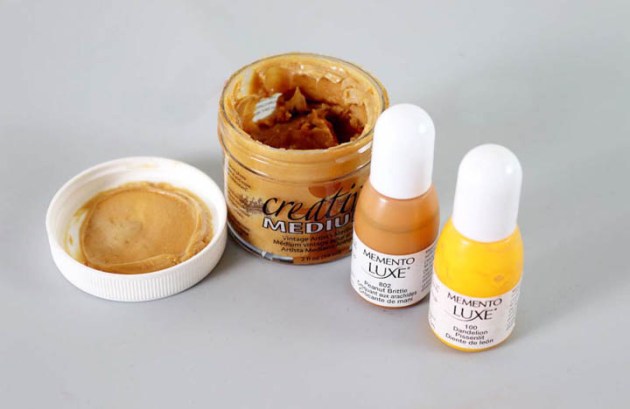
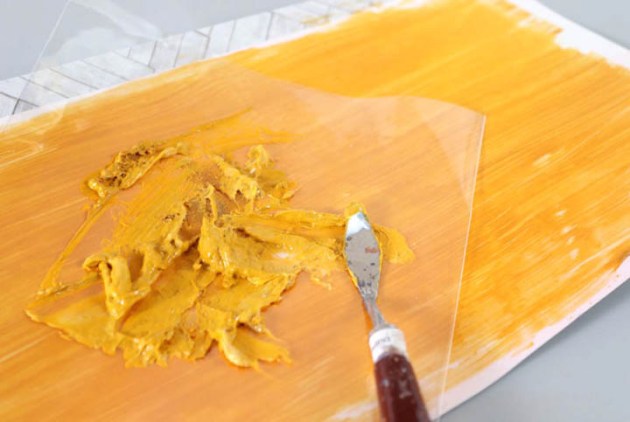
I used Creative Medium, Memento Luxe inkers, and clear texture pastes to create my colored base.


Step 2

Mix Creative Medium, 2 drops of Dandelion inker, 2 drops of Peanut Brittle inker and a small drop of the clear glossy texture paste. Smooth the mixture out onto a piece of cardstock and leave to dry.


Step 3

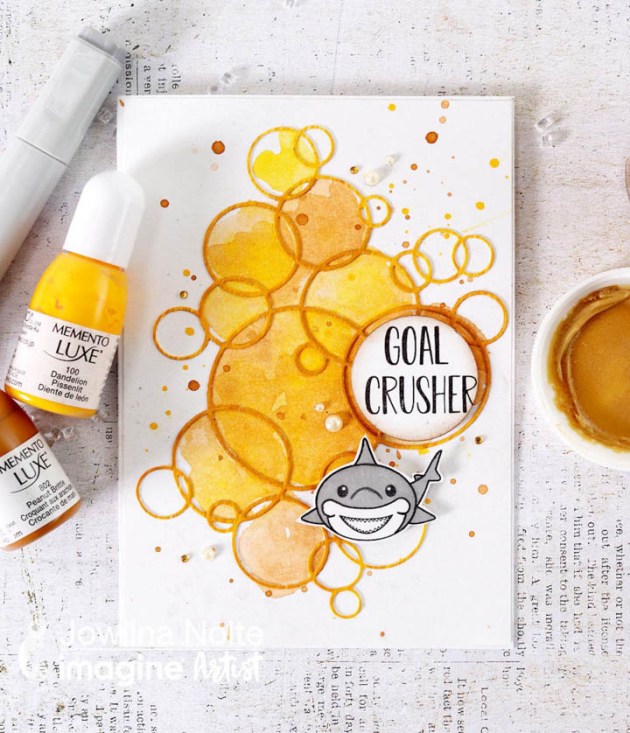
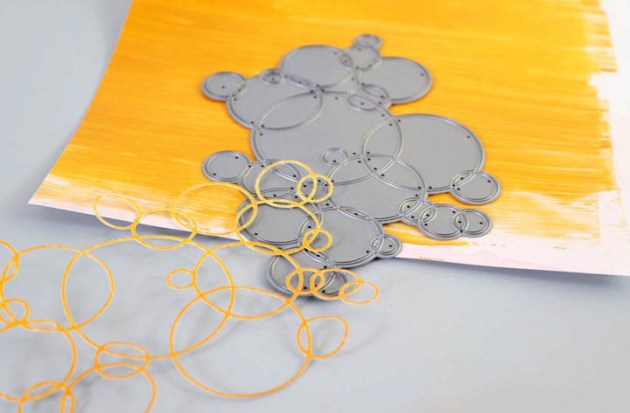
Once dry the surface creates a plastic looking smooth effect. Use a Loopy Rings die-cut and cut out the basic shape to use on your card. The die-cut elements have this amazing plastic looking effect that is super strong because of all the product mixed together on its surface.


Step 4

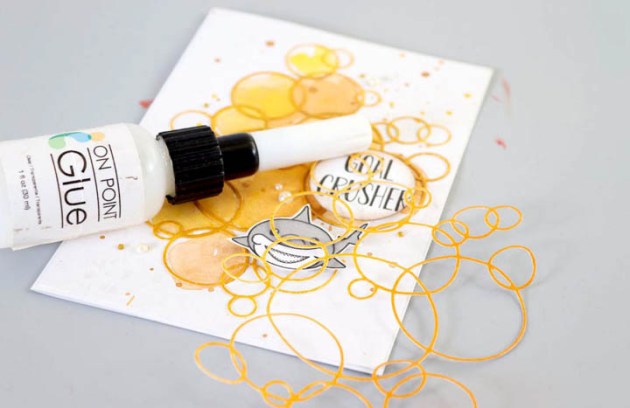
Use On Point Glue to adhere the Loopy Rings die-cut to the front of your card base. Add drops from your inkers into an inkwell and add water. Using a large soft watercolor paintbrush, paint inside the circles to give a watercolor wash effect. By mixing the two colors of inker you can achieve the perfect warm mustard yellow.


Step 5

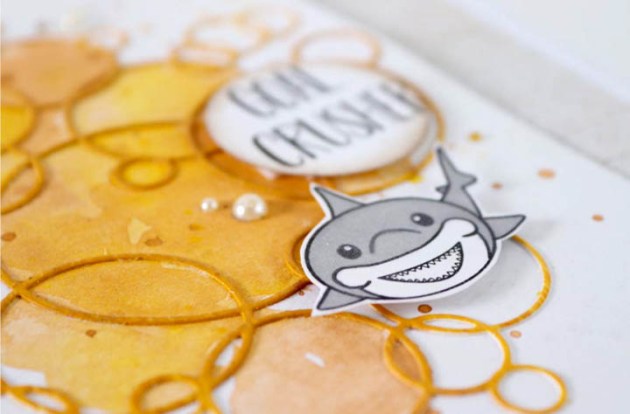
Finish off your card by using the left-over watercolor ink to splat drops of color onto your card. Add a stamped sentiment using VersaFine Clair Nocturne and a stamped shark image. Add pearls and diamanté.

Supplies

Imagine
Other
  • Cardstock – White
  • Joy Clair Stamps
  • Memory Box – Loopy Rings metal die
  • Die-cut machine
  • Anna Griffin – Texture Paste
  • Pearls
  • Diamanté