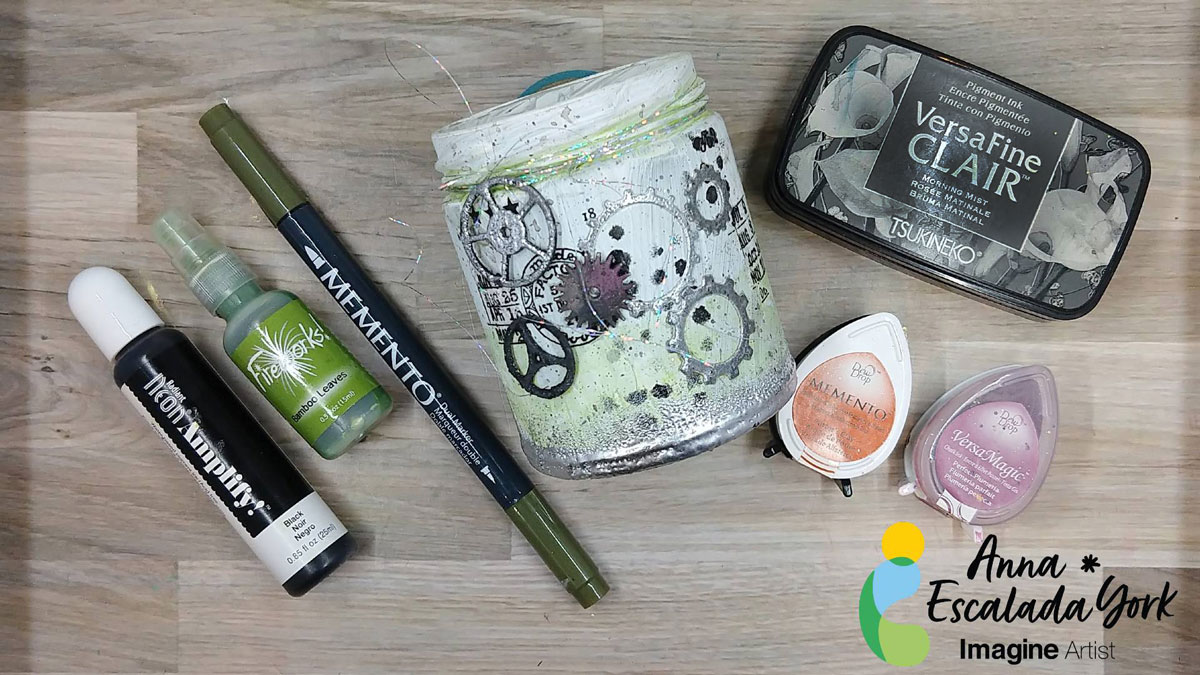
By Anna Escalada York
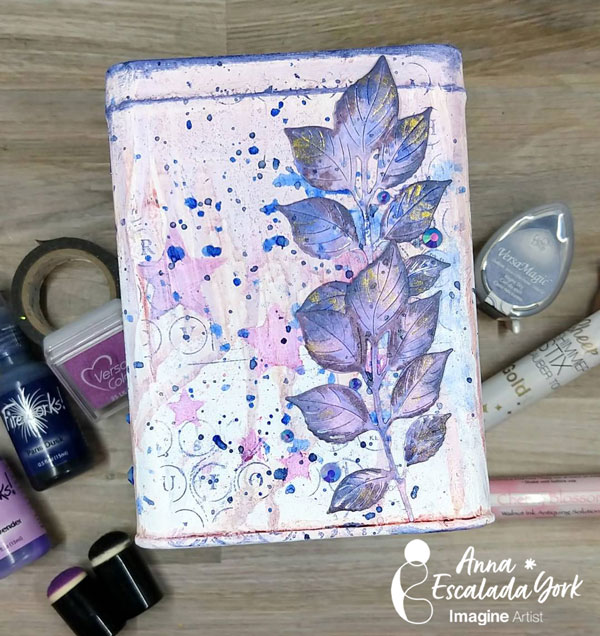
My teen is hard to please, but recently they expressed interest in having a small jar to use for candles. They really like a grungy steampunk vibe and their favorite color is green and so tried to personalize this for them.
Skill: Intermediate
Time: 1.5 hours (plus drying time)
Directions:
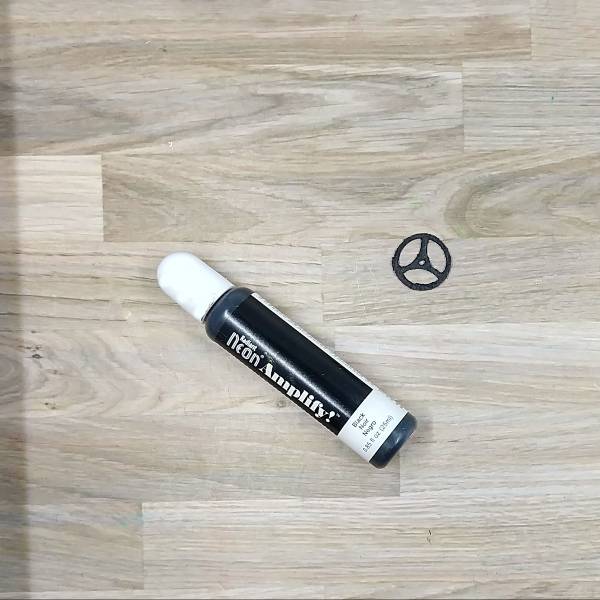
Step 1:
Add a dab of black Amplify! onto a brass metal gear and heat with a tool. Because I heated the Amplify!, it puffed out and made Amplify! gritty and puffy, which worked well for the jar’s gritty look.
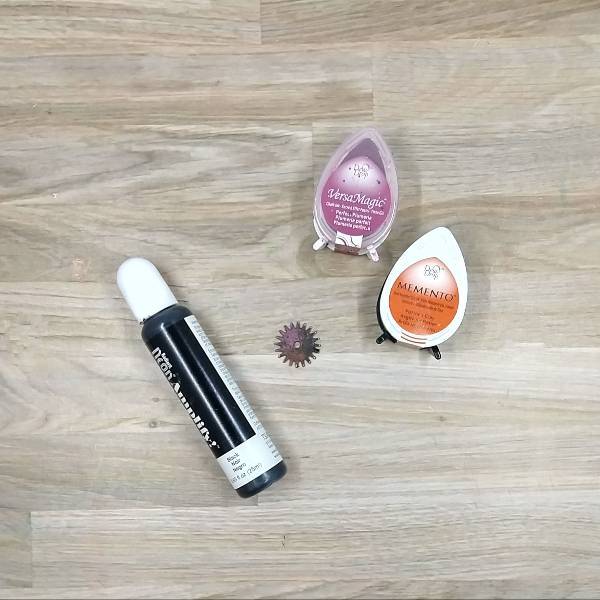
Step 2:
Repeat step one with a second gear. Then press another gear into both a Potter’s Clay Memento ink pad as well as Perfect Plumeria VersaMagic ink pad to make the gear look like it had rusted over.
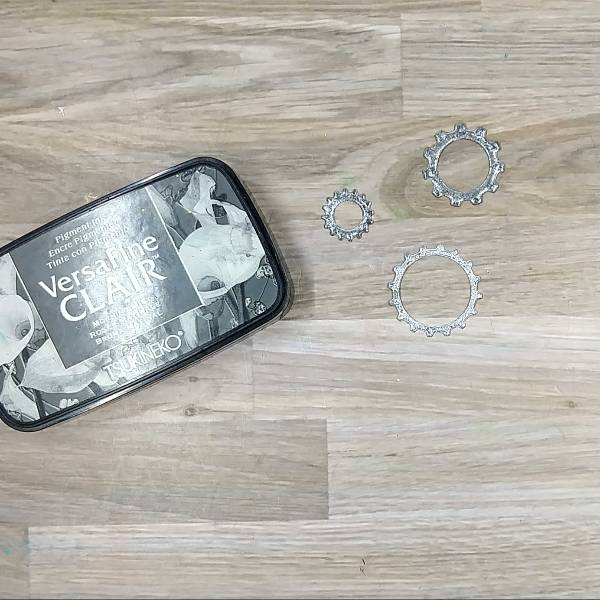
Step 3:
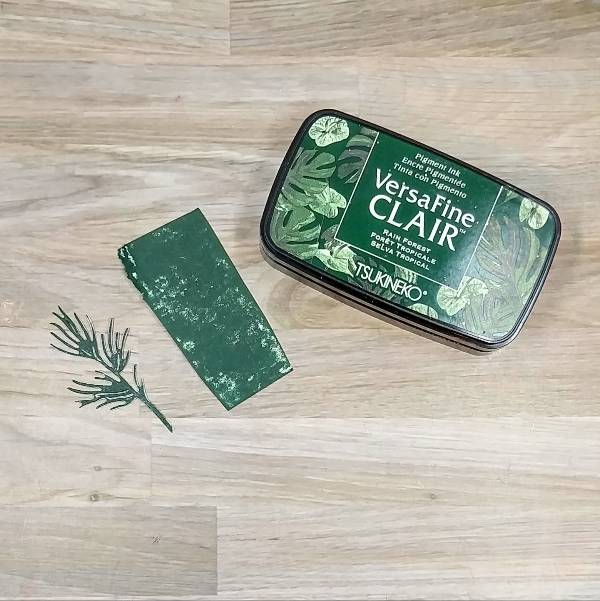
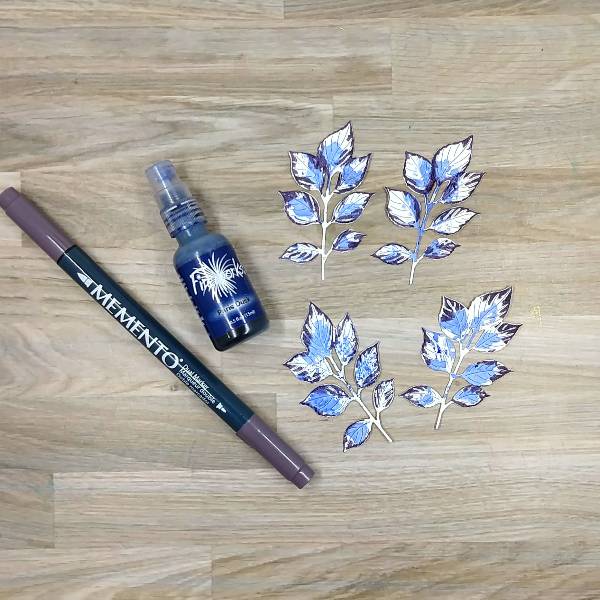
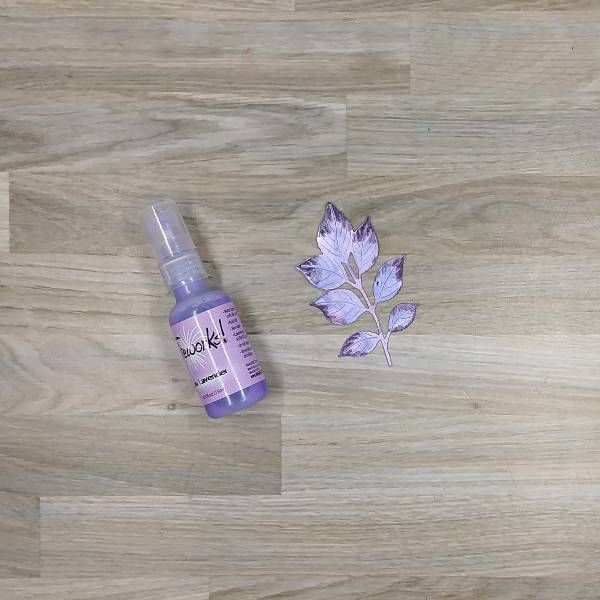
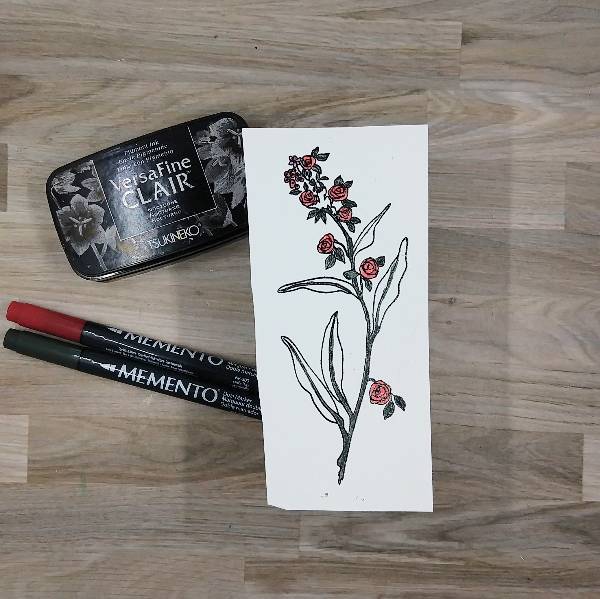
Die cut watercolor paper with gear dies. Then press each of the gears into Morning Mist VersaFine Clair ink. Heat emboss all three of them with silver embossing powder.
For the two top gears in the picture, press the gears back into the Morning Mist VersaFine Clair ink and then heat embossed them with clear embossing powder to create a darker or tarnished silver color on those two gears.
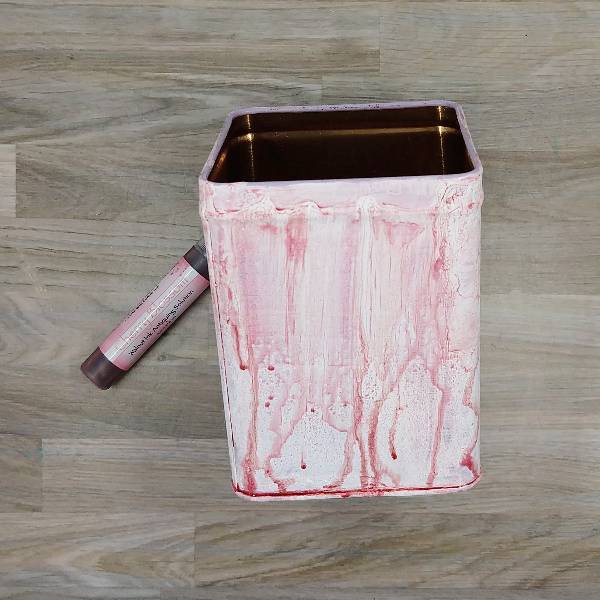
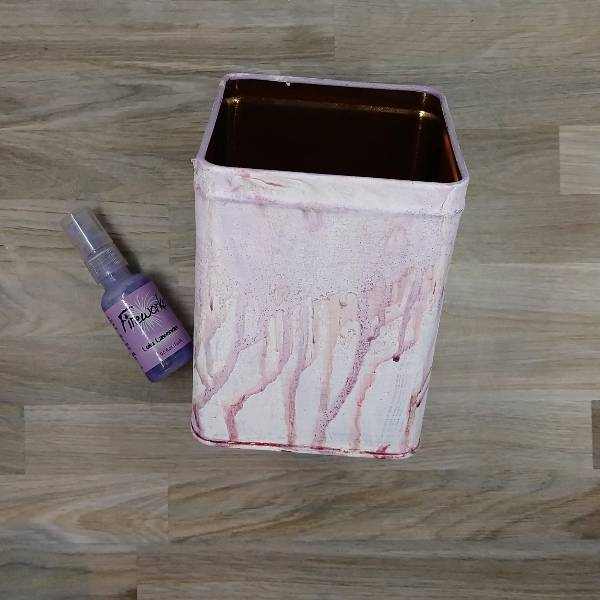
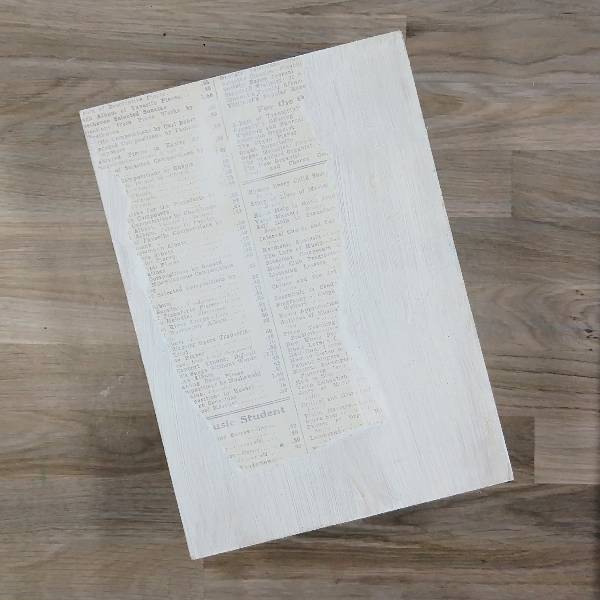
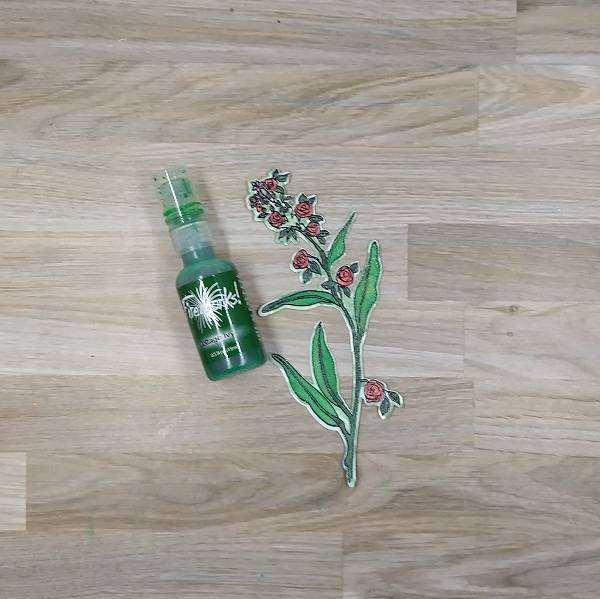
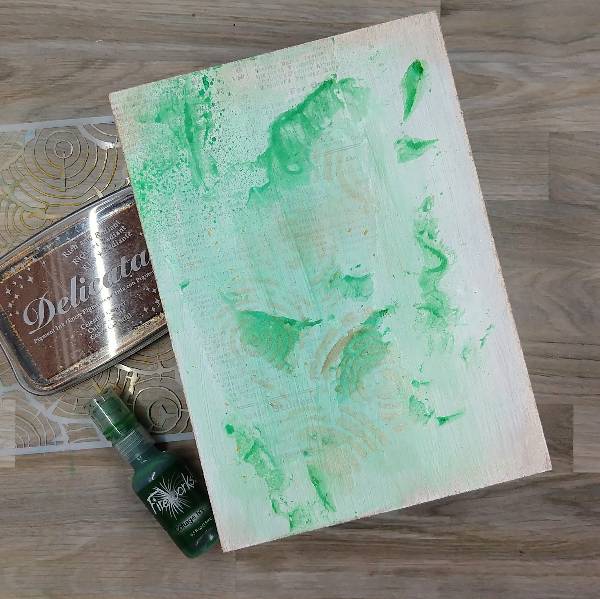
Step 4:
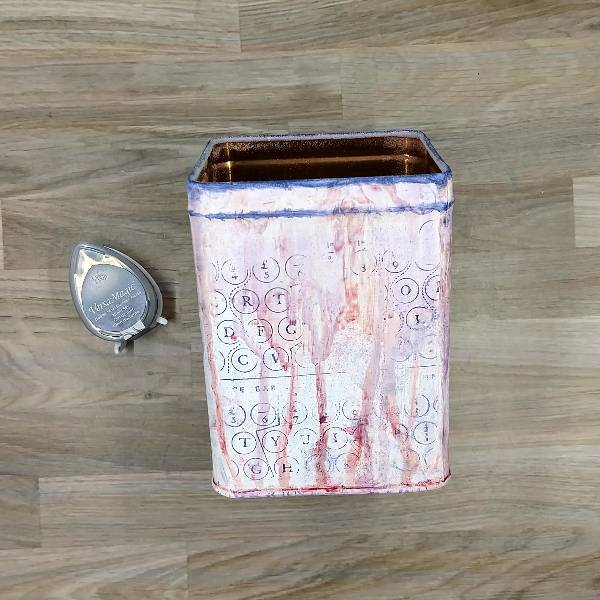
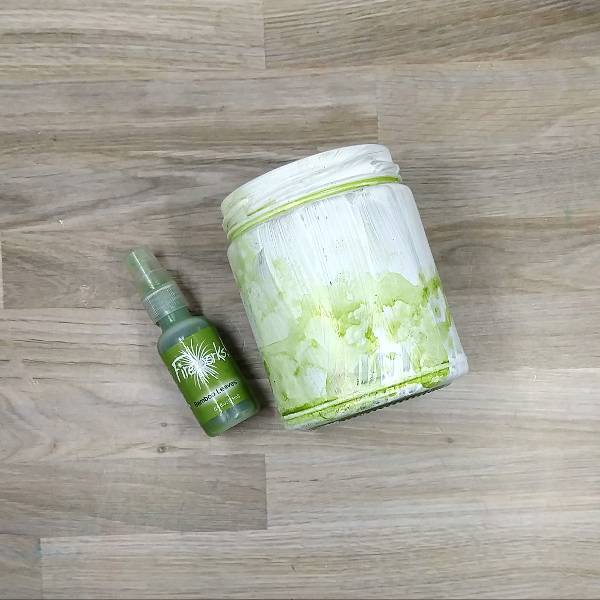
Paint a cleaned jar with gesso. Let it dry overnight. Then spray the jar with Bamboo Leaves Fireworks! Craft Spray and spin the jar to help move the spray around the jar. Repeat to color the whole bottom part of the jar and allow to dry.
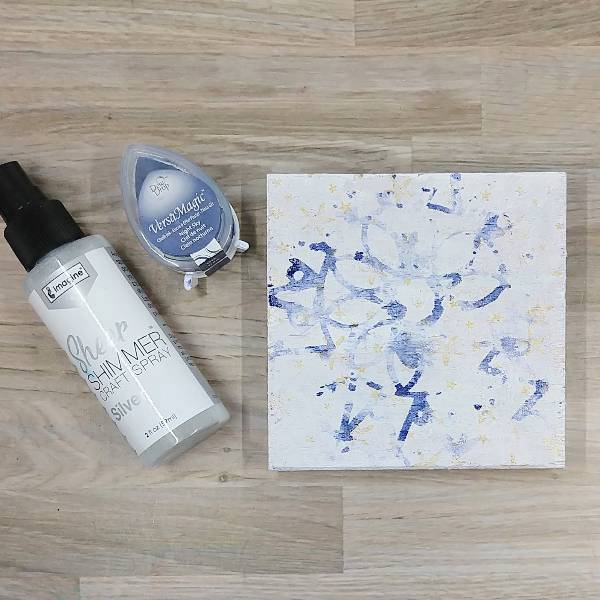
Step 5:
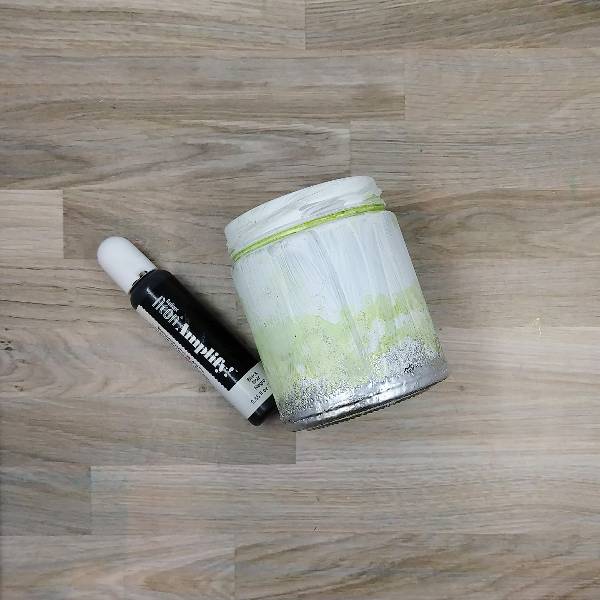
Using a sponge dauber, add a thin layer of black Amplify! To the bottom part of the jar and then used the wet Amplify! to adhere silver embossing powder and then heated the powder to create a silver bottom to the jar.
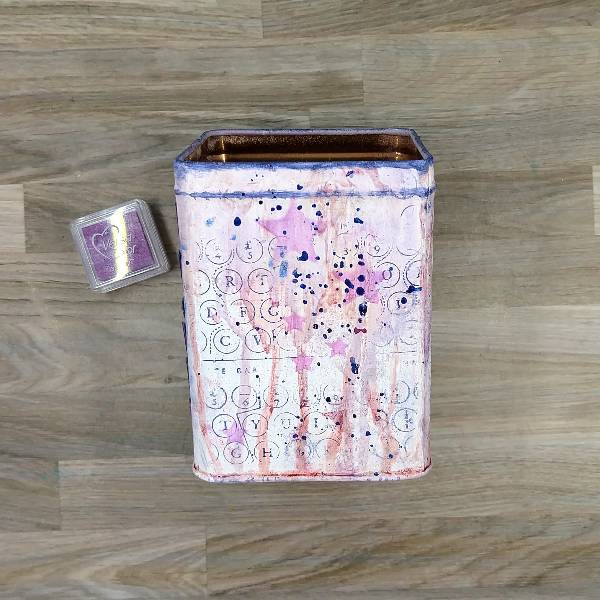
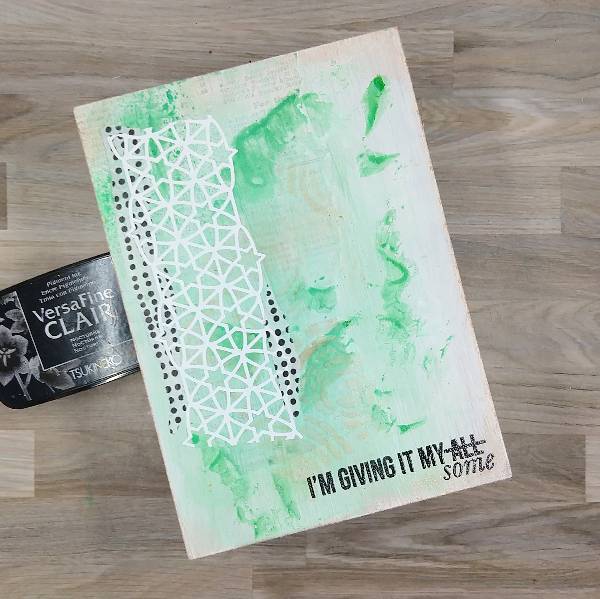
Step 6:
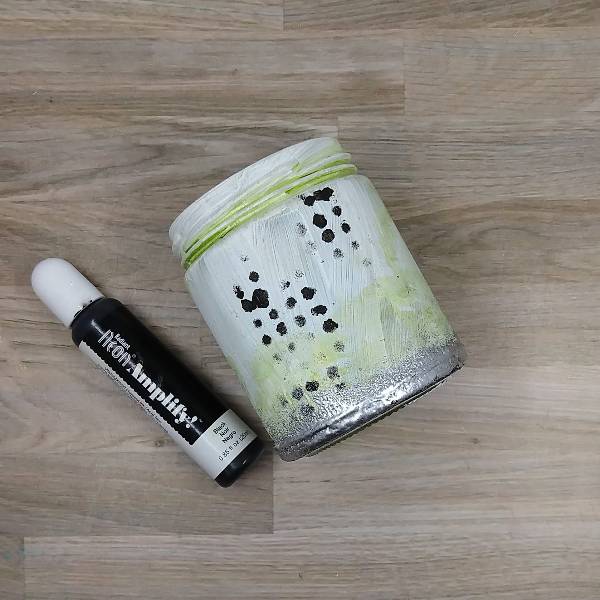
Use a circular stencil and the same sponge dauber to add more black Amplify! to the center of the jar (on one side) and use a heat tool to dry.
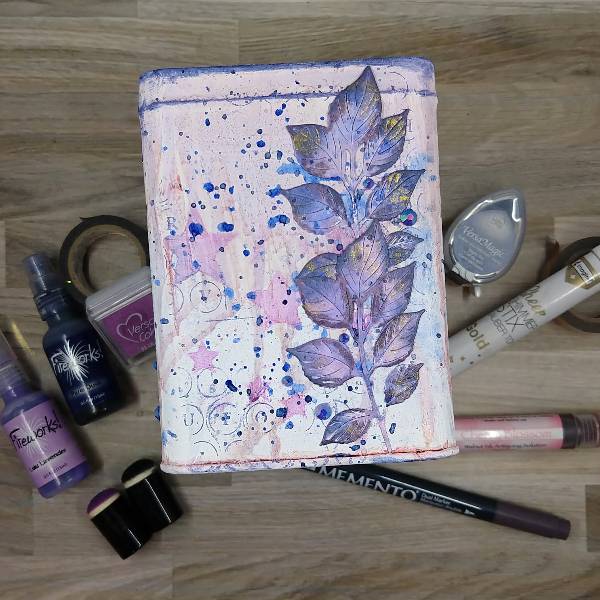
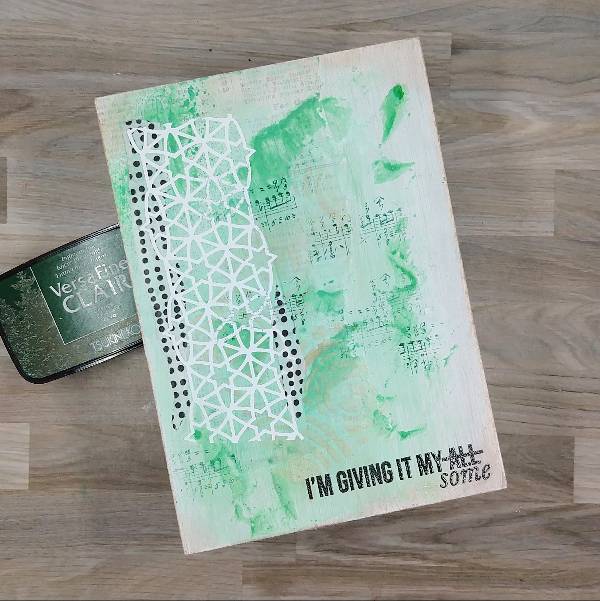
Step 7:
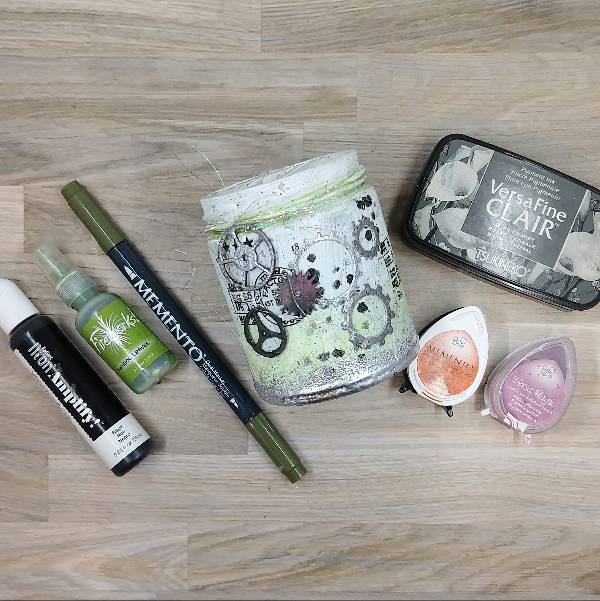
Add rub on stickers next to the black circles. Glue the watercolor die cut gears over the stenciled black circles and then glue the two smaller metal gears over the top of them. Attach the largest gear by tying it onto the neck of the jar with silver thread. Splatter the jar with Northern Pine Memento Dual Tip Marker to finish the project.
Art Supplies
Imagine
• Amplify! – Black
• Fireworks! Craft Spray – Bamboo Leaves
• Memento ink – Potter’s Clay
• Memento marker – Northern Pine
• VersaFine Clair ink – Morning Mist
• VersaMagic ink – Perfect Plumeria
Other Products
• Golden – Gesso Semi-Opaque Acrylic Primer
• Tim Holtz and Idea-ology – Remnant Rubs
• Tim Holtz and Idea-ology – Sprocket Gears
• Sizzix – die set – Vault Industrial
• Circle stencil in my stash
• Clear Embossing Powder
• Silver Embossing Powder
• Silver thread
• Glue
• Watercolor paper