by Iris Rodriguez

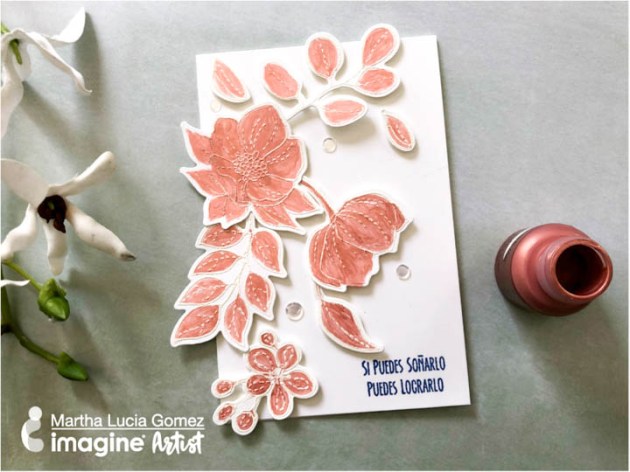
“Bloom where you are planted” is a phrase that means to make the best of our situation…a theme for my art journal page this month. For this journal page, I used Imagine’s Walnut Ink Crystals, which I find to be absolutely fabulous. Use them to create mottled, scumbled, drippy, sprinkly, watercolored painterly effects. Use this effect as a background or paint images with these effects. It plays well with other inks.
Skill: Advanced
Time: 1.5 Hours
Directions

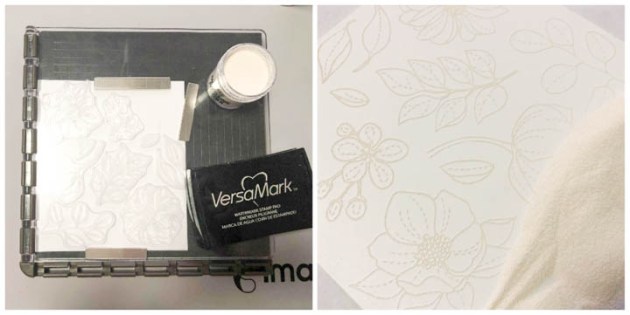
Step 1
Begin by stamping and embossing with Imagine’s white embossing powder. I was going for a theme of rulers and flowers, denoting growing and blooming.

Step 2
Spray the paper with a little water in random areas. Sprinkle the Walnut Ink Crystals, they look like coffee grinds. Spray more water in random areas, to allow the crystals to dissolve more than others. To color in sections, use a paintbrush to color.

Step 3
Techniques for varying the look of the Walnut Ink Crystals. Leave crystals as is, spray more water on some areas, for a watercolored look-paint with a brush, hold the paper up and spray water on the top of the paper and allow the ink to drip down. Allow the paper to completely dry.

Step 4
Add a different, but contrasting color. Place a few drops of Tropical Lagoon All-Purpose Ink on your surface, spray a little water into the ink. Brush the ink in random areas. Spray water and allow the ink to drip. Allow the paper to completely dry.

Step 5
Touch up areas with the walnut ink with a brush. Dissolve a few crystals completely in water to make a solid ink solution. I like to scumble ink in areas, making it look, a little like soil. Allow the paper to completely dry.

Step 6
Using white acrylic paint and Imagine’s Jumbo Dauber, stencil in flowers in random sections. Wash the dauber right away. Allow the paint to dry completely.


Step 7
Place the stencils over the same flowers that were just stenciled with the acrylic paint and color in the flowers by inking with pad directly or using InkBlushers.

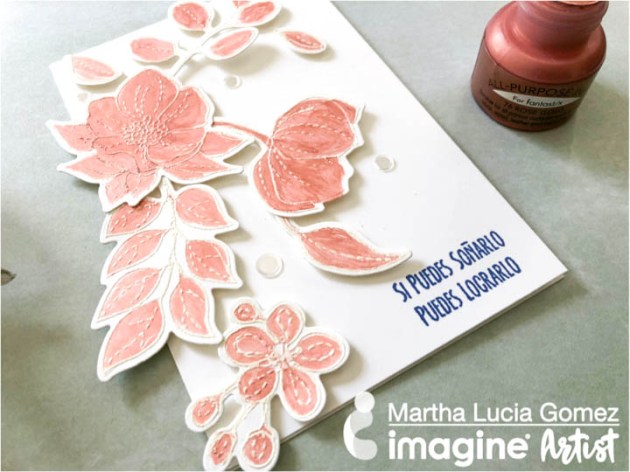
Step 8
Vary the look by blending several color inks. Color the flower’s outline with a white Posca pen. Add a sentiment and you’re done.
Supplies
Imagine
- Craft Mat
- Walnut Ink Crystals
- VersaMagic DewDrop ink pad – Red Magic, Mango Madness
- StazOn ink pad – Jet Black
- Brilliance Full-Size ink pad – Pearlescent Coral, Crimson Copper
- VersaMark
- Embossing Powder – White
- Jumbo daubers
Other
- Watercolor paper 9 x 12 inches
- Carabelle Studio – Steampunk Metre stamp
- Flower stencils
- White acrylic paint
- Posca pen-white (fine)