By Ceal Pritchett
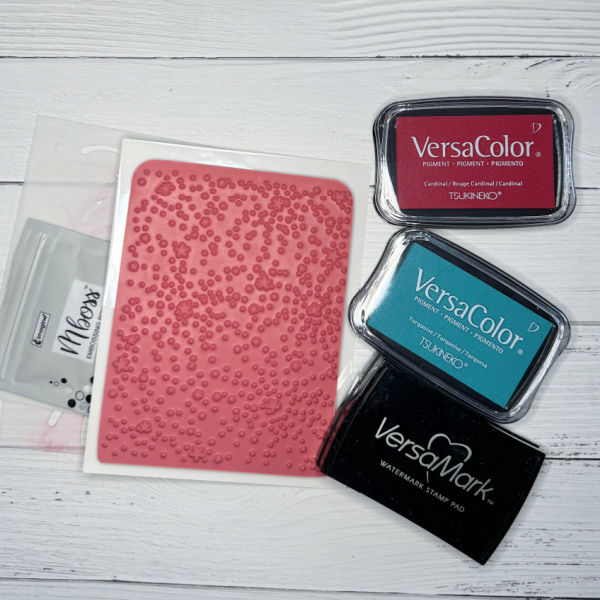
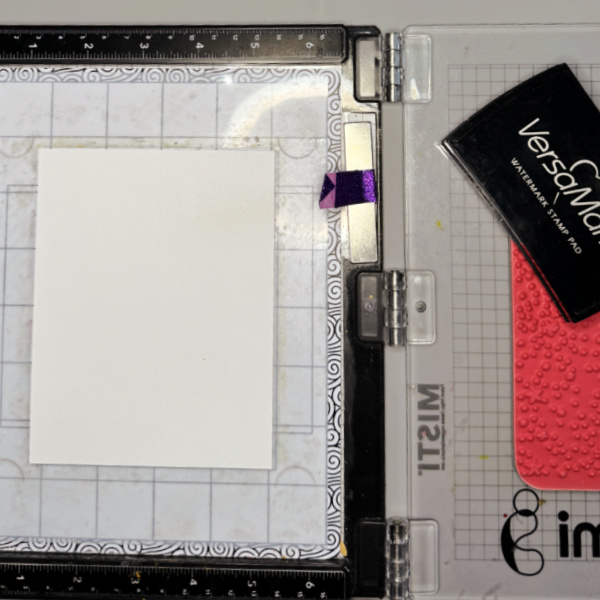
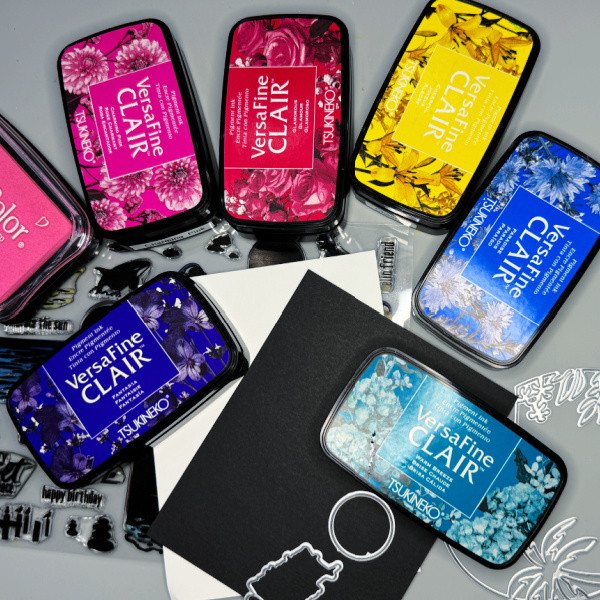
Today I am sharing a card that uses VersaFine Clair inks to create a dramatic sunset. You will need to gather the following supplies to recreate this card. I have them pictured below.
Skill: Advanced
Time: 1 to 1 ½ hours
Directions:
Step 1:
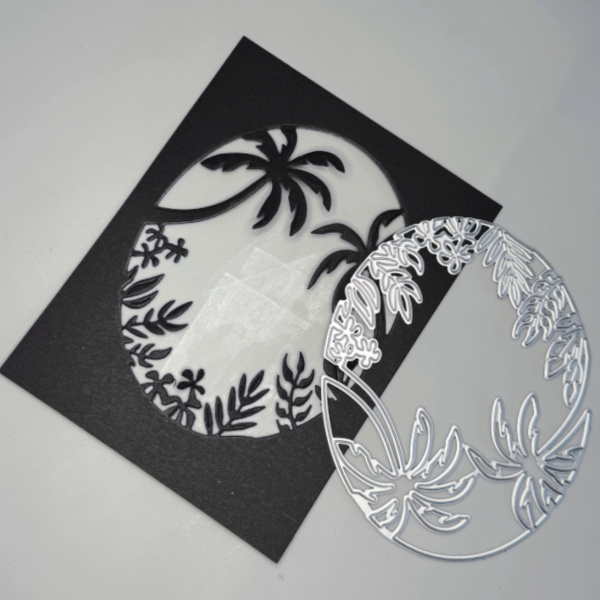
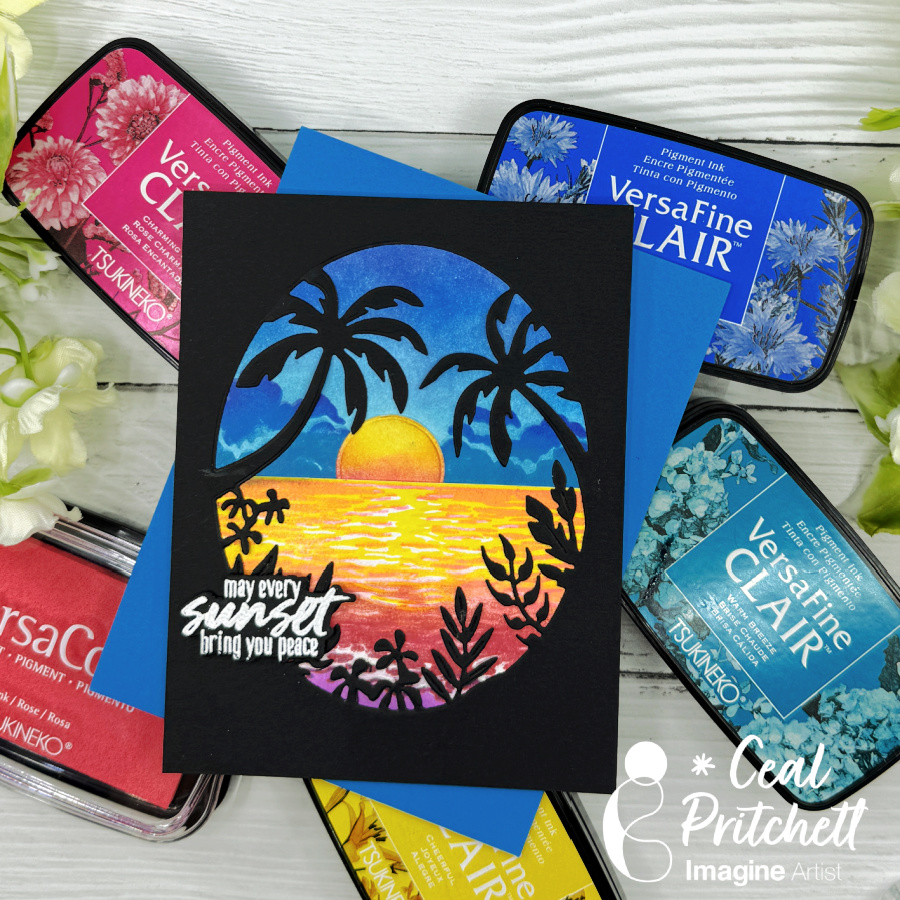
Cut the window die out of black cardstock.
Step 2:
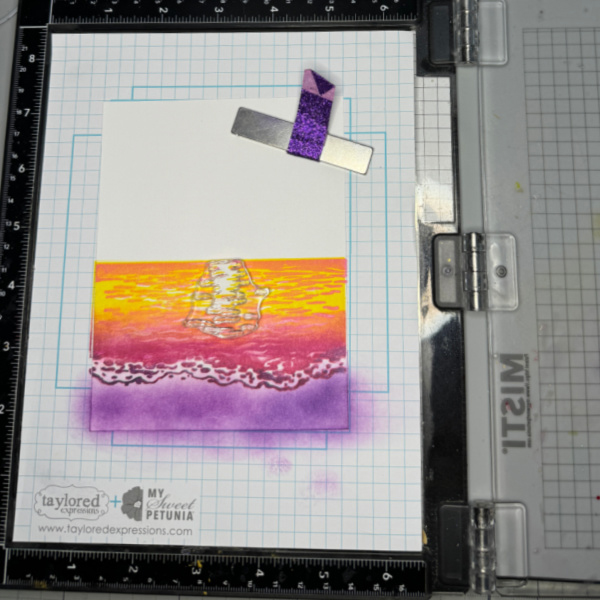
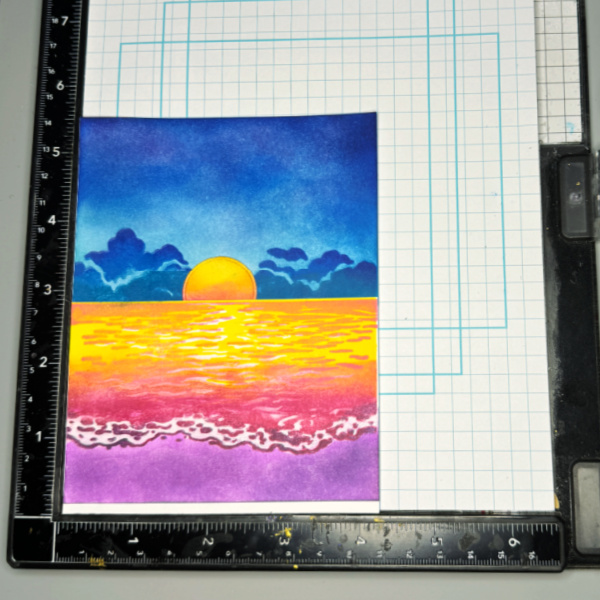
Using the large stamp in the layering stamp set, place it near the bottom of the panel and ink one third of the top portion with Cheerful ink. Next ink the middle portion with Pink VersaColor. The bottom portion should be inked with Charming Pink and Glamorous. The very edge of the stamp should be inked with Purple Delight. I also used a dauber to add purple delight to the bottom of the panel and later went over that with a Copic marker.
The next layer adds more definition to the sea. I inked it up with Pink VersaColor which turns orange when stamped over yellow.
The last layer is to stamp the reflection which I stamped in Cheerful (yellow) ink.
Step 3:
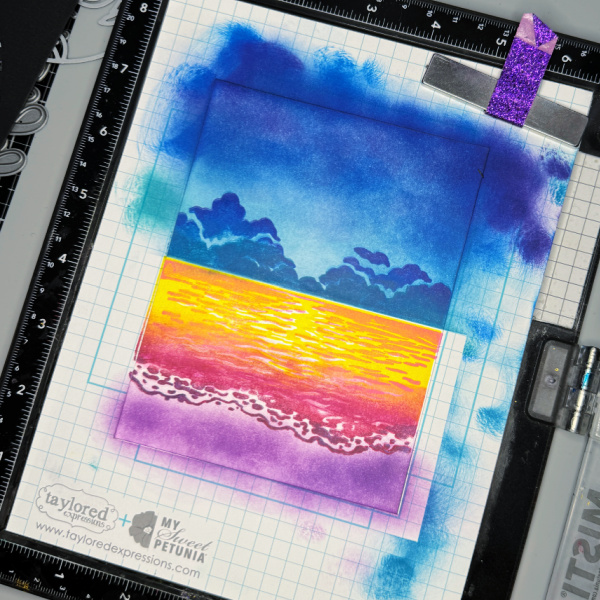
I used a post it note to mask off the bottom portion so I could create the sky. To do this I used a dauber and blended Warm Breeze and Paradise ink and then added a little of the Fantasia ink to the top portion. I placed the panel back in the Misti and stamped the sky using Warm Breeze on the bottom portion of the stamp, Paradise in the middle and Fantasia on the very edge.

Step 4:
Cut out a circle for the sun and ink blend Cheerful at the top, Charming Pink in the middle and Glamorous at the very bottom.

Step 5:
Cut the panel into two pieces in order to layer them on an A2 panel.
Step 6:
Adhere the sky panel to the top of the white A2 panel, add the sun and then add the sea panel so you overlap the sun and sky just a bit. You can see the white portion left in the photo above.
Step 7:
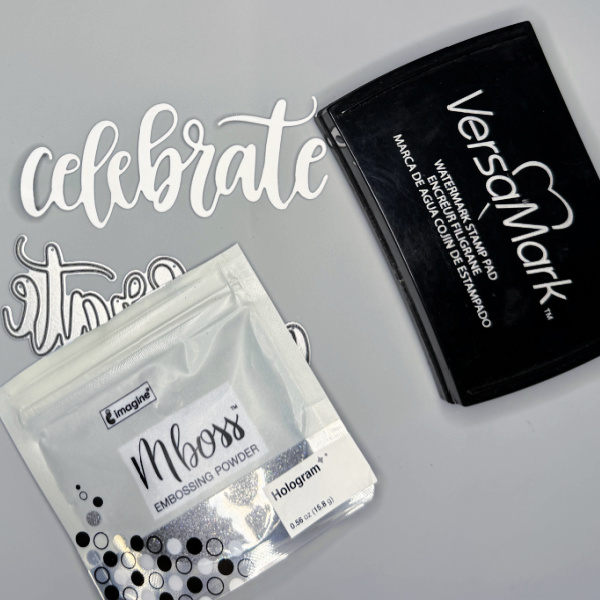
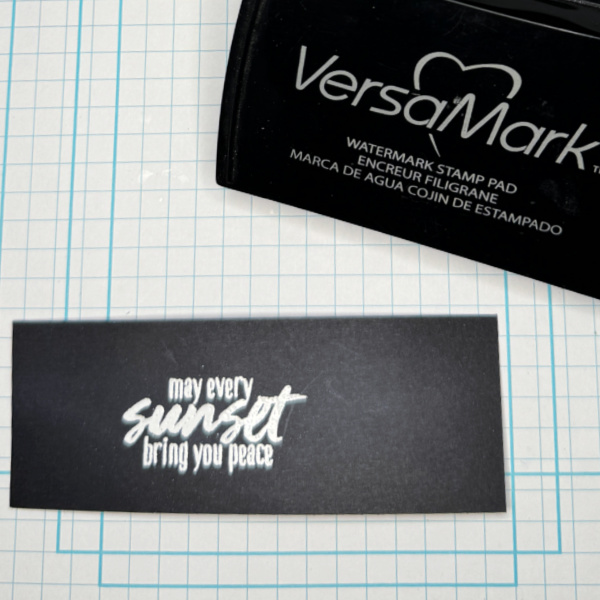
Stamp a sentiment with VersaMark ink and emboss with white Mboss powder and then cut it out with the coordinating die and add to the front of the card.
Supply List:
Imagine products:
• VersaFine Clair:
Glamorous, Charming Pink, Cheerful, Warm Breeze, Paradise, Purple Delight, Fantasia
• VersaColor – Pink
• VersaMark
• Mboss Powder – White
• On Point Glue
Other Products
• Neenah Solar White 110lb and 80lb cardstock
• Pitch Black cardstock – Hero Arts
• Color Layering Sunset Over Waves Bundle – Hero Arts
• Tropical Foliage Window – Hero Arts