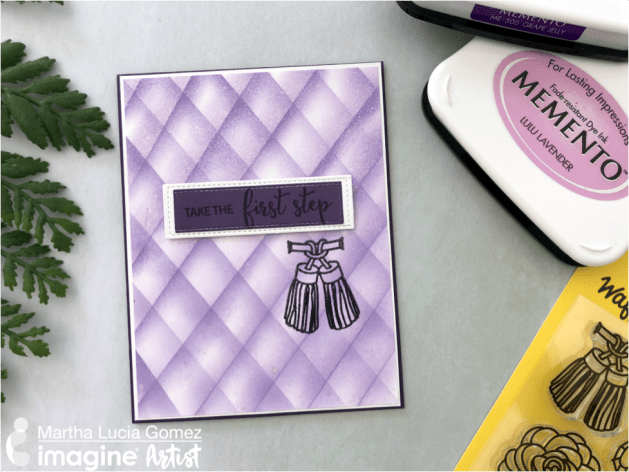
Hi there, Martha Lucia here! Today, I have a fun project to create using your Memento Inks and Waffle Flower stamps. This month we are featuring the color Amethyst a beautiful purple hue. I am using Memento Ink in Grape Jelly and Lulu Lavender to create my faux diamond Amethyst background.
Skill: Intermediate
Time: 45 minutes
Directions
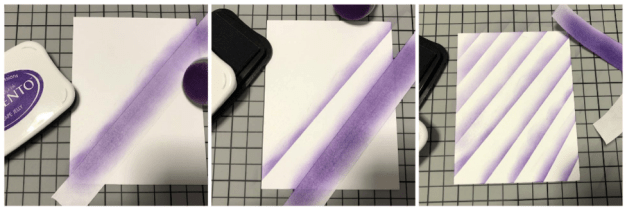
Step 1
I started with a whisper white piece of cardstock and a strip of masking tape. I just created diagonal lines of color using a jumbo dauber and the Grape Jelly Memento Ink. This is a technique that you can use with any color of ink, but for this color scheme, I started with the dark purple. I used the grid side of my Craft Mat to determinate space in between each line. Mine are around 3/4″ of each in between.

Step 2
When I was satisfied with the look, I just turn the inked cardstock 180 degrees and repeat the process but this time using a lighter color of ink, Lulu Lavender Memento Ink, just to create the shadow.
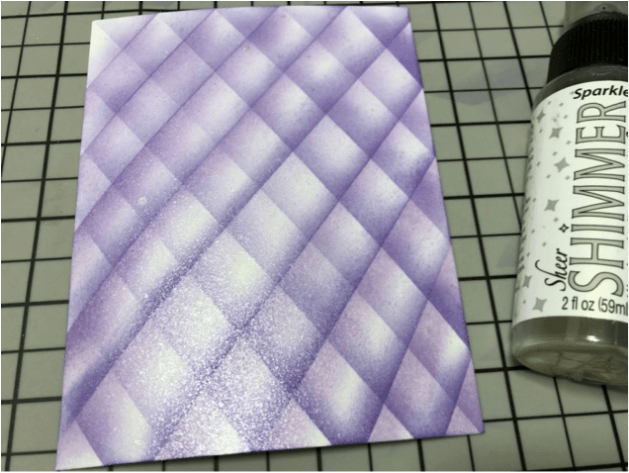
Step 3
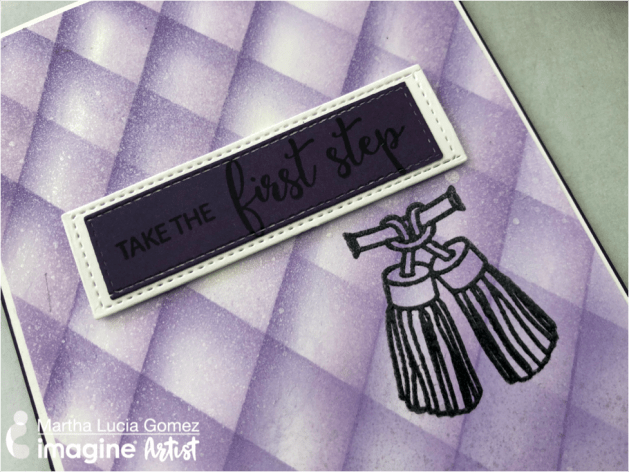
I sprayed the entire inked piece with Shimmer Sheer Sparkle to give the shimmering touch that a pair of shoes deserve. Yes, to finalize my card, I used images from the stamp set First Steep from Waffle Flower. This is a gorgeous stamp set that includes a pair of shoes with many embellishments and great encouraging sentiments.
Step 4
I just stamped one of the embellishments included in the First Step stamp set directly over my faux diamond background with VersaFine Clair Nocturne and Clear Mboss Embossing Powder. Then I combined two sentiments and stamped them over a piece of Gorgeous Grape cardstock that I cut and mat with whisper white cardstock using the Stitched Sentiments Strips Dies from Kat Scrappiness.
Thank you for stopping by and if you want a suggestion, try to use this faux diamond technique using opposite colors of ink and share your creations with us!
Supplies
Imagine
Other
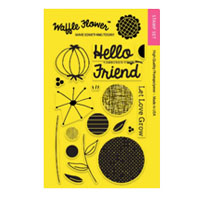
- Waffle Flower – First Step Stamp Set
- Card Stock – Whisper White, Gorgeous Grape
- Masking Tape
- Kat Scrappiness – Stitched Sentiments Strips Dies