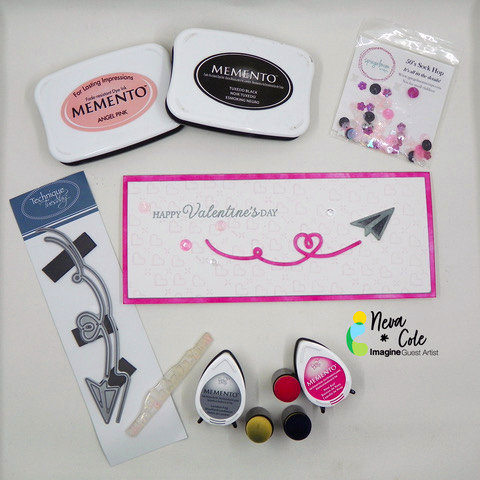
Learn to Make a Unique Slimline Valentine Card

By Neva Cole 

Today I am sharing how to make a Slimline Valentine using Memento inks. Slimline cards are very trendy. This is a great quick and easy card that can be given to the special guy in your life for Valentine’s Day.


Skill: Beginner

Time: 30 minutes


Directions:
Step 1

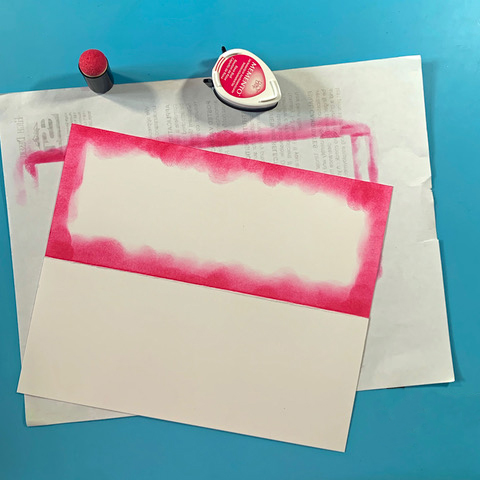
A great thing about slimline cards is that you only need a single sheet of 8.5” x 11” cardstock for the card and card front. Trim cardstock to 7” x 8.5” and score to make a card base of 3.5” x 11. It will fit in a standard A10 envelope. Use a Sponge Dauber and Memento Rose Bud to ink the outer 0.5” of the card base.
 

Step 2

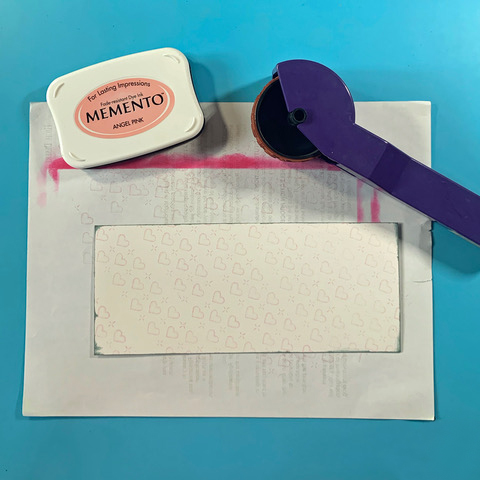
Trim the remaining cardstock to 3.25” x 8.25”. Edge with Memento London Fog. Stamp a background in Memento Angel Pink with a small Valentine’s themed image. I used an ancient Rollergraph heart stamp. It is very subtle but adds just a bit of depth to the card.
 

Step 3

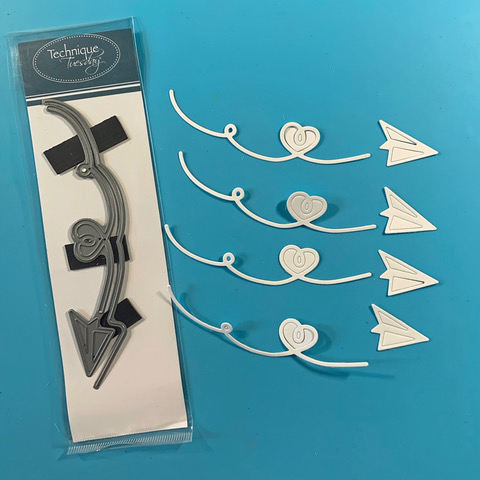
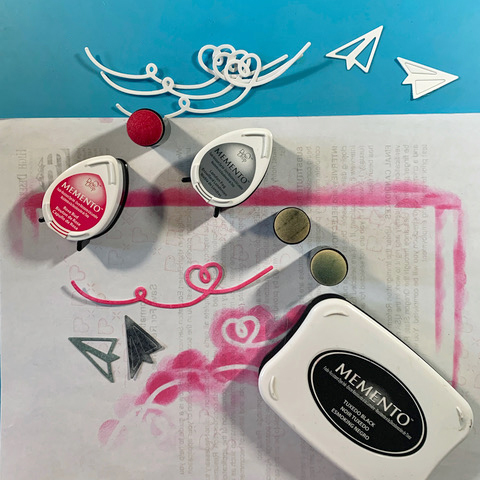
Die-cut four layers of cardstock with the Technique Tuesday Paper Airplane on the Border Die.
 

Step 4

Ink one loop with a sponge dauber and Memento Rose Bud. Ink one airplane in Memento London Fog. Ink one airplane leaving the cutout section in place when inking with Memento Tuxedo Black.
 

Step 5

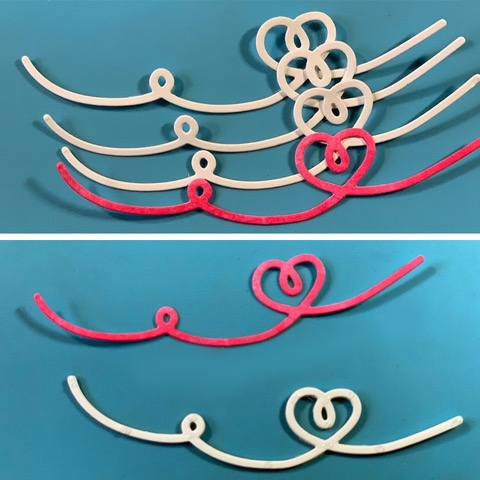
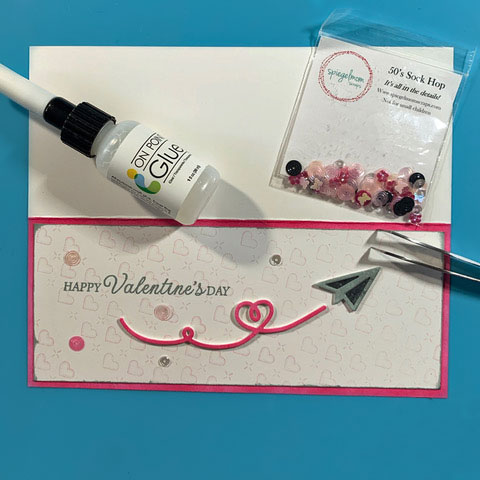
Layer the loops together with dots of On Point Glue, the lower photo shows the very small dots of glue, a little goes a long way! Lightly press together to create a raised die-cut.
 

Step 6

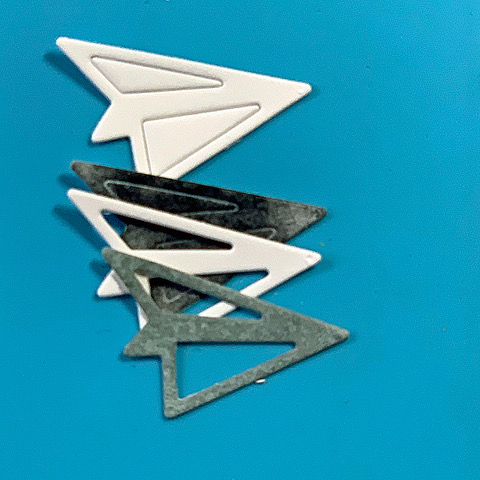
Using On Point Glue, layer the Memento Tuxedo Black airplane over one white airplane. Layer the third airplane with the cutouts removed over the Memento Tuxedo Black airplane. Layer the Memento London Fog airplane with cutouts removed on top.
 

Step 7

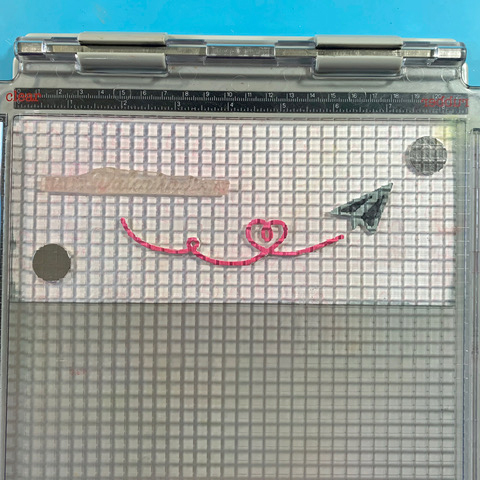
Stamp sentiment image in Memento London Fog. I placed all the elements on the card to decide the position before using a stamp positioner to stamp the sentiment.
 

Step 8

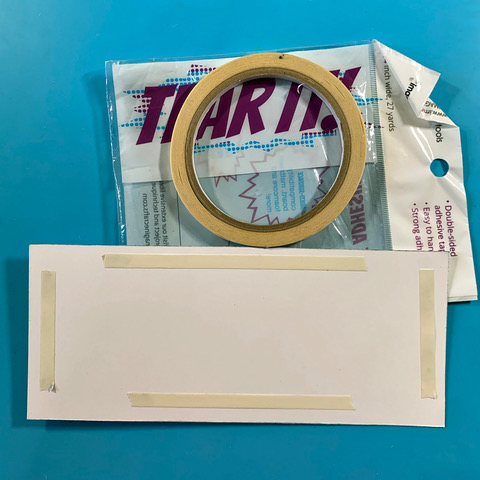
Adhere the card front to the base using Tear It! tape.
 

Step 9

Adhere die cuts and sequin embellishments with On Point Glue.


Art Supplies

Imagine
Other
  • Technique Tuesday Die-Paper Airplane on the Border
  • Hero Arts-CL493 Holiday Sentiments
  • Spiegelmomscraps-Sock Hop sequins
  • Rollergraph-Heart Stamp

Create a Shimmery Valentine’s Card Using Brilliance Inker

By Jowilna Nolte

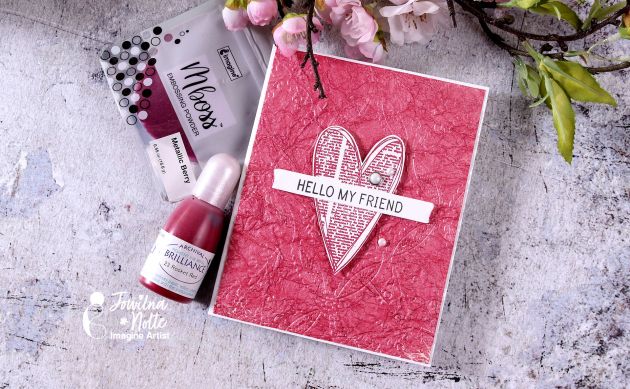
Today I am showing you how to create a gorgeous shimmering background for your Valentine cards using a few tricks. First I used a piece of shimmering faux leather paper, added some Brilliance Rocket Red inker to it, and then used a unique rich metallic raspberry MBoss powder for added texture. For the focal point, I embossed a heart and then added some finishing touches for a quick and shiny card – perfect for friends. In just a few steps I created this card with loads of elegance, shine, and personality.


Skill: Intermediate

Time: 25 minutes


Art Supplies:

Imagine

• Brilliance Rocket Red Inker

• MBoss Metallic Berry Embossing Powder

• VersaMark Dazzle Champagne

• VersaFine Clair Nocturne

• Imagine Craft Mat

• Tear It Tape

• Inkblushers

• StazOn Stamp Cleaner

Other:

• Heat Gun

• Couture Creations Stamp Press

• Couture Creations Mini Guillotine

• Stamps – Joy Clair, Carabelle

• Cardstock – American Crafts

• Embellishments

How to Create a Simple Ink Blended Masculine Valentine Card

by Katy Ingram

In today’s crafting tutorial, I show you how to make a simple ink blended masculine card using some Memento, Versafine Clair and Delicata inks.  This is a great project for that special someone in your life for Valentine’s Day. 

Skill: Advanced

Time: 25 minutes

Directions

Art Supplies:

Imagine

• Memento Ink Pad – Teal Zeal, Nautical Blue, Paris Dusk

• VersaFine Clair Ink Pad – Twilight

• Delicata Ink Pad  – Silvery Shimmer and Golden Glitz

• Imagine Craft Mat


Other

Simon Says Stamp – Background Stamp – You Are

Simon Says Stamp – Die – Deco Heart

Gina K Designs – Cardstock – White Layering

Neenah – Cardstock – 110 lb classic crest solar white

How to Create a Purple Be My Valentine Hearts Card

by Annie Collins

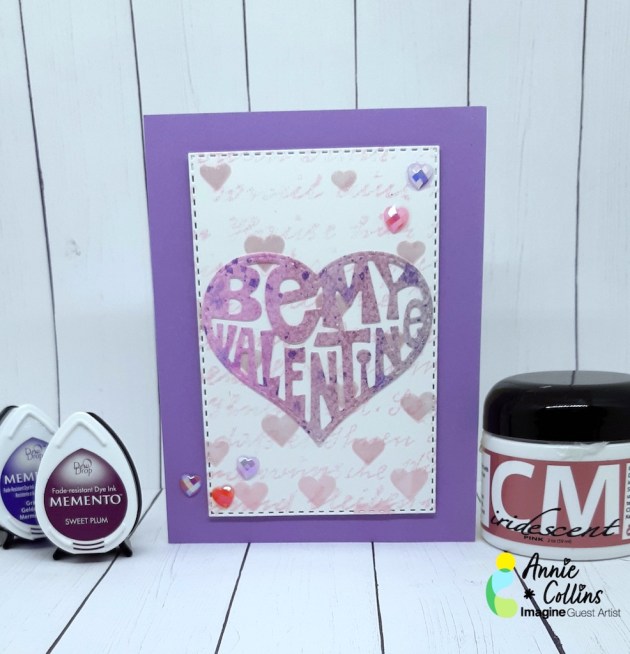
Hello Crafty Friends! Annie here with a fun textured Be My Valentine greeting card. This fun pink and purple card is perfect for your special someone.

Skill: Intermediate
Time: 30 minutes

Directions

Art Supplies

Imagine
Other
  • Cheery Lane Designs Die: Be My Valentine B531
  • Rinea: Oma’s Postcard Stamp
  • Stampin Up: Falling Heart Stencil
  • I used the stencil above – here’s one that is available
  • MFT: Lots of Heart Stencil
  • Lawn Fawn Stitched Rectangle Die
  • Strathmore Cold Press Watercolor Cardstock
  • Recollections Brand 110# Cardstock: White
  • Recollections Brand 65# Cardstock: Lavender
  • Recollections Brand Foam Dots

How To Create A Happy New Year Card

by Annie Collins

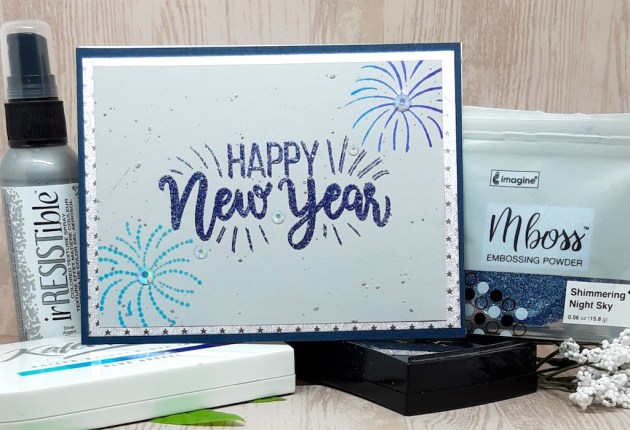
Hello Crafty Friends! Annie here with a simple New Year’s card. Make this fun card with easy embossing and the use of the Kaleidacolor Ink pad to bring this card to life.

Skill: Intermediate
Time: 10 minutes

Directions

Art Supplies

Imagine
Other
  • Maker’s Movement – Sarcastic New Year Stamp Set
  • Trinity Stamps Embellishments – Crystal Gems
  • Rinea Foil Paper – Starstruck Silver
  • Recollections Brand 110# Cardstock – White
  • Recollections Brand 65# Cardstock – Light Gray

How To Make Your Own DIY Thank You Card

by LeeAnn McKinney

LeeAnn here with my last video of 2020. This year sure did go by fast, however, I am so ready for 2021 to begin, what about you?

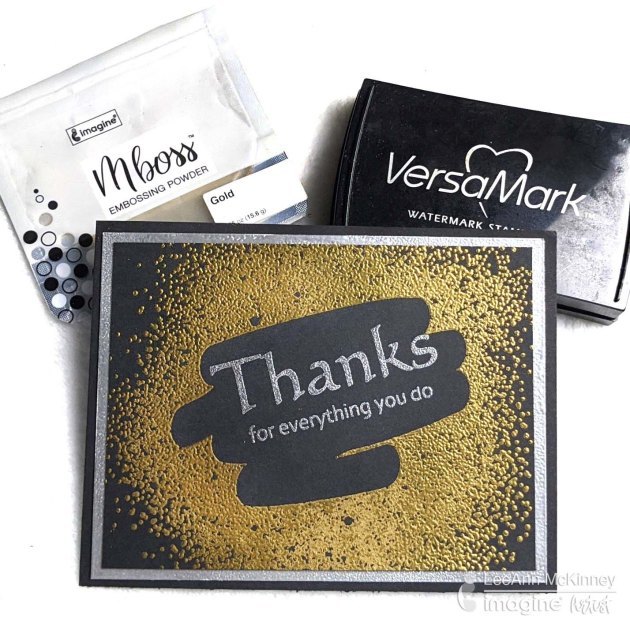
For my final cardmaking project, I am bringing you a fun and gorgeous Gold Thank You card on black paper.  I love creating and crafting with embossing powders, so I did a lot of it with this one. Here you will see a silver and gold theme expressing, “Thanks for everything you do!”

Art Supplies

Imagine

Other Products Used:

  • Recollections 110lb Cardstock White and Black
  • Picket Fence Studios Background Stamp
  • Create And Inkspire Thanksgiving Stamp