By Tracy Fear
Hello Friends! Tracy here and today I am delighted to share this little frame tutorial perfect to fit into your junk journals or any other type of journal!
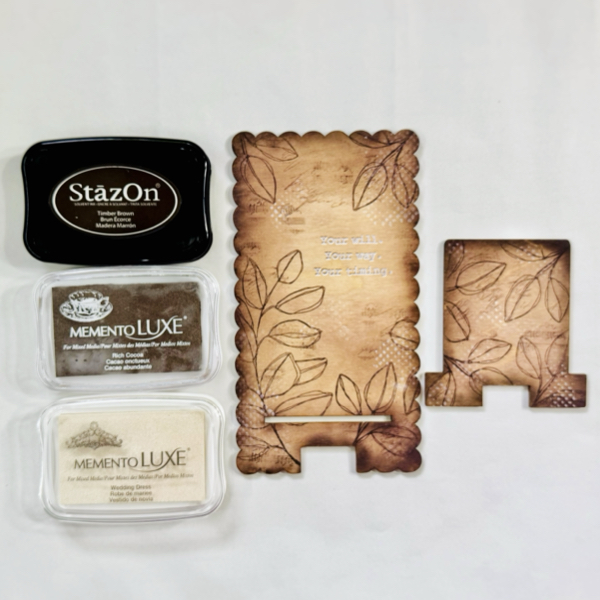
In today’s video tutorial I am sharing how I used stamps on muslin fabric to create a fun frame project! We will make one together, I will make 2 off camera, and at the end I will show you how I incorporated all three into my junk journal. Be careful, my friends, making these is addictive!
Skill: Intermediate
Time: 30 Minutes to 90 Minutes


Art Supplies
Stamping Platform
Glue
Brush (I use silicone)
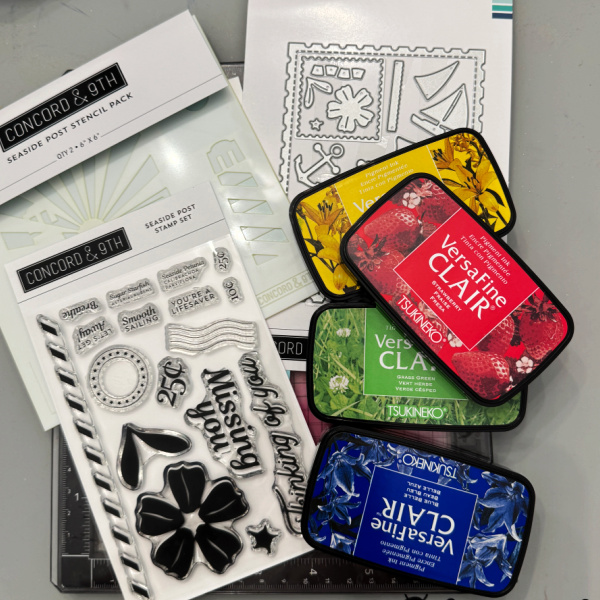
Your choice of stamps
Ephemera of your choice
Muslin Fabric-pressed
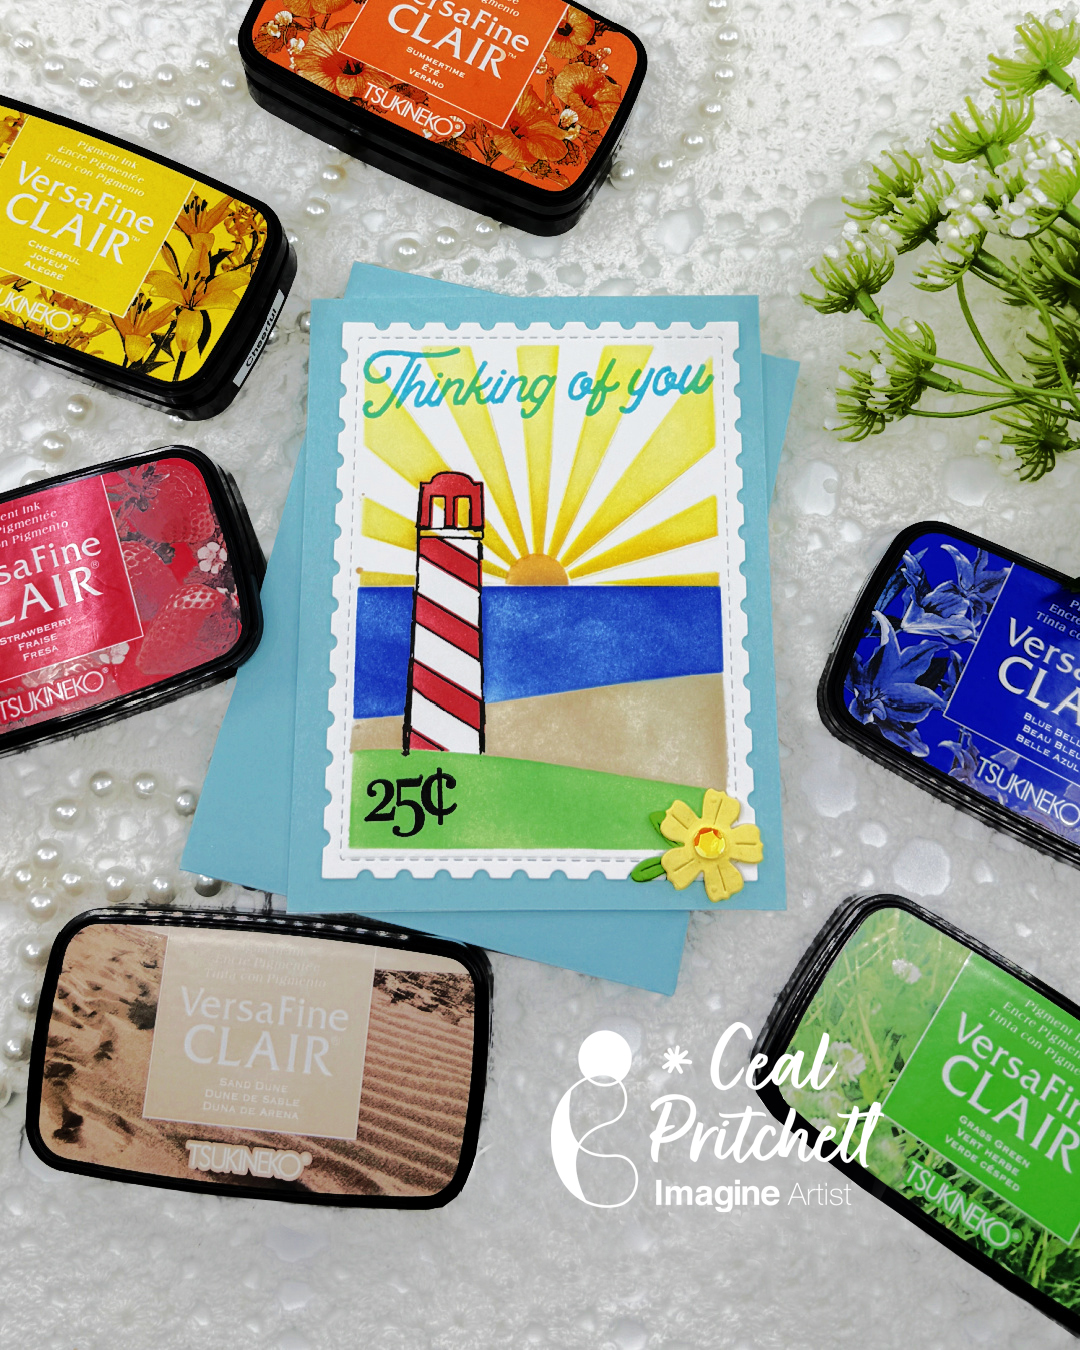
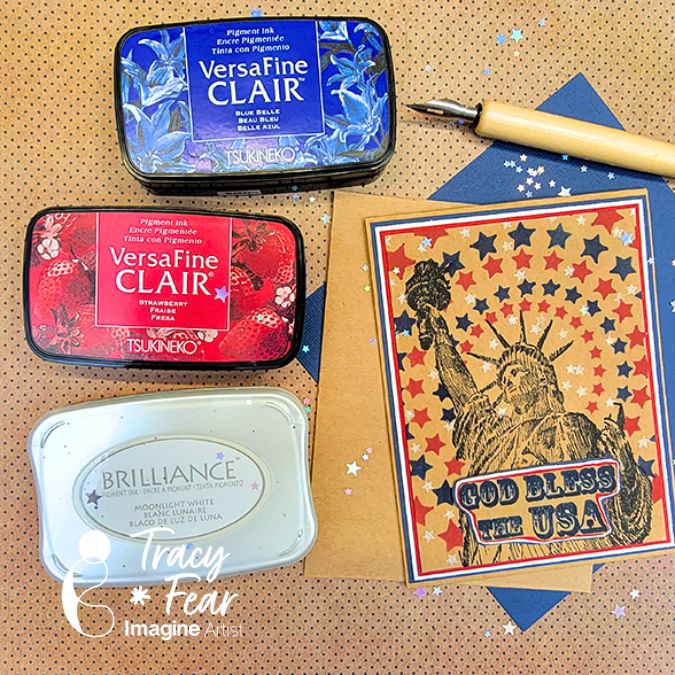
Imagine Products
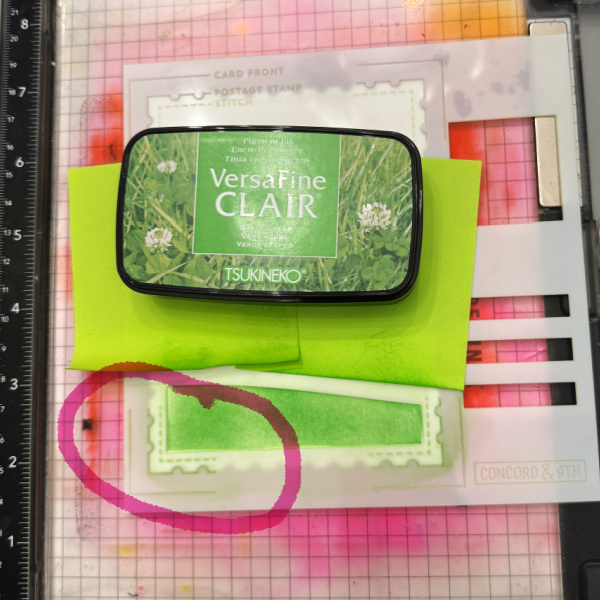
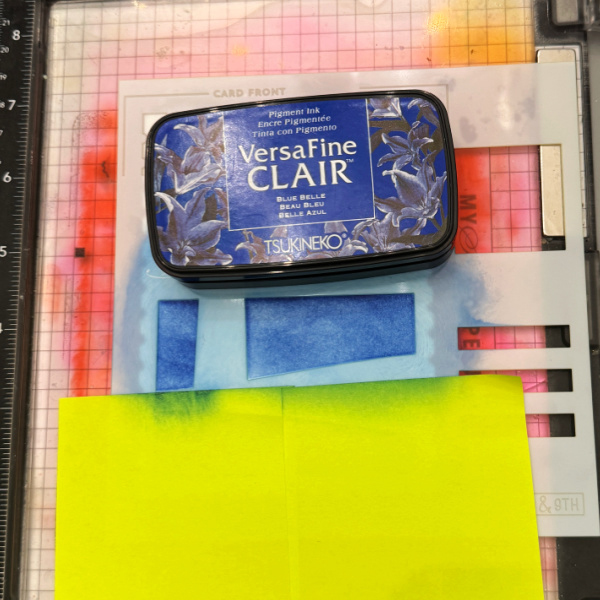
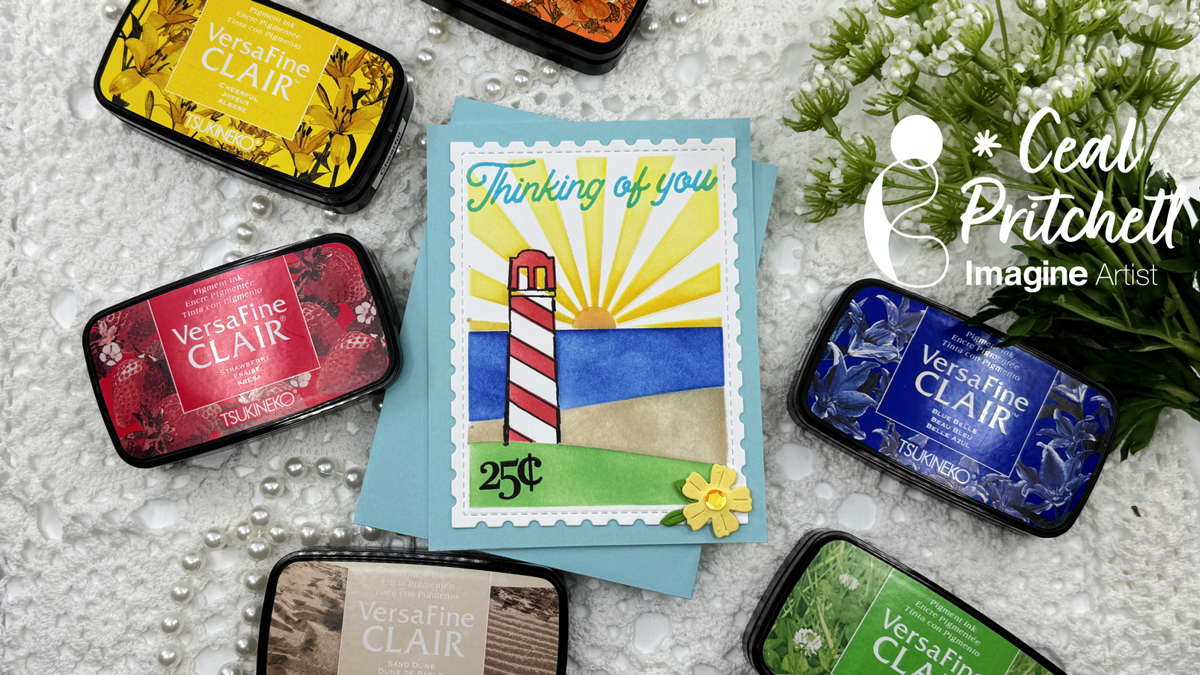
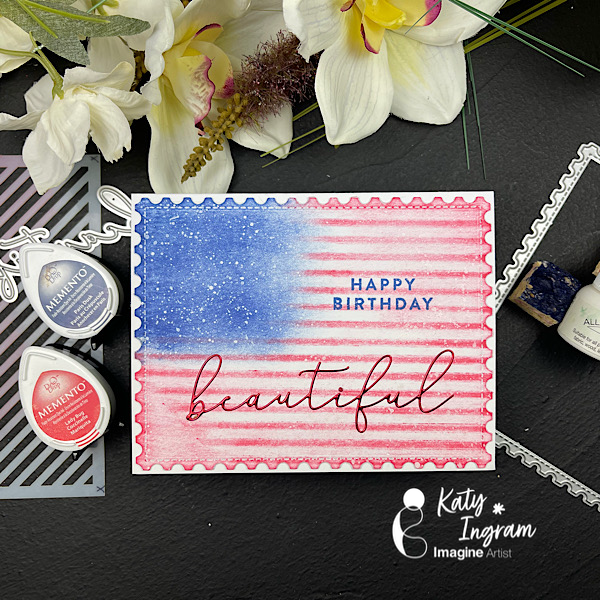
- VersaFine Clair in Bluebell
- VersaFine Clair in Green Oasis
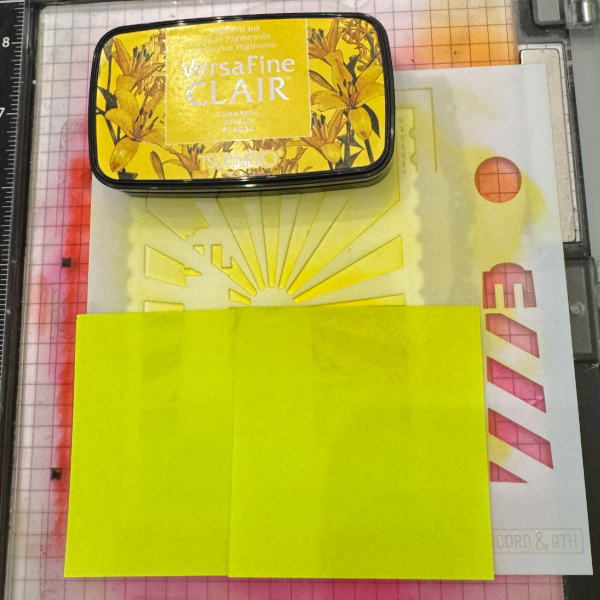
- VersaFine Clair in Cheerful
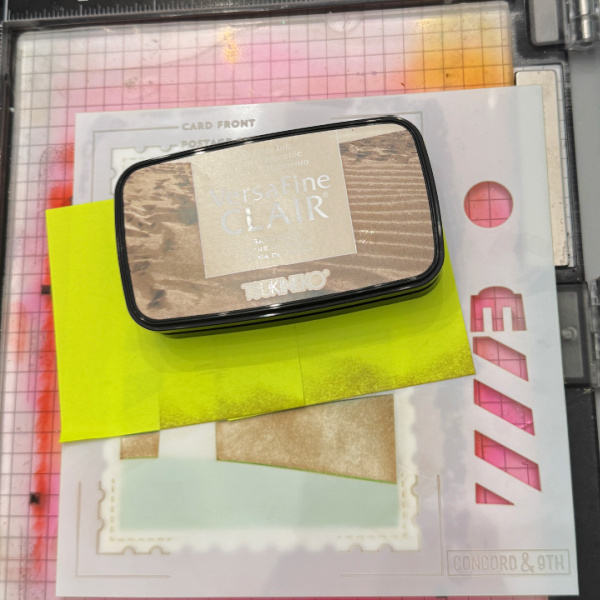
- VersaFine Clair in Acorn
Other Products Used
- Assorted Stamps from Stamper’s Anonymous and Tim Holtz
- Muslin Fabric-coffee died and natural dies
- Technique Junkies Statue of Liberty Stamp
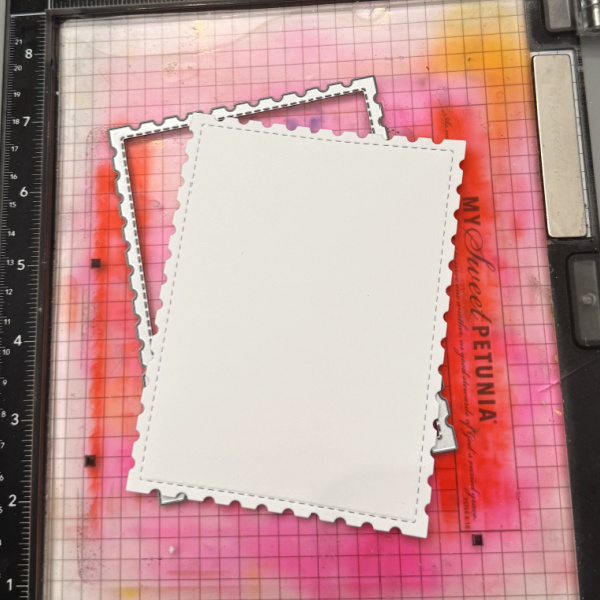
- Various dies
- 120lb paper in white, Kraft, and pink
- Misti tool
- PVA Adhesive
ALTERNATIVE PRODUCTS THAT CAN BE USED TO RECREATE SOMETHING SIMILAR
- Any Pigment Inks
- Heavy cardstock instead of fabric
To learn how to make this little frame, click here!