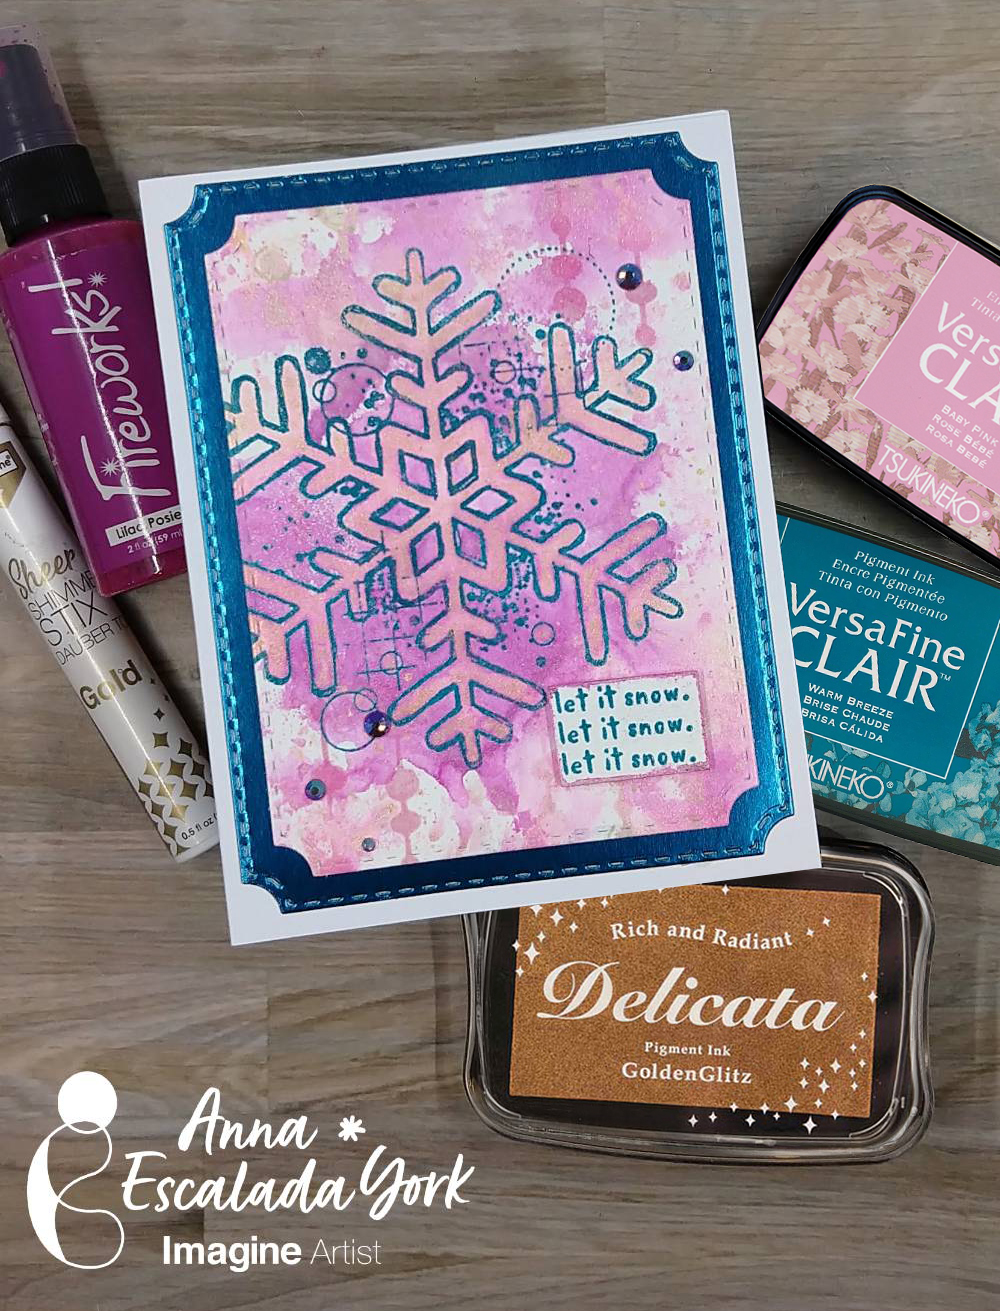
By Anna Escalada York
Before making this card, I had no idea all of the different winter wedding color palates there are!
I needed to make a winter wedding card, and decided to use some products in a new way (at least for me). Before I share how I made this card, I wanted to share a winter wedding color palate that inspired me:

Skill: Intermediate
Time: 2 hours
Directions:
Step 1:
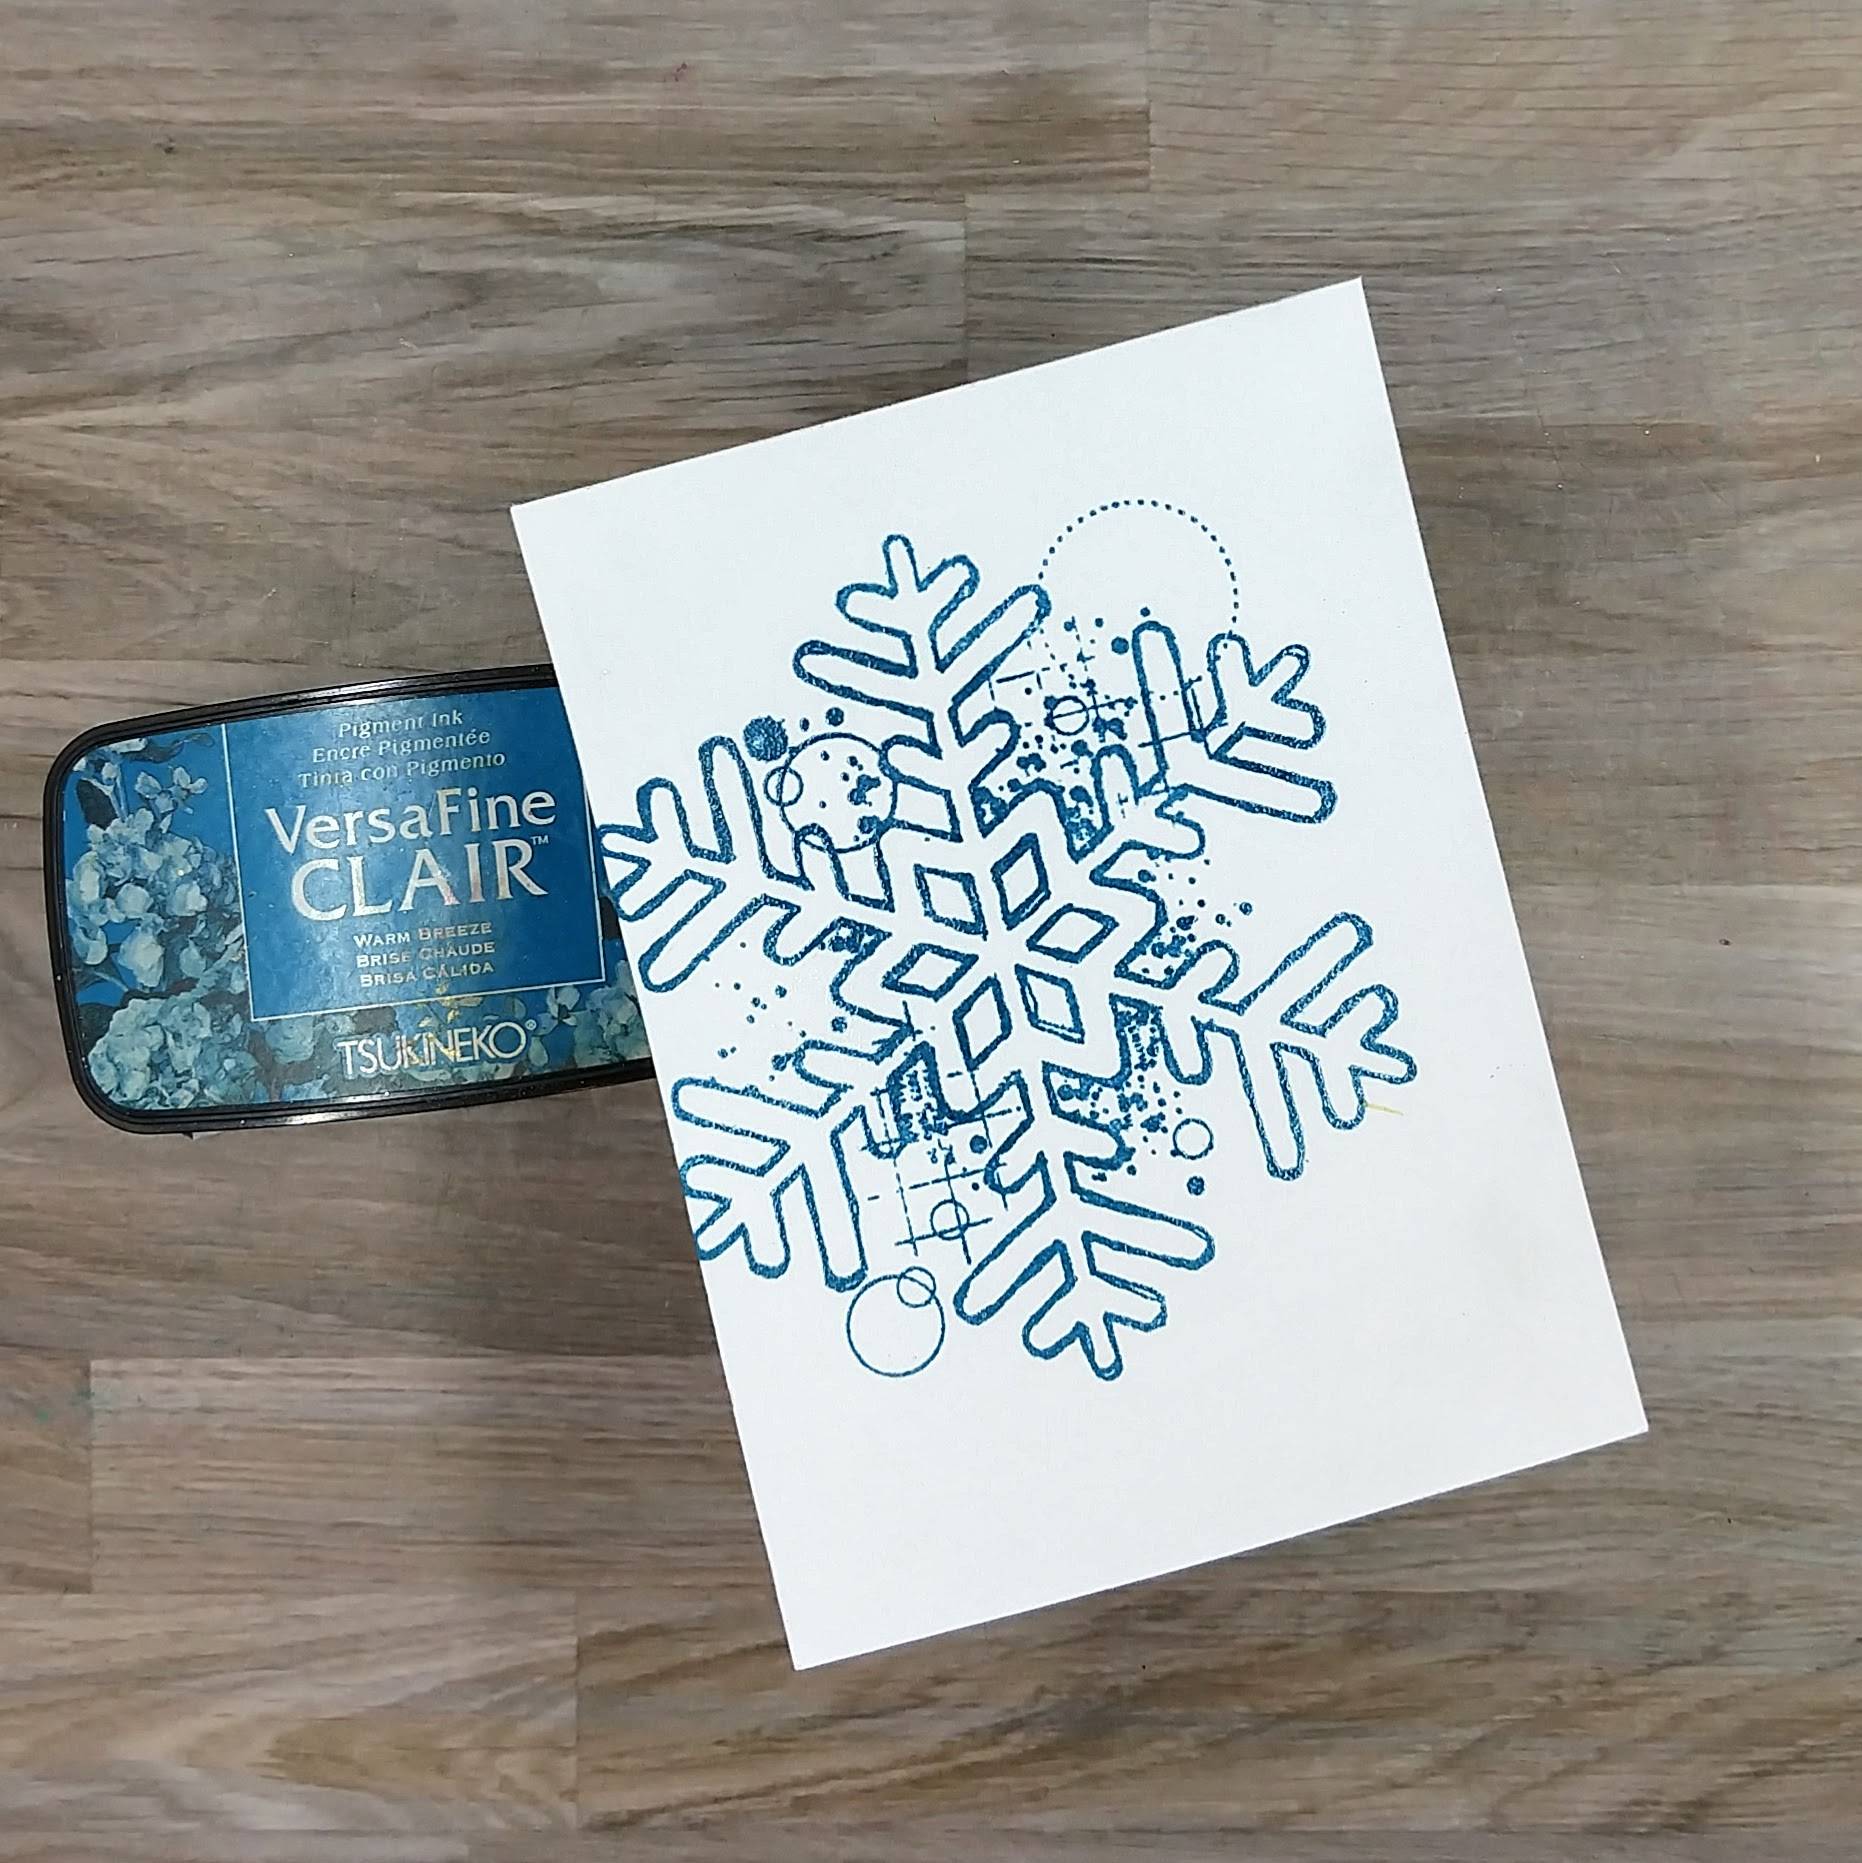
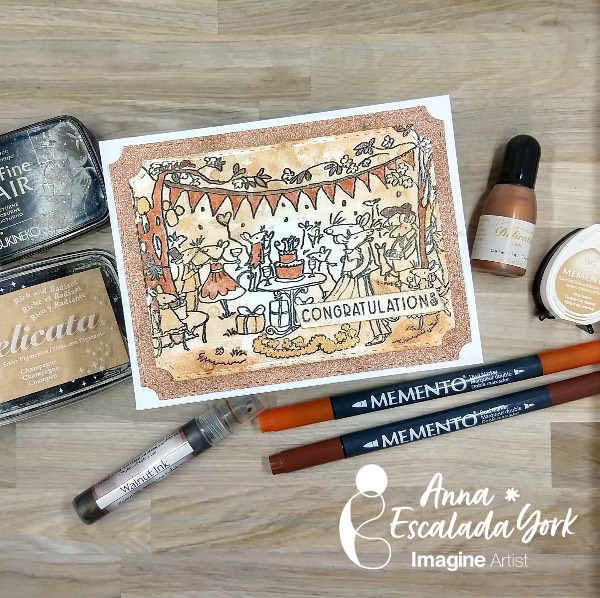
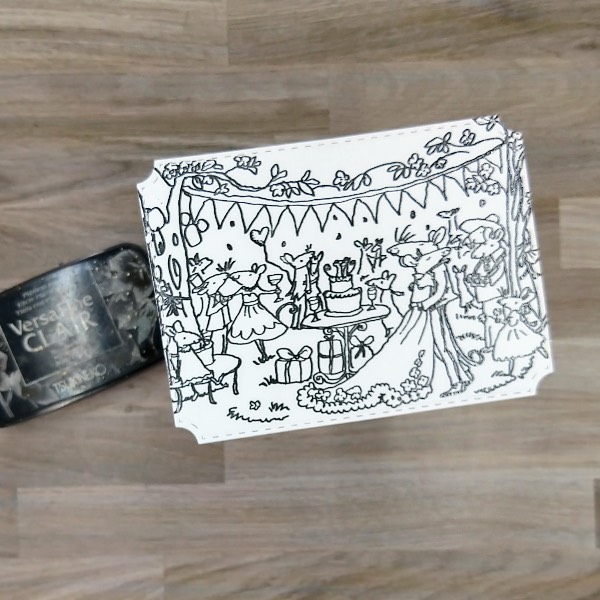
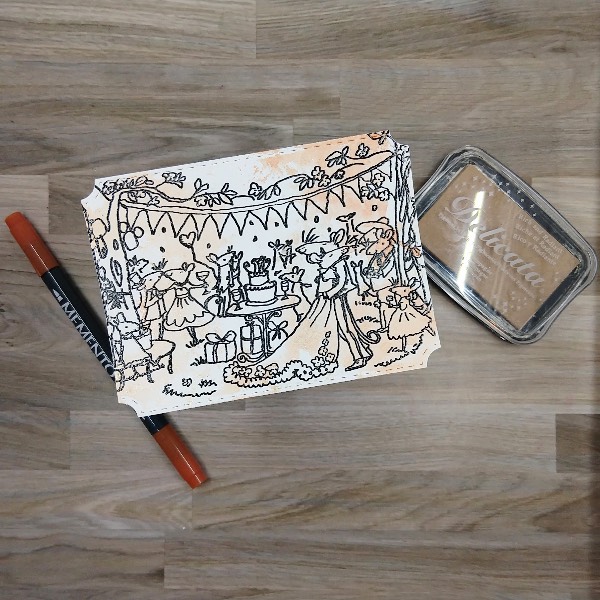
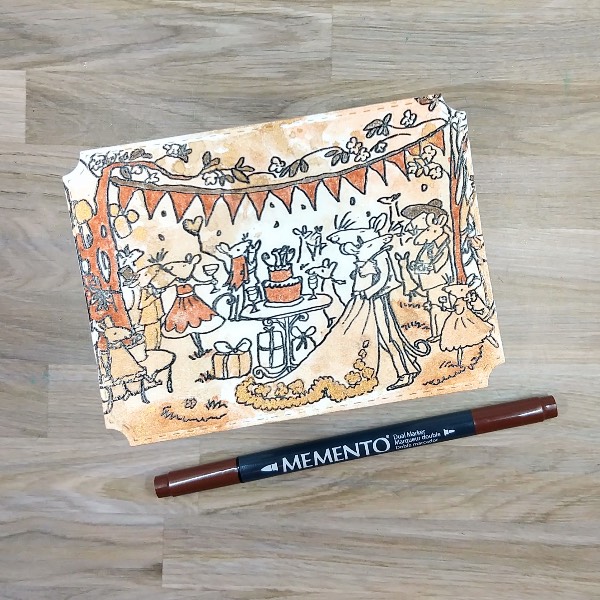
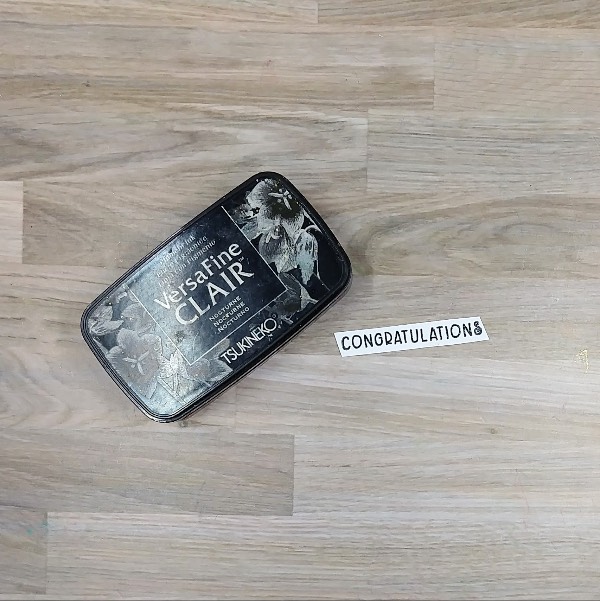
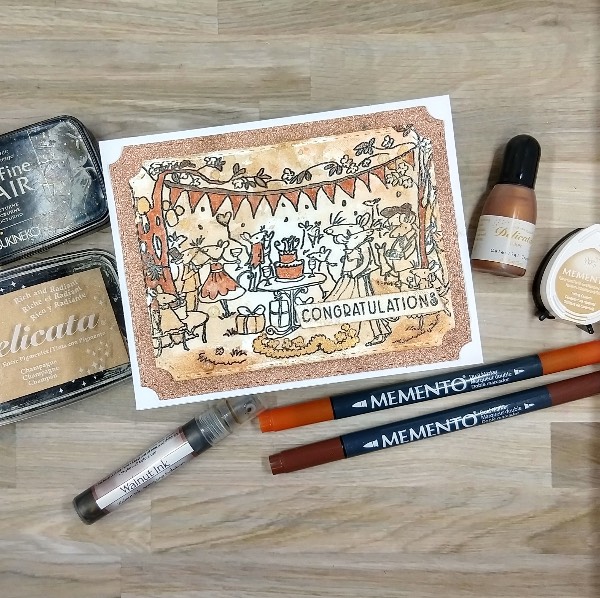
I stamped a large wedding scene stamp on a die cut piece of watercolor paper with Nocturne VersaFine Clair ink and then heat embossed it with clear embossing powder.
Step 2:
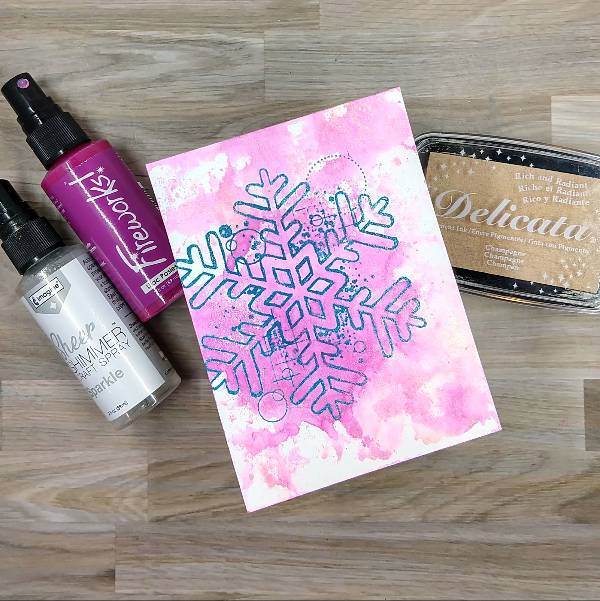
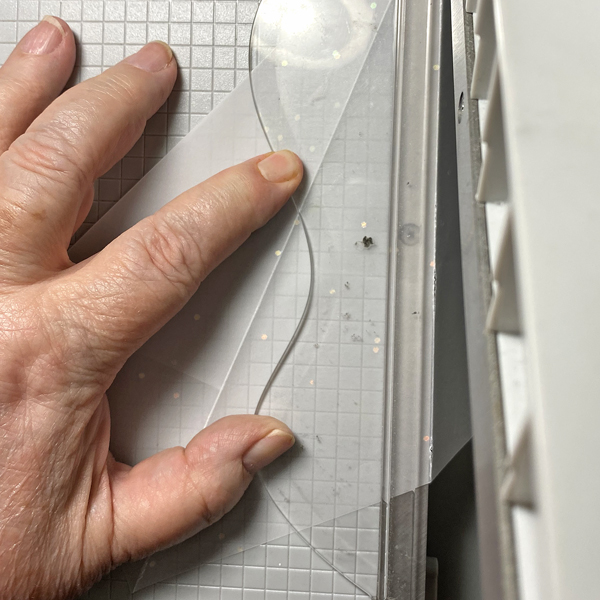
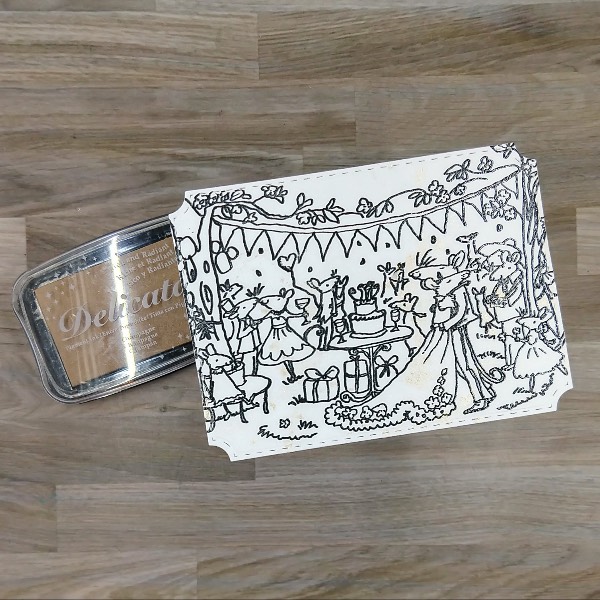
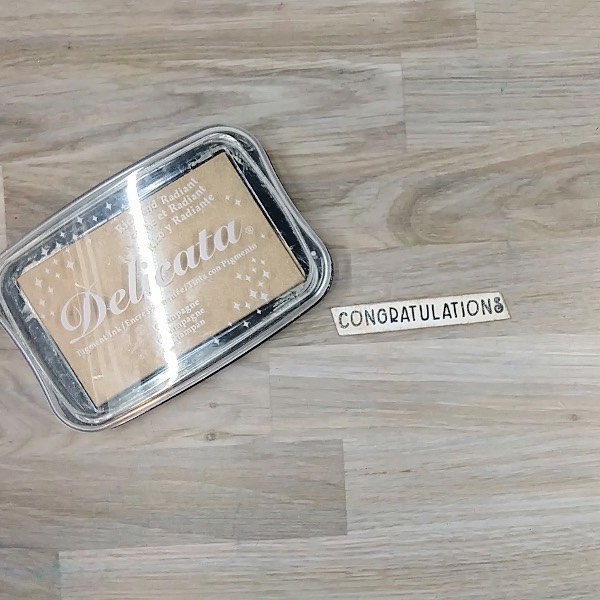
Press a Champagne Delicata ink pad onto a piece of acetate packaging and then mix with water. Press the acetate onto the stamped wedding image. (This is very hard to see in the image, but there is a faint sheen on the wedding dress and in other parts of the panel.) Allow to dry.
Step 3:
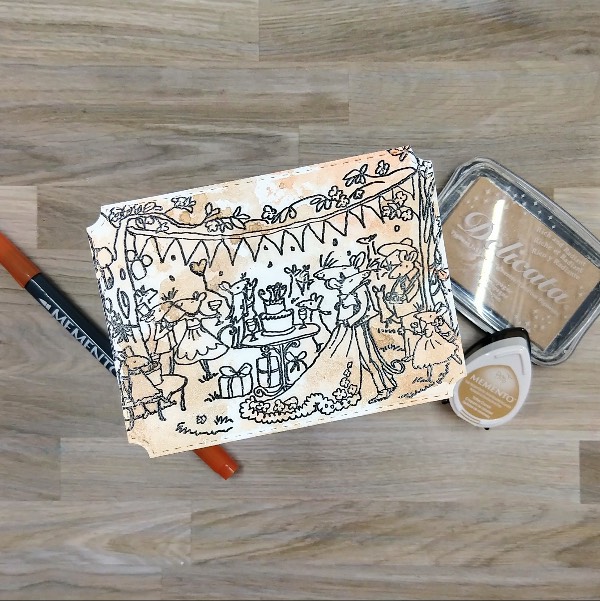
Watercolor smoosh the panel with a second layer of the Champagne Delicata ink. Then scribble Potter’s Clay Memento Dual Marker onto the acetate and spray with water. Then press the acetate onto the panel. Allow these layers of color to dry on the panel.
Step 4:
Press the Toffee Crunch Memento ink pad onto the same acetate, spray with more water and then watercolor smoosh the panel again.
Step 5:
Color in parts of the panel with Potter’s Clay Memento Dual Marker.
Step 6:
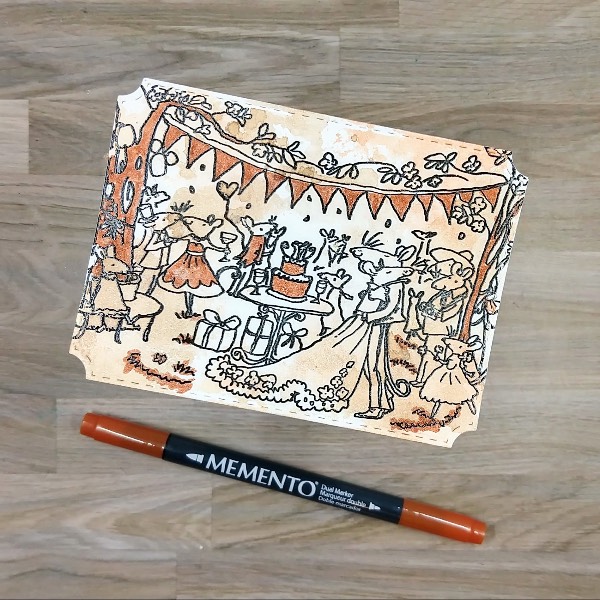
Add a small amount of Celestial Copper Delicata Inker onto the same acetate packaging and use a small paintbrush to mix with water to thin out the reinker. Then use the paintbrush to paint the trim of the bride’s dress, some of the presents, and some other images with the coppery mix.
Step 7:
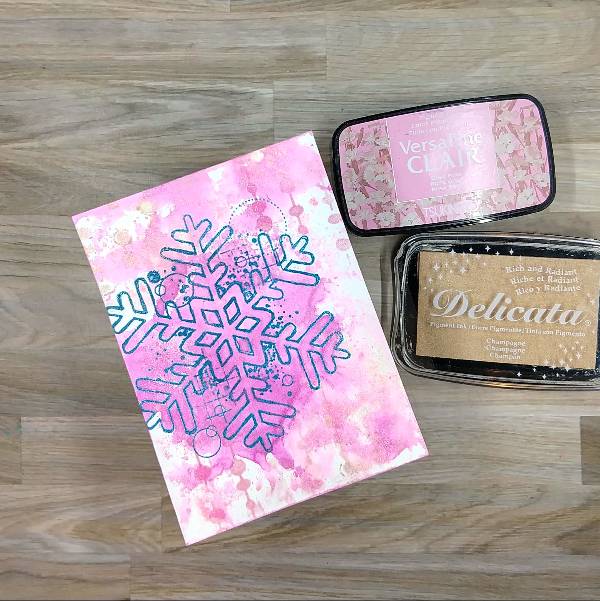
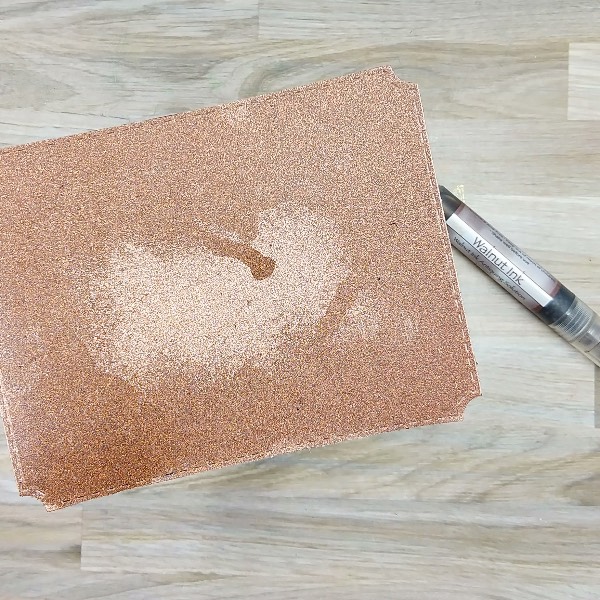
Spray Walnut colored Walnut Ink Antiquing Solution onto die cut glitter cardstock to make it darker. (Please note that the panel took a long time to dry. The next time I do this, I plan on adding embossing powder to help it dry more quickly.
Step 8:
Color the tree leaves, the pennant ribbon and a couple of the hats with Rich Cocoa Memento Dual Marker.
Step 9:
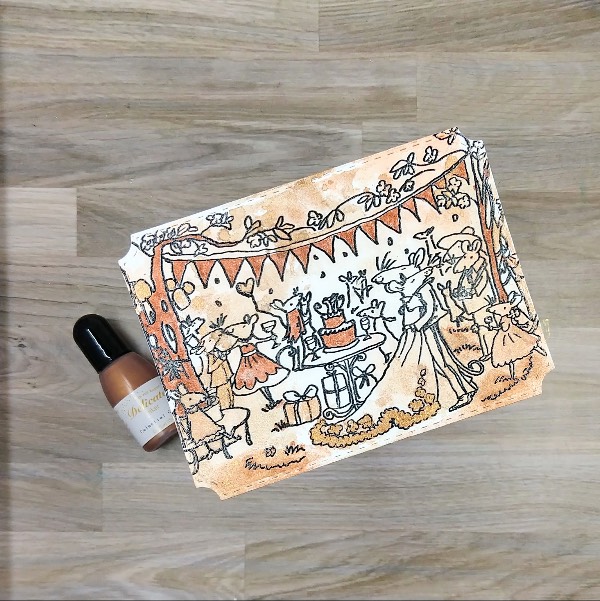
Stamp the sentiment from the same stamp set with Nocturne VersaFine Clair ink and heat emboss with clear embossing powder. Trim the sentiment into a thin strip with the edges at an angle.
Step 10:
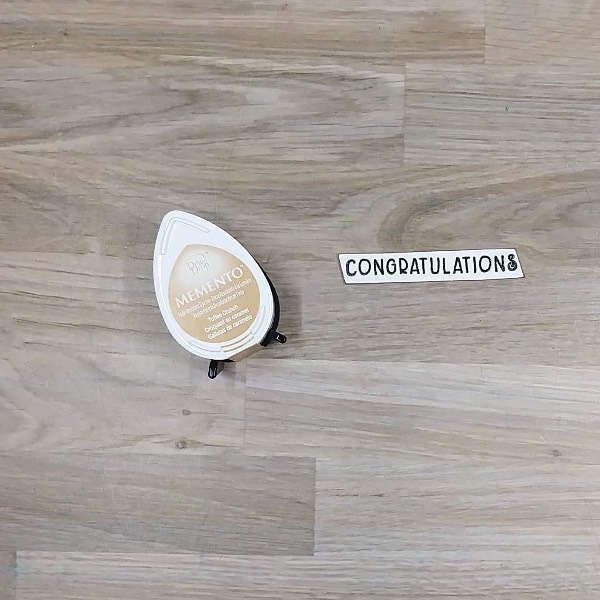
Press the edges of the sentiment strip into a Toffee Crunch Memento ink pad to color the borders.
Step 11:
Press a Champagne Delicata ink pad onto the acetate packaging and then spray with water. Watercolor smoosh the sentiment strip and allow to dry.
Step 12:
Assemble the card. Glue 2 strips of scrap cardstock behind the sentiment and glue the sentiment on the lower right corner of the stamped panel. Then glued the stamped panel onto the sprayed glitter cardstock panel. Glue the whole thing onto an A2-sized white card base.
Glue gems on the bottom left and upper right corners of the card.
Art Supplies
Imagine
• Delicata Ink – Campagne
• Delicata Ink Reinker – Celestial Copper
• Memento Dual Marker – Potter’s Clay, Rich Cocoa and Toffee Crunch
• VersaFine Clair ink – Nocturne
• Walnut Ink Antiquing Solution – Walnut Ink
Other
• Colorado Craft Company – stamp set – Happily Ever After by Anita Jeram
• Pink and Main – die set – Notched Corners
• Trinity Stamp Company – embellishments – Champagne Twinkle Stardust Rhinestone mix
• A2-sized white card base
• Clear Embossing Powder
• Watercolor paper
• Glitter cardstock
• Die cutting machine
• Paper trimmer Scissors
• Glue