By Ceil Pritchett
Hello friends,
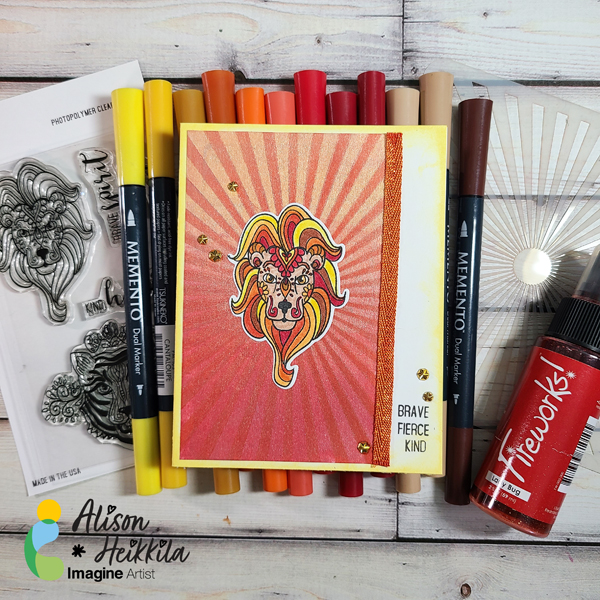
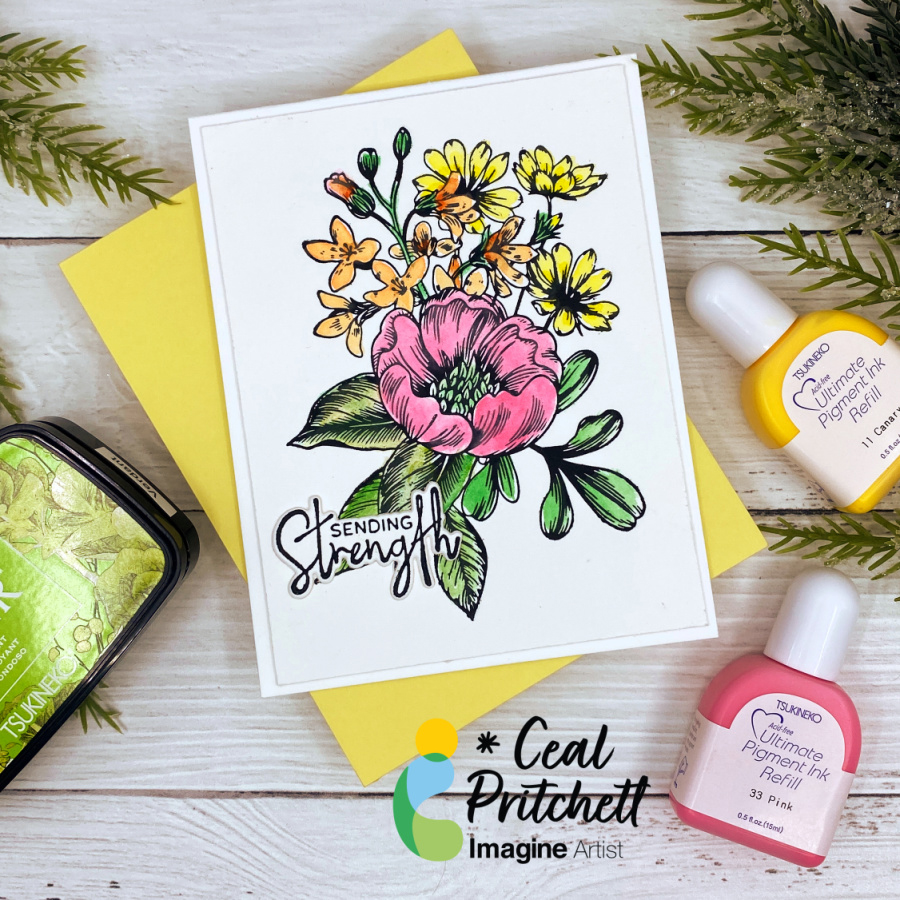
It’s Ceal, here. Today I am sharing a project using our inks along with the BetterPress machine. I love how well VersaFine Clair inks work with this machine. They are so crisp! I do have the inks that are made for the BetterPress, but in my opinion, the VersaFine Clair inks work so much better.
Skill Level: Intermediate
Time: 1 to 1.5 hours
Directions:
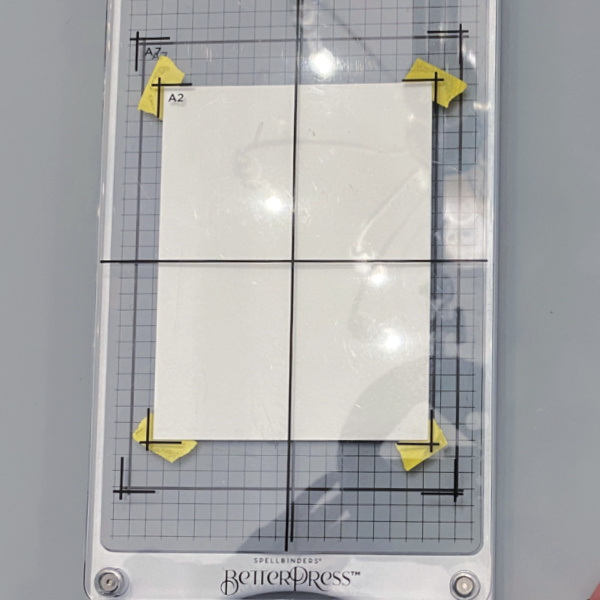
Step 1:
Place a panel of letterpress cardstock on the platen (clear top plate) using the registration marks for an A2 card and tape down the corners.
Letterpress cardstock is 100% cotton cardstock with a thickness to it.

Step 2:
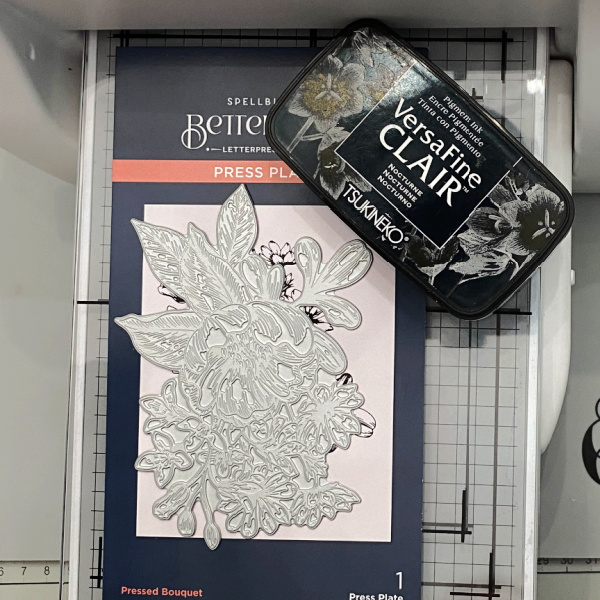
Place the BetterPress plate on the magnetic platform where you would like using the registration marks for an A2 card and ink up with VersaFine Clair Nocturne ink.
Step 3:
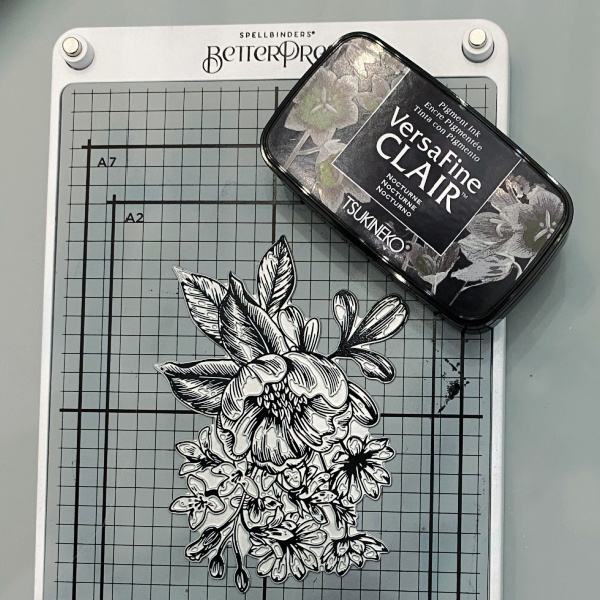
Place the platen (clear top plate) on the chase (magnetic platform) using the magnets to line it up. Run it through the die cutting machine
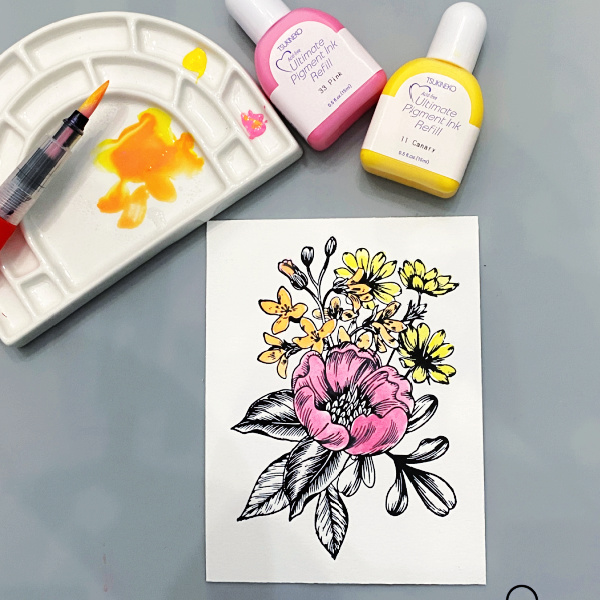
Step 4:
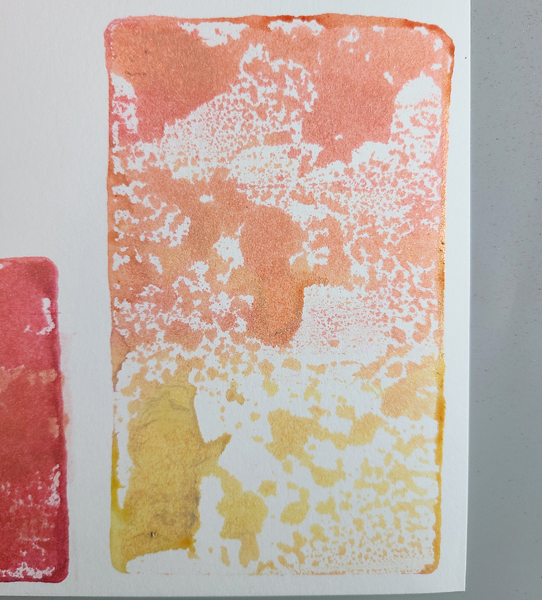
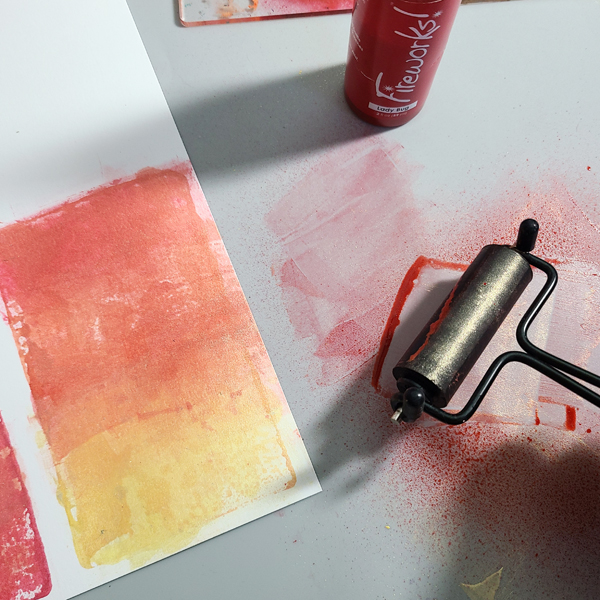
Using ink refills and a brush, paint or color the image. I used Pink and yellow, and blended the two together to achieve an orange. I didn’t have a green ink refill so I smushed the VersaFine Clair Verdant ink pad on my palette and picked it up with my brush.

Step 5:
Cut down the front panel to 4 X 5.25 and adhere to a 4.25 X 11 card base with Tear-It! Tape.
The sentiment I added is also a BetterPress plate and you would use the same steps as the floral bouquet.
Thanks for stopping by, and have a beautiful day!
Craft Supplies:
Imagine Products:
VersaFine Clair – Nocturne
VersaFine Clair – Verdant
VersaColor Pink Ultimate Pigment Ink Refill
VersaColor Canary Ultimate Pigment Ink Refill
Tear-It! Tape
Other Products:
BetterPress System – Spellbinders
Pressed Bouquet Press Plate – Spellbinders
A Little Message Sentiments Press Plate – Spellbinders
A2 Cotton Card Panels – Spellbinders