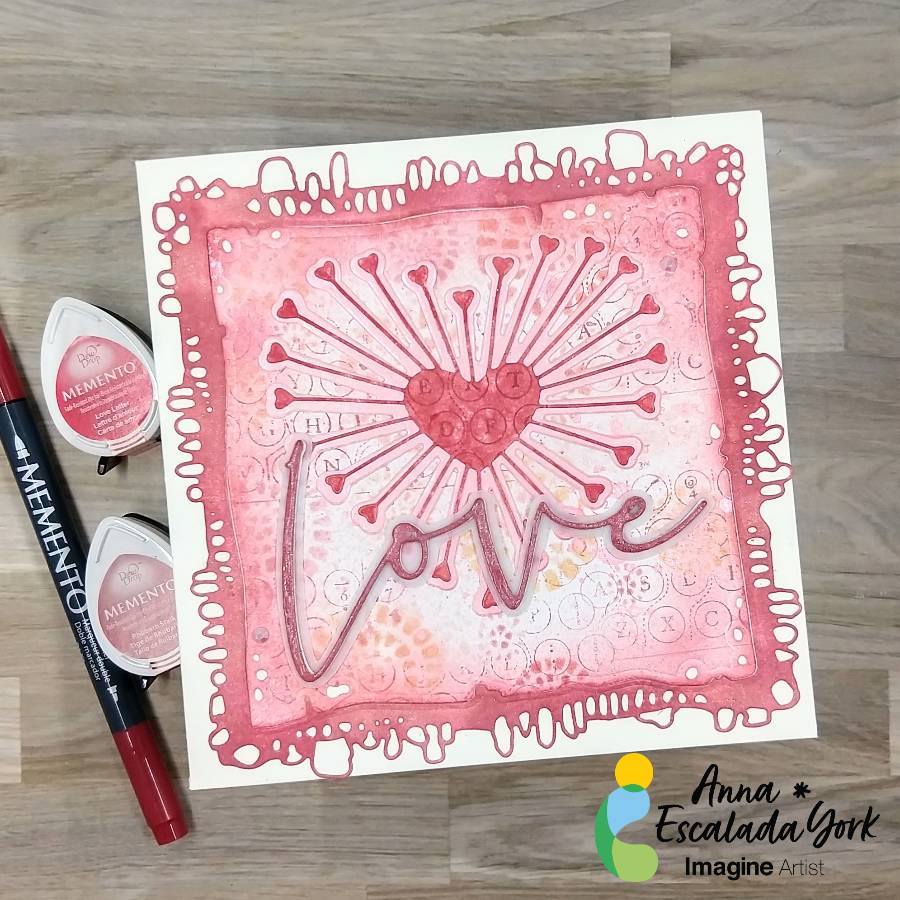
By Helen Gullett
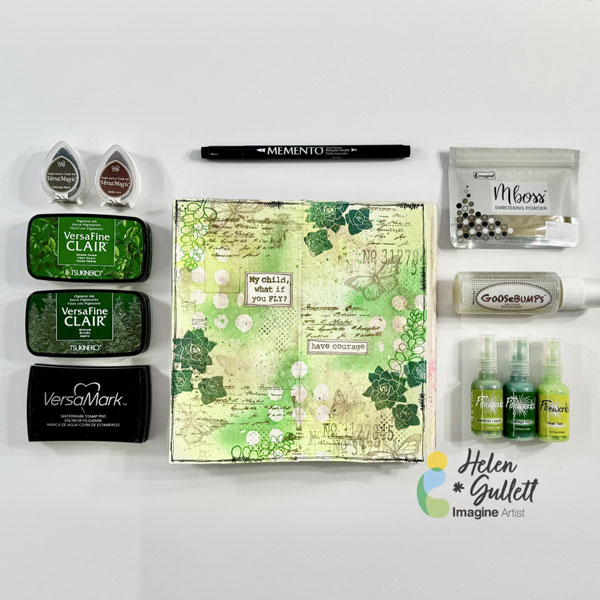
Hello crafty friends! Today, I would like to share how to make this mixed media art journal using some inks, craft sprays, embossing powder, and GooseBumps.Let’s get crafting!
Skill: Intermediate
Time: 30-60 minutes
Direction:
Step 1
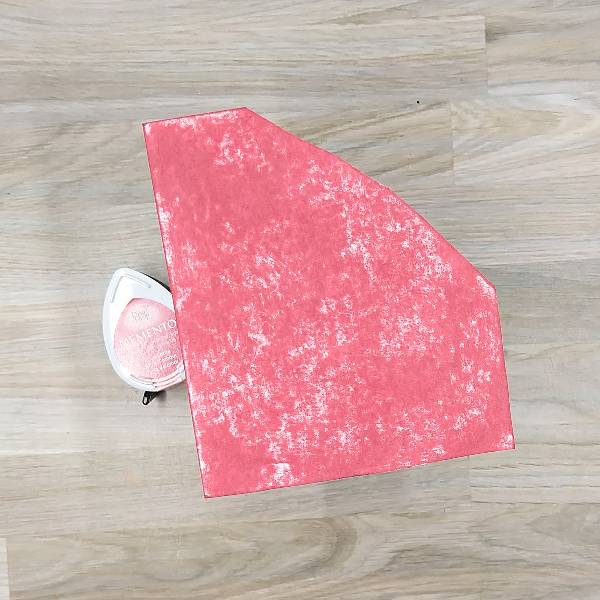
I used my handmade traveler journal using watercolor papers and mixed media papers. You can use any mixed media journal you have.
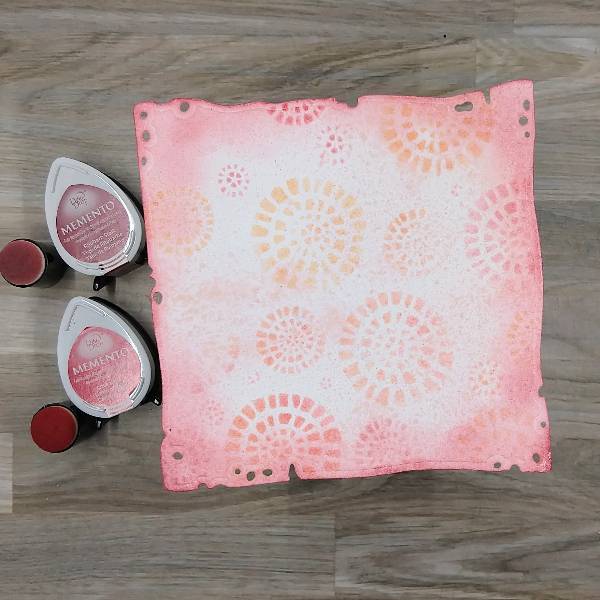
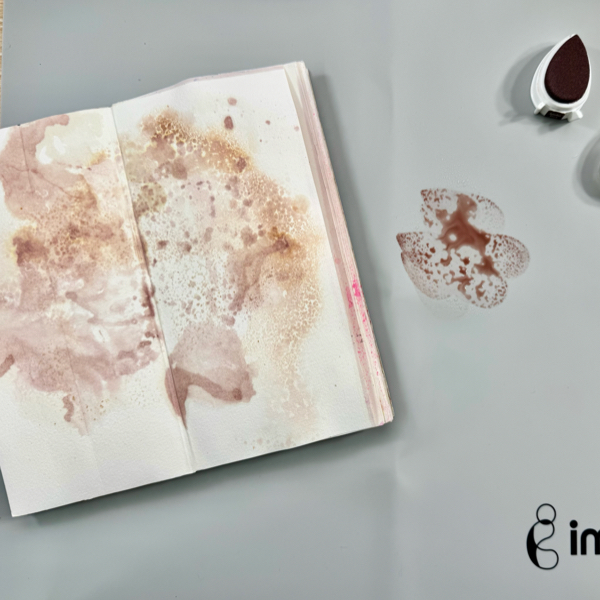
Dab some of the VersaMagic Jumbo Java ink on the craft mat and spray with some water.
Smoosh the page (or paper) to the ink and dry it with a craft heat gun. Repeat this step to create the watercolor background.
Step 2
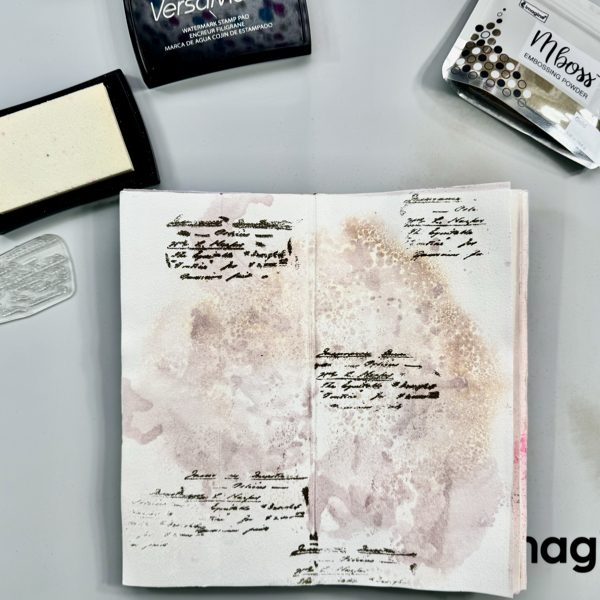
Once the watercolored background dried well, add some of the anti-static powder to the page.
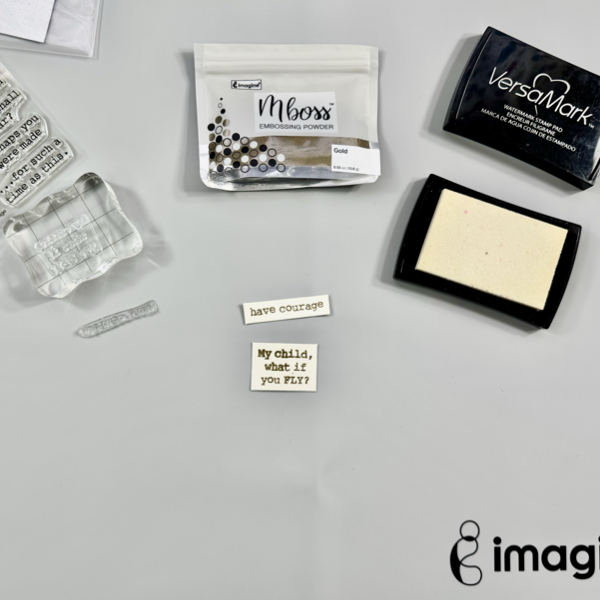
Stamp the script stamp on the page randomly with VersaMark ink and then add some of the Gold Mboss Embossing Powder to the page. Heat set the embossing powder with a craft heat gun.
Step 3
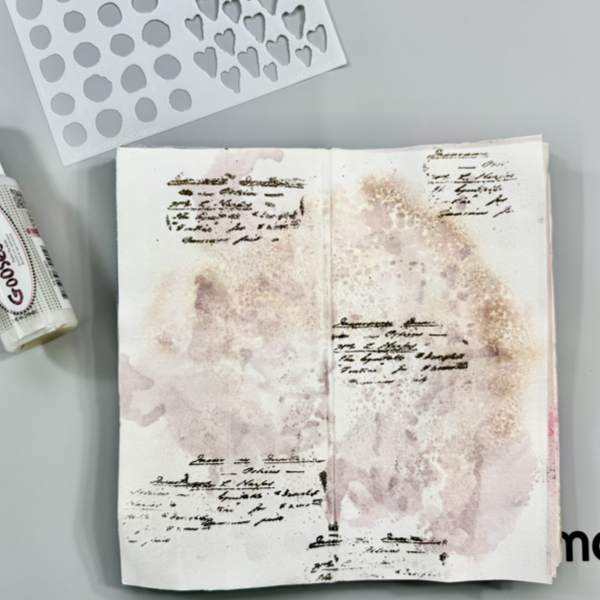
Add the stencil to the page.
Add some of the GooseBumps Original (Dauber Top Bottle) to the page on the stencil randomly all over the page.
The best result is to let the GooseBumps texture spray dry naturally (about 2 hours) but I use a handheld fan to speed up the drying process to a few minutes. My suggestion is not to use a craft heat gun.

Step 4
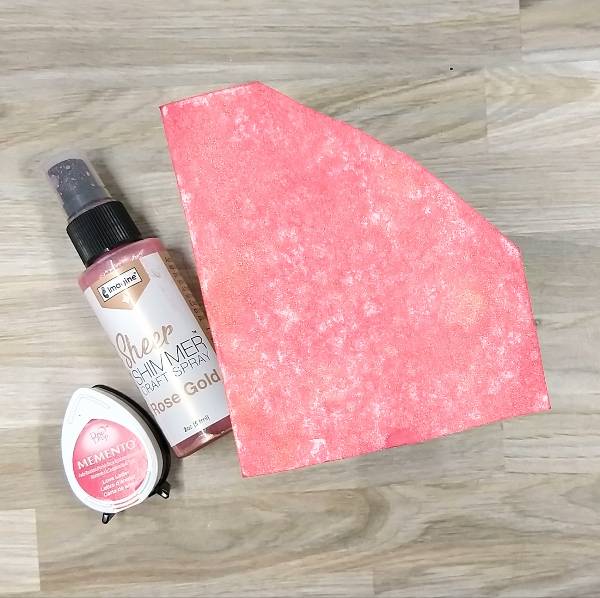
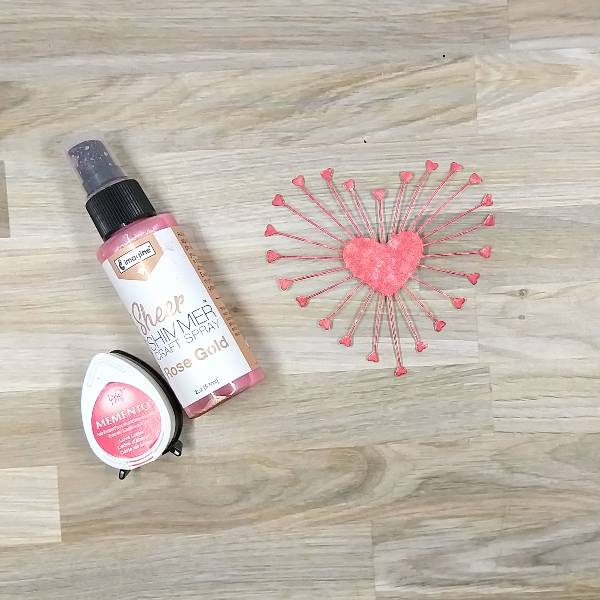
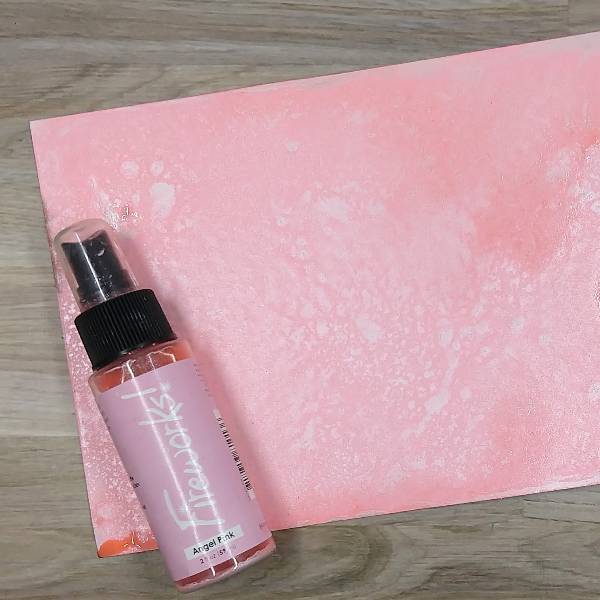
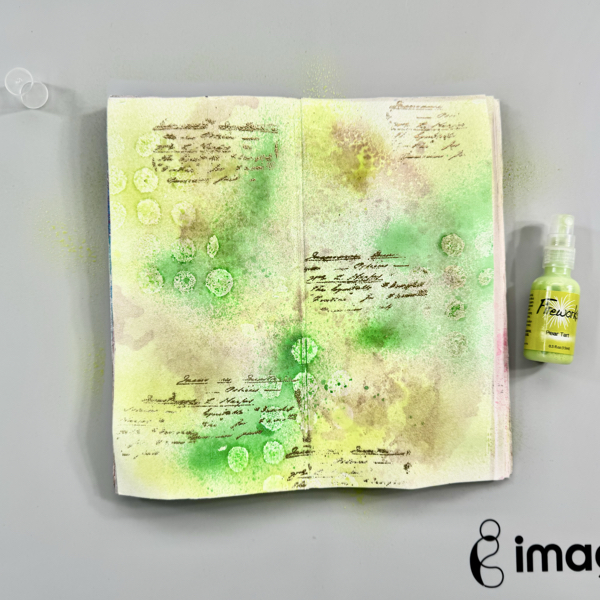
Once the GooseBumps texture spray dry well, spray the Cottage Ivy Fireworks! Shimmery Craft Spray.
Dry the ink with a craft heat gun. Make sure to move the heat gun around, not stay too long at one spot to avoid melting the GooseBumps.
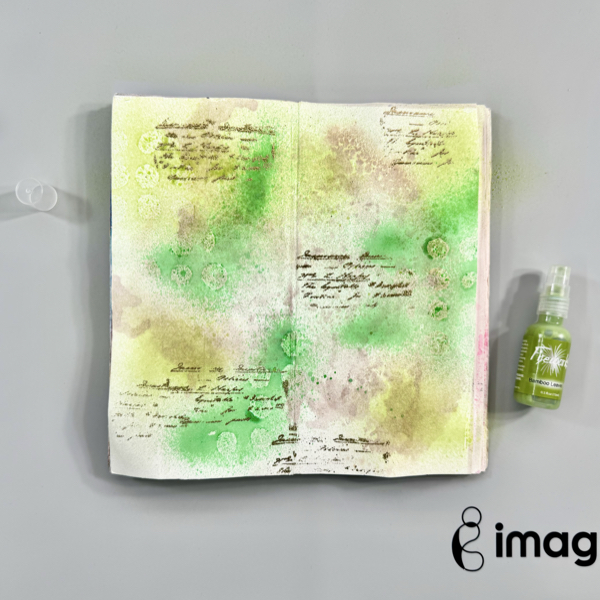
Step 5
Next, spray the Bamboo Leaves Fireworks! Shimmery Craft Spray.
Dry the ink with a craft heat gun. Make sure to move the heat gun around, not stay too long at one spot to avoid melting the GooseBumps.
Step 6
And then, spray the Pear Tart Fireworks! Shimmery Craft Spray.
Dry the ink with a craft heat gun. Make sure to move the heat gun around, not stay too long at one spot to avoid melting the GooseBumps.
Step 7
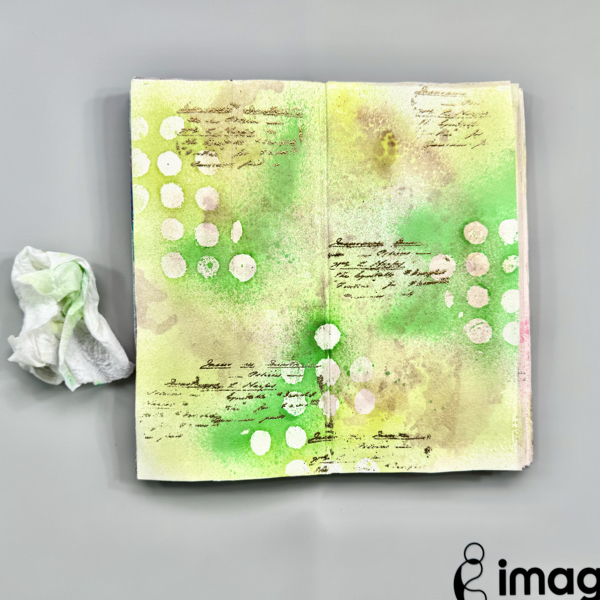
Wipe the ink spray off using a clean slightly damp paper towel.
You can see the shapes start to pop out of the page adding fun texture to the background page.
Step 8
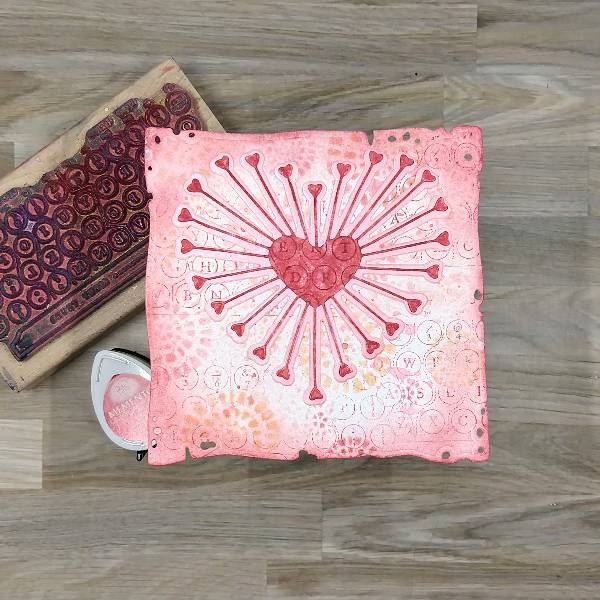
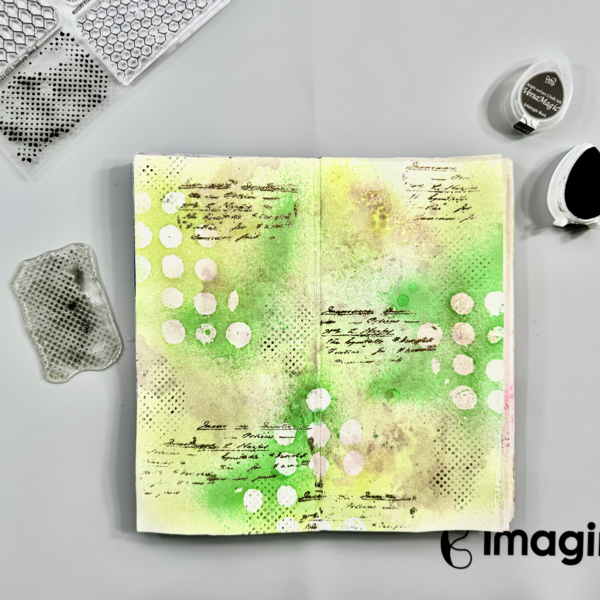
Stamp the dots texture stamp randomly on the page with VersaMagic Midnight Black ink using first generation stamping technique.
Step 9
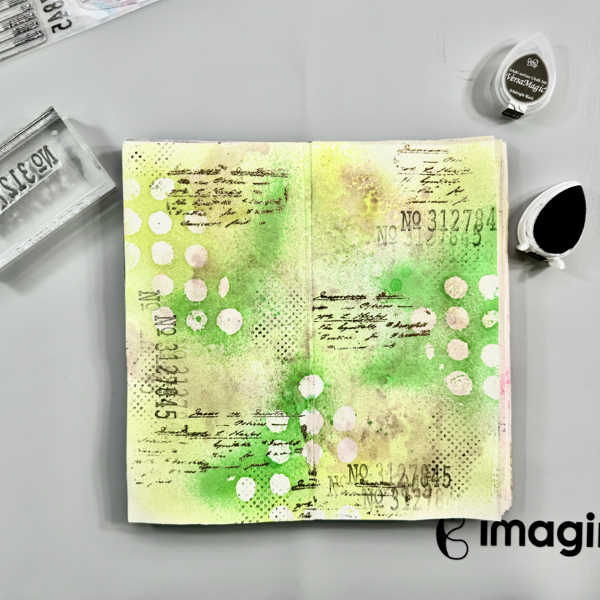
Stamp the numbers texture stamp randomly on the page with VersaMagic Midnight Black ink using first and second generation stamping technique.

Step 10
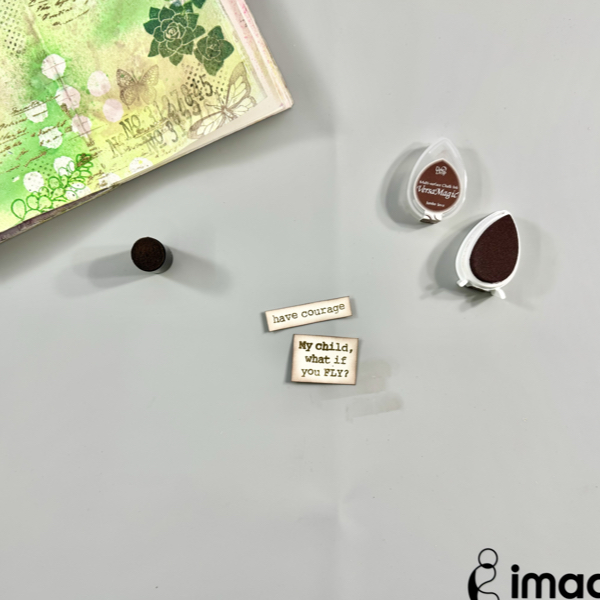
Stamp the old ledger texture stamp randomly on the page with VersaMagic Jumbo Java ink using second and third generation stamping technique.
Step 11
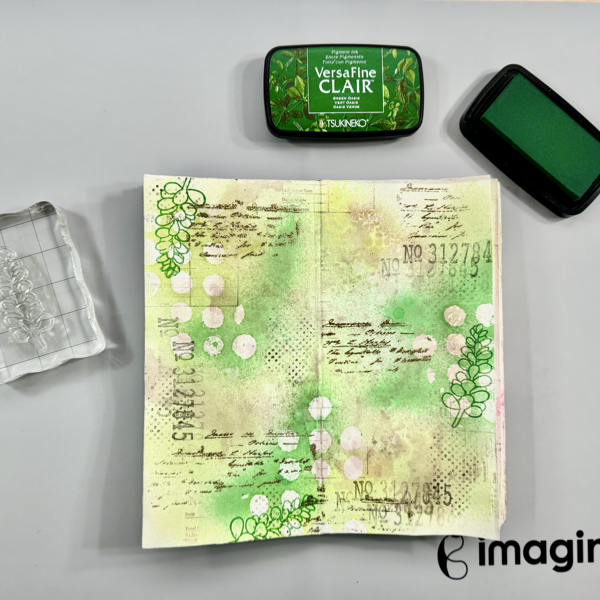
Stamp the leaf branch stamp randomly on the page with VersaFine Clair Green Oasis.
Dry the stamped images with a craft heat gun.
Step 12
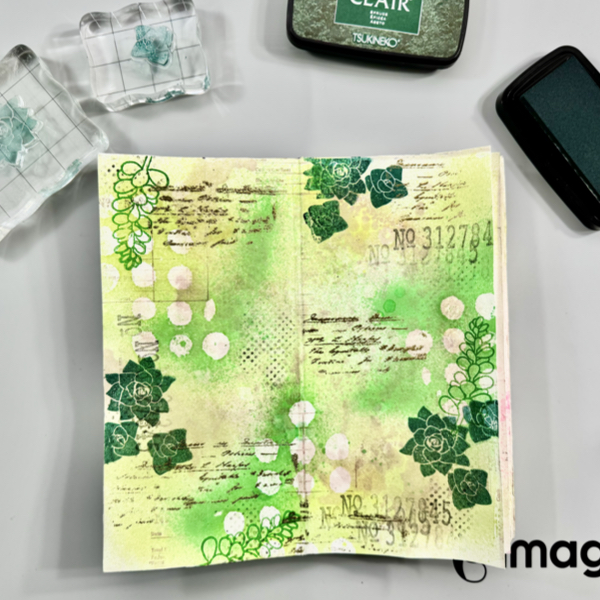
Next stamp the cactus stamps randomly on the page with VersaFine Clair Spruce ink.
Dry the stamped images with a craft heat gun.
Step 13
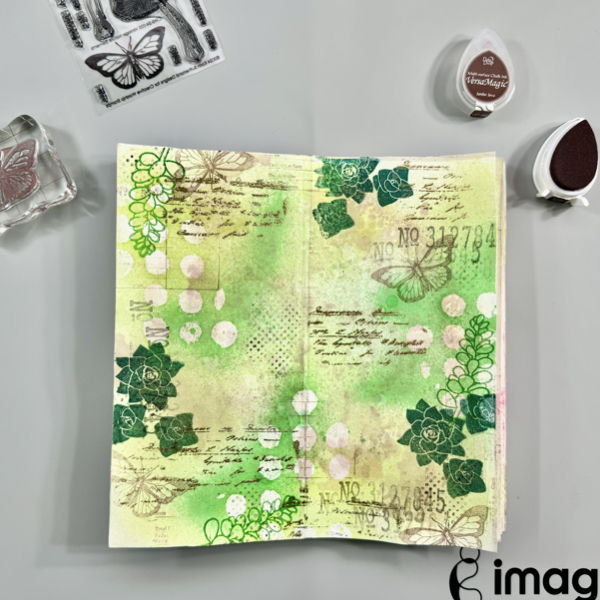
Stamp the first butterfly stamp randomly on the page with VersaMagic Jumbo Java ink using second generation stamping technique.
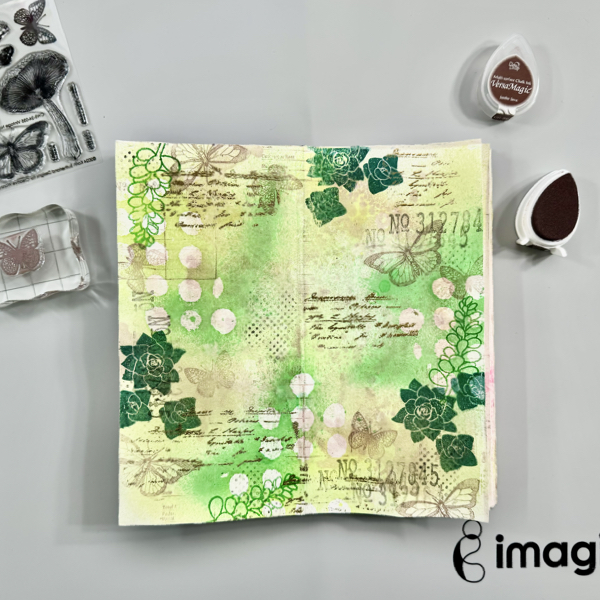
Step 14
Stamp the second butterfly (smaller size) stamp randomly on the page with VersaMagic Jumbo Java ink using second generation stamping technique.
Step 15
On a white cardstock, stamp the sentiments with VersaMark Ink and then add some of the Gold Mboss Embossing Powder. Heat them with a craft heat gun.
Step 16
Trim the embossed sentiments into sentiment stripes with papercutter or scissors.
Add some of the VersaMagic Jumbo Java ink around the edges with finger sponge dauber to give them some shadow.
Step 17
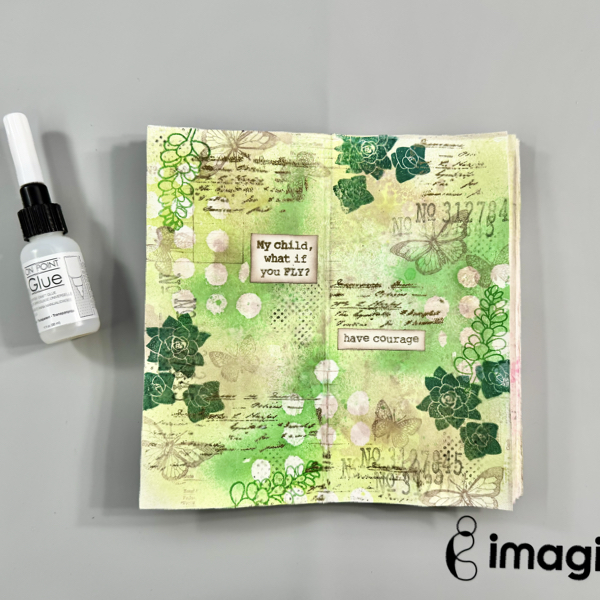
Add the sentiments to the page with On Point Glue.
Step 18
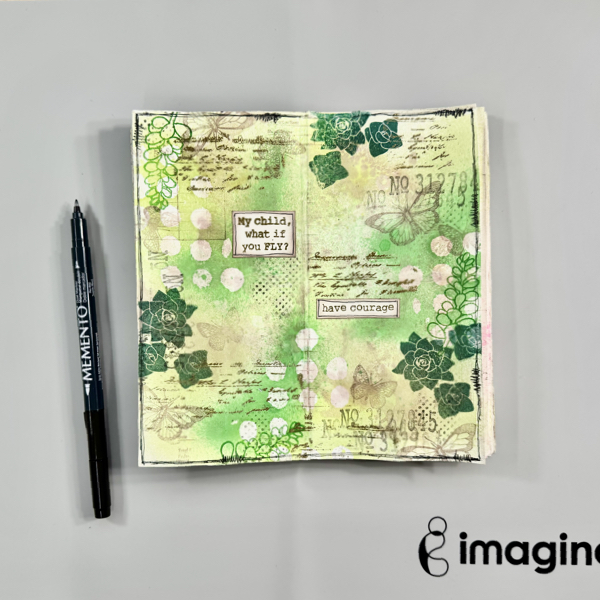
Draw some border lines around the page and sentiment strips using the Memento Marker Tuxedo Black.
Step 19
For more texture, add some of the Cottage Ivy Fireworks! Shimmery Craft Spray to the page by tapping the sprayer tube.
Dry the whole page one more time with a craft heat gun.
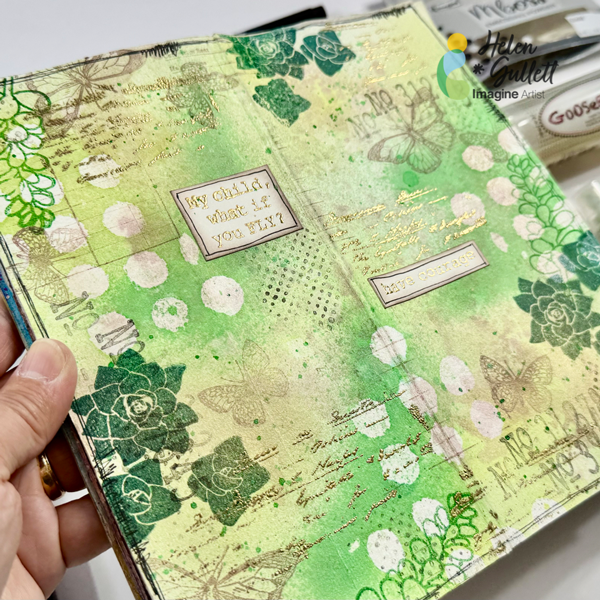
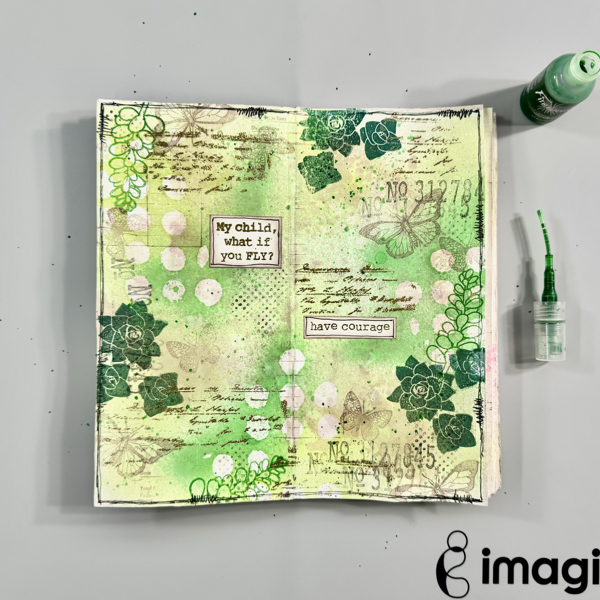
I tried to capture the shiny and shimmery on the page in this picture but it looks even more in real life.

I hope you enjoy today’s mixed media project. Thank you for visiting our blog, have a fabulous day.
Craft Supplies
Imagine Crafts:
- GooseBumps (Dauber Top Bottle, Original)
- VersaFine Clair (Green Oasis, Spruce)
- VersaMagic (Midnight Black, Jumbo Java)
- VersaMark (original)
- Fireworks! Shimmery Craft Sprays (Bamboo Leaves, Cottage Ivy, Pear Tart)
- Memento Marker (Tuxedo Black)
- Mboss Embossing Powder (Gold)
- On Point Glue
- Imagine Craft Mat
- Staz-On All Purpose Stamp Cleaner
- Sponge Dauber
Others:
- Have Courage Stamp Set (Creative Worship Stamps)
- Vintage Snippets Stamp Set (Creative Worship Stamps)
- Vintage Nature Elements Stamp Set (Creative Worship Stamps)
- Succulents Stamp Set (Creative Worship Stamps)
- Texture Tiles 6 Stamp Set (Creative Worship Stamps)
- Blotchy Dots & Hearts Stencil (Creative Worship Stamps)
- Mixed Media Journal
- Acrylic stamping blocks / Tool
- Micro-tip scissors
- Paper trimmer
- Bottle Sprayer / Mister Bottle
- Paper Towel