By Kathi Rerek
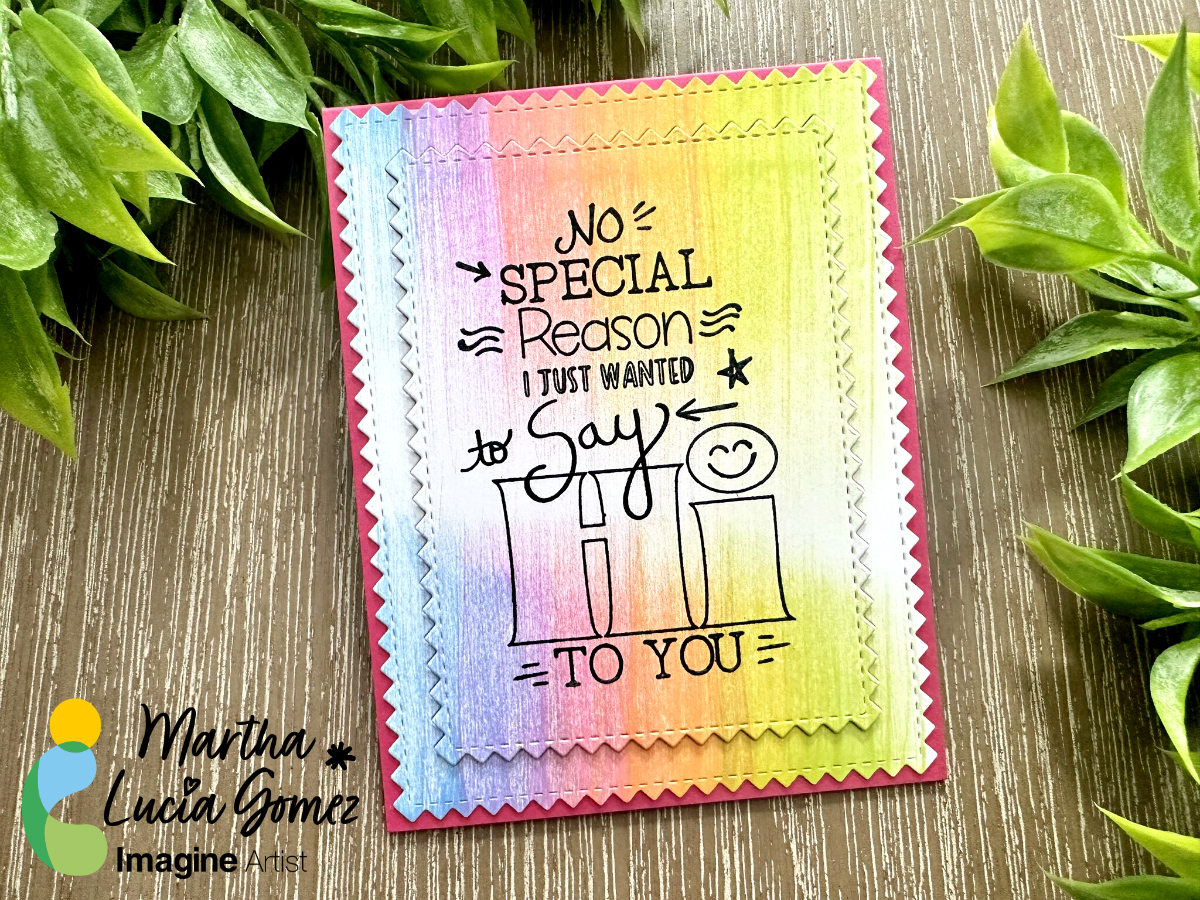
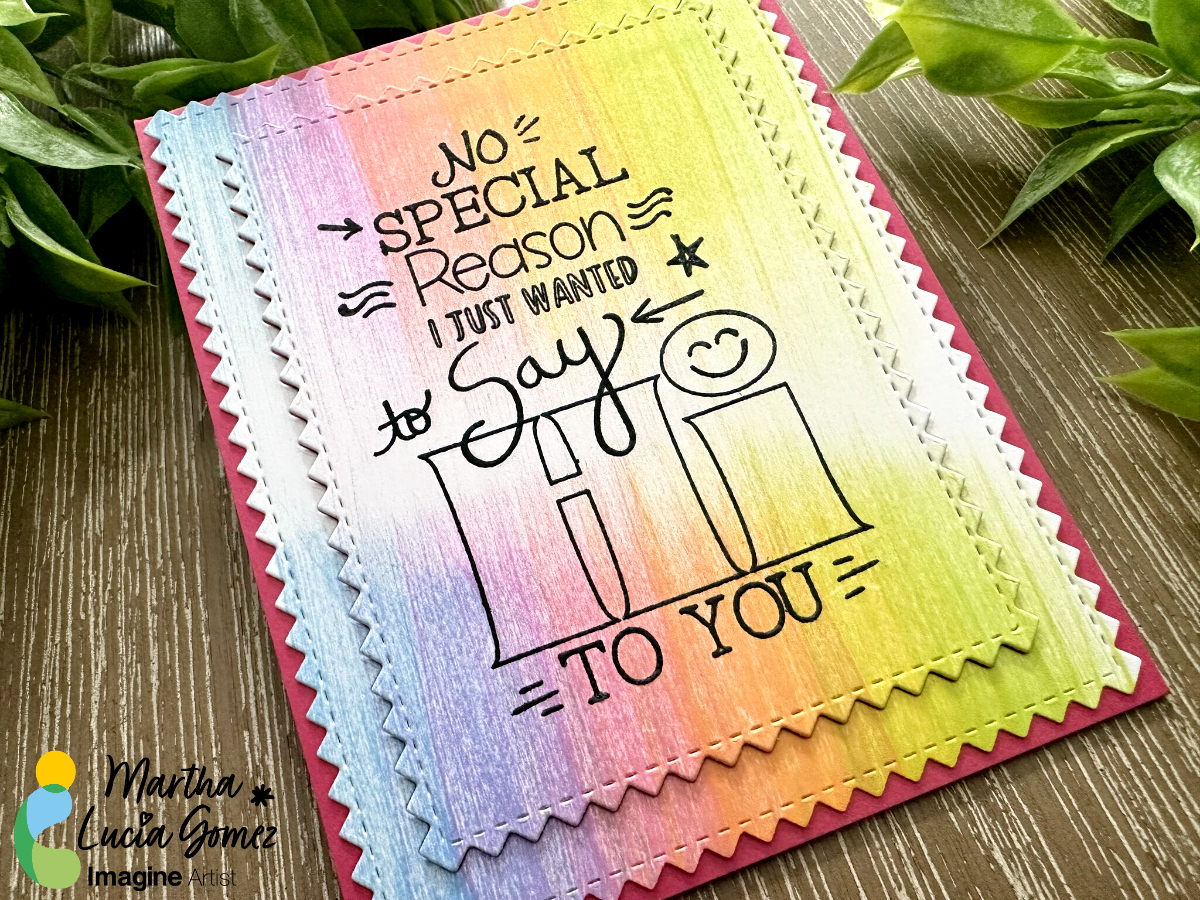
– I’ve been experimenting with 91° Isopropyl Alcohol to blend inks and decided to see what would happen with Kaleidacolor Ink. I’m totally thrilled with the results!
Skill Level: Beginner to Intermediate
Time: 1.5 hours
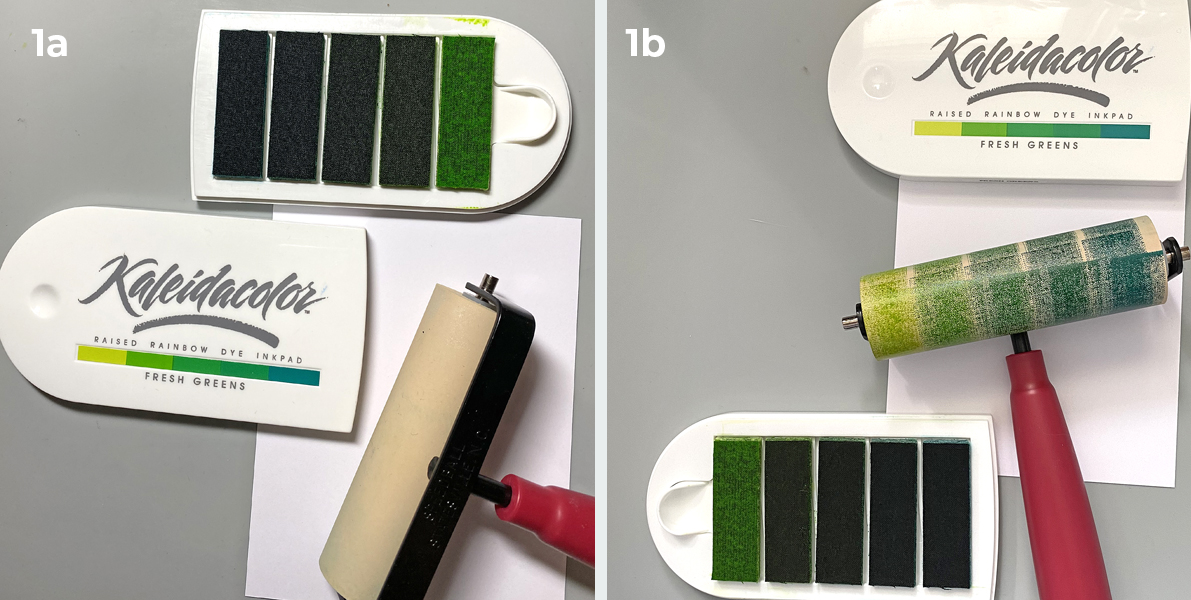
Step 1.
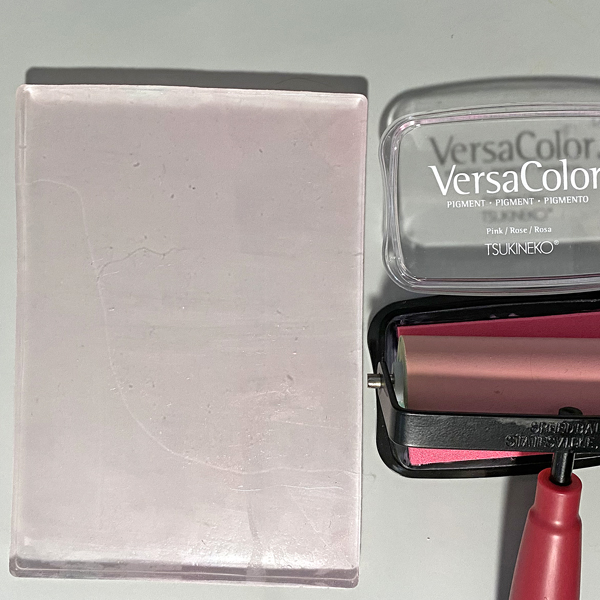
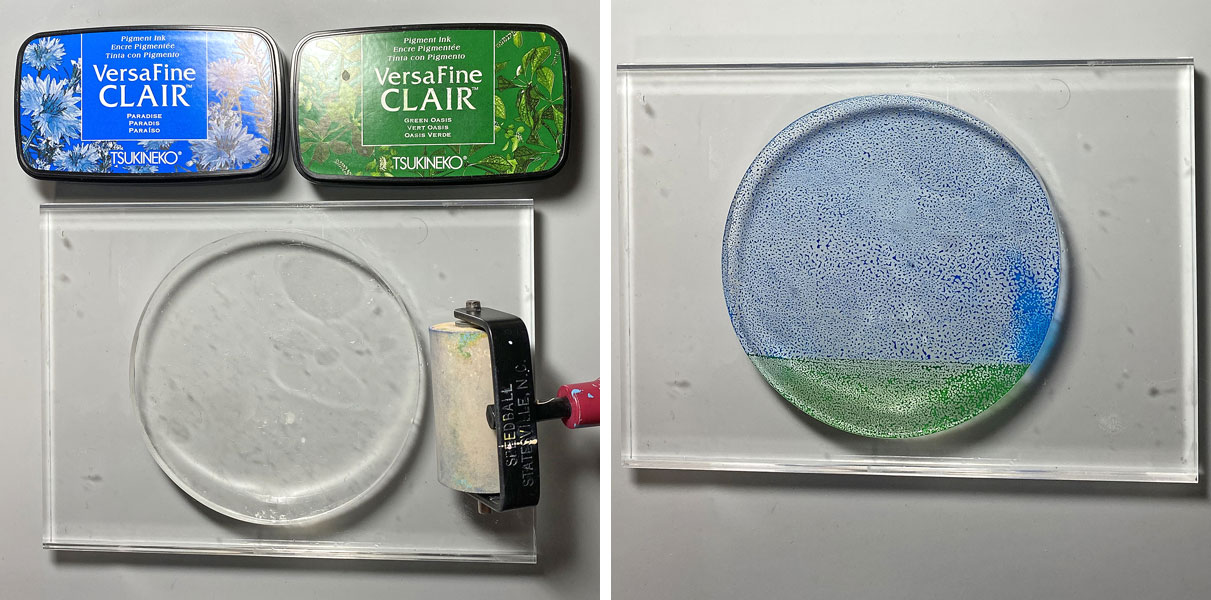
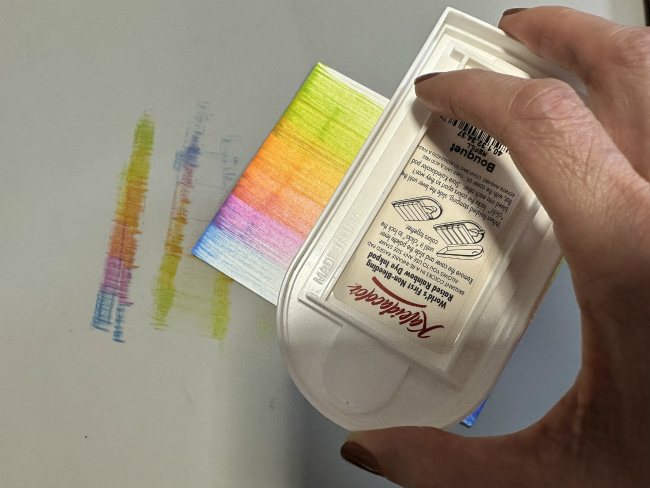
Keeping the Kaleidacolor’s ink pads separate, apply ink to the brayer.

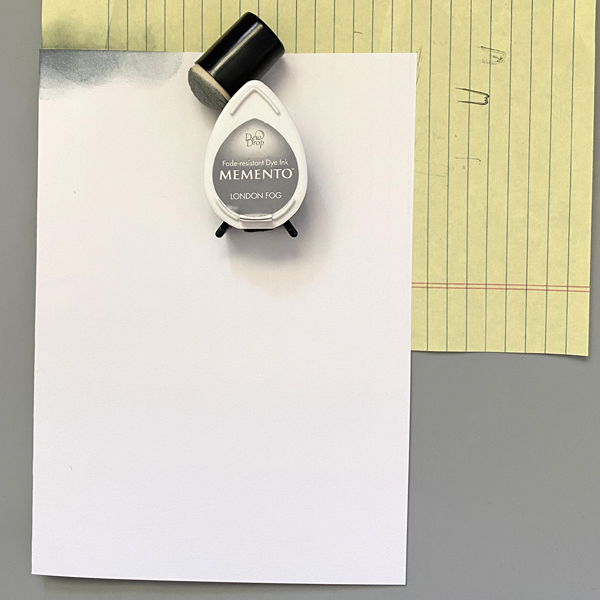
Step 2:
Use the brayer to roll the ink onto one side of a 4.25” x 5” panel of white cardstock. Re-ink the brayer if necessary. Notice that the lightest green is in the center of the paper.
Flip the paper 180° and repeat. It’s always a good idea to create more than one panel of inked cardstock!
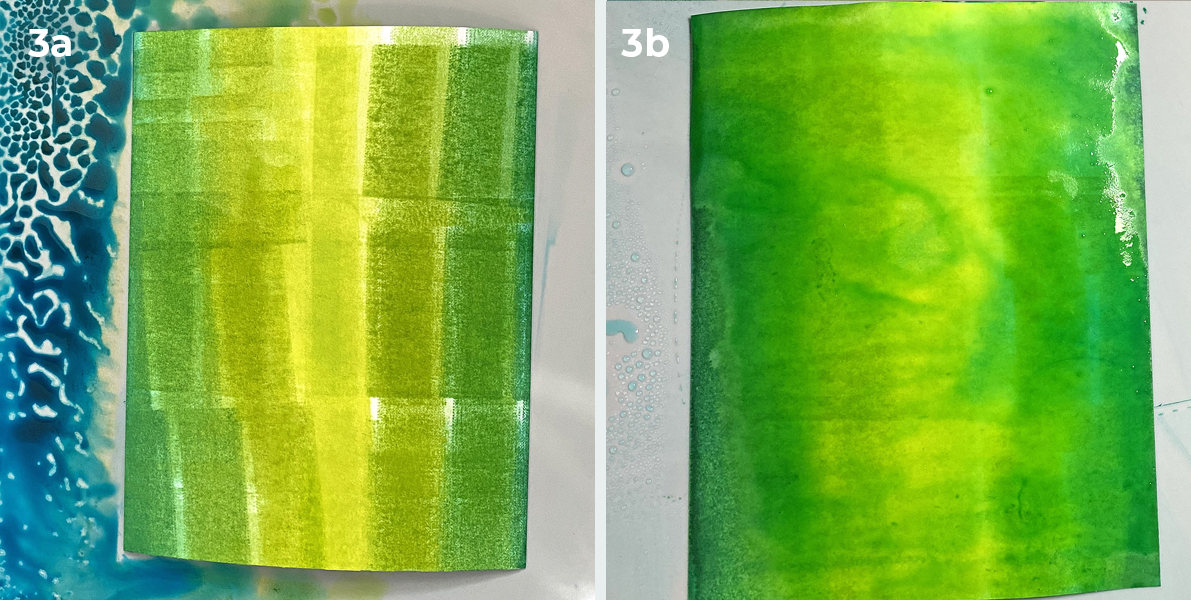
Step 3:
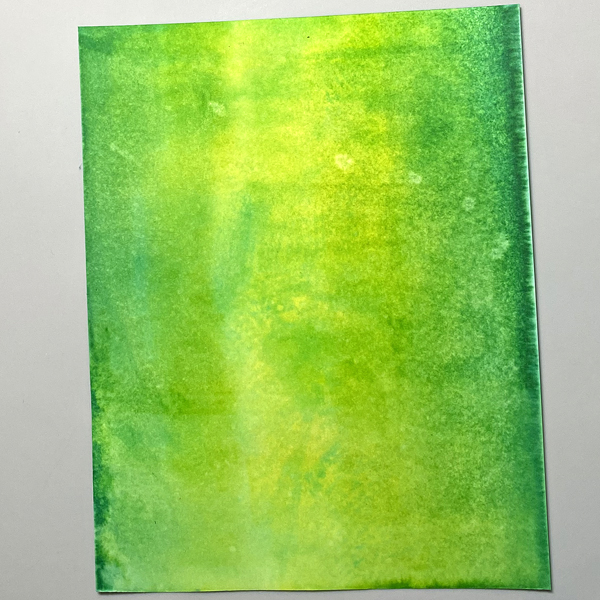
Spray the inked cardstock with Isopropyl Alcohol until the paper is completely saturated. Tilt the paper so that the alcohol moves the ink around. Note that whereas the paper is wet, it is not pilling!
Safety Warning: Be sure to have good ventilation when using any kind of solvent!
Pro Tip:
Place a piece of white seam binding or ribbon into the puddle of ink to create perfectly matching trim!
Step 4:
Mist the cardstock with water to add white speckles and blotches. Heat set.
Step 5:
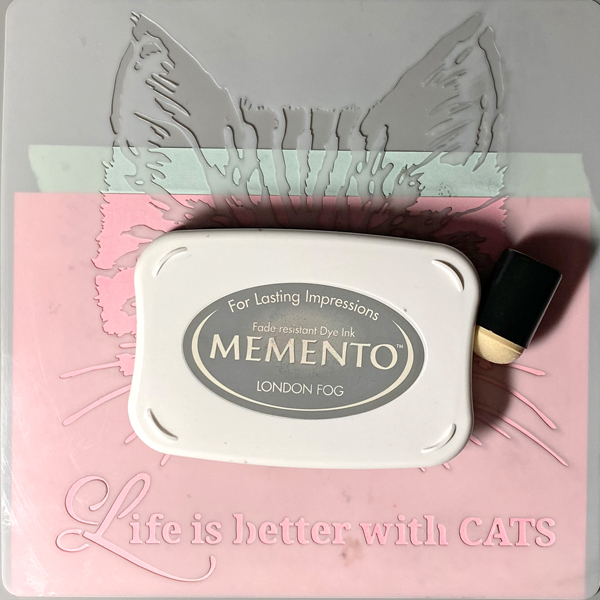
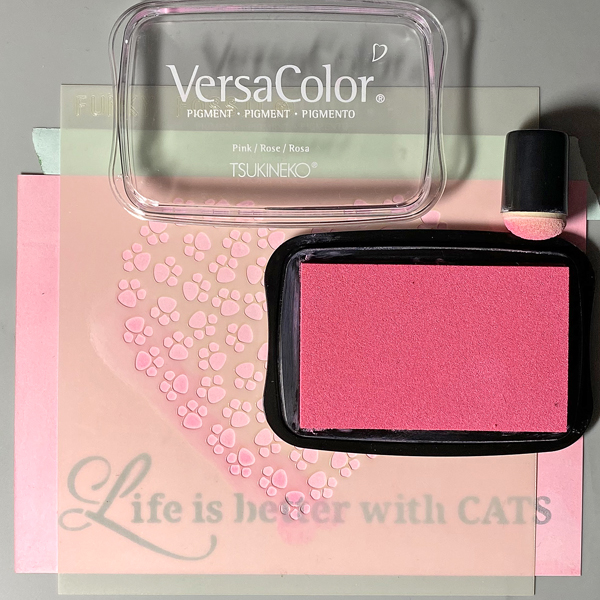
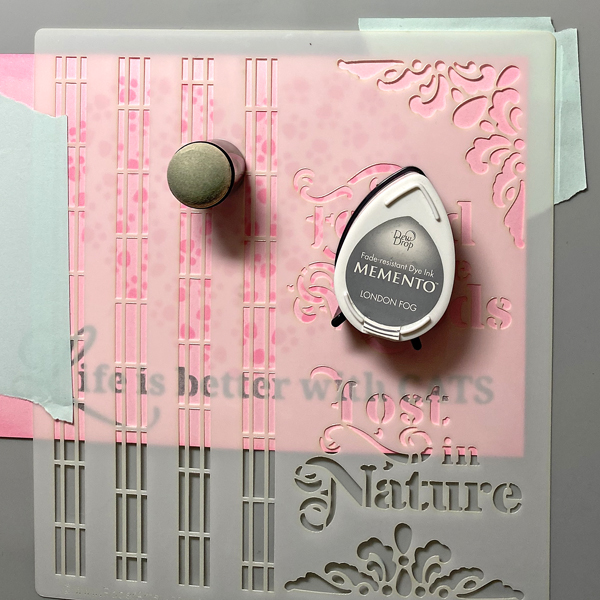
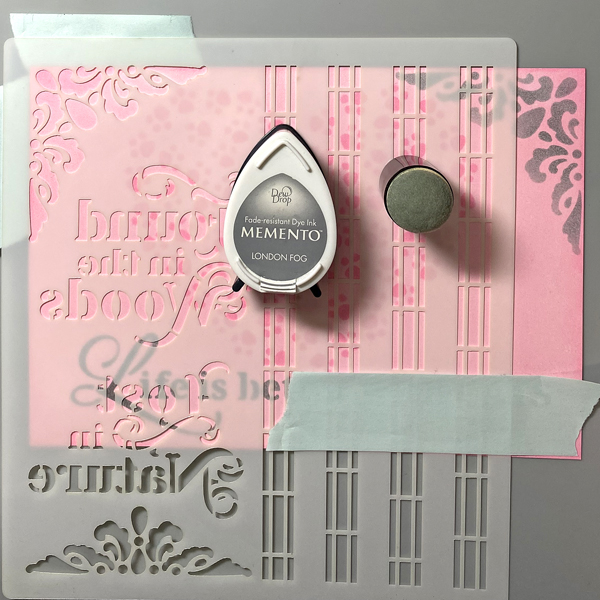
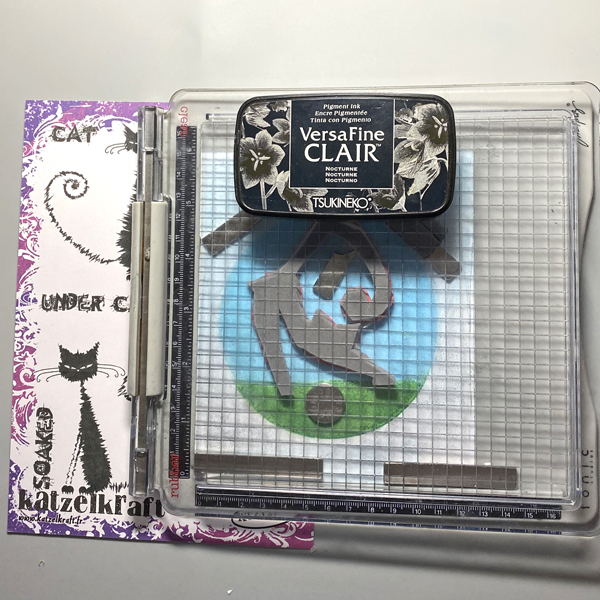
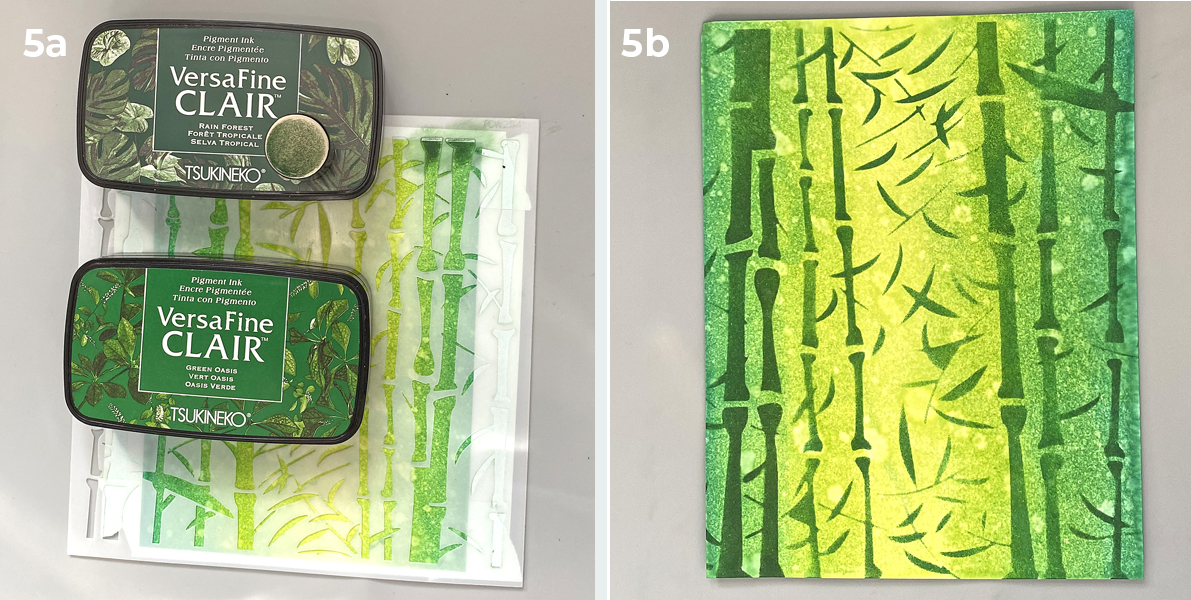
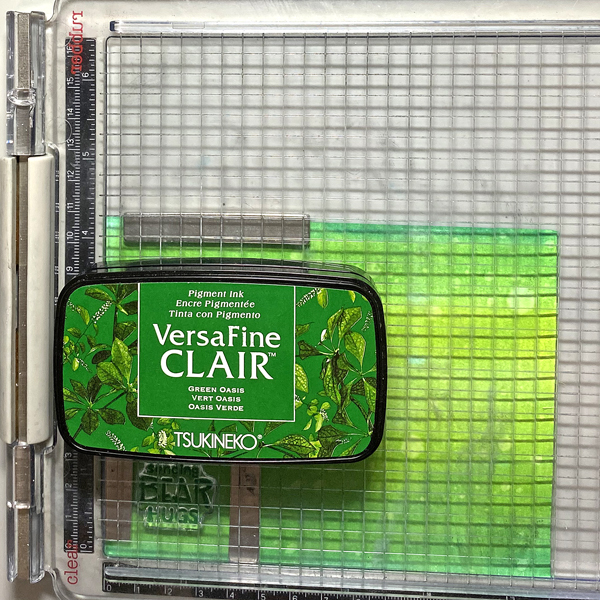
Tape the inked cardstock to t he back of the bamboo stencil.
Sponge Rainforest and Green Oasis VersaFine Clair Inks over the stencil onto the inked cardstock. Heat set.

Step 6:
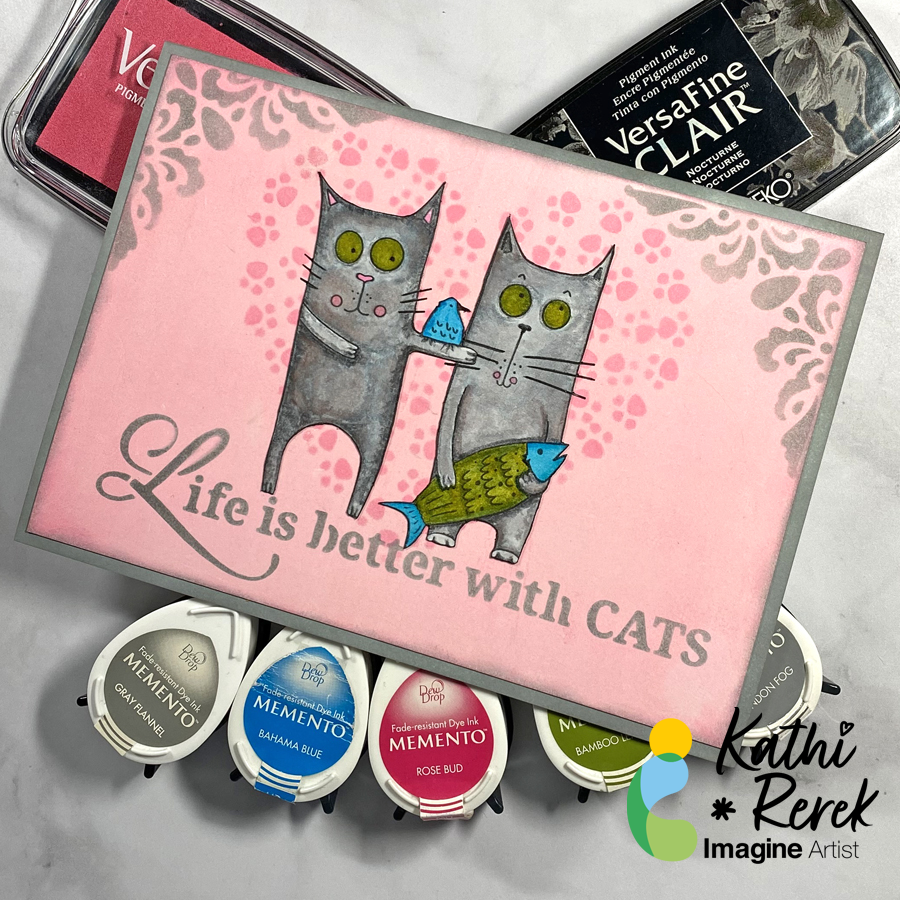
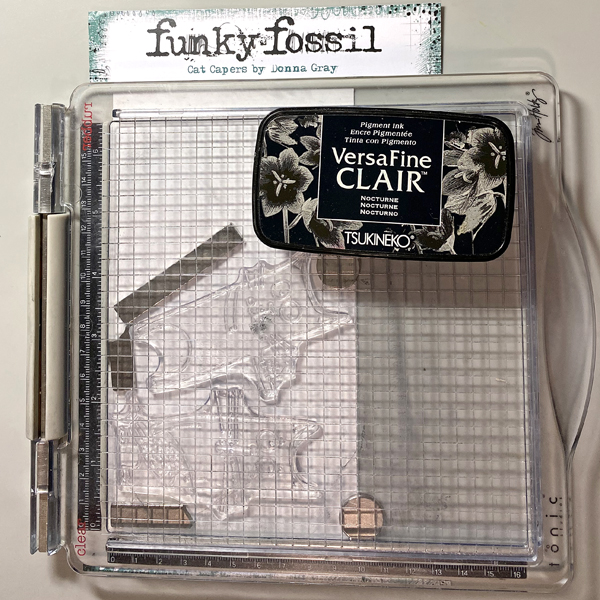
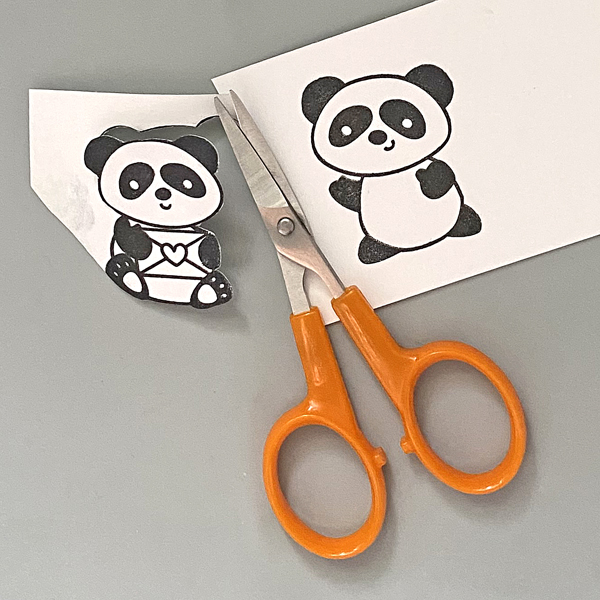
Use Nocturne VersaFine Clair Ink to stamp two of the pandas from the Pandamonium Clear Stamp Set. Heat set.
Step 7:
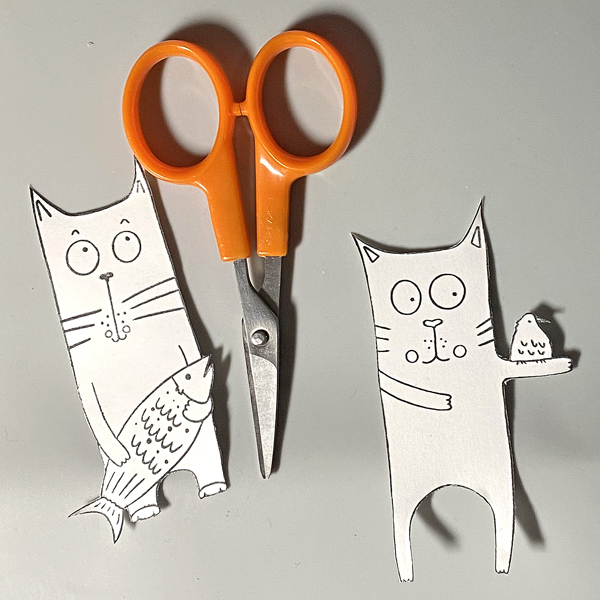
Fussy-cut both pandas.

Step 8:
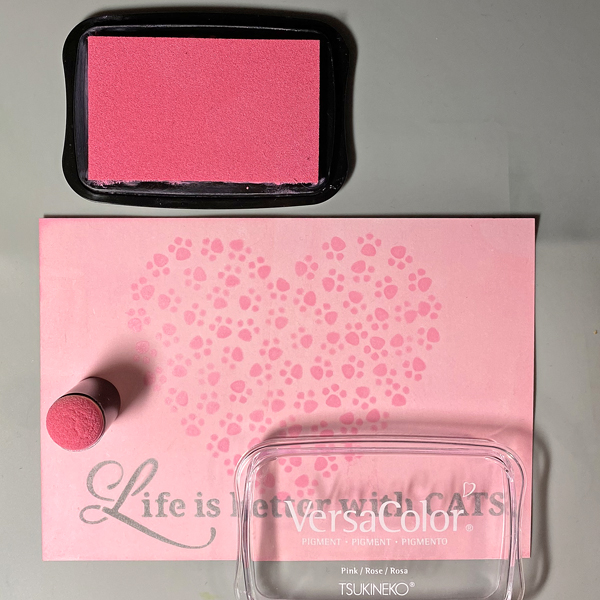
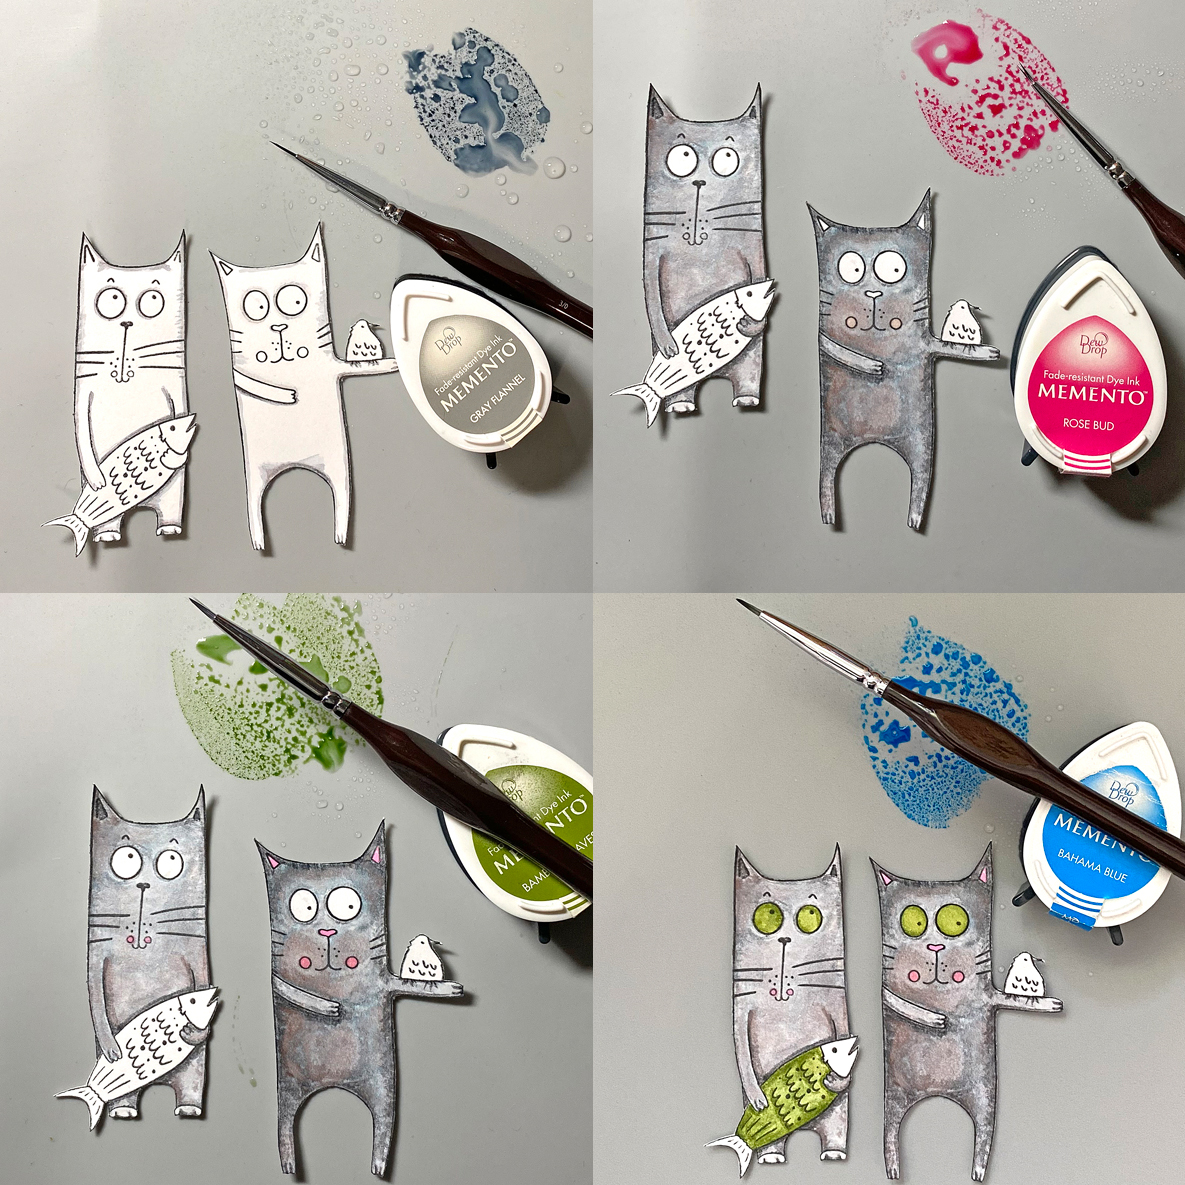
Smoosh Rose Bud, Angel Pink, Summer Sky, and Dandelion Dew Drop Inkpads onto a craft mat. Mist with water. Use a fine paintbrush to color the pandas.
Step 9:
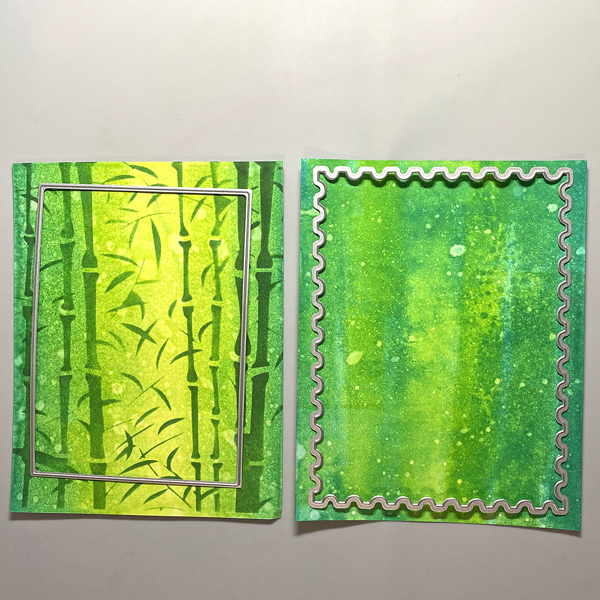
Use a plain rectangle and a postage edged rectangle dies to cut inked panels.

Step 10:
Place a piece of paper tape across the bottom of the stenciled cardstock.
Heavily sponge Rain Forest VersaFine Clair Ink below the tape to cover the stenciling. Use the ink to edge the piece as well.
Step 11:
Use Green Oasis VersaFine Clair Ink to stamp the sentiment.

Step 12:
Use a Postage Edged die to cut the sentiment.
Step 13:
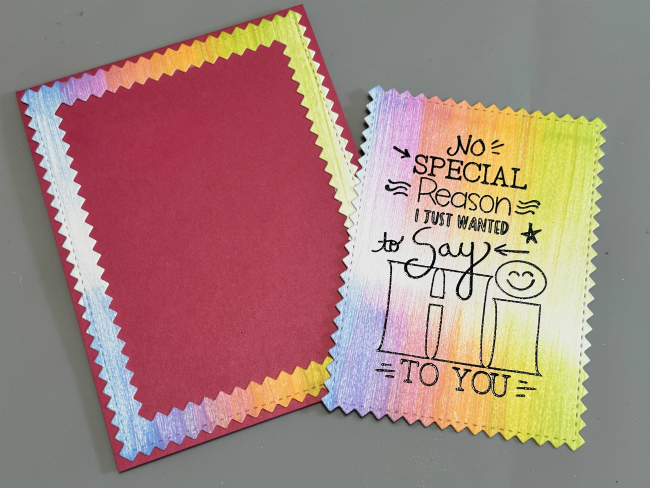
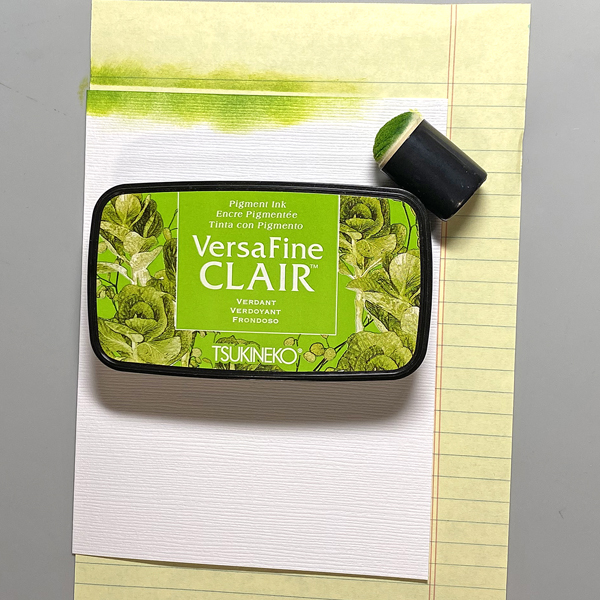
Create an A2 card from Avalanche cardstock. Apply Verdant VersaFine Clair Ink around the edges of the white cardstock. VersaFine Clair Ink works really well with textured cardstock!
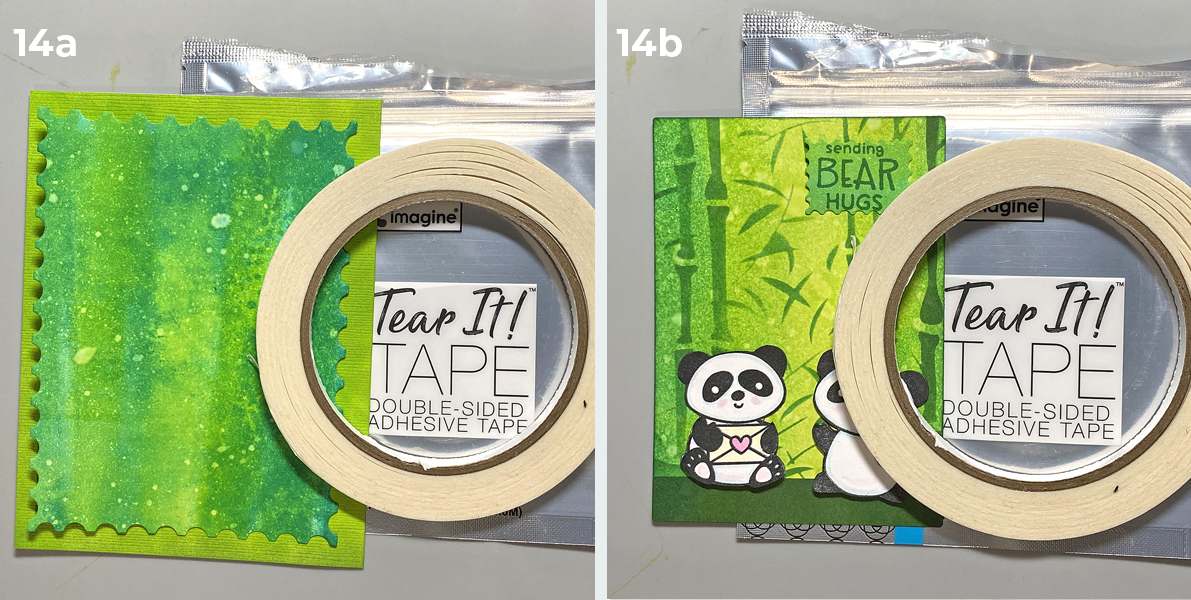
Step 14:
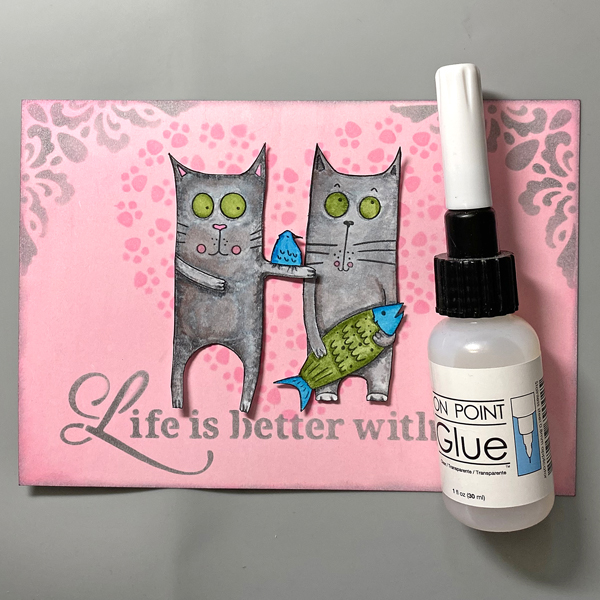
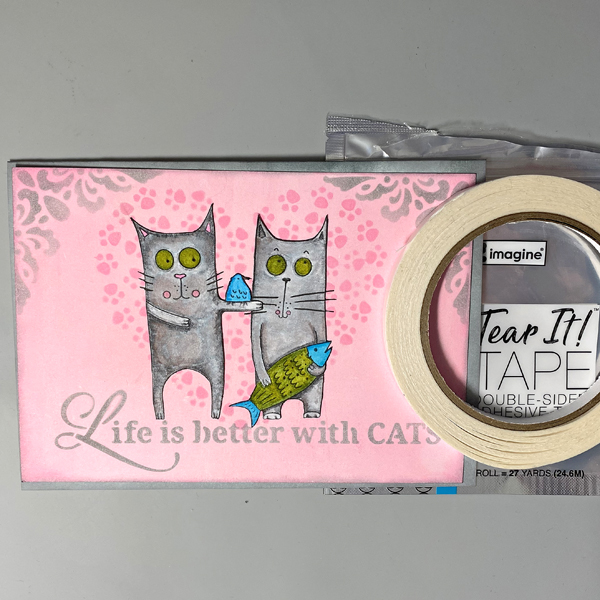
Use Tear It! Tape to attach the postage edged die-cut to the card.
Adhere the pandas and the sentiment die-cut to the stenciled panel, then adhere the stenciled panel to finish the card.
Imagine Crafts Supplies:
- Kaleidacolor – Fresh Greens
- VersaFine Clair Ink – Rainforest, Green Oasis, Verdant, Nocturne
- Memento Dew Drop Ink – Summer Sky, Angel Pink, Rose Bud, Dandelion
- Sponge Daubers
- Tear It! Tape
- Craft Mat
Other Supplies:
- Solar White Classic Crest Cardstock by Neenah Papers
- Avalanche Textured Cardstock by Bazzill Basics
- Pandamonium Clear Stamp Set by Time for Tea Designs
- Bamboo Stencil by The Crafters Workshop
- Nesting Postage Stamps Infinity Die Set by Hero Arts
- Nesting Rectangles Infinity Die Set by Hero Arts
- 91% Isopropyl Alcohol
- Stamping Platform
- Heat Gun by EK Success