Learn How to Make a Clear Wedding Invitation

by Lindsay Adreon

2019_April_LA_ClearInvitation_72PPI

Wedding invitation styles are constantly changing and updating and recently on Pinterest I have seen some beautiful CLEAR invitations using acrylic sheets. I wanted to find a DIY to make clear invitations and still have them be very elegant. I used StazOn Pigment Ink and a Marble stamp layering stamp set to get the look I was going for, and it was easier than I thought to create these see-through translucent invitations!

Skill: Advanced
Time: 15 minutes for each

Directions

Supplies

Imagine
Other

Learn How to Blend Ink using Shimmer Stix

by Roni Johnson

Learn How to Blend Ink using Shimmer Stix

New products are always fun but they are even MORE fun when it sparkles which is exactly what Shimmer Stix has in spades. It’s the same beautiful Shimmer Spritz Spray in a fun new package. AND this card is doing double duty by picking up on the Color of the Month – Living Coral but with a twist, it is a combination of 2 Radiant Neon colors blended together to make one with the help of Shimmer Stix.

Skill: Intermediate
Time: 30 minutes

Directions

Step 1

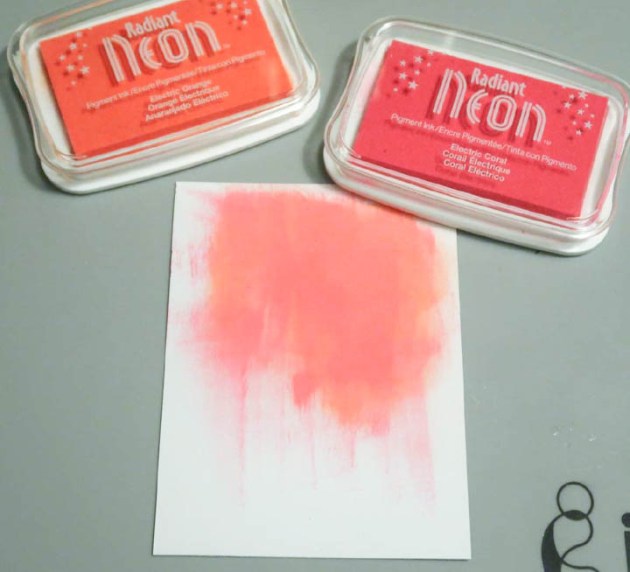
Cut a piece of white cardstock to 3.75 x 5 inches. Rub Radiant Neon Electric Coral on the upper portion of the card panel. Rub Electric Orange Radiant Neon Ink directly over the Electric Coral. Rub Electric Orange Radiant Neon Ink directly over the Electric Coral.

Step 2

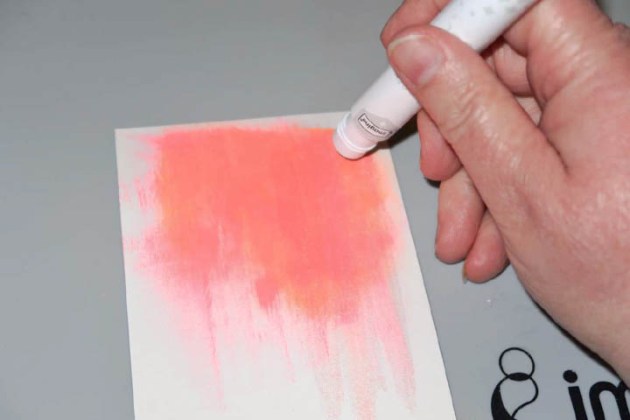
Use the Shimmer Stix to blend and drag the inks together down the length of the panel.

Step 3

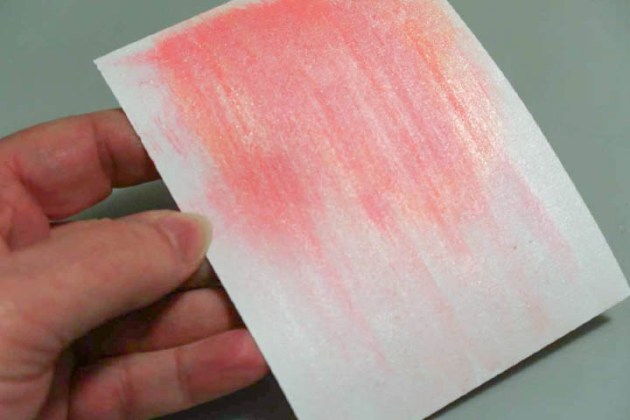
This blends the ink and colors the panel with shimmer at the same time. It’s hard to show the truly beautiful shimmer you get from the Shimmer Stix but this photo captures a bit of that shimmer and sparkle.

Step 4

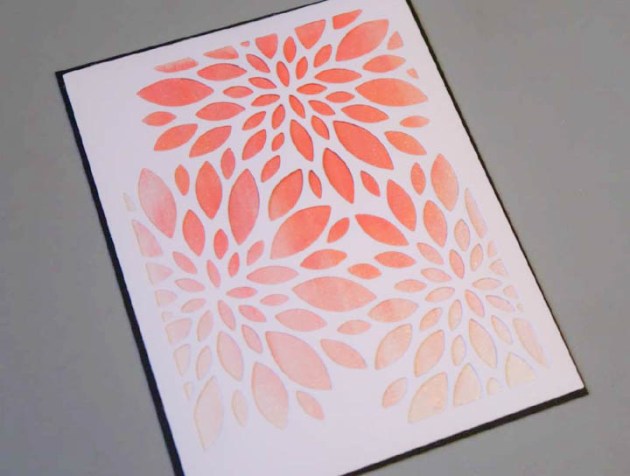
Cut a cover-up using the Gina Marie Flower Burst Trio Cover Plate on white cardstock. Mount the cover up onto the Shimmer Blended card panel and affix to a black card base.

Step 5

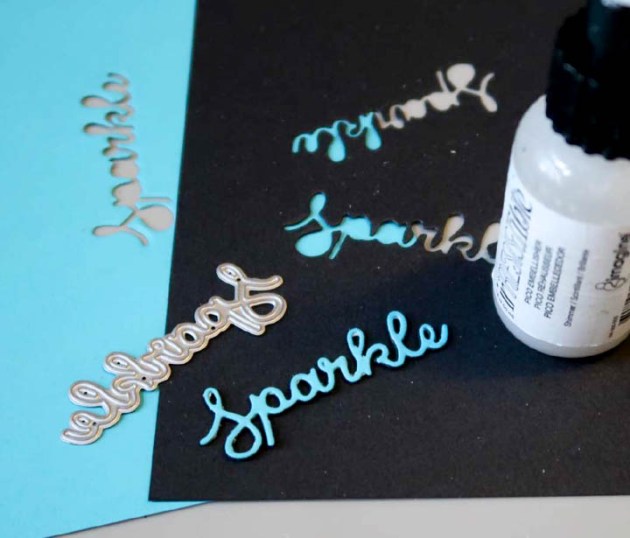
Cut three “Sparkle” sentiments, one from blue cardstock and two from black cardstock.

Step 6

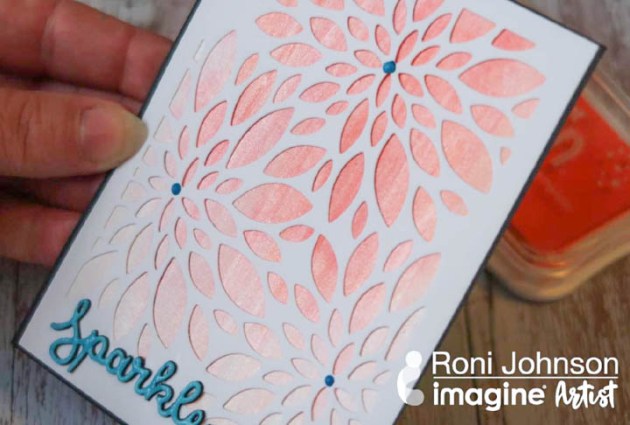
Use On Point Glue to glue the layers together with the blue on top. Apply a layer of Shimmer irRESISTible Pico Embellisher to the sentiment and let dry. Add a dot of Electric Blue irRESISTible Pico Embellisher to the center of each flower. Adhere the sentiment to the card using On Point Glue. Just look at that beautifully blended shimmer!!

Supplies

Imagine
Other
  • Gina Marie – Flower Burst Trio Cover Plate
  • Queen and Co – Sparkle Sentiment Die-cut
  • Cardstock – White, Black, Blue

Create a Rainbow Background with Memento Markers and Shimmer Stix

by Lindsay Adreon

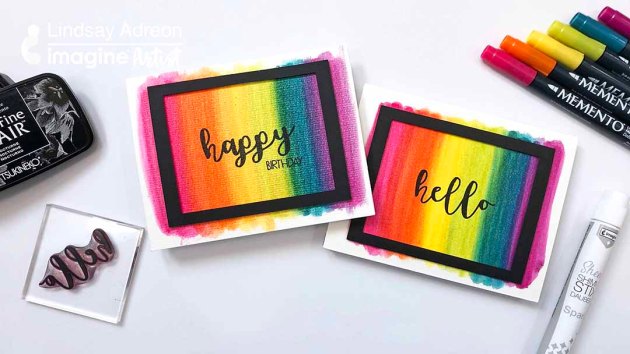
I LOVE anything and everything rainbow in cardmaking, and if it sparkles, that’s even better! Making a rainbow watercolor background is pretty simple, but adding a good amount of sparkle without making mud can be more tricky. The Shimmer Stix are the PERFECT applicator to make a fun background that keeps its bright and vibrant colors without sacrificing any of the sparkle! I was so excited that the Shimmer Stix worked for this technique and can’t wait to try them with an ombre background, next!! I made two cards today, a birthday and hello card, plus check out the inside, too!!

Skill: Beginner/Intermediate
Time: 20 minutes

Directions

Supplies

Imagine
Other
  • Watercolor Paper
  • Joy Clair Stamps Hello Sentiments
  • Tonic Mixed Rectangle Die Set
  • Die Cutting Machine
  • MISTI Stamping Tool

Participate in our Youtube Challenge

by Kassy Tousignant

LABOR DAY GIVE-A-WAY

Head over to our YouTube Channel! Comment and subscribe on this video by the end September 3rd, 2018 (midnight) for a chance to win $30 worth of ink products by Imagine.

In today’s video, Kassy’s shows how to ink a canvas with All-Purpose Ink. The colors in this mixed media piece are vibrant and the ink can be used well on canvas surfaces. Kassy shows you a few different techniques using the All-Purpose Ink on this canvas to highlight it’s versatility and stunning colors. This art piece is inspired by a small resin face embellishment and text that inspires why a person should “Be” creative.

Skill: Advanced
Time: 1 hour + dry time


Supplies

Imagine
Other
  • White Gesso
  • Arteza – Canvas panel
  • Prima – stencil
  • Relics & Artifacts – resin face
  • Brush
  • Ink dropper
  • Spray bottles
  • Heat tool