Quick & Easy: Create a Simple and Beautiful Collage on a Wooden Leaf


by Lori Warren

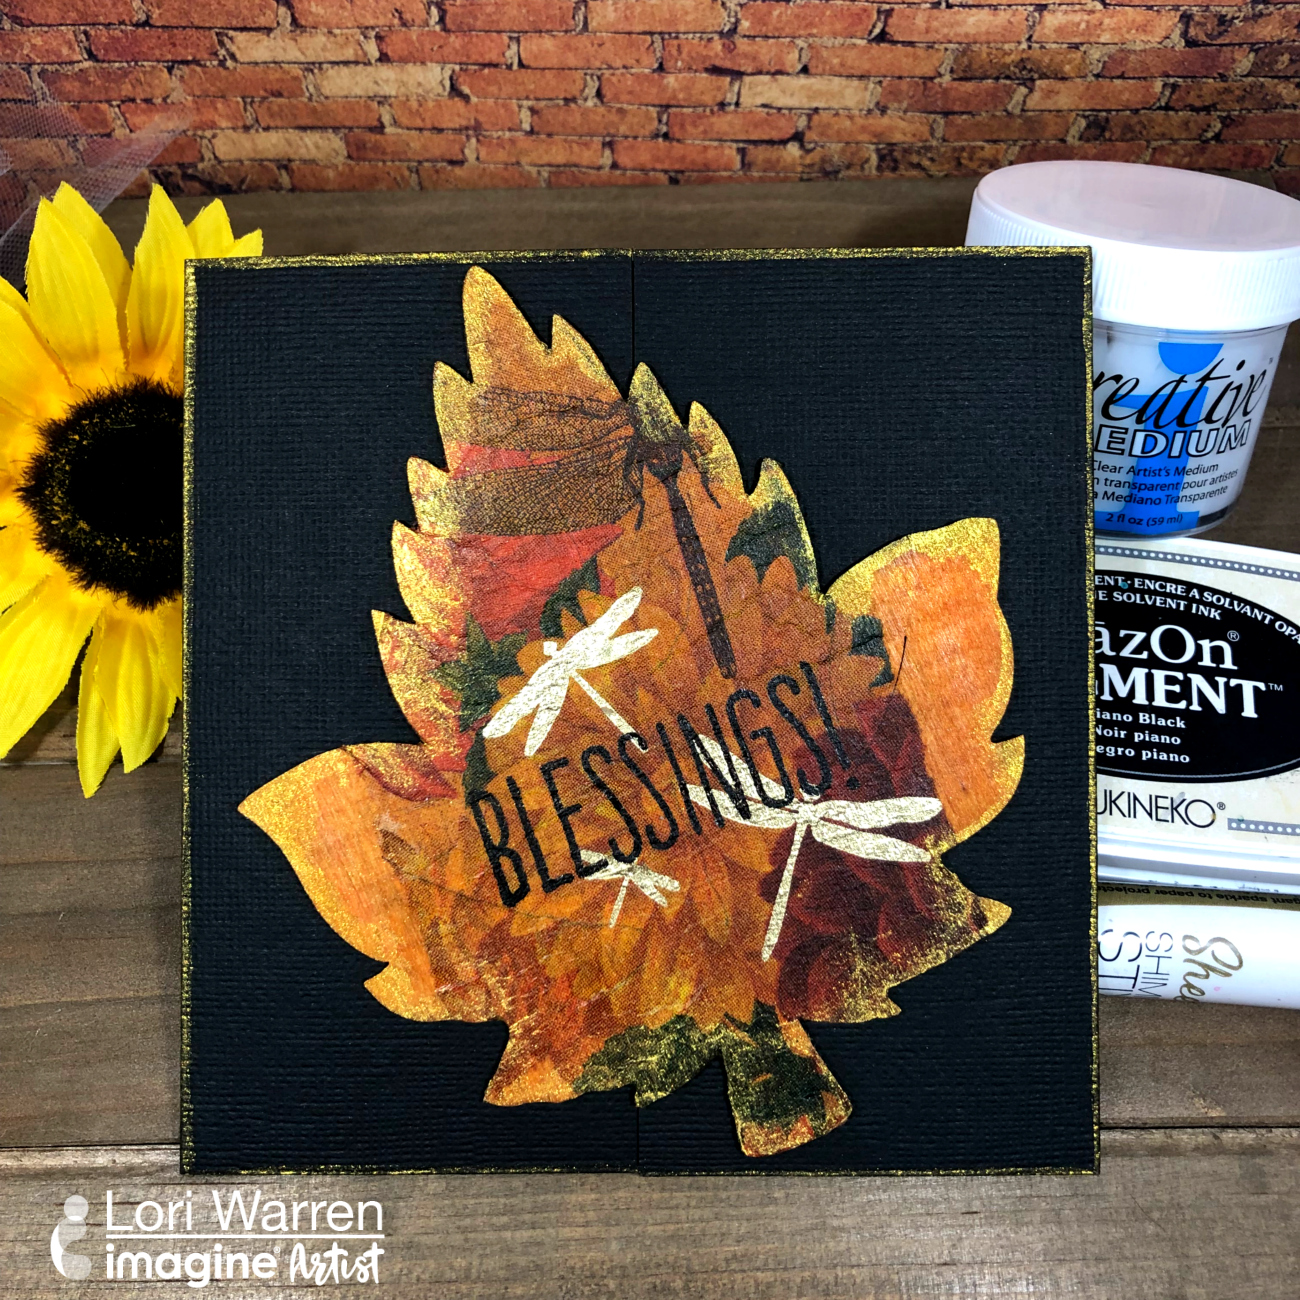
New to collage and mixed media?  Then this project is for you! Create a simple and beautiful collage on a wood leaf that can be used in card making and home décor projects.


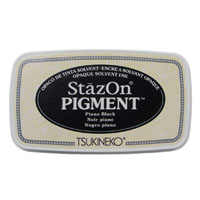
StazOn Pigment
in Piano Black

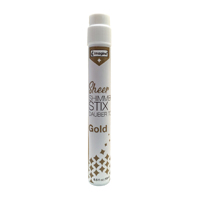
Sheer Shimmer Stix in Gold

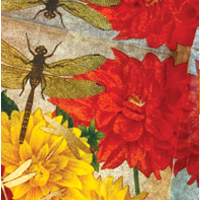
Tissue Paper

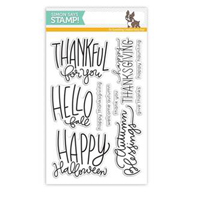
Stamp Set

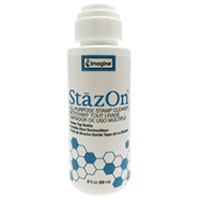
StazOn Cleaner

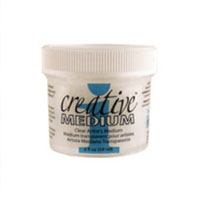
Creative Medium

Wooden Leaves

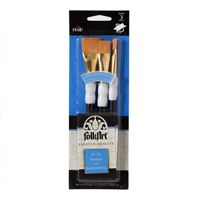
Flat Paint Brush

Directions

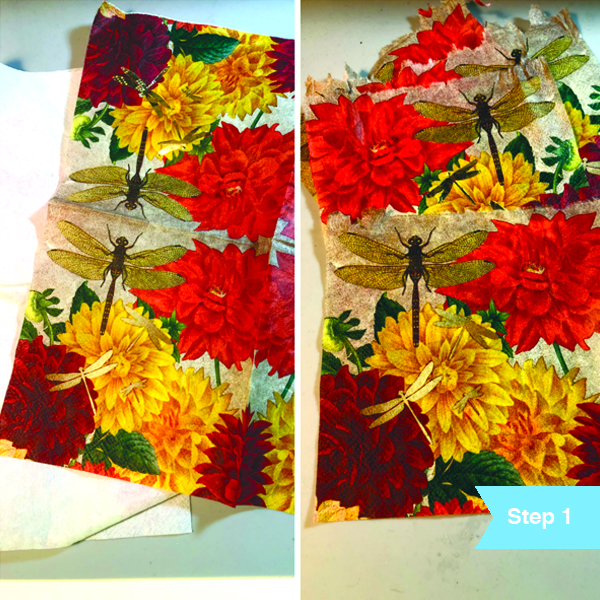
Separate the top layer of a patterned paper napkin and tear it into large sections. The thin tissue paper is perfect for this project.

Using a flat paint brush, adhere the torn napkin pieces to wood leaf with Creative Artist Medium in Clear. Creative Medium is a light acrylic paste and can perform a lot like Modge Podge paste for this collage. What makes Creative Medium different than Mod Podge is that it is thick enough to form a stiff structure as well. So if you are using Creative Medium with a stencil then the shapes of the stencil will maintain their shape. Paint the Creative Medium layer on the wood shape first. Then lay the tissue paper down and apply another layer on top of the paper. Allow drying.

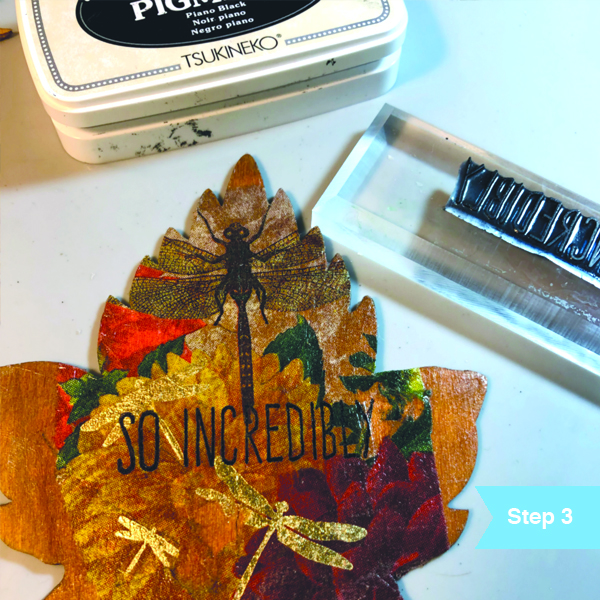
Stamp a fall theme saying or sentiment onto the leaves with StazOn Pigment in Piano Black. Use the StazOn stamp cleaner to clean your stamps once you are finished. Since the surface has the Creative Medium layer StazOn is the best choice here. Other ink brands might rub off or smear.

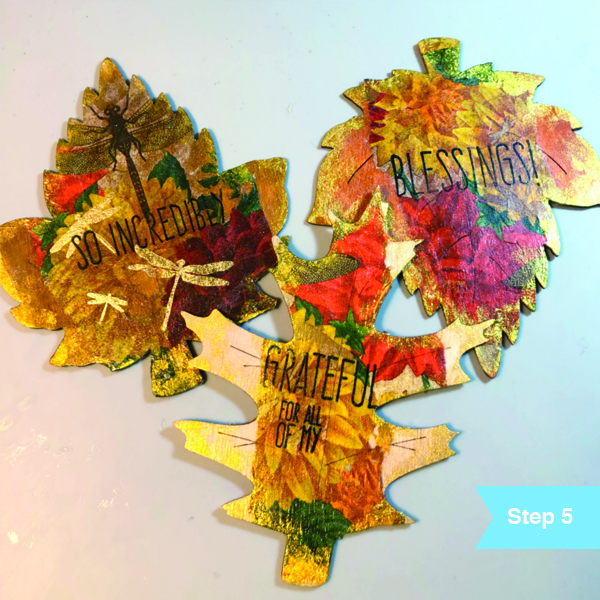
Apply Gold Sheer Shimmer Stix to edges of the leaf. The Shimmer Stix is a dauber top applicator and needs to be shaken well before use. The liquid shimmer should apply much like a marker. Test on a separate piece of paper before applying.

Repeat the process with different leaf-shaped.

See How to Achieve Bliss with All-Purpose Ink and Embroidery

by Iris Rodriguez

See How to Achieve Bliss with All-Purpose Ink and Embroidery

I have a confession. I am not a sewing person, whatsoever. However, I do like textile arts and a friend, who destashed her crafting supplies, gave me a gallon bag of embroidery thread. Well, it was time to challenge myself with an embroidery project. I made this wall hanging using All-Purpose Inks to color the plain fabric and stitch some whimsical stitches.

Skill: Advanced
Time: 2-4 hours


Step 1

For this project, you will need fabric for embroidery. You have several options of fabric that will work; 100% cotton; linen, muslin or specialized needlework linen. I bought a piece of 100% cotton remnant from my local fabric store. You will also need embroidery hoops and thread. Fasten the fabric to the hoops.


Step 2

Spray water on the fabric. Place a small drop of Red Delicious All-Purpose ink.


Step 3

Spray water onto the drop of the All-Purpose ink. The color will spread out, creating cool effects and shapes.


Step 4

Repeat Step 3 with the rest of the All-Purpose Inks; Thyme, Wisteria, Blue Lagoon. Allow the project to dry. You can allow it to dry naturally or dry with an iron to speed up the process. At this point, you will find that the colors are lighter than when the fabric was wet. You can darken the color by adding more ink.


Step 5

Determine the embroidery thread you will use. I like to use a contrasting color.


Step 6

Use embroidery needles for your project. They are designed with wider holes than a regular needle.


Step 7

Embroider onto the fabric. If you are not familiar with embroidery stitching techniques as was the case with me. The internet is an excellent resource; do a general search, Pinterest has great pics of stitches and mini visual tutorials, YouTube has stitching videos as well. Above I choose some simple star and X-shape patterns. If you wish to add lettering or an image, it helps if you have a guide. Use a regular pencil to mark up the fabric. Stitch over the pencil mark.


Step 8

No matter the stitch you use, you must make a knot in the back when you are finished with a segment. Add different stitch types for added variation. Once you are finished. Cut the excess fabric. Glue the excess fabric onto the hoop.

Supplies

Imagine
Other
  • Fabric for embroidery; 100% cotton, linen, or muslin
  • Embroidery Thread
  • Embroidery Hoops
  • Embroidery Needles

Color a Wooden Box with Walnut Ink And Delicata Metallic Inks

by Iris Rodriguez

Color a Wooden Box with Walnut Ink And Delicata Metallic Inks

Full steam ahead with this Steampunk box project! I enjoy using Walnut ink on wooden projects. The colors are rich and seep into the grain nicely, bringing out the beauty of the wood. Imagine has Walnut Inks in a variation of colors. For this project, I used the Terra Cotta ink, brown-reddish colors. To color the gears I used metallic Delicata Inks; Celestial Copper, Golden Glitz and Shimmery Silver.

Skill: Beginner
Time: 30 minutes to color box and gears, 1-2 hours of natural air dry

Directions


Step 1

For this project, you will need a wooden box and wooden or chipboard gears. These materials are very porous and soak in the Walnut and Delicata pigment inks very nicely.


Step 2

Spray the box with the Terra Cotta Walnut Ink.


Step 3

Allow the box to naturally air dry; it takes about an hour, or speed up the process by drying with a heating tool. Seal the box. This protects the box and ink from liquids and humidity. Plus it looks nice and finished. Allow the box to completely dry.


Step 4

To color the gears, lightly pounce the gears on the Golden Glitz Delicata Inkpad. Repeat this step with the Shimmery Silver and Celestial Copper Delicata Inks. Allow the inks to completely dry or to speed up the process with a heating tool.


Step 6

Glue the gears with On Point Glue.


Step 7

The fine point needle helps to get in the narrow spaces of the gears. And just like that, you have a nice steampunk-industrial keepsake box to keep for yourself or give as a gift.

Supplies

Imagine
Other
  • Unfinished Wooden Box
  • Laser-cut wooden or chipboard gears
  • Sealer; Spray (e.g. 3M, Krylon) or Water-based Polyurethane

 Learn How to Mix Mediums to Create a Home Décor Birdhouse

by Lori Warren

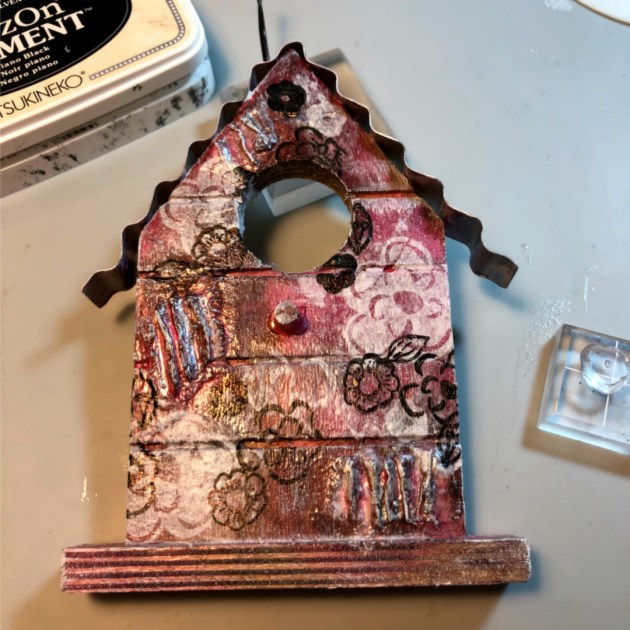
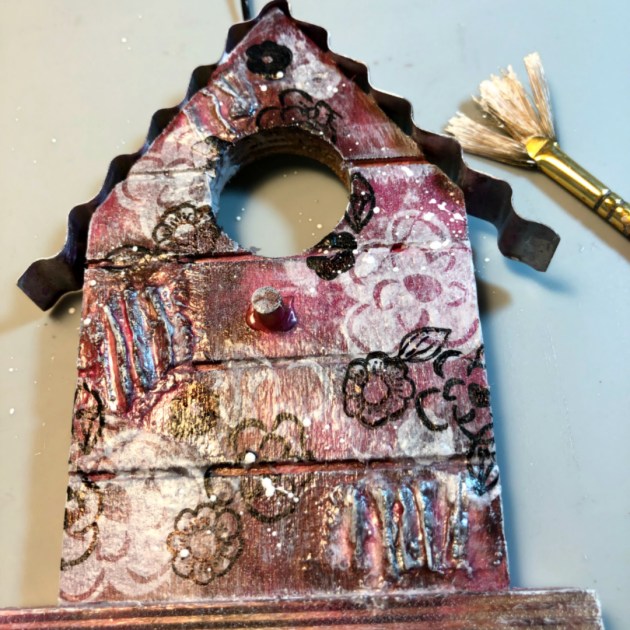
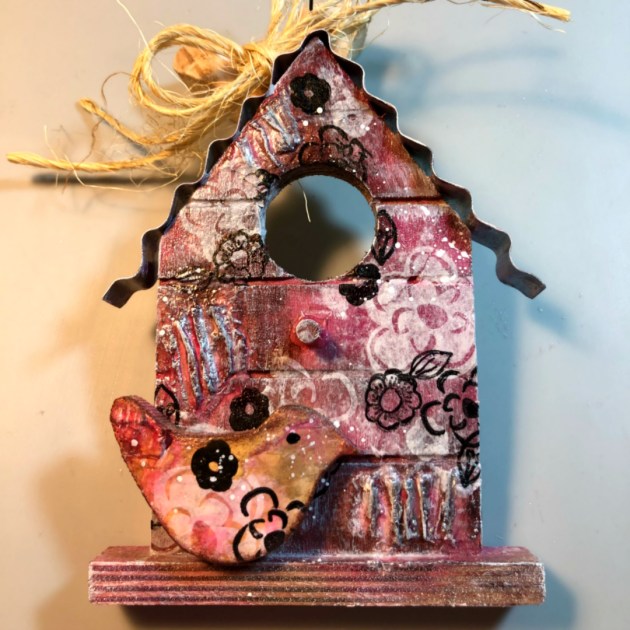
 Learn how to mix mediums to create a home décor bird house

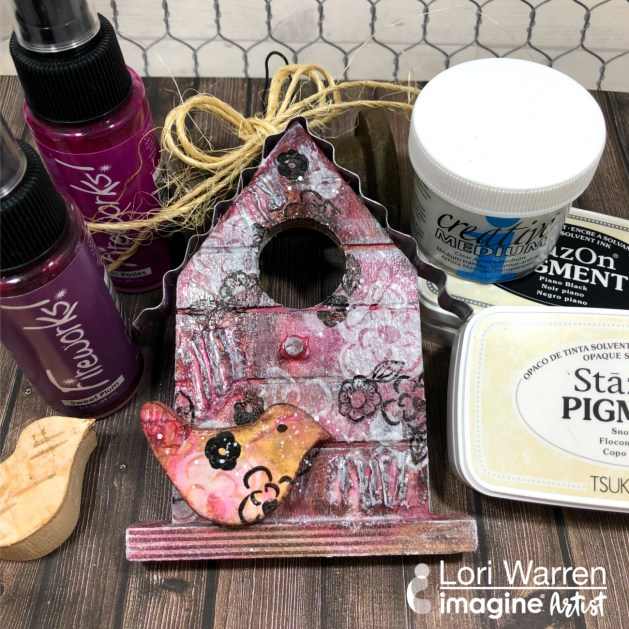
A great aspect of Imagine products is that they pair very nicely with other mixed media mediums.  This project features the use of StazOn Pigment ink, Creative Medium and Fireworks! sprays along with acrylic paint and varnish to complete a mixed media home decor project.

Skill: Advanced
Time: 2 hours

Directions


Step 1

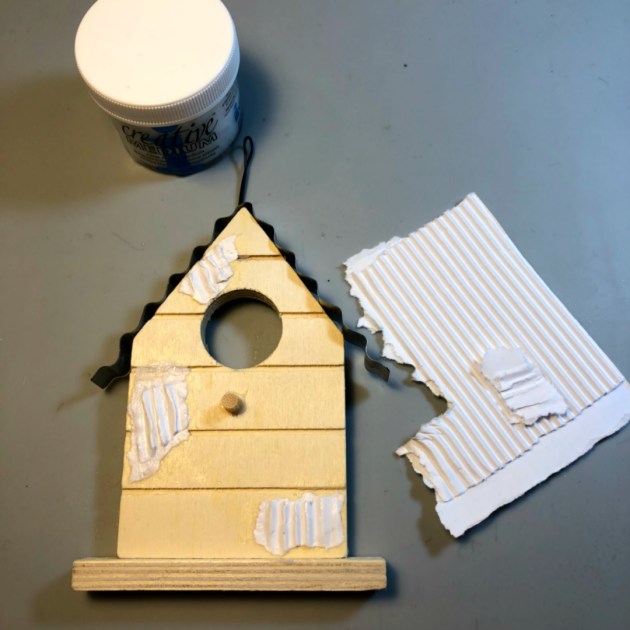
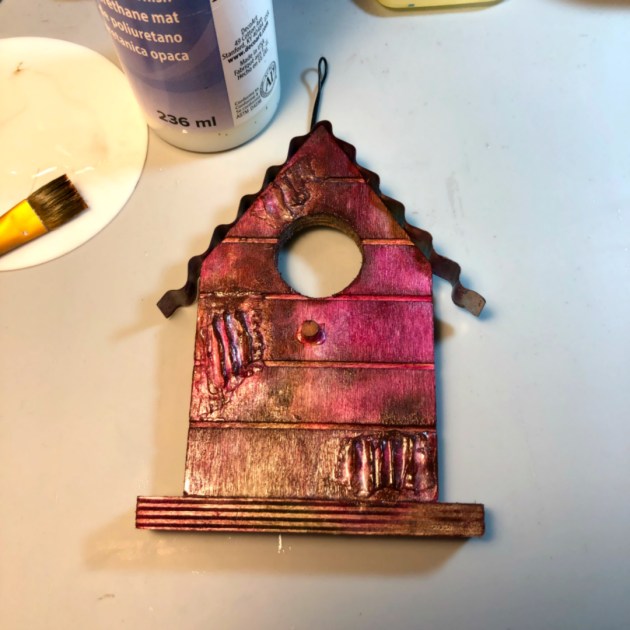
Adhere pieces of corrugated paper to a pre-made wood birdhouse with Creative Medium.


Step 2

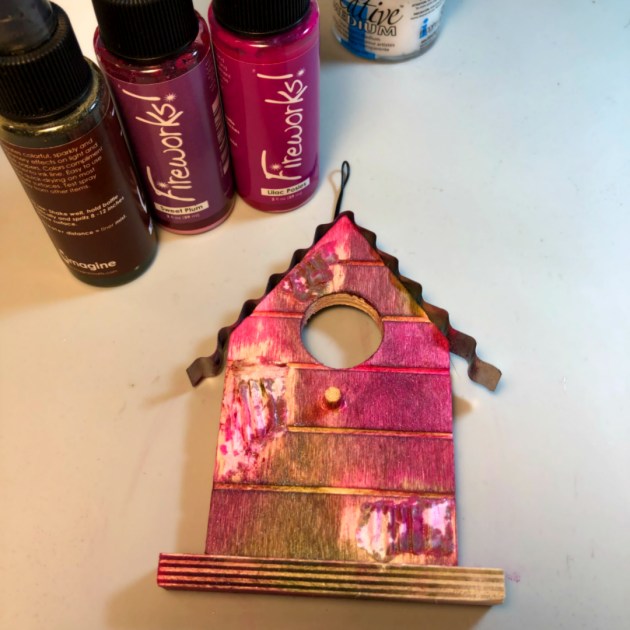
Spray birdhouse with Fireworks sprays. Allow drying.


Step 3

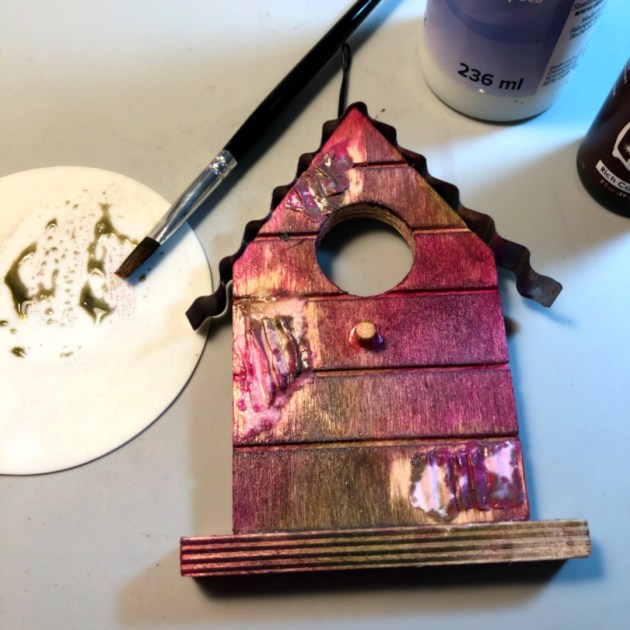
Mix Rich Cocoa Fireworks! spray with matte varnish, apply to the birdhouse. Allow drying.


Step 4

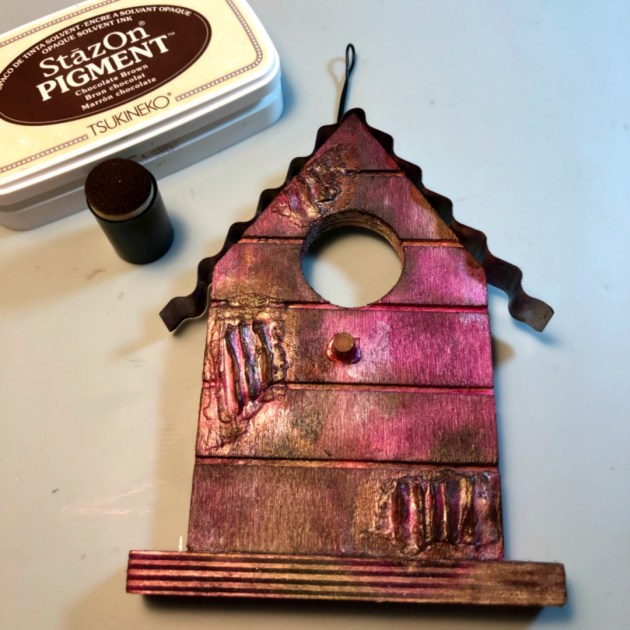
Sponge on Chocolate Brown StazOn Pigment to portions of the birdhouse.


Step 5

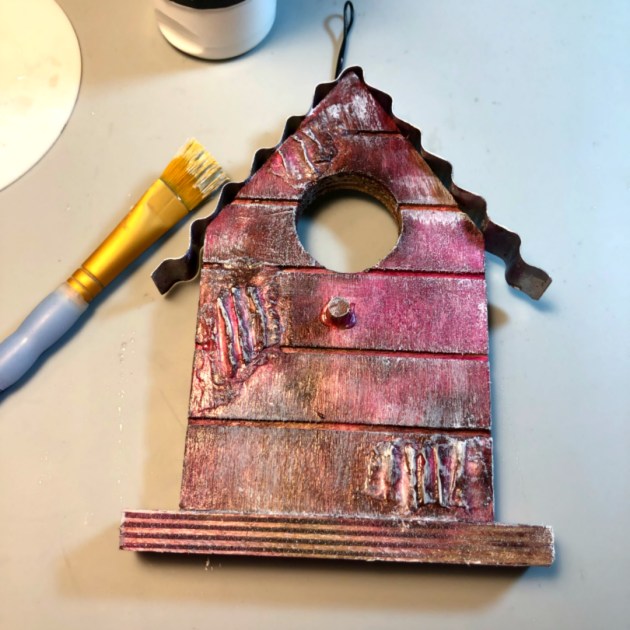
Coat with another layer of matte varnish. Allow drying.


Step 6

Dry brush texture with white gesso.


Step 7

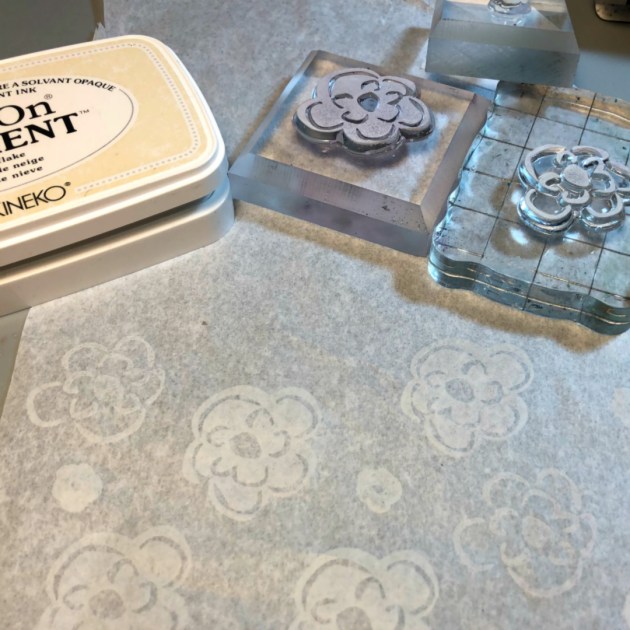
Stamp flower images onto tissue paper with StazOn Pigment, Snow White.


Step 8

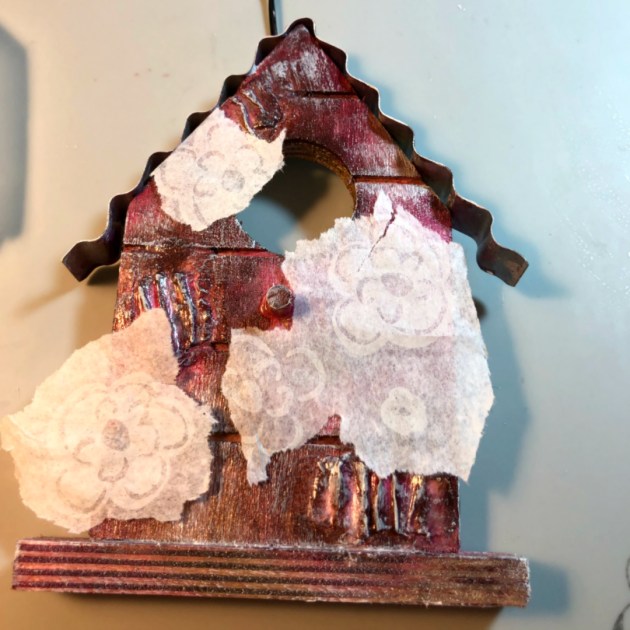
Tear stamped tissue into pieces and arrange onto birdhouse.


Step 9

Adhere stamped tissue with matte varnish.


Step 10

Stamp smaller flower images (with StazOn Pigment, Piano Black) directly onto birdhouse.


Step 11

Add white paint splatters.


Step 12

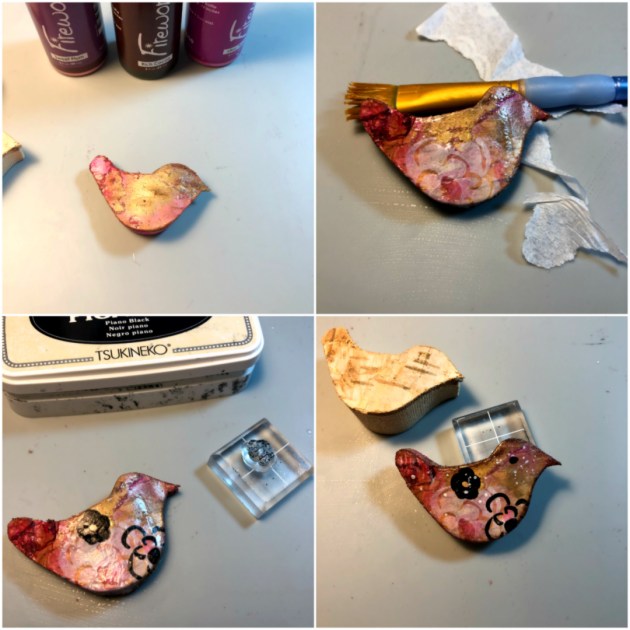
Use the same techniques on wooden bird element.


Step 13

Adhere bird element to the birdhouse and tie fibers to top.

Supplies

Imagine
Other
  • Waffle Flower Stamps – In Every Way Stamp Set, Pretty Foliage Stamp Set
  • Bark Wood – Birds
  • Wood Bird House
  • Fibers
  • Corrugated Cardboard
  • DecoArt Americana – White Gesso
  • DecoArt Americana – DuraClear Matte Varnish
  • Tissue Paper

Learn How to Color Metal for a Jewelry Making Project

by Kyriakos Pachadiroglou

Learn How to Color Metal for a Jewelry Making Project

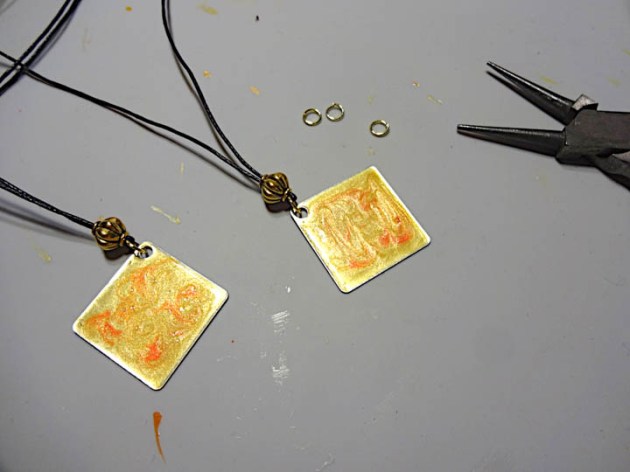
The sun turned into a square! Capture the colors of the sun on faux enamel jewelry piece with a marbled pattern. Decorate the Imagine’s Sheet Metal in the squares shapes with a mix of irRESISTible colors and create a marble design that is covered with clear Mboss embossing powder to protect and give the impression of enamel.

Skill: Beginner
Time: 1 hour

Directions


Step 1

Cover the square Sheet Metal shapes with the irRESISTible in Gold, mixing the gel with a bamboo skewer or toothpick.


Step 2

Add drops of the irRESISTible in Tangelo and mix in circular motions with a bamboo skewer. Let the paint dry well.


Step 3

Press the square shapes on the VersaMark inkpad, cover with Mboss embossing powder and heat set.


Step 4

Turn over to the other side of the Sheet Metal shapes, cover with StazOn Sunflower Yellow.


Step 5

Cover with GlazOn Vintage to secure the color. This is very important to use GlazOn in between uses because StazOn solvent qualities react with other layers of StazOn. In other words, you will erase or lift the color you just laid down.


Step 6

Cut 20-inch long cord pieces, pass it through a jump ring and inside the Sheet Metal shape hole. Add a gold colored bead.


Step 7

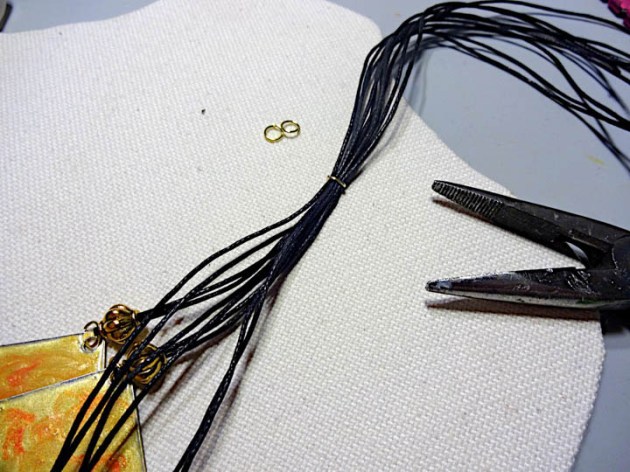
Continue with the rest of the pieces and secure all the cords together with a jump ring creating a stop.


Step 8

Cut 20-inch long cord pieces, pass them between the shapes and the previous stop jump ring. Braid the cords and secure all the edges with jewelry caps and clasps.

Supplies

Imagine
Other
  • Bamboo skewers
  • Heat tool
  • Black waxed cord
  • Jewelry clasps, jump rings, lobster locks

Learn How to Create Wedding Ring Clay Bowls

by Iris Rodriguez

Learn How to Create Wedding Ring Clay Bowls and color with All purpose ink in rose gold

Spring is here, the weather is getting nicer and the wedding season is upon us. One of the smallest details that has the biggest meaning at a wedding, is the ring. In this post, I will demonstrate how to make two different DIY ring bowls using air-dry clay and All-Purpose inks. Using Imagine’s newest stunning Rose Gold All-Purpose ink, I demonstrate how to make a Rose Gold flower ring bowl. I will also show you how to add shading and depth by making use of the All-Purpose ink Vintage Wine, a dark burgundy color.

Skill: Intermediate
Time: 1 Hour to make the bowls, 2 days total for bowls to air dry

Directions


Step 1

For this project, I used Activa Plus clay. This clay is fine, moist, malleable, firm, but not hard. It is an air-dry clay. Keep the clay moist by spraying a little water. Adding water also makes it softer. When the clay is wet, it is beige like color, and when dry it turns off white color. The rate that it dries will depend on the thickness of the project and room temperature. The drier the room, the faster it dries.


Step 2

Roll out a sheet of clay. You can use a roller normally used roll out dough or use a clay roller.


Step 3

The clay is usually very smooth when it’s rolled out. If it is not, then smooth out the clay with your fingers, rib tool or wet sponge.


Step 4

Using a stylus, draw out the desired shape. Use can also a template or other items you can place over the clay and trace. If you change your mind, remove the line by smoothing out the clay.


Step 5

Using a clay needle tool or knife, cut out the shape.


Step 6

Smooth out the edges with your fingers or tools. Draw the petal’s ridges with a hard-edged tool. Sculpt the stamen by using a stylus or the pointy end of a paintbrush.


Step 7

Place the clay bowl into a real bowl or other object and allow it dry for one to two days. It will take on the shape of the object. To determine if it’s dry, take a look at the natural clay color; it will turn an off-white when dry. Also, if the clay feels cold then it’s still wet.


Step 8

Paint the clay with the Vintage Wine All-Purpose ink with a paintbrush. Heat set the ink with a heating tool or allow the ink to air dry more than half-hour. Allow the ink to dry completely before proceeding.

Buy Rose Gold Ink at the Imagine Shop

Click the image above to see the Rose Gold Ink on the Imagine Shop

Step 9

Using the Inkblusher, sponge on the Rose Gold All-Purpose ink. Tap gently in an up and down motion, ensuring that it does not get into recessed areas. Heat set the ink with a heating tool or allow the ink to dry for about 10 minutes. Because it is sponged on, the ink dries fairly quickly. The color intensity will be determined by the number of layers used. I used four thin layers for my bowls. Allow each layer to dry before proceeding.


Step 10

Following steps 2-6 to make the heart-shaped bowl. For this bowl, I made heart templates out of cardstock paper and added the texture by making indentations with a clay stylus tool or you can use the pointy end of a paintbrush.


Step 11

Paint the heart bowl with Red Delicious All-Purpose ink. Heat set the ink with a heating tool or allow the ink to dry for more than a half-hour.


Step 12

Paint one layer of the Vintage Wine All-Purpose ink.


Step 13

Wipe off the ink from the raised areas with a baby wipe or cotton cloth. Do not use a paper towel. It will stick to the clay and ink, as they are porous surfaces. It is very important to seal the bowls. It protects the ink and clay from liquids and dust. Best of all, it looks purposely finished. You can use a spray sealant like 3M/Krylon or brush on a water-based varnish or polyurethane.

Supplies

Imagine

• Craft Mat
• All-Purpose Ink – Vintage Wine, Rose Gold, Red Delicious

Other

• Activa Plus Self Hardening Clay – White
• Modeling clay tools
• Sealer (spray, or polyurethane)