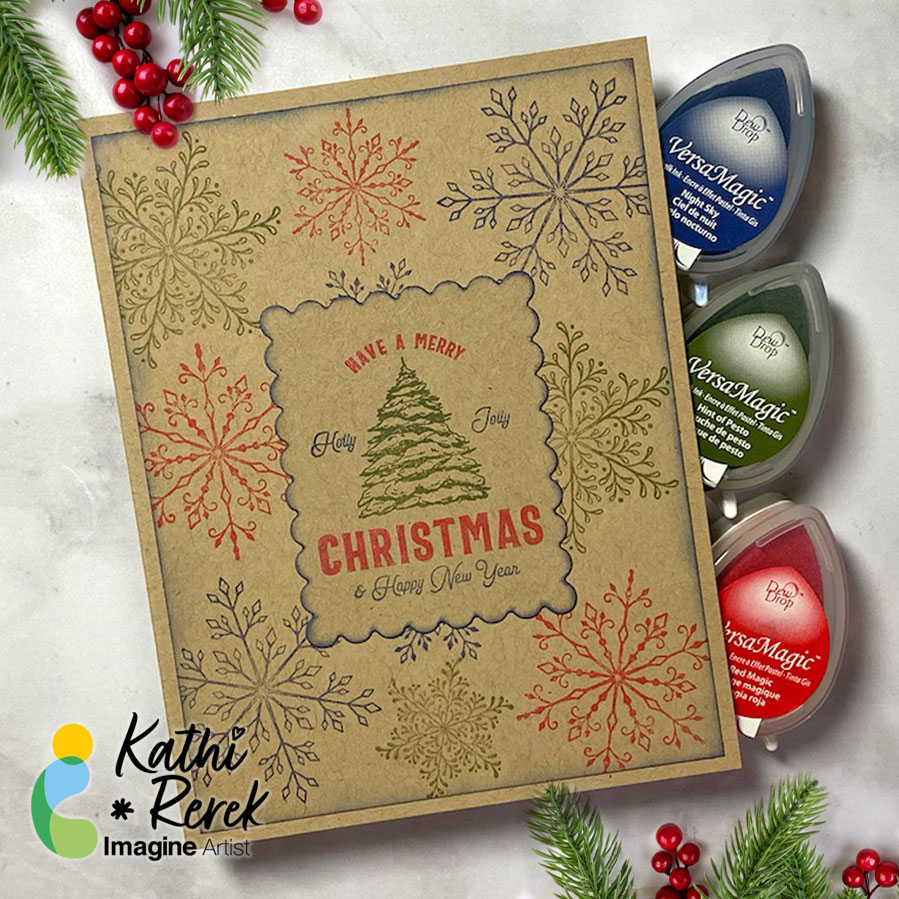
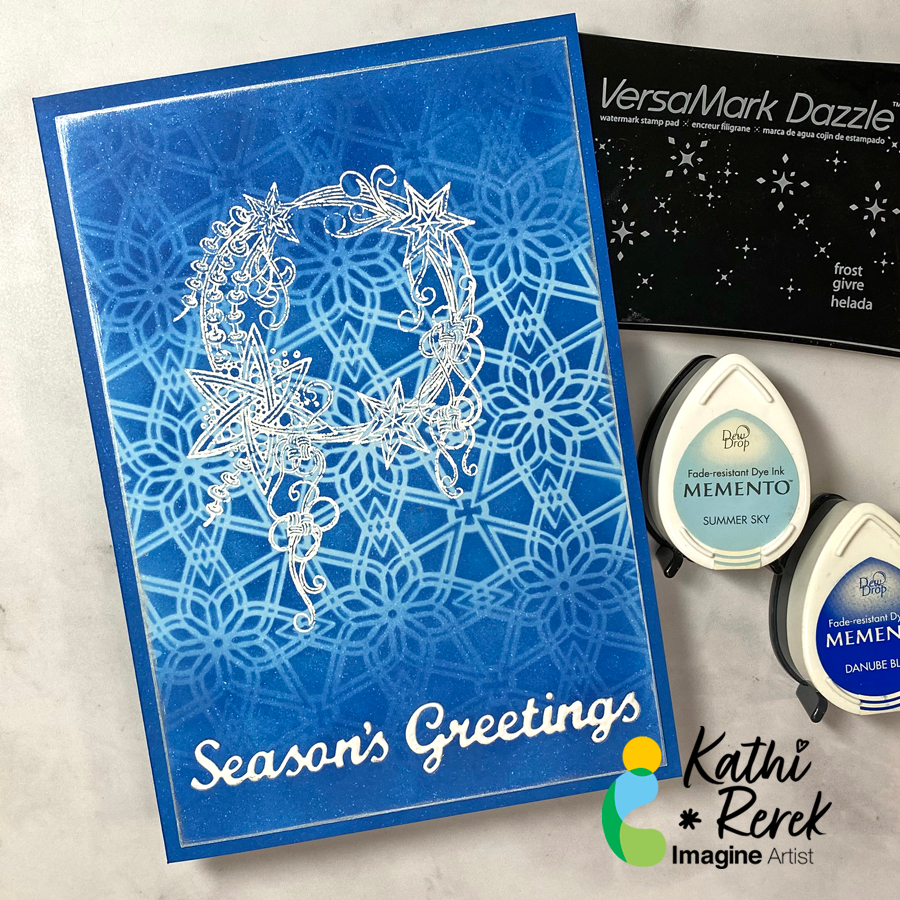
By Kathi Rerek
Here’s a dramatic, yet quick and easy Season’s Greeting’s Card
Skill Level: Beginner to Intermediate
Time: 1 hour
Step 1.
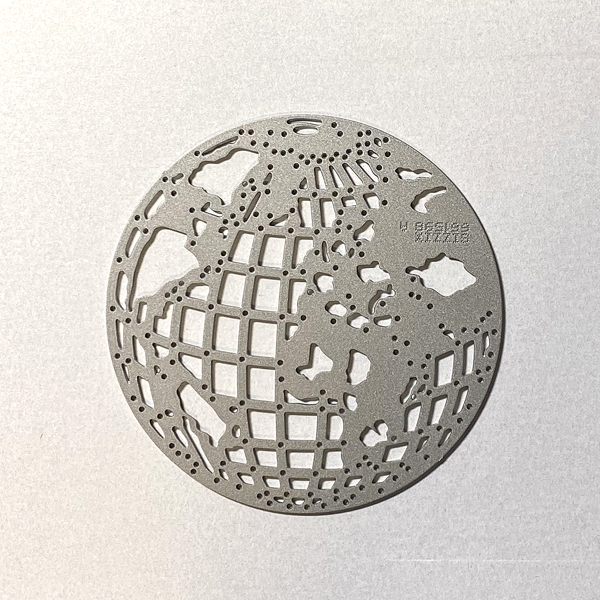
Use the Mini Globe Thinlits cutting die to cut white metallic cardstock.
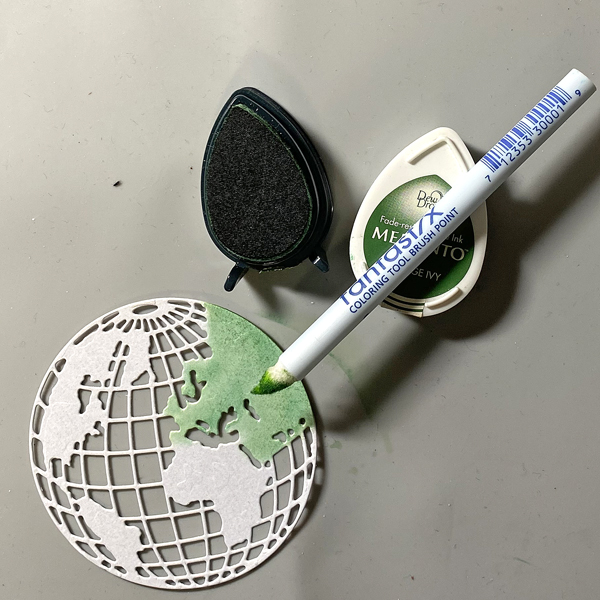
Step 2:
Use a Fantastix to apply Cottage Ivy Memento ink to the land areas of the globe.
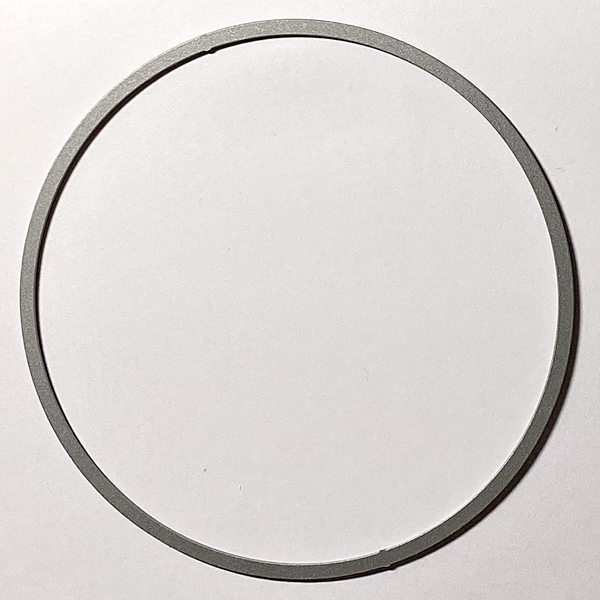
Step 3:
Use a circle die to cut white cardstock.
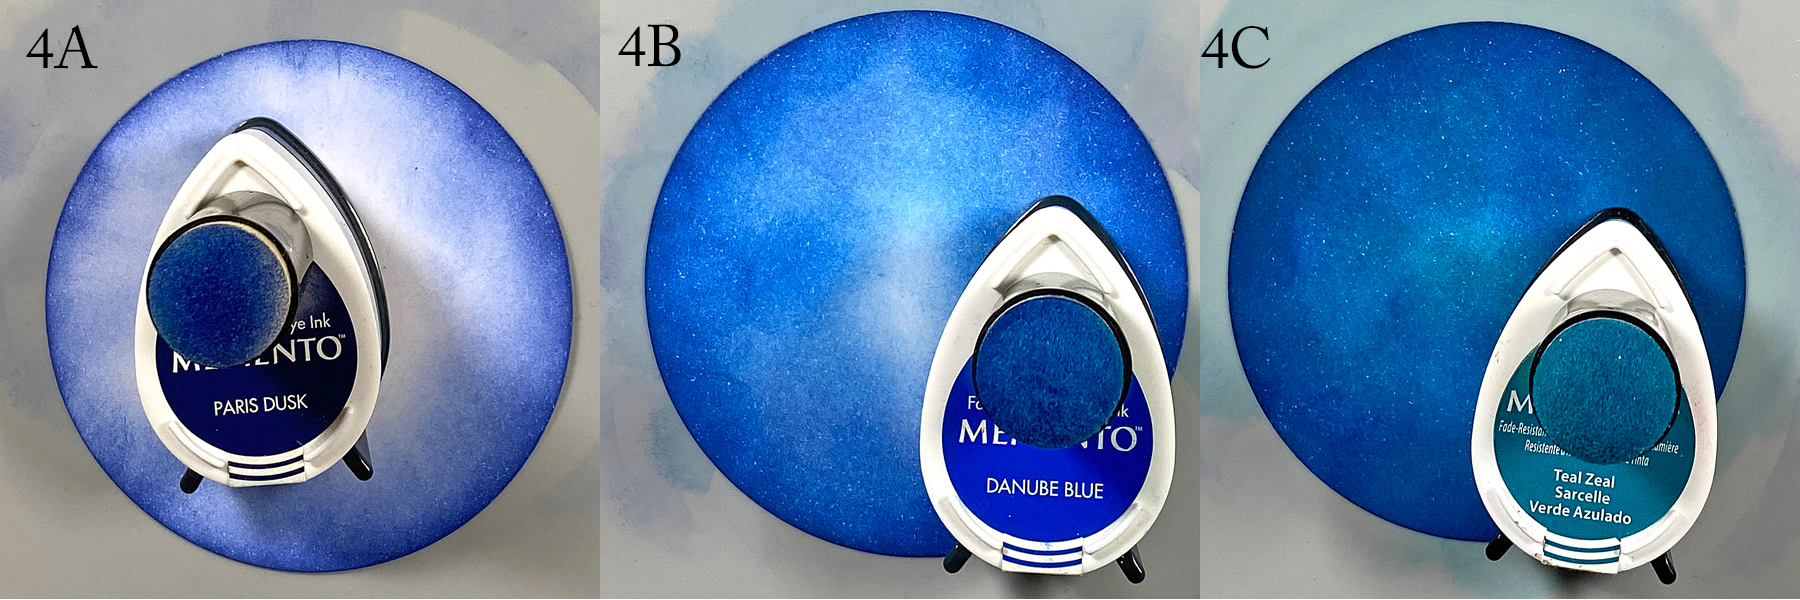
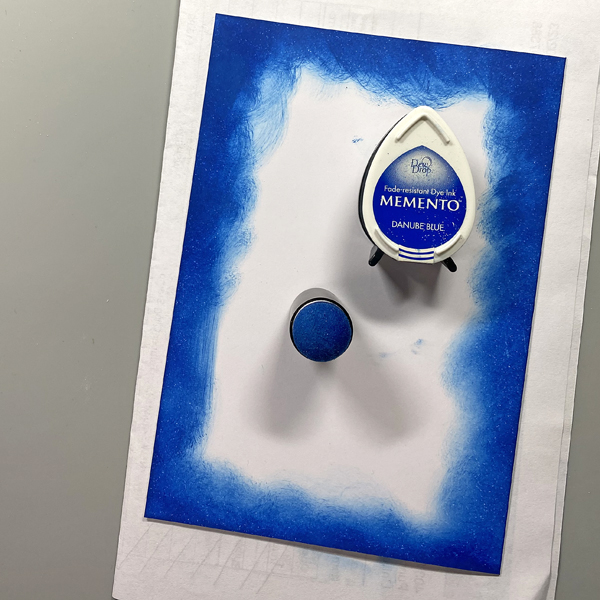
Step 4:
Use a sponge dauber to apply Paris Dusk Memento Ink around the outside of the white circle die-cut. Use another sponge dauber to apply Danube Blue Memento Ink from the outside of the circle die-cut blending inwards. Use a third sponge dauber to apply Teal Zeal to the center of the die-cut, taking care to blend the inks together.
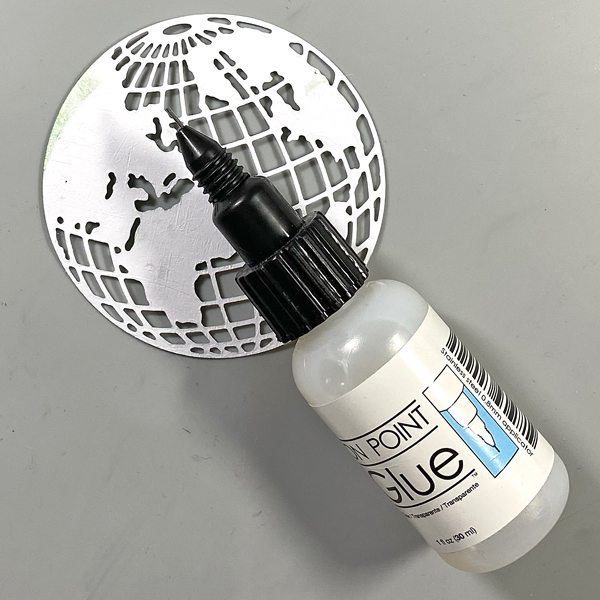
Step 5:
Apply On Point Glue to the reverse of the glove, spread the glue with your finger, then adhere the globe to the inked circle. Set aside.
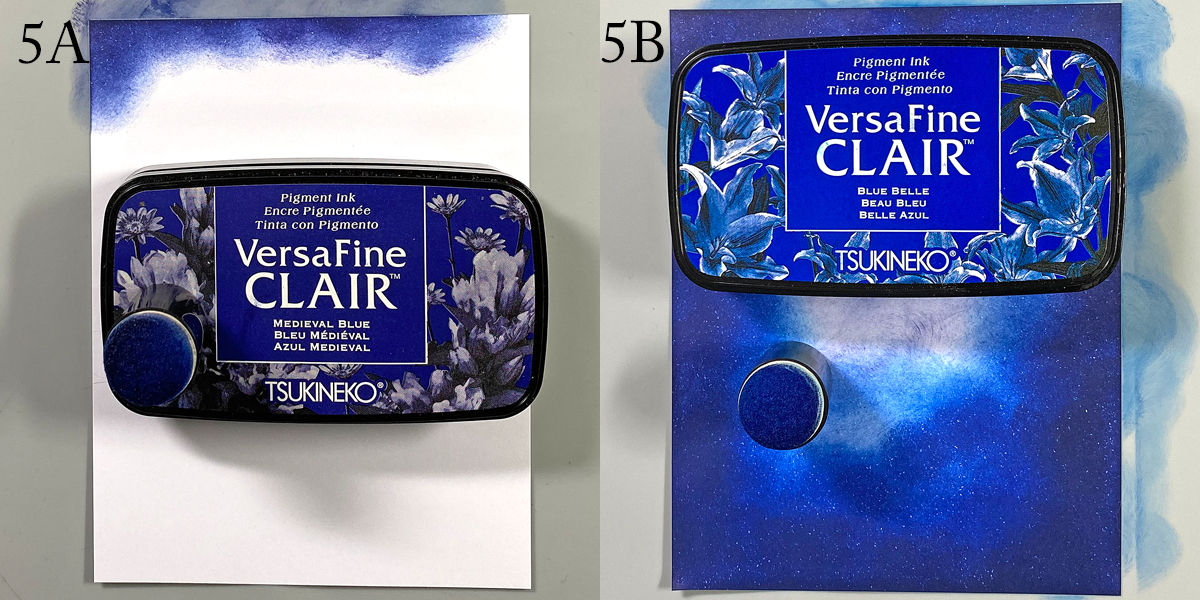
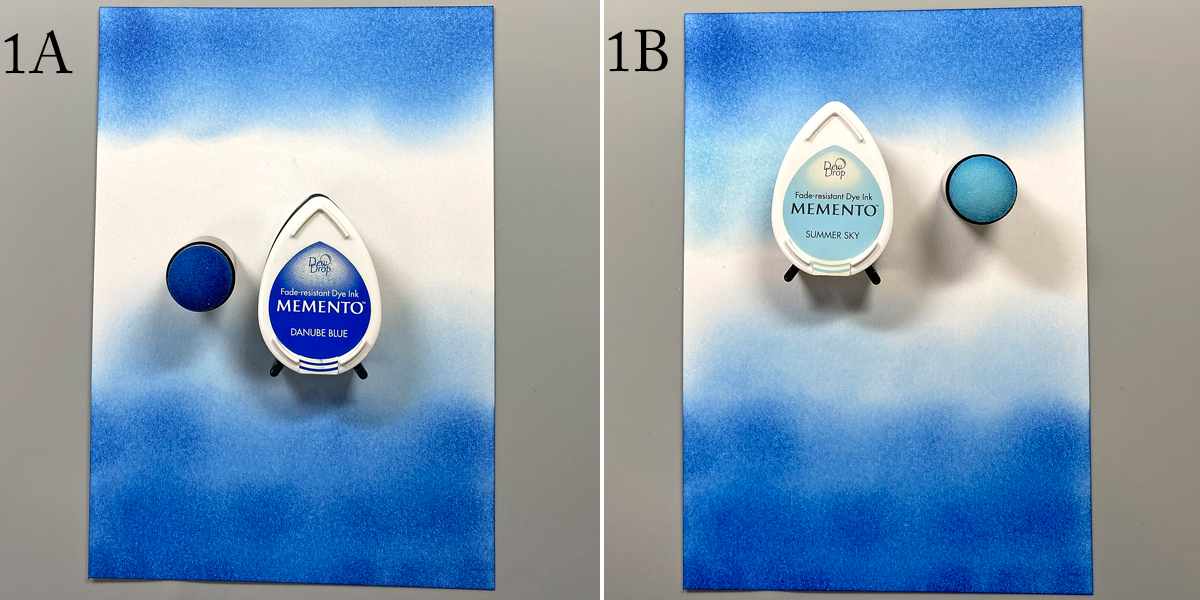
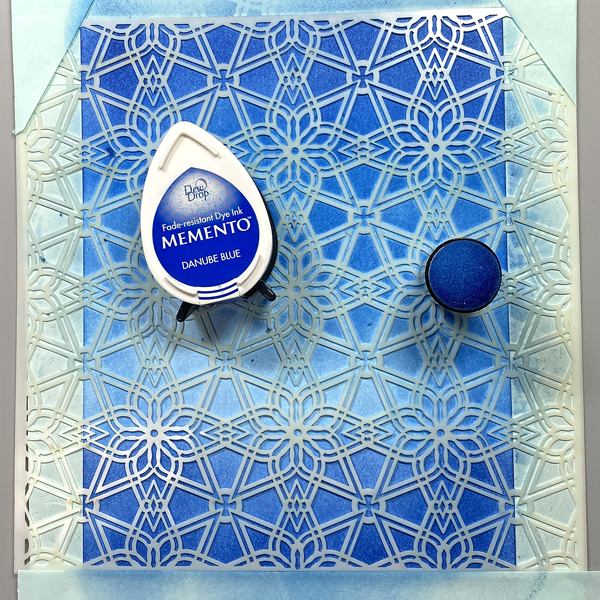
Step 6:
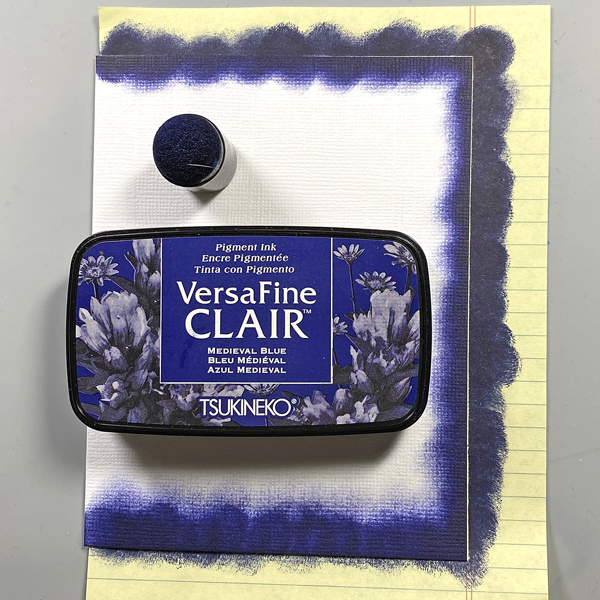
Use a sponge dauber to apply Medieval Blue VersaFine Clair ink around the edges of a piece of 4” x 5.25” cardstock to create the image panel. Use a sponge dauber to apply Blue Belle VersaFine Clair ink from the center of the inked cardstock to the outside, taking care to blend the inks together. Heat set.
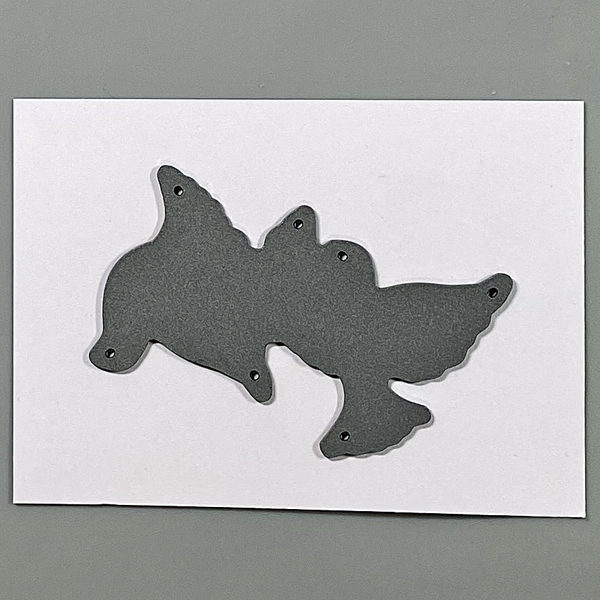
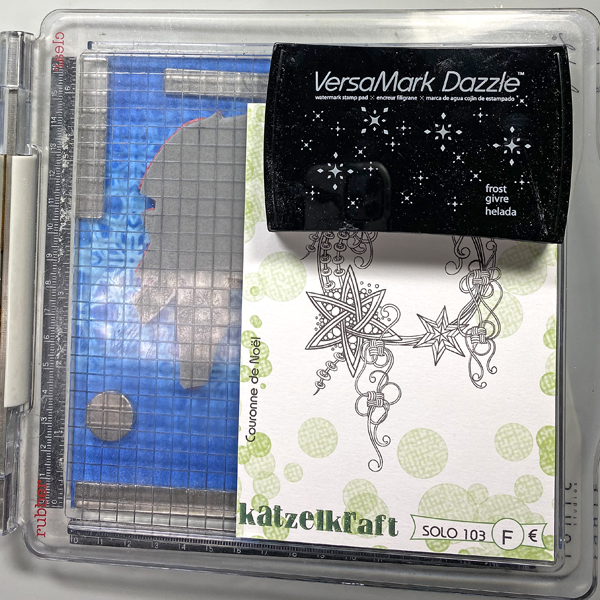
Step 7:
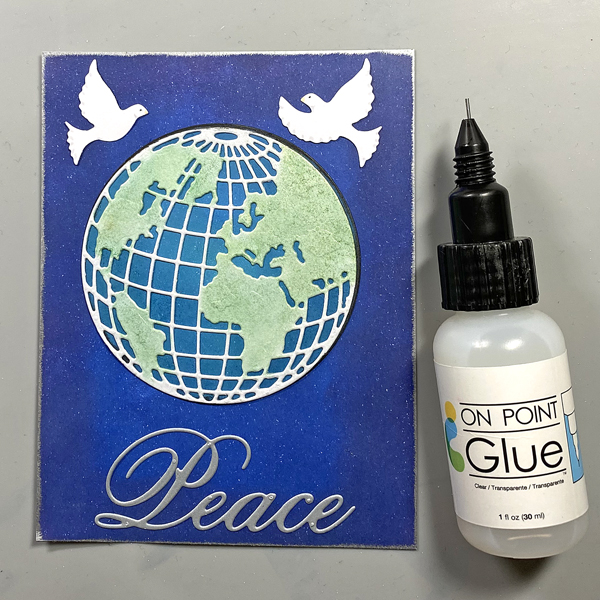
Use the doves die to cut white cardstock. Use Copic markers to add details to the doves.
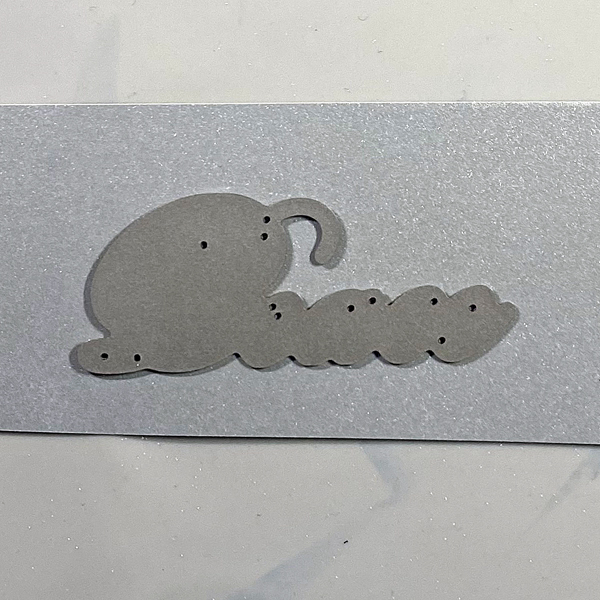
Step 8:
Use the peace die to cut silver metallic cardstock and adhere to the base of the image panel.
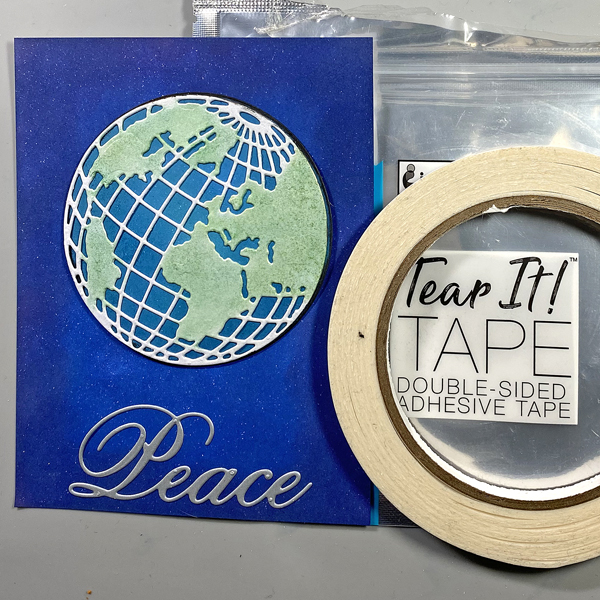
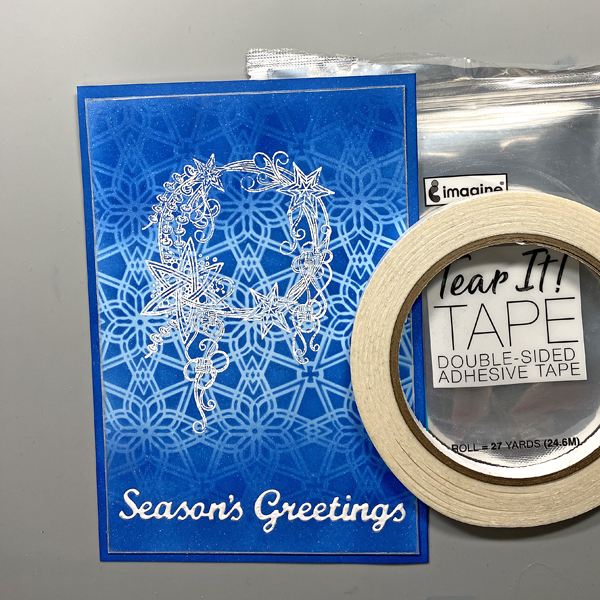
Step 9:
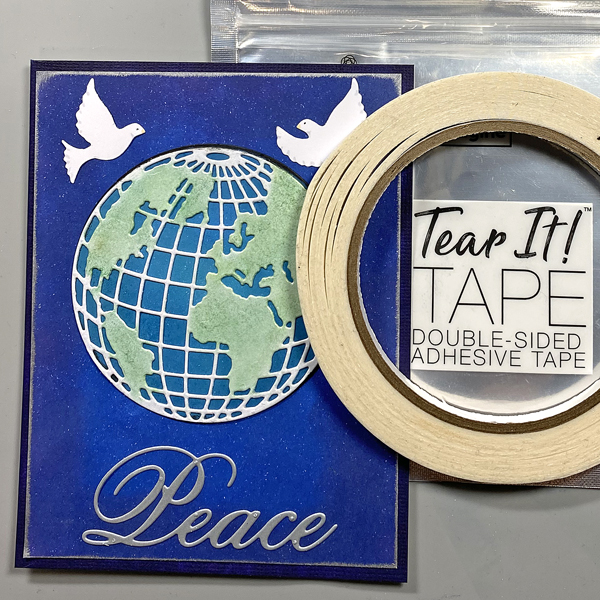
Use Tear It! Tape to adhere the globe/circle combination to the card as shown.
Step 10:
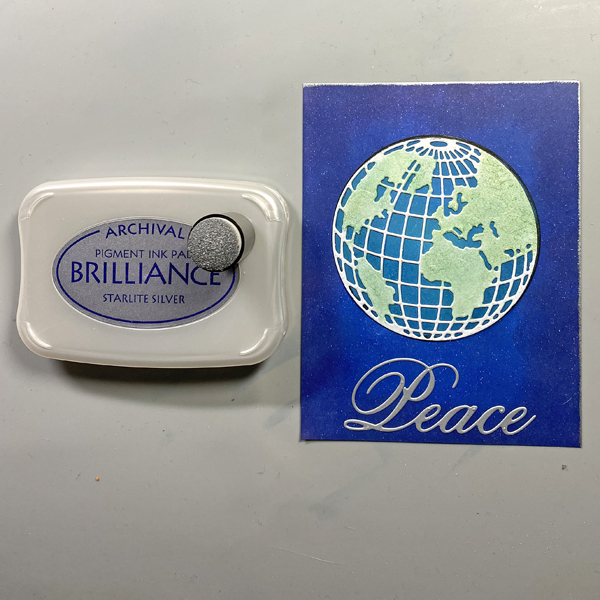
Edge the image panel with Starlite Silver Brilliance ink and a sponge dauber. Heat set.
Step 11:
Use On Point Glue to adhere the doves to the image panel.
Step 12:
Use a sponge dauber to apply Medieval blue to the perimeter of a 4.25” x 5.5” white card. Heat set.
Step 13:
Use Tear It! Tape to adhere the image panel to the inked white card.
Imagine Crafts Supplies:
- Memento Dew Drop Ink – Danube Blue
- Memento Dew Drop Ink – Paris Dusk
- Memento Dew Drop Ink – Teal Zeal
- Memento Dew Drop Ink – Cottage Ivy
- VersaFine Clair Ink – Medieval Blue
- VersaFine Clair Ink – Blue Belle
- Brilliance Ink – Starlite Silver
- Sponge Daubers
- Tear It! Tape
- On Point Glue
- Craft Mat
Other Supplies:
- Solar White Classic Crest Cardstock by Neenah Papers
- White Metallic Premium Cardstock by Neenah Papers
- Silver Metallic Premium Cardstock by Neenah Papers
- Mini Globe Thinlits Die by Tim Holtz for Ranger Ink
- Doves Die: Source Unknown
- Circles Die Set by QuicKutz
- Peace Die: Source Unknown
- Heat Gun by EK Success
- Mini Guillotine Trimmer by Tim Holtz for Tonic
- Big Shot