By Kathi Rerek
Let’s make a summer wedding card with Memento and Golden Glitz Delicata Inks!
Skill Level: Intermediate
Time: 1.5 hours
Instructions:
Step 1:
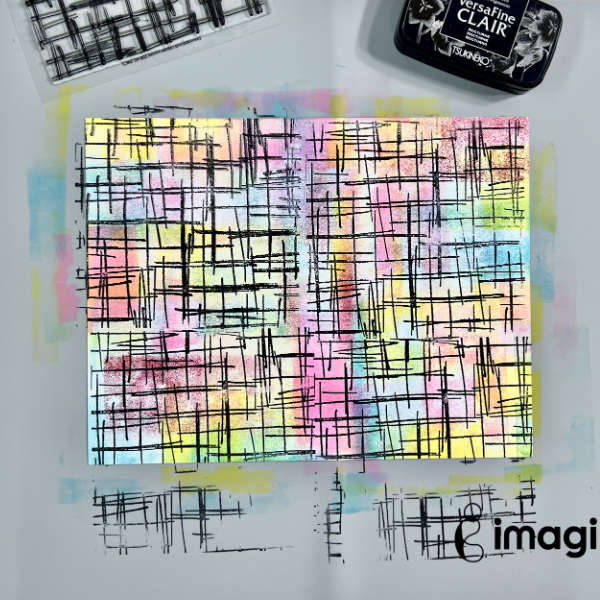
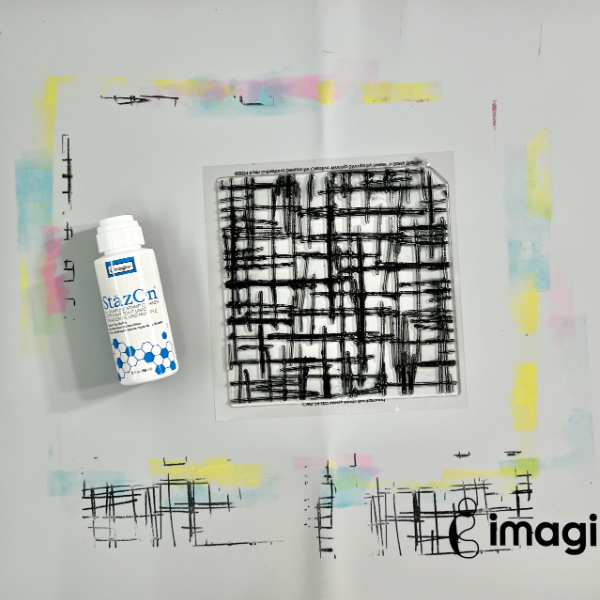
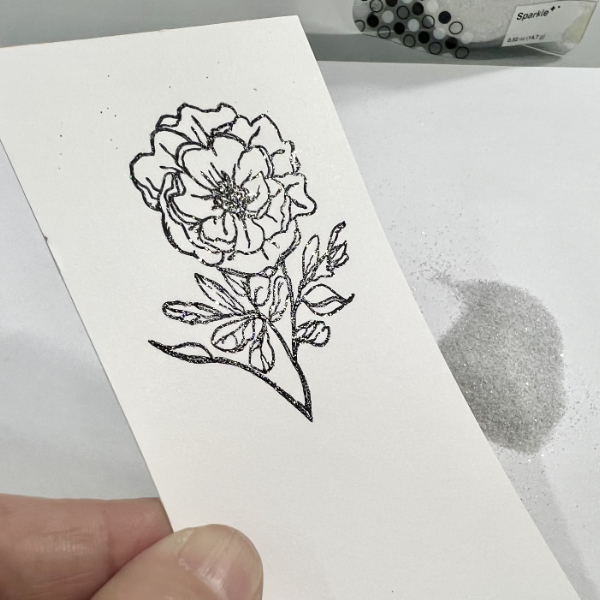
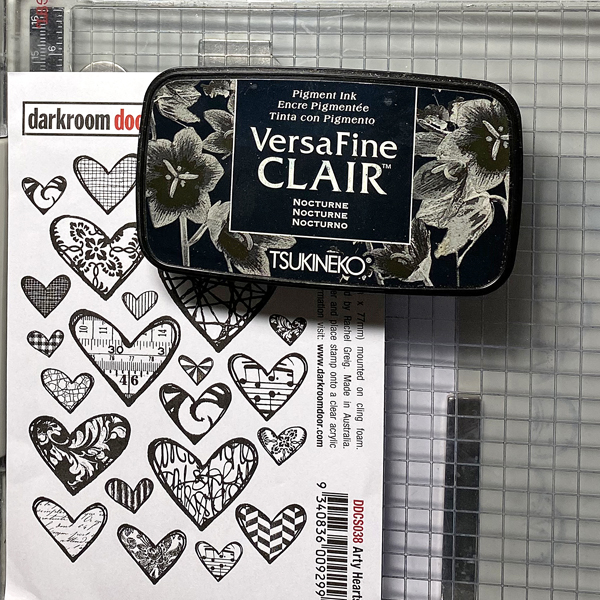
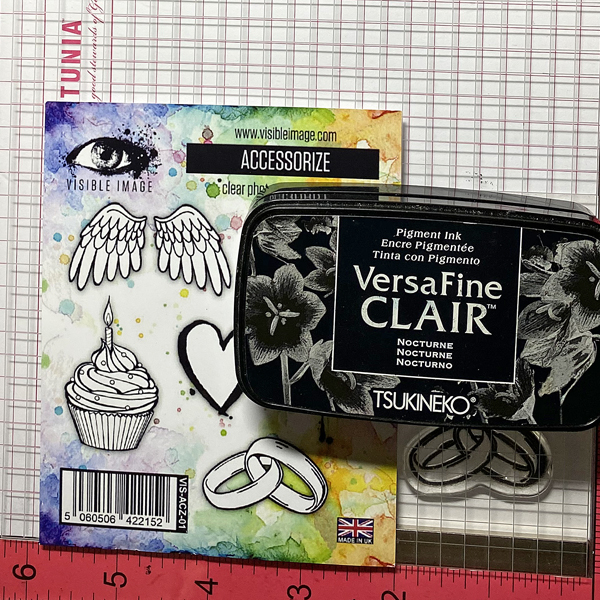
Use a stamping platform and VersaFine Clair Nocturne Ink to stamp the Arty Hearts Collage Cling Stamp onto white cardstock.
Step 2:
Use a stamping platform and VersaFine Clair Nocturne Ink to stamp the wedding rings from the Accessorize Clear Stamp Set twice — once onto 140 lb. Mixed Media Cardstock and once onto repositionable label paper.
Step 3:
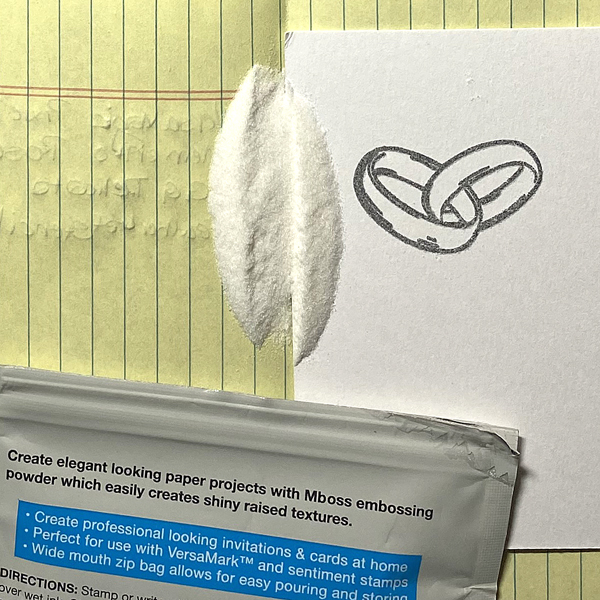
Apply Clear MBoss Powder to the stamped image, dump the excess back into the packet, and heat set the image.
Step 4:
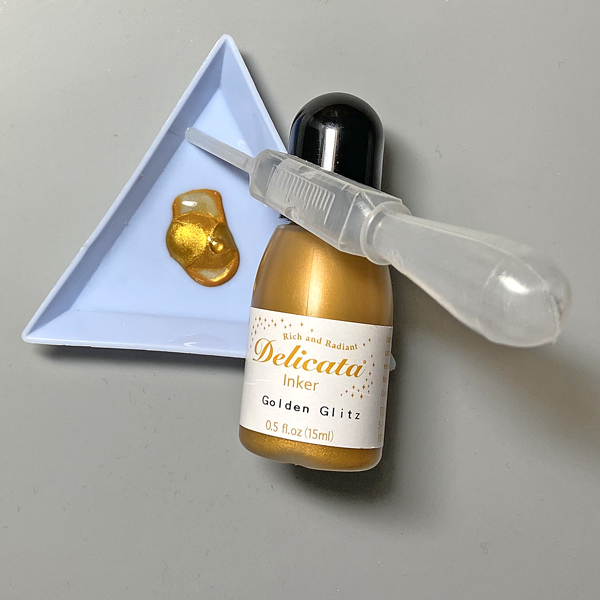
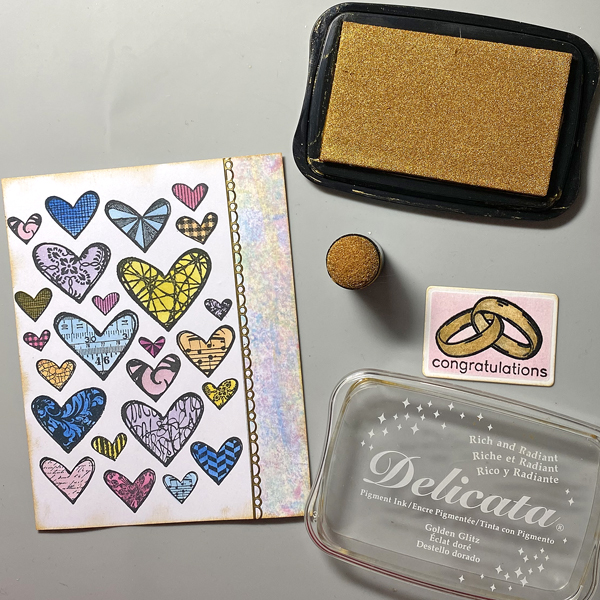
Add a few drops of Golden Glitz Delicata Ink to a small container. Dilute with a few drops of water.
Step 5:
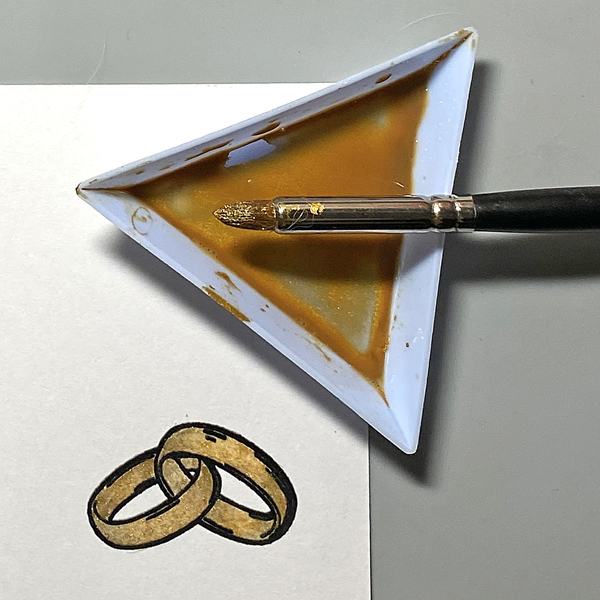
Use a brush to paint the wedding rings with diluted Golden Glitz Delicata ink. Set aside.
Step 6:
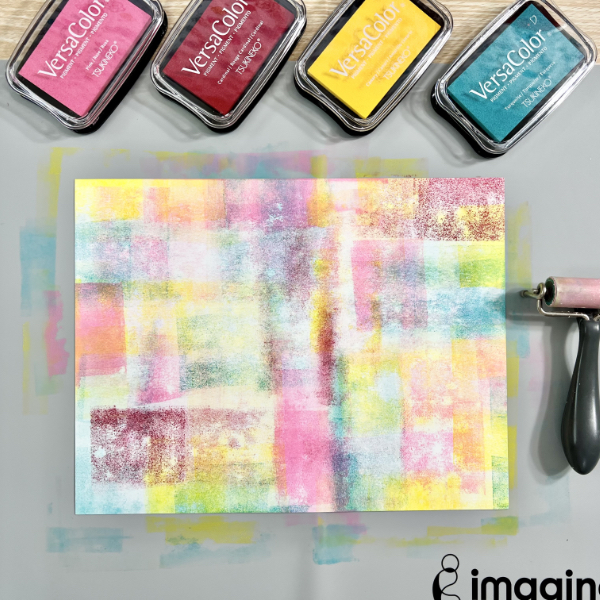
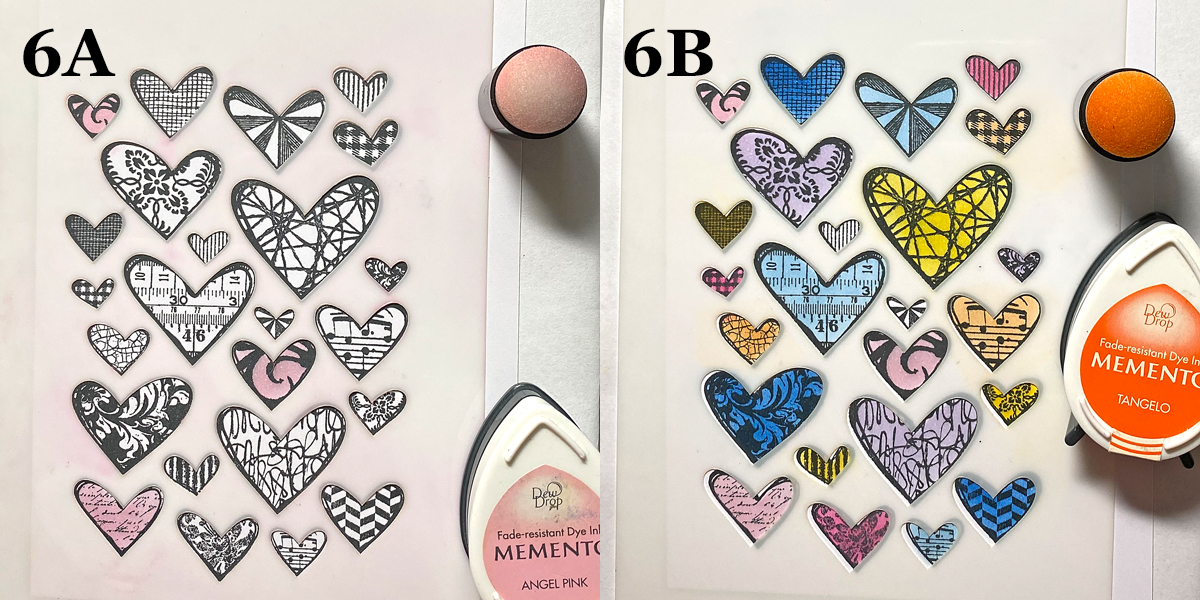
Place the Arty Hearts Stencil over the image stamped in Step 1. Use Sponge Daubers to apply Angel Pink, Rose Bud, Summer Sky, Danube Blue, Lulu Lavender, Lilac Posies, Dandelion, and Tangelo Memento through the stencil onto the stamped hearts on the image panel. Set aside.
Steps 7A and 7B:
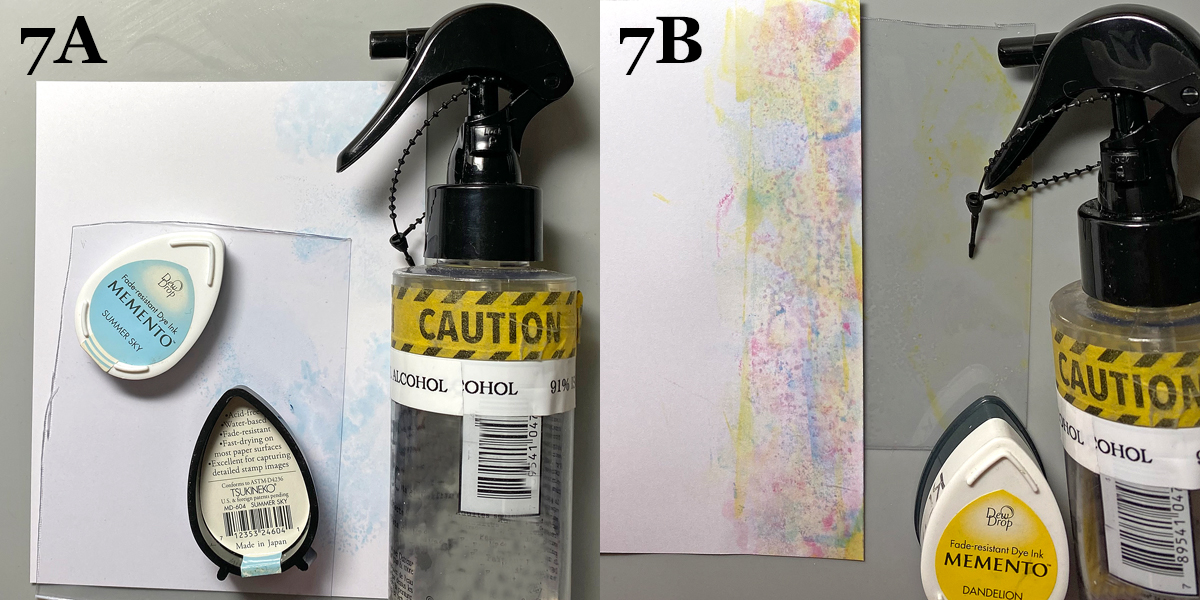
Smoosh Summer Sky Memento Ink onto a piece of acetate packaging. Mist the acetate with 91% Isopropyl Alcohol, then smoosh onto the right side of a piece of white cardstock.
Clean the acetate, then repeat this process using Angel Pink, Rose Bud, Danube Blue, and Dandelion Memento Inks until you’re happy with the ink coverage on the panel.
Safety Note: Please be sure to have good ventilation via an open window to minimize your exposure to alcohol fumes.
Step 8:
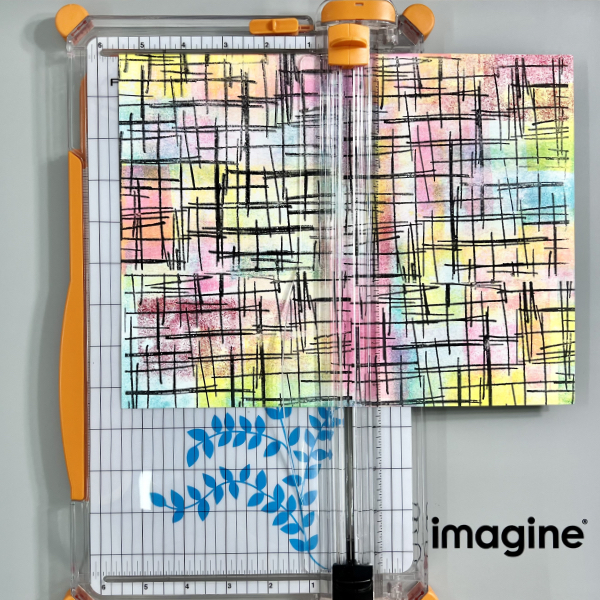
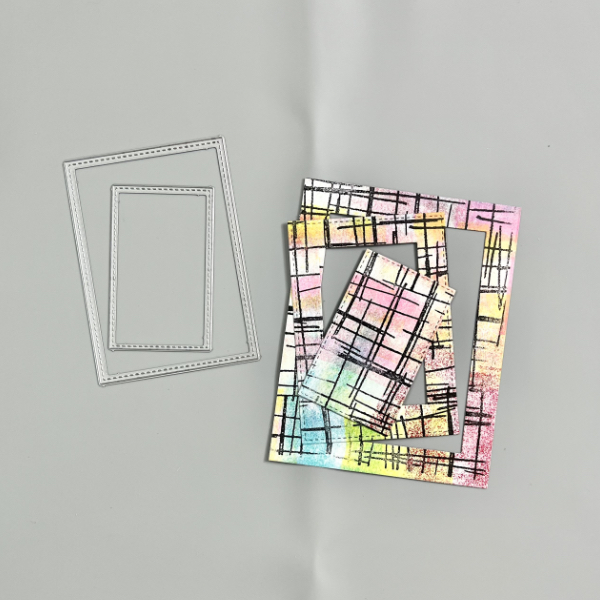
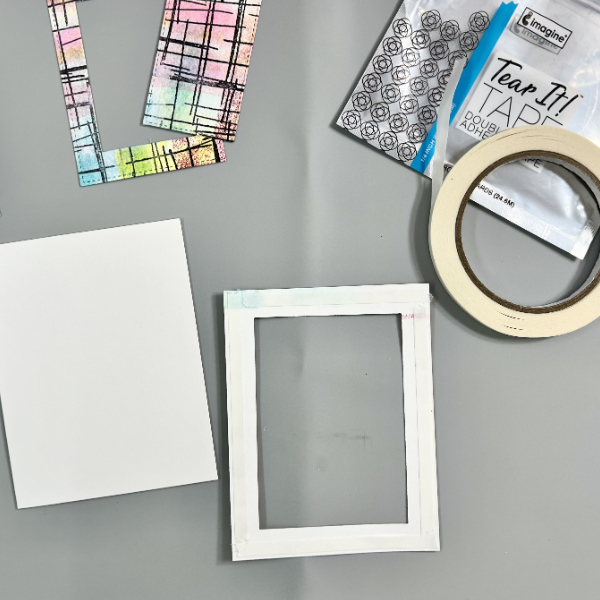
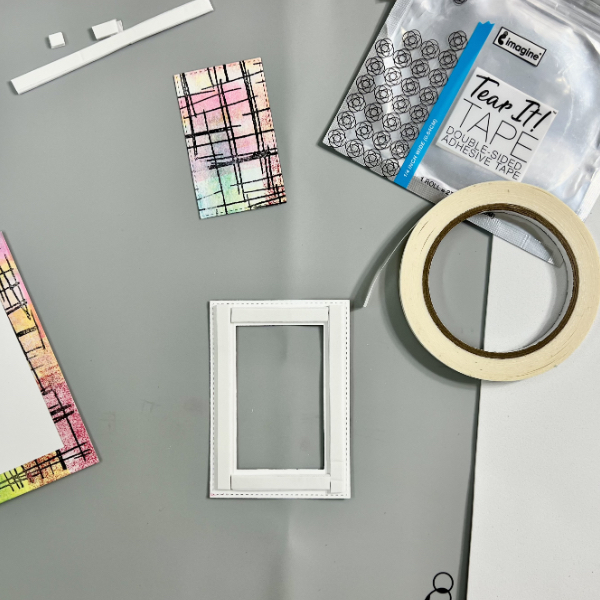
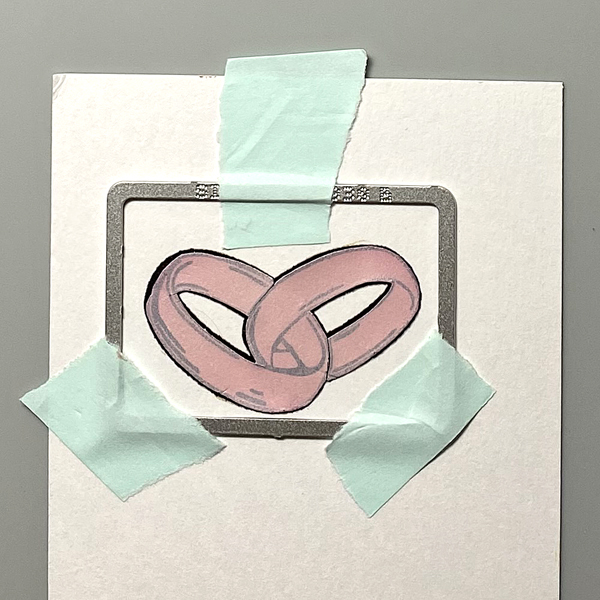
Fussy-cut the sticker paper version of the Wedding Rings from Step 2. Place atop the image. Use low-tack tape to secure the small rectangle die from the Specimen Thinlits Die Set onto the image panel. Run the die through your cutting machine.

Step 9:
Keeping the image panel in the die, use a Sponge Dauber to apply Angel Pink Memento Ink over the die onto the die-cut, which will leave a thin white border around the pink
Step 10:
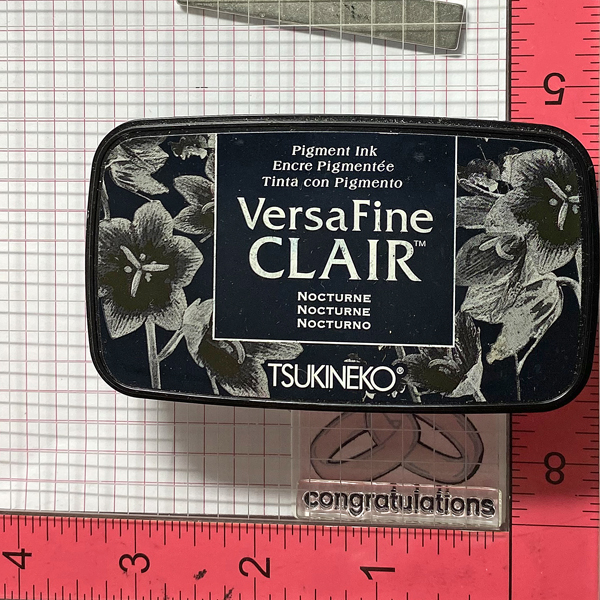
Place the die-cut onto the base of a stamping platform. Ink the “Congratulations” stamp from the More Classic Sentiments Clear Stamp Set with Nocturne VersaFine Clair and stamp. Re-ink and stamp again if necessary to attain a good impression.
Step 11:
Adhere the heart-stamped and stenciled panel (Steps 1 and 6) onto the left side of the smooshed ink panel (Step 7). Add a foil border sticker to cover the seam.
Use a Sponge Dauber to edge the heart image panel and the rings/sentiment die-cut with Golden Glitz Delicata Ink.
Step 12:
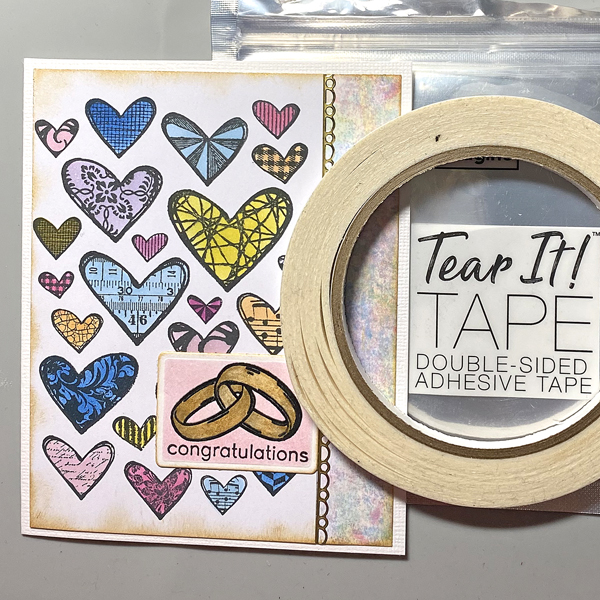
Use Tear It! Tape to adhere the card front to a white A2 card.
Imagine Supplies:
Imagine Supplies:
- VersaFine Clair – Nocturne
- MBoss – Clear
- Delicata Re-Inker – Golden Glitz
- Delicata Ink – Golden Glitz
- Memento Dew Drop Ink – Angel Pink
- Memento Dew Drop Ink – Rose Bud
- Memento Dew Drop Ink – Summer Sky
- Memento Dew Drop Ink – Danube Blue
- Memento Dew Drop Ink – Lulu Lavender
- Memento Dew Drop Ink – Lilac Posies
- Memento Dew Drop Ink – Dandelion
- Memento Dew Drop Ink – Tangelo
- Sponge Daubers
- Tear It! Tape
- Craft Mat
Other Supplies:
- 140 lb. Mixed Media Paper by Strathmore
- Solar White Classic Crest Cardstock by Neenah Papers
- Artsy Hearts Collage Cling Stamp by Darkroom Door
- Accessorize Clear Stamp Set by Visible Image
- Artsy Hearts Stencil by Darkroom Door
- More Classic Sentiments Clear Stamp Set by Hefty Doodle
- Specimen Thinlits Die Set by Tim Holtz for Sizzix
- Repositionable Sticker Paper by Avery
- Low-Tack Tape
- Acetate from packaging
- 91% Isopropyl Alcohol
- Mister
- Misty Stamping Platform by My Sweet Petunia
- Stamping Platform by Tonic Studios