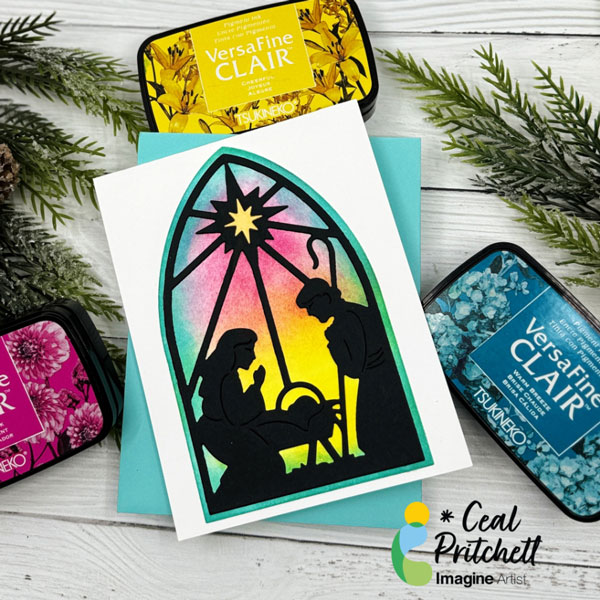
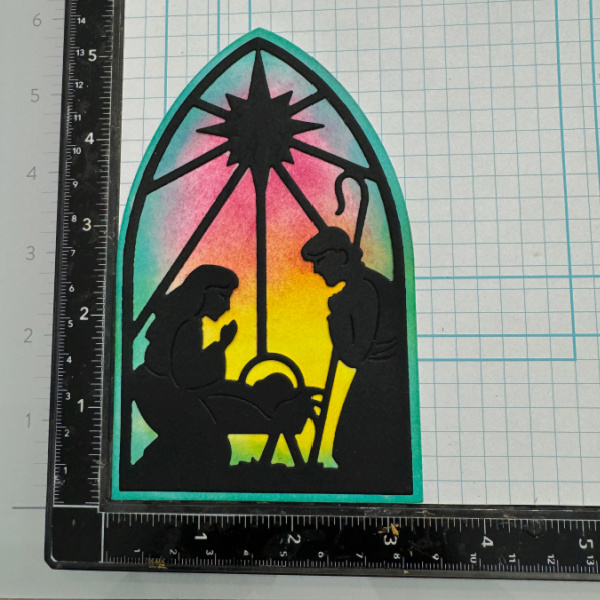
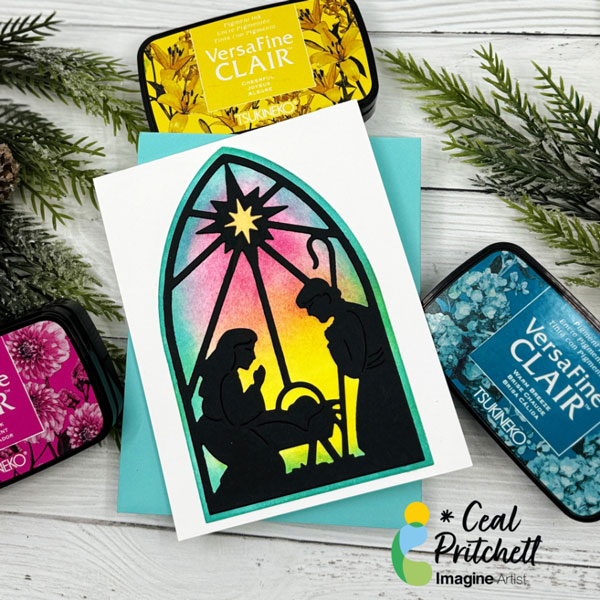
Hello Crafty Friends! It’s Ceal, here. Today I am sharing how I made this faux stained-glass Christmas Card.
Skill Level: Beginner Time: 30 Minutes
Directions:
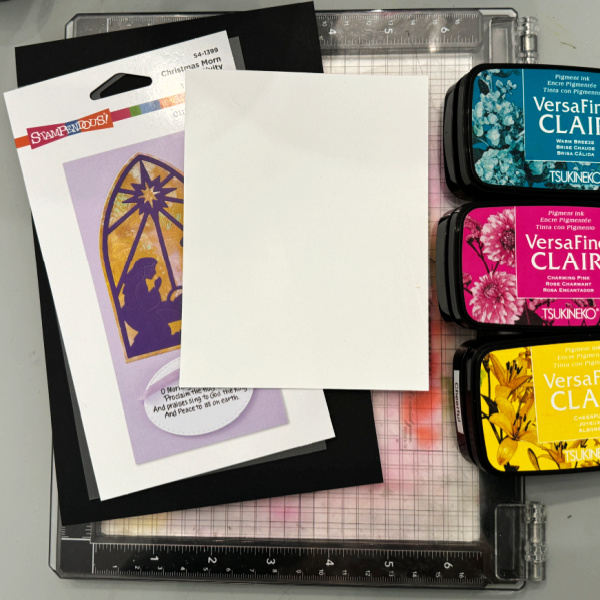
Gather your supplies. You will three inks, Pink, Yellow and Blue. A blending tool, a silhouette die along with black, white and gold cardstock.
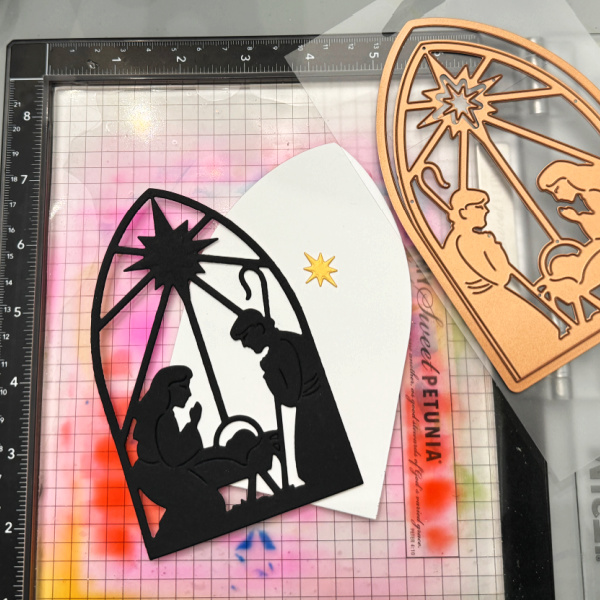
Step 1: Cut the nativity die out of black cardstock, the backer out of white and the star out of the gold cardstock.
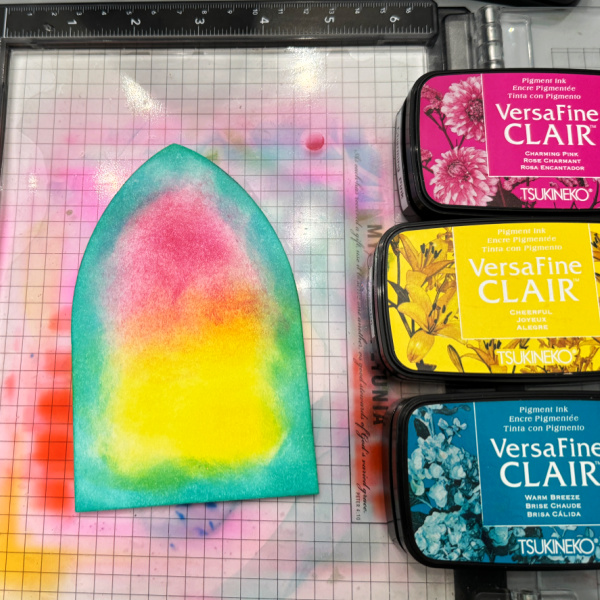
Step 2: On the backer using a sponge or other blending tool, blend the blue around the outer edge of the panel and the pink and yellow inside the blue.
Step 3: Line up the nativity over the backer and adhere it down with On Point glue. As you can see in the photo above, I use the corner of the MISTI to help me line things up.
Other Products: Misti 2.0 – My Sweet Petunia Nativity Die – Stampendous White Cardstock – CutCardStock Black Cardstock – Hero Arts Gold foil cardstock – Erin Lee Creative
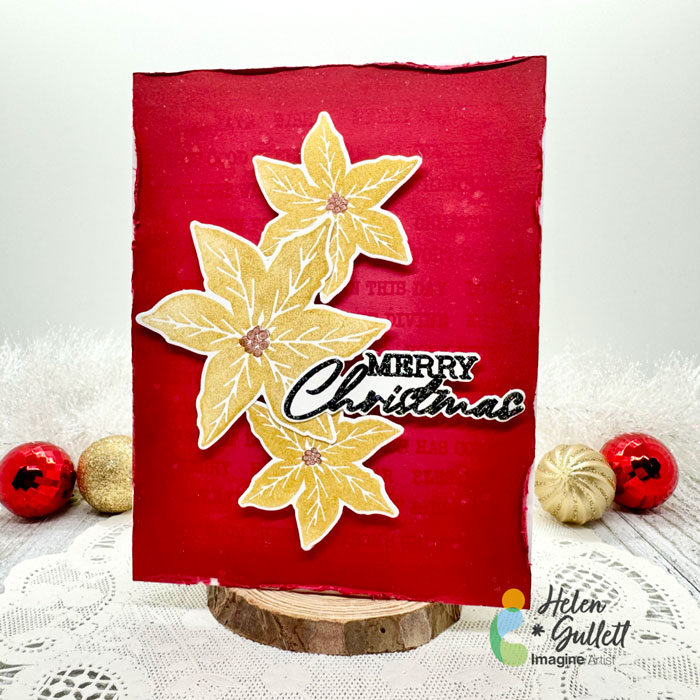
Hello crafty friends! It’s the time of the year to start making some Holiday projects. As for me, I love making and sending handmade Christmas cards. Today, I wanna share how to make this CAS Christmas Poinsettia Card.
Let’s get crafting!
Skill: Intermediate Time: 15-20 minutes
Direction:
Step 1
Cut out a piece of any color cardstock into 4.25 inch x 5.5 inch that you want to use as your background panel.
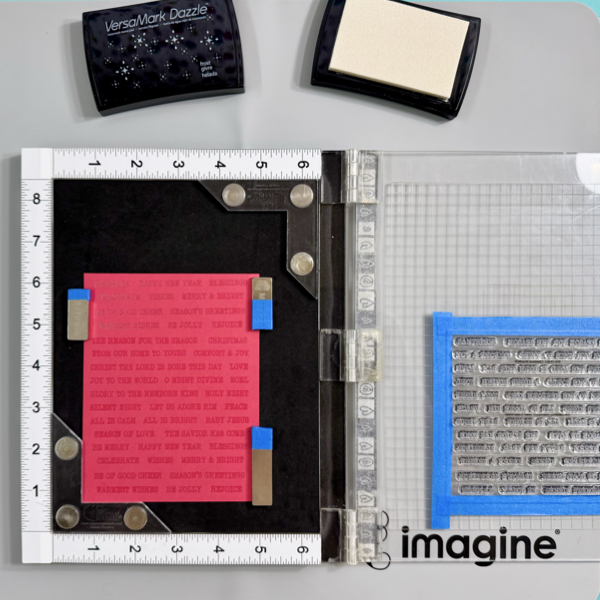
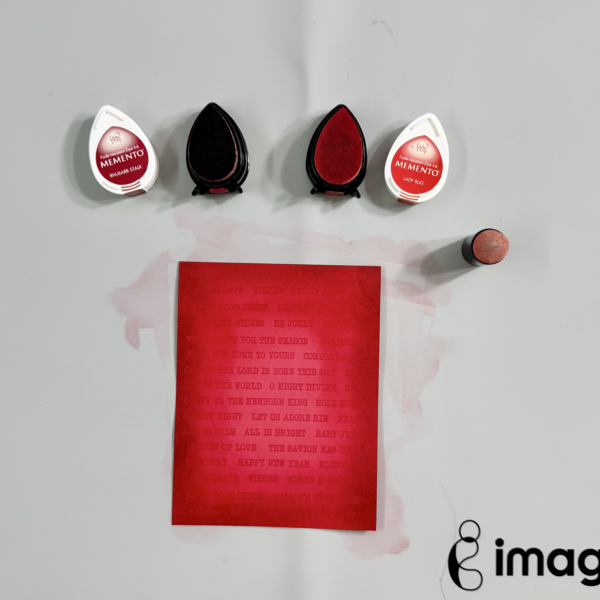
I used all the words on the stamp set I used so I taped the whole sheet on the stamping tool lid instead of taking it out one by one. You can use any word stamp set you have to create a similar background pattern.
Stamp the words on the cardstock using VersaMark Dazzle. Make sure to cover the whole panel.
Step 2
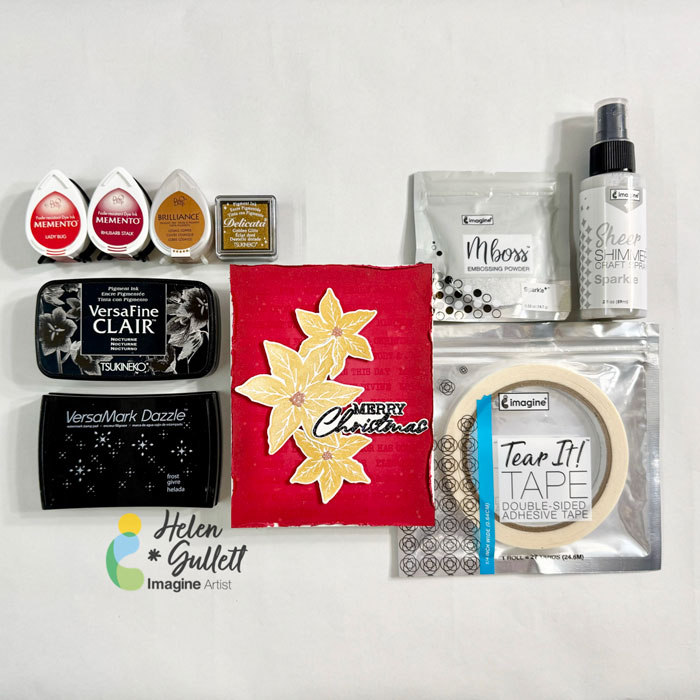
Add some darker shadow to the edges of the background panel using Memento Dew Drop ink pads and finger sponge dauber.
First, add the Lady Bug ink on the panel, then add the Rhubarb Stalk ink, and then add the Lady Bug ink again to blend them together.
Step 3
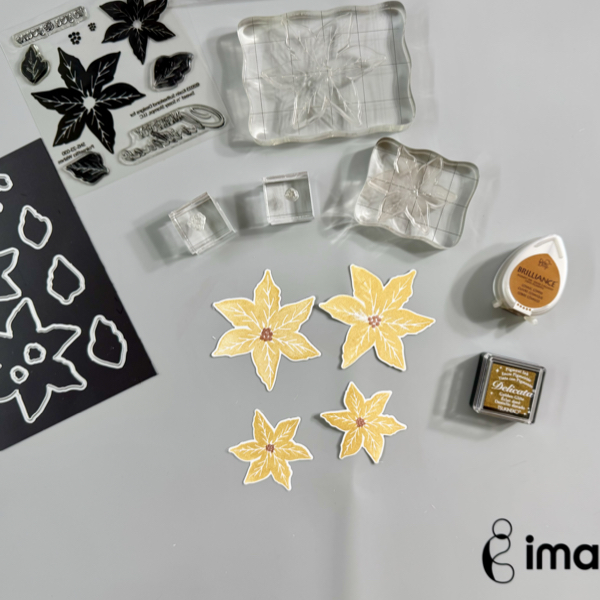
Stamp each layer of the poinsettia flower with the Delicata Golden Glitz ink.
Stamp the middle buds part of the poinsettia with the Brilliance Cosmic Copper ink. Dry the stamped images with a craft heat gun.
Cut each of the images with their matching dies, or you can fussy cut them if you don’t have the matching dies.
Step 4
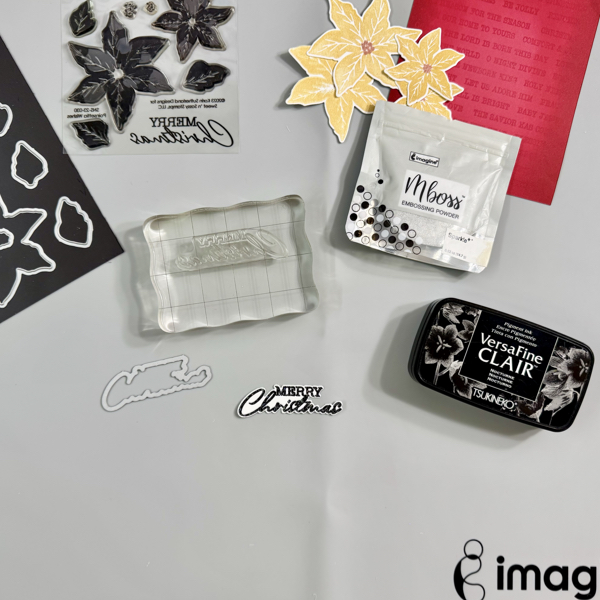
On a piece of white cardstock, stamp the sentiment with VersaFine Clair Nocturne, and then add some of the Sparkle Mboss Embossing Powder, then heat set it with a craft heat gun.
Cut the sentiment with the matching die set, or you can fussy cut it with scissors if you don’t have a matching die.
Step 5
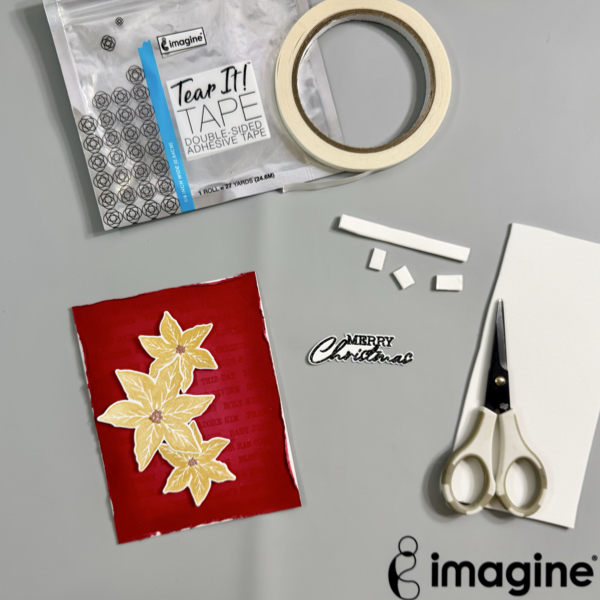
Distress all edges of the background panel with distresser tool or scissors. Add the background panel to the card base with some of the Tear It! Tape.
Add the poinsettia flowers and the sentiment to the card with some of the fun foam and Tear It! Tape for some dimension.
Step 6
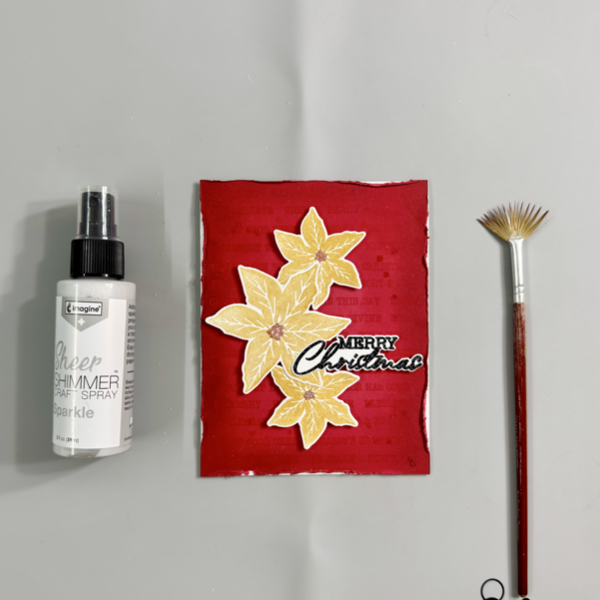
For more extra sparkle to the Christmas card, add some splatters of the Sheer Shimmer Craft Spray using a fan brush.
Use the craft heat gun to dry the splatters.
Hope this Christmas card gives you an idea to start your Holiday projects. Thank you for stopping by our blog today. Have a fabulous day!
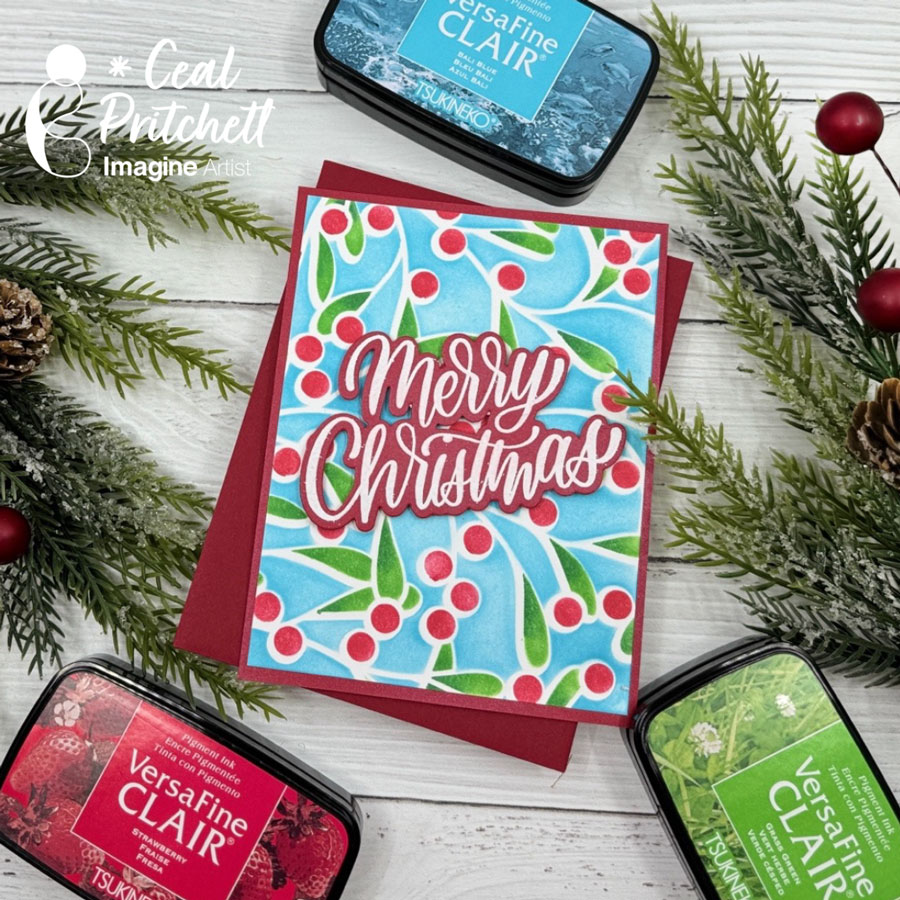
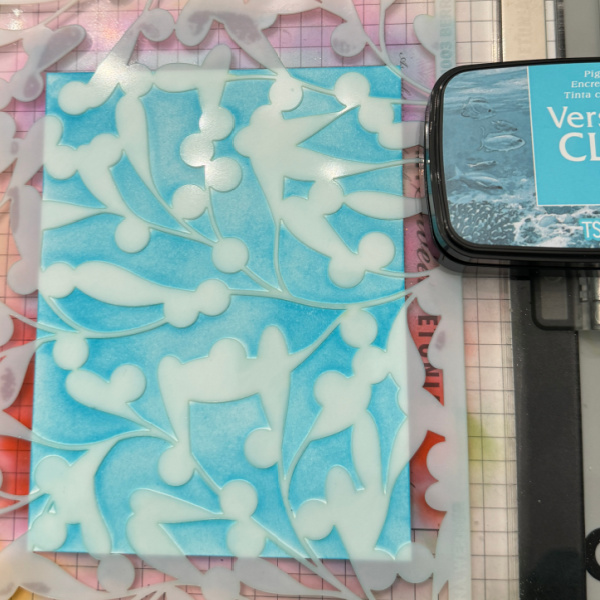
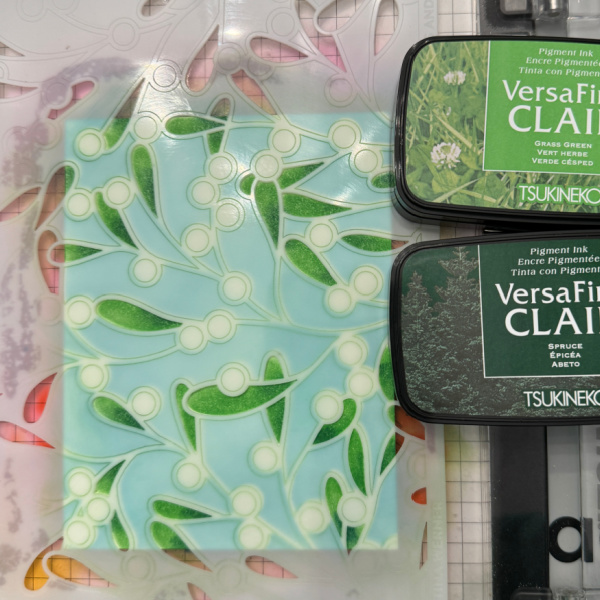
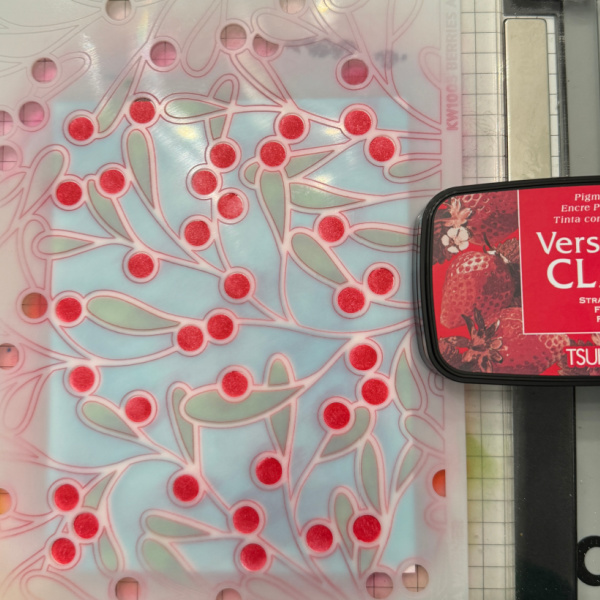
Hello crafty friends! Today I am sharing how to create this stenciled Christmas card that would be a quick and easy card to make multiples of.
Skill Level: Beginner Time: 15 to 20 minutes
Directions:
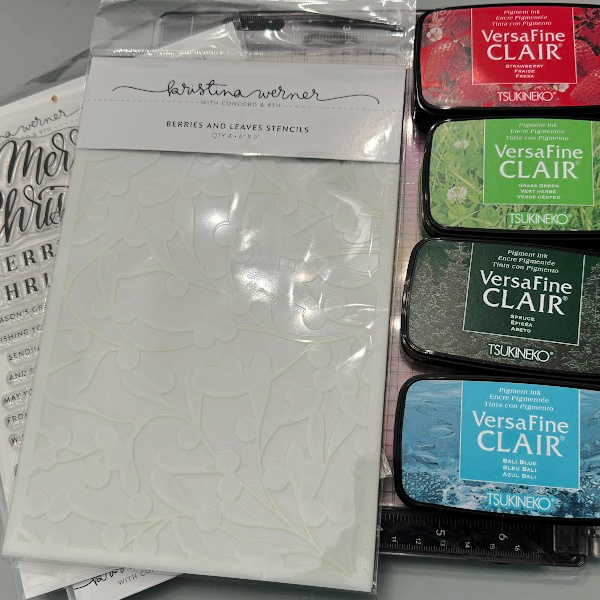
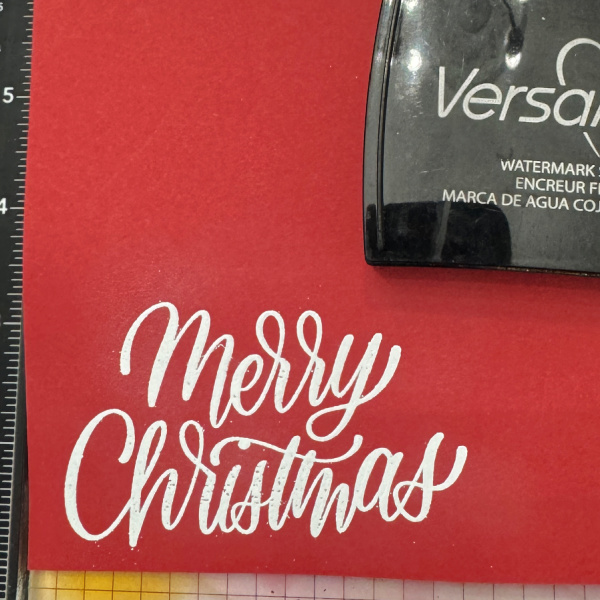
Gather your supplies. You will need several colors of ink; I used a nontraditional color along with the red and green. You will also need Layering stencils, some VersaMark ink, embossing powder and a die cut machine.
Step 1: Using a grip mat or other sticky mat to hold your panel of white cardstock. Lay you stencil over the panel and ink blend the background color.
Step 2: Remove the first stencil and place the next stencil over the panel and apply the next color. Since the second stencil is leaves, I used two different colors of green.
Step 3: Remove the second stencil and lay the next stencil over your panel and apply the next color. With it being berries I used our new color strawberry with is perfect for berries.
Step 4: Stamp the greeting in VersaMark ink and emboss with white powder. Die cut it out with coordinating die and assemble the card.
Other Products: Neenah Classic Crest Solar White 120lb – CutCardStock Neenah Classic Crest Solar White 80lb – CutcardStock Poppy Cardstock – PaperTrey Ink White Embossing Powder – Hero Arts Merry Christmas Stamp – Kristina Werner C9 Merry Christmas Die – Kristina Werner C9 Misti Stamping Tool – My Sweet Petunia Grip Mat – Waffle Flower crafts
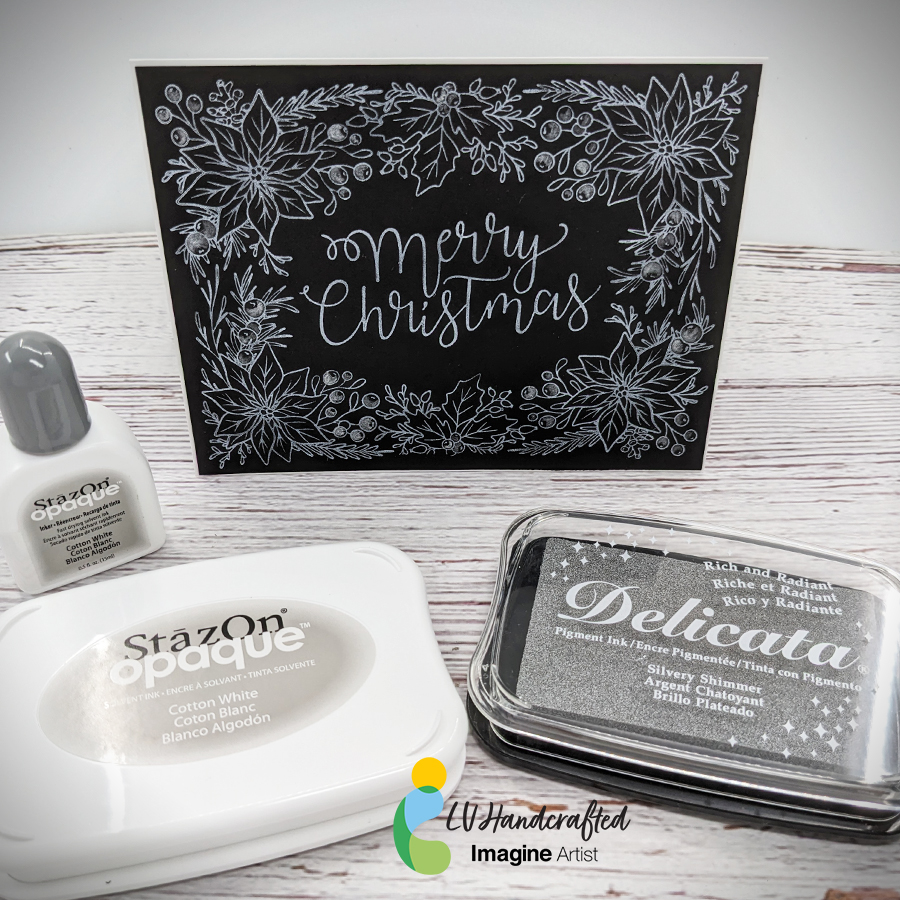
Hello friends! This is Linh (or LV Handcrafted on all the socials). I’m back again with more BetterPress fun! This time I’m using StazOn Opaque ink in Cotton White and Delicata Silvery Shimmer ink. The StazOn Opaque ink is wonderful because it’s a solvent based pigment ink that you can use on dark or black cardstock. Look how bright and white that is! It works beautifully with this BetterPress plate and makes a very beautiful holiday card.
To elevate the design a little bit, I smooshed some Delicata ink onto an acrylic block, watered it down a smidge and painted with it. I did a little partial coloring of the holly berries to add a little contrast to the design. The shimmer is subtle but beautiful and perfect for that extra special touch during the holidays.