By Anna Escalada York
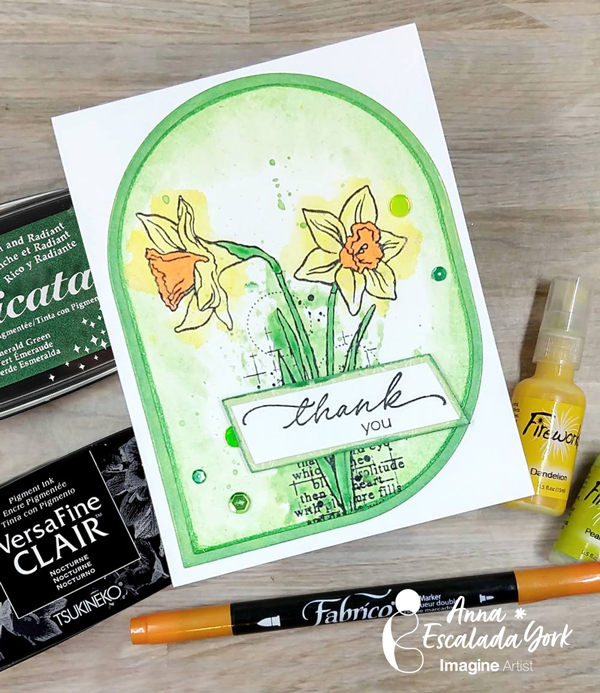
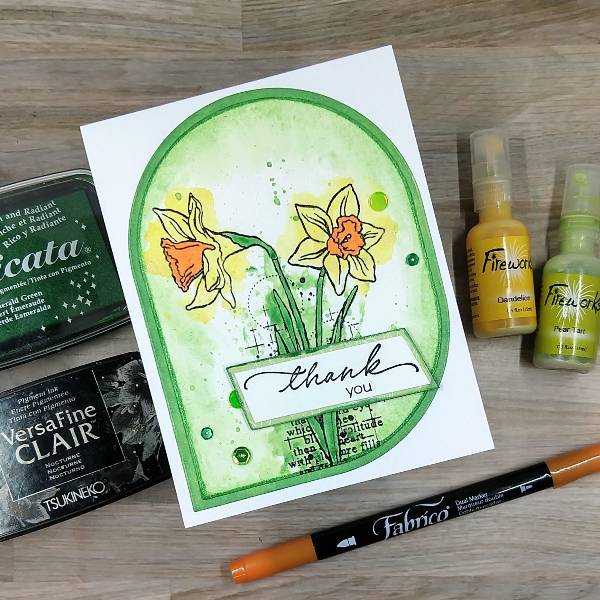
After winter holidays, my family always needs thank you notes. I really love this wonderful daffodils stamp set and wanted to use it to make one of those cards.
Skill: Intermediate
Time: 1.5 hours
Directions:
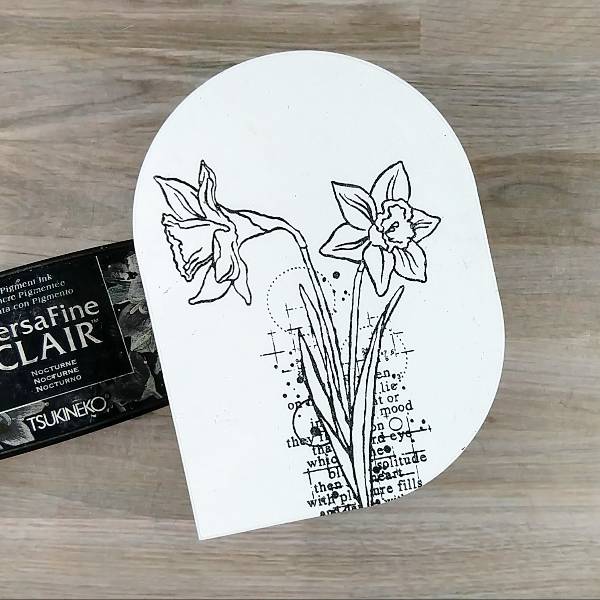
Step 1:
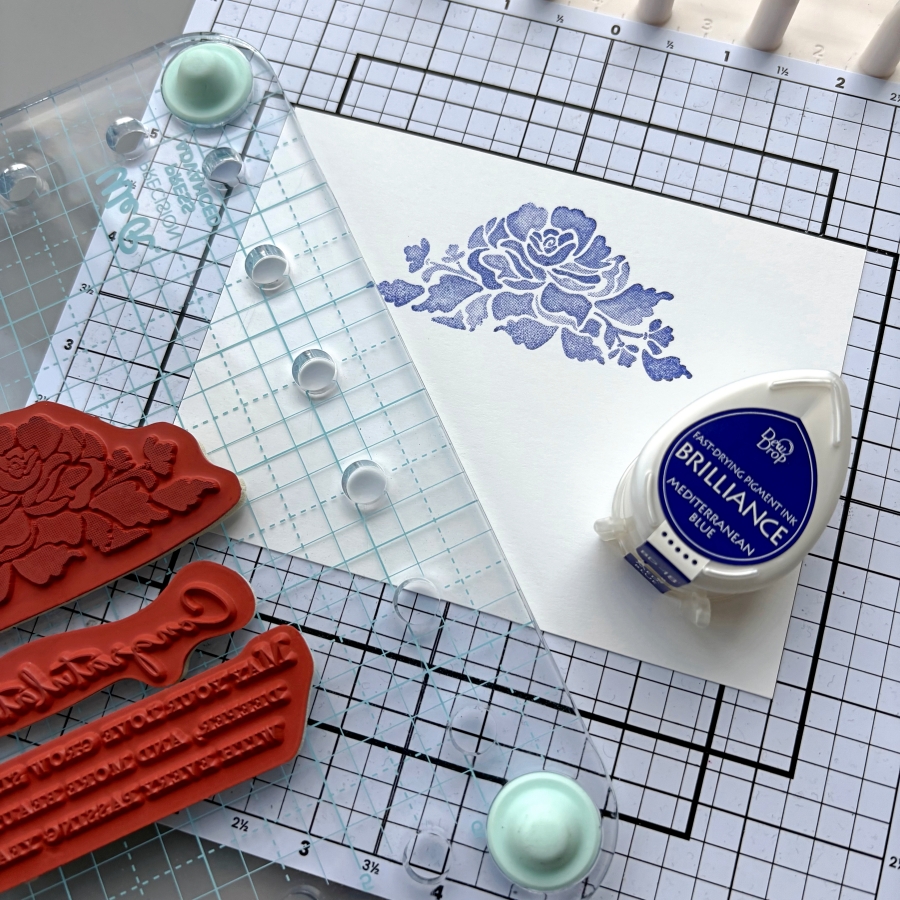
Stamp the main floral stamp on a piece of watercolor paper with Nocturne VersaFine Clair ink. Heat emboss with clear embossing powder. Then die cut the image with a mid-sized background panel die
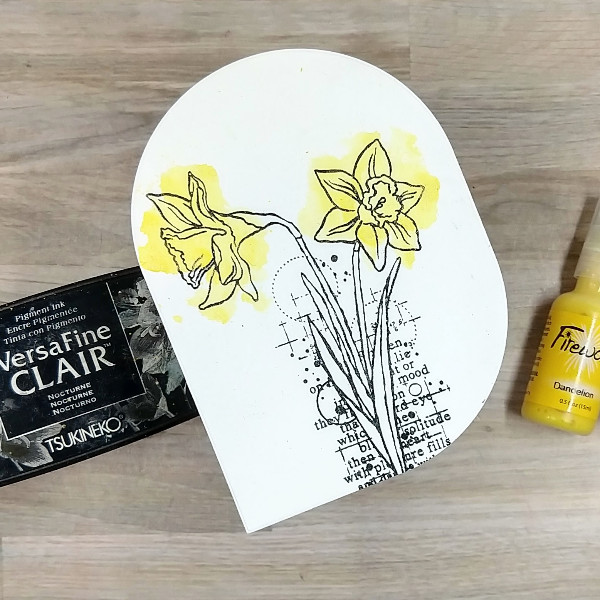
Step 2:
Spray Dandelion Fireworks! Craft Spray onto acetate packaging and watercolor smoosh the two flowers.
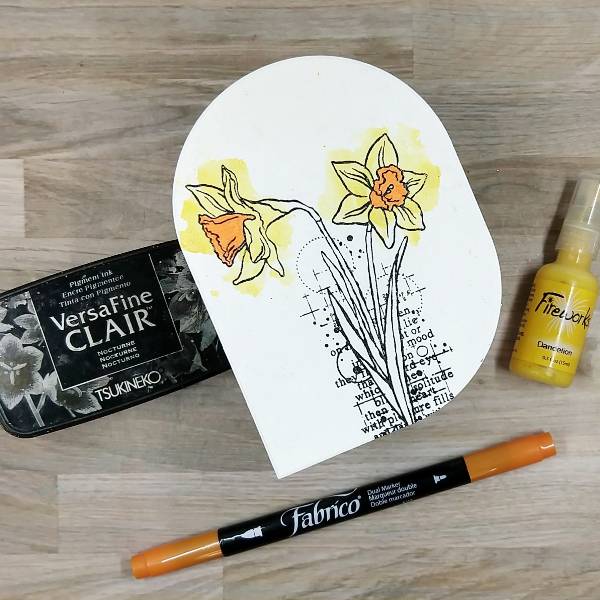
Step 3:
Color the corona (the central part of the flower) with the Tangerine Fabrico Dual Marker.
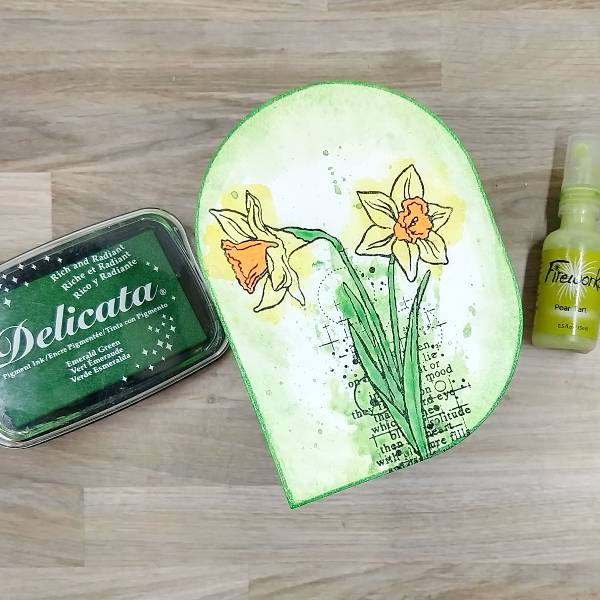
Step 4:
Press the Emerald Green Delicata ink pad onto acetate. Then spray Pear Tart Fireworks! Craft Spray onto the same acetate. Mix the ink and spray together. Press the acetate onto the daffodil’s stem and leaf. Then paint the leaf and stem with the remaining green mix. After the image has dried, spray the mix with water to dilute the green. Paint the sides with this lighter color green watercolor. (I ended up using my finger to spread the watercolor the way I wanted, but I don’t mind getting messy!) After this layer dried, press the Emerald Green Delicata ink pad onto the edge of the die cut. Heat emboss the inked edge with more clear embossing powder.
Step 5:
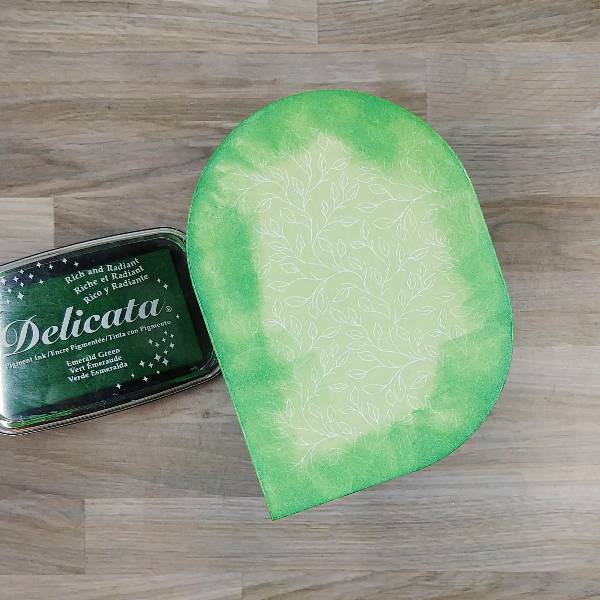
Die cut light green patterned paper with the next-largest die from the background panel die cut set. Brush the Emerald Green Delicata ink around the edges of the panel to mask the pattern and make the green more intense.

Step 6:
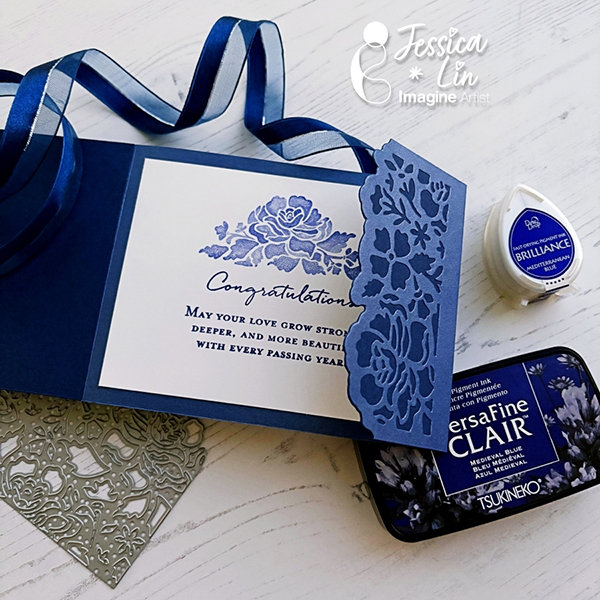
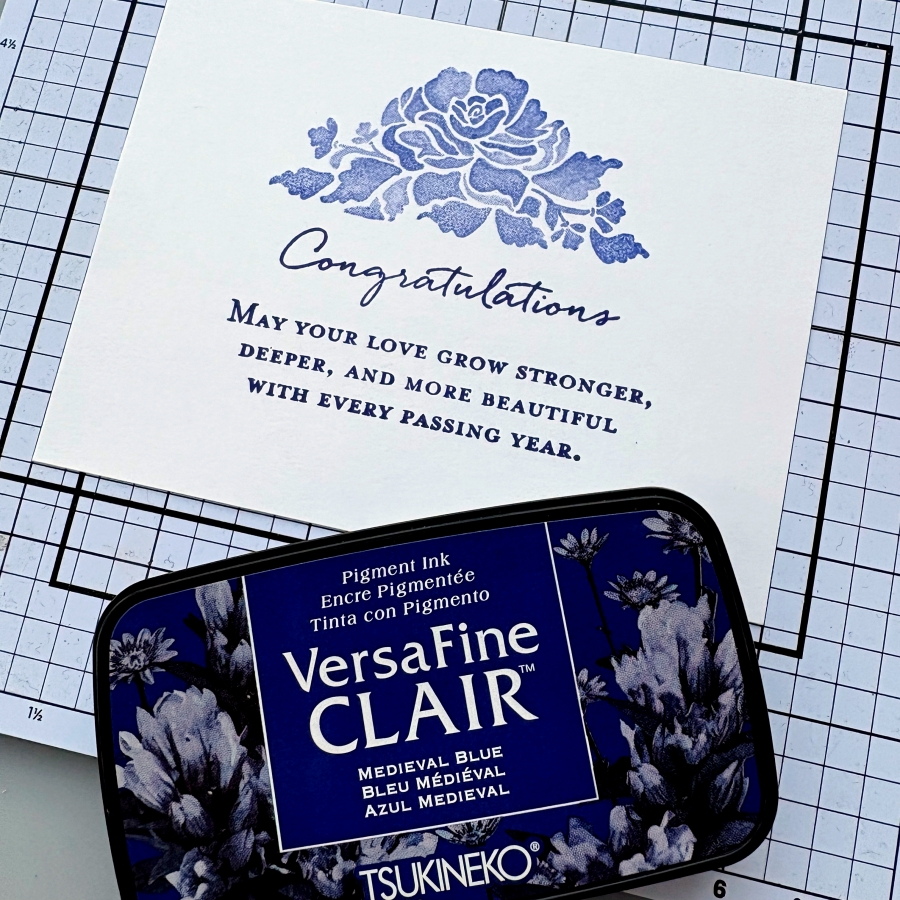
Stamp the sentiment with Nocturne VersaFine CLair ink and heat emboss with clear embossing powder. Then trim the sentiment with a paper trimmer.
Step 7:
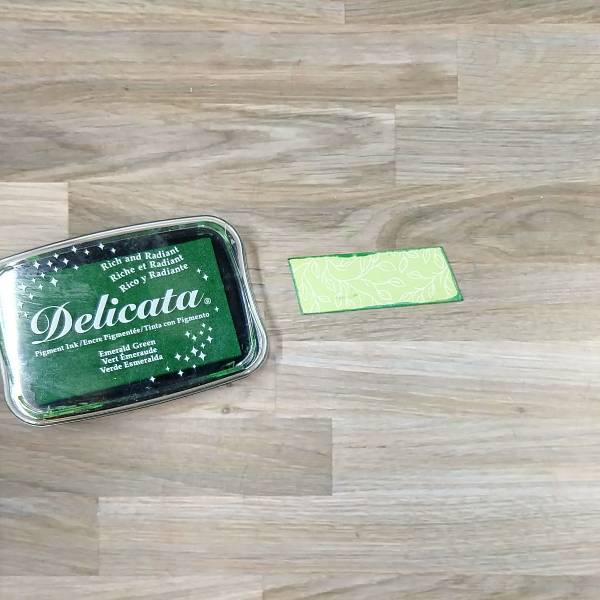
Trim a piece of the same light green patterned paper a little bit bigger than the sentiment strip with the paper trimmer. Press the edges into the Emerald Green Delicata ink pad and heat emboss with clear embossing powder.
Step 8:
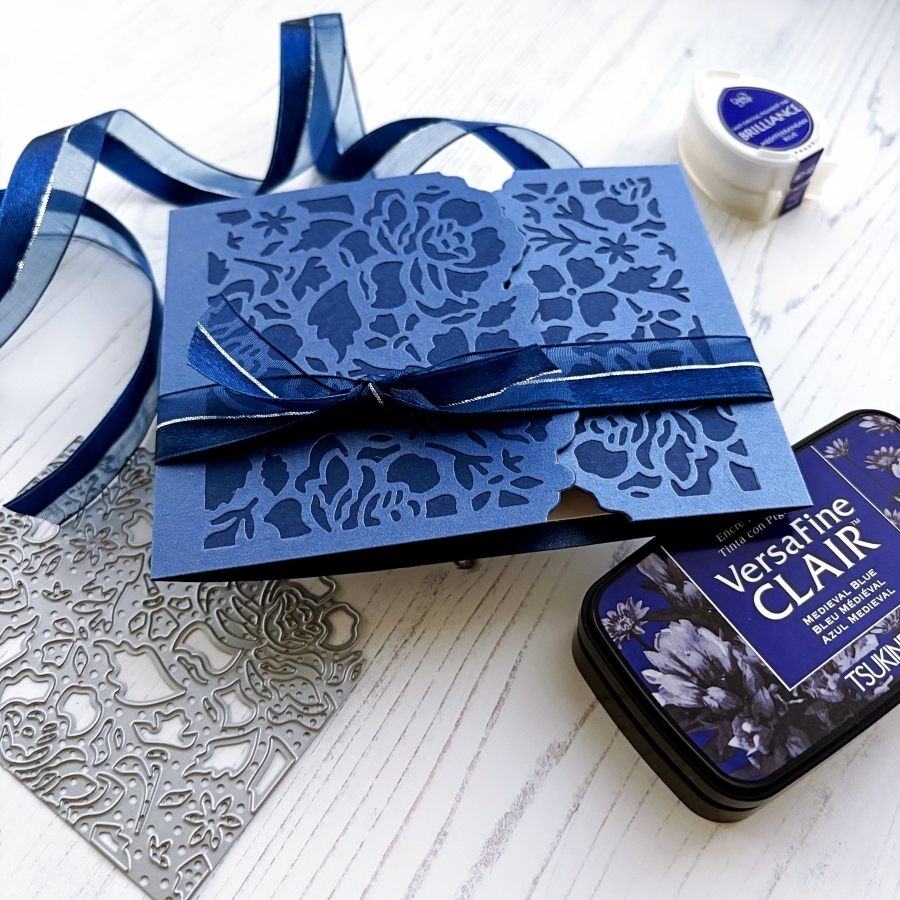
Assemble the card. Glue the two panels together. Glue the sentiment strip onto the light green, slightly bigger strip. Then attach the sentiment strip to the card panel with foam tape. Glue green and yellow sequins around the sentiment and daffodils. To finish the card, glue the whole thing onto an A2-sized white card base.
Art Supplies
Imagine
• Delicata Ink – Emerald Green
• Fireworks! Craft Spray – Dandelion and Pear Tart
• Fabrico Dual Marker Tangerine
• VersaFine Clair ink – Nocturne
Other
• Altenew – foam tape – Instant Dimension Foam Tape
• Catherine Pooler – sequin mix – North Pole
• Simon Says Stamp – die set – Squovals
• Visible Images – stamp set – Golden Daffodils
• Clear Embossing Powder
• Glue
• Green patterned paper
• Watercolor paper
• A2-sized white card base